Hello! It's Monika here today with a step-by-step tutorial on how I made my emboss resist Fall card.


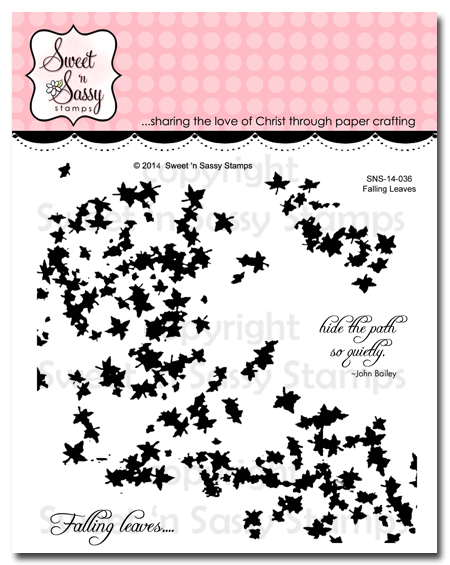
1. I stamped the silhouette leaves (Falling Leaves Clear Stamp) on a piece of water color card stock with VersaMark ink and heat embossed the images with clear embossing powder. You could also use white embossing powder.

2. Next (starting with the lightest color) I sponged Mustard Seed distress ink on the background with a Blending Tool.

3. Then I sponged Mowed Lawn and Rusty Hinge distressed inks on the background.


4. You can leave the background as is, or add some brown around the edges. I used Vintage Photo distress ink. Then I wiped the background with a paper towel to get the ink off of the embossed areas.

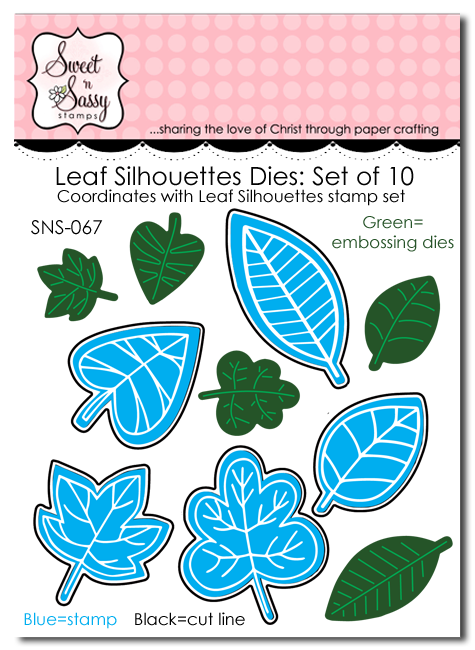
5. To make the coordinating leaves, I sponge green, yellow and rust ink on strips of water color card stock and die-cut some leaves with one of the small leaf dies from the Leaf Silhouette die set. Then I covered the leaves with Glossy Accents.


6. I stamped the greeting on a thin strip of white card stock (from Be Encouraged Clear Stamp Set) with Onyx Black Memento ink. Placed some thread on the background, and adhered the greeting over it with dimensional tape.

7. Next I adhered the die-cut leaves randomly to the card. Then I adhered the card front to a white card base.

I hope I inspired you to get inky today.
Thank you for stopping by,
Monika

4 comments:
Beautiful, Monika! You DID inspire me! I'm going to try this technique while making Christmas cards. Thank you!
Love your fall card and the technique, Monika! Beautiful!
Beautiful fall card! Thanks for sharing.
Wow this is a stunner! Loving the colours and the technique. The white embossing really pops off the card, beautiful card x
Post a Comment