Showing posts with label Texture Tiles 1. Show all posts

Tuesday, September 13, 2022

Give Thanks

  PRODUCT LINKS BELOW CONTAIN COMPENSATED AFFILIATE LINKS AT NO COST TO YOU

Hello Sweet Friends! Sheri here today with a Thank You card featuring the Give Thanks stamp set and NEWLY added coordinating dies that were part of the September 2022 Fall Release!

For my card I did a combination of a little ink blending, copic coloring and die cutting!

Steps to Create Card:
  • Cut White A2 Top Fold Card Base: 4 1/4" x 5 1/2" (4 1/4" x 11", scored at 5 1/2")
  •  Cut White Panel: 3 3/4" x 5"
  • Take White Panel and ink blend with green ink. You will be heavy handed around the outer edges and lighter towards the center. I used Gina K. Designs Fresh Asparagus. 
  •  Add texture to you ink blended panel by using the splatter stamp in Texture Tiles 1 stamp set with the same green ink and randomly stamp the panel. For extra texture I added gold splatter with a paint brush. Set aside and let dry.
  • On a piece of white card stock you will stamp 3 sets of leaves from the Give Thanks stamp set. I used alcohol friendly ink and colored with Copic markers. Next I cut out with the coordinating die set. For texture I added a gold splatters.
  •  Cut the word "Thanks" out using the Thanks Word Die in gold card stock. Cut an additional 2 out in white card stock. You will stack and glue together for dimension.
  • Assemble card. I trimmed the edges of the leaves off the card panel for a clean edge.
  • For embellishment I added a few gold pearls. 
Card Measurements: 
White A2 Top Fold Card Base: 41/4" x 5 1/2" (4 1/4" x 11", scored at 5 1/2")
White Panel: 3 3/4" x 5"


 -----
 
 
Happy Stamping!!

Saturday, June 18, 2022

You are Special

Happy Saturday! Have you checked out the June MIni Release yet? Julee Tilman's new set, Special Blooms, is so sweet!


I made the background in January and pulled it from my stash for this card. I die cut the panel, added black dots with a texture stamp, and matted with green. I wrapped white string along one edge and attached to a white card base. 

I stamped the flower image, frame and sentiment with black ink and die cut out. I colored the image with watercolor brush markers and added with dots with a gel pen. This was a quick, easy card and I love all the green!


Special Blooms Bundle 


Decorative Frames Bundle


 Texture Tiles 1


 Chicken Wire Stencil


I hope you enjoyed today's card and thanks so much for stopping by!

Friday, May 13, 2022

Happiness Blooms

Today I have a fun card for you using the Sweet N Sassy Stamp of the Month Happiness Blooms.

Using Distress Inks, I stamped Texture Tiles 1 to create a background on watercolor paper. I spritzed it a bit to give it a watercolor(y) look. I stamped the flower from Happiness Blooms over it and colored with Copic markers. It has a loose look because of the Copics on watercolor paper. To give it a more crisp look, I went back in with Polychromos pencils. I love the colors on this one. I layered it all up and there is the card. I just needed a sentiment...The sentiment strip comes from Pray Without Ceasing. It is a great encouragement card don't you think?

Thanks for stopping by! I hope you are inspired.

Lyn

Monday, May 9, 2022

Shabby Mixed Media Coffee


Esther here today with this mixed media coffee card. The Spring Summer Coffee Lover's Blog Hop is in full swing. It's a traditional hop this time with prizes and giveaways at each stop. Sweet 'n Sassy Stamps is proud to be one of the sponsors for this hop and is giving away a $25 gift code to one lucky commenter. Click here to go to the original post.

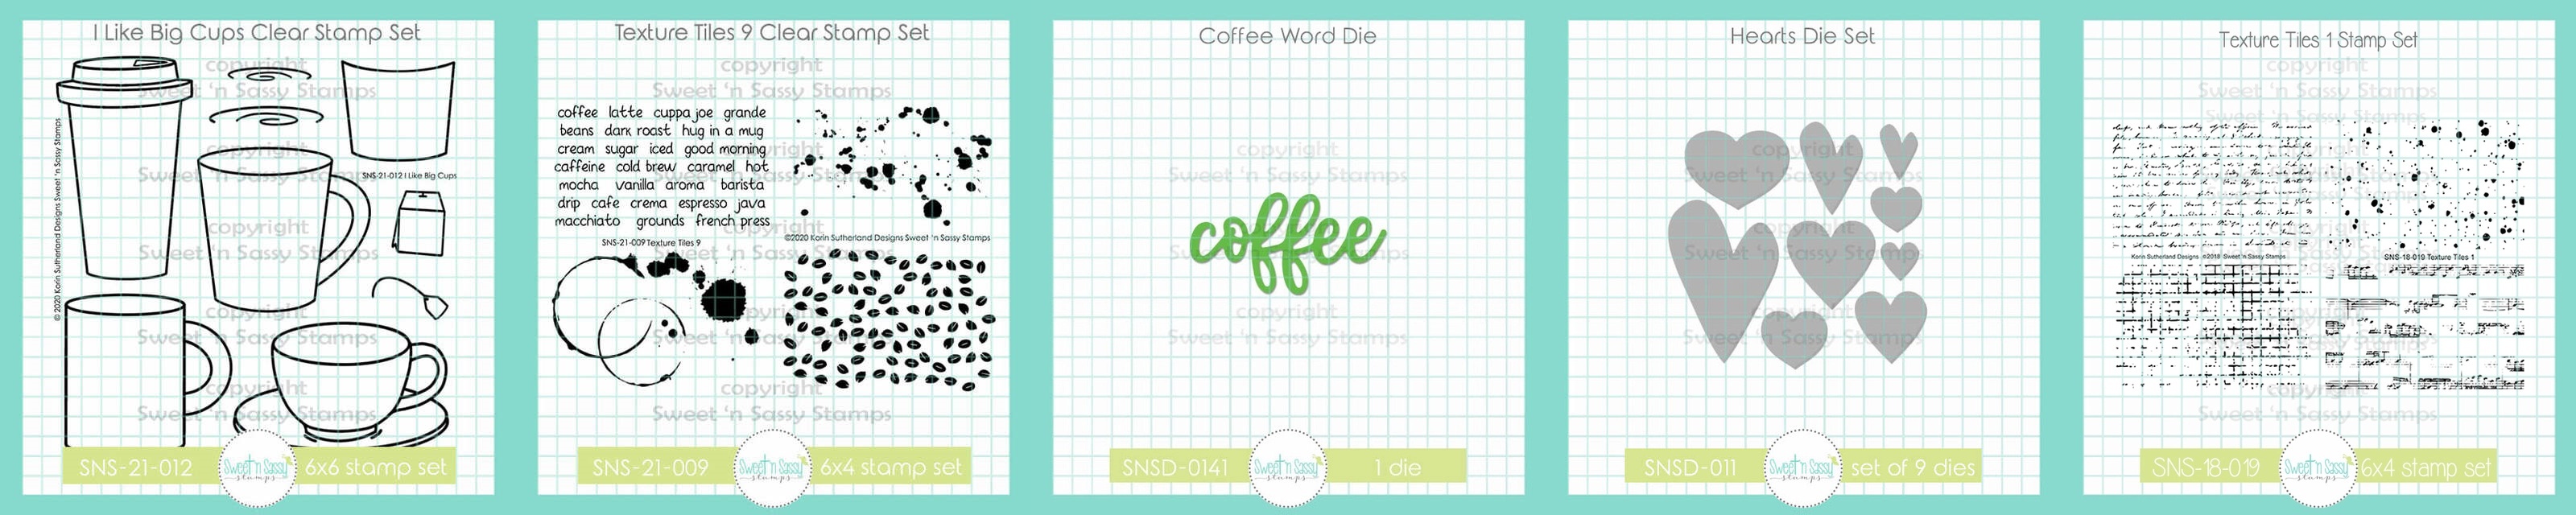
To create my card today I started with a piece of kraft card stock and swiped some white pigment ink across it. Next I stamped the coffee words from texture tiles 9 across the top and bottom and layered up my lace, dictionary page pieces, and burlap ribbon. Using distress inks I did some ink smooshing on watercolor paper, die cut it with a circle die, and stamped a bit of text from texture tiles 1 over top. After fussy cutting one of the coffee cups from I Like Big Cups I added a bit of lace to the front. A sentiment and two little hearts complete this shabby mixed media card. 


 ~~~This post contains affiliate links at no extra cost to you~~~

Supplies and Tools:

Monday, March 28, 2022

Praying for You Wreath


Esther here today sharing this floral wreath card that uses some of the NEW products from the March 2022 Release

Don't forget about the SPRING SALE going on right now --- 20% off site wide! 

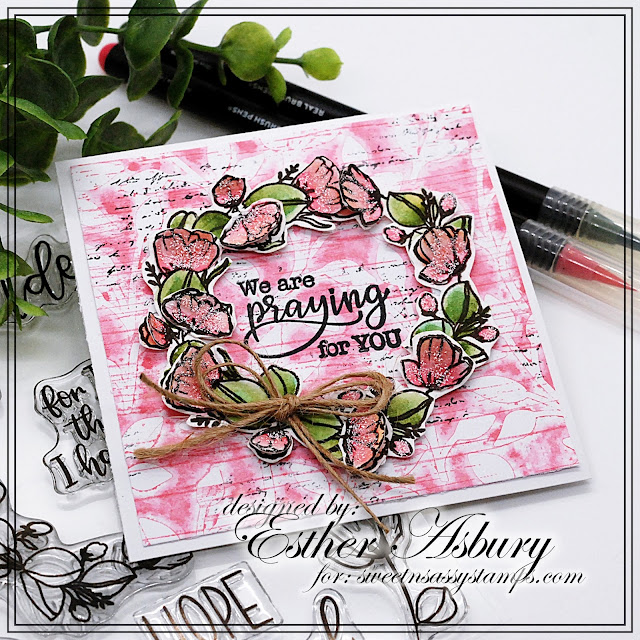
For my card today, I started by inking up my Leaf Branch Stencil with worn lipstick distress oxide and stamping it on mixed media paper. I went over it with a brayer to ensure the color transferred well. Next, I stamped the wood grain stamp from Texture Tiles 2  over top, and then added some text from one of the Texture Tiles 1 stamps. 

I stamped the little floral spray from God is Sovereign  six times on watercolor paper, colored three of them with Arteza Real brush pens, and fussy cut them. Next, I cut the images into little pieces and arranged them into a wreath. To create the 3D flowers, I colored just the flowers on the second set of three images, fussy cut them, and glued them over top the flowers on the wreath. I added some Frosted Lace Stickles over the flowers for a bit of sparkle and a twine bow to one side of the wreath.The sentiment is from Forever Loved and is stamped in Versafine Clair Nocturne Ink.

~~~This post contains affiliate links at no extra cost to you~~~

Monday, March 14, 2022

Spring Lamb


Hello friend, Esther here today with this sweet little square card that features the Stamp-of-the-Month, Spotted.
I stamped the little lamb from Sweet Little Lamb  in Versafine Clair Nocturne Ink  and colored it with my Arteza Real Brush Pens. Next I stamped the Grunge Stripe Background in Yeti Ink (Lawn Fawn) on a piece of purple cardstock and added some grunge using a stamp from Texture Tiles 1. I die cut a circle using circle dies from Spellbinders and layered it on a black doily cut with the Doily Die from Sizzix. The sentiment is from the Script Sentiments stamp set.

~~~This post contains affiliate links at no extra cost to you~~~

Shop the entire March Release Here  

Monday, January 24, 2022

Roses


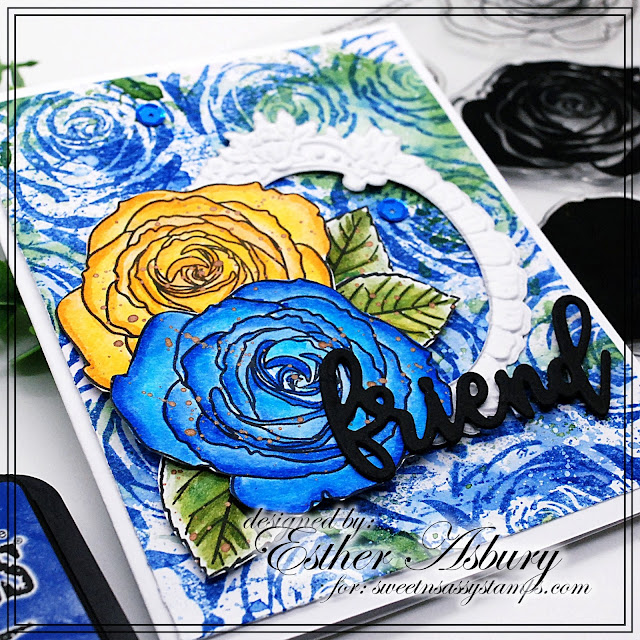
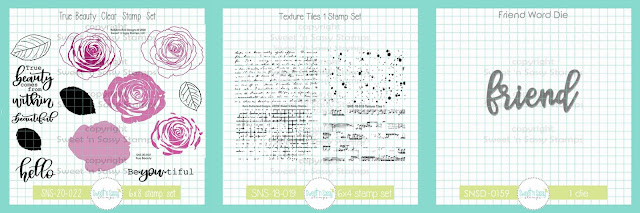
Esther here today sharing a pretty rose card. I created the background by ink smoosing prize ribbon and rustic wilderness ink on mix media paper. I then stamped over it with one of the rose images from True Beauty. I added some text from Texture Tiles 1 and some white paint splatters over that.  

The roses (from True Beauty) were stamped in Versafine Clair Nocturne Ink  and colored with Arteza real brush pens with metallic paint splatters over top. I die cut two of the Friend Word Die in black card stock and layered one over the other for extra thickness. 

Using the barouque frame 3D embossing folder (Altenew) I embossed the frame on white card stock and die cut it with the matching die in the sweet friend die set (Altenew). A few blue sequins finished off this sweet friendship card. 

   ~~~This post contains affiliate links at no extra cost to you~~~


Tuesday, November 23, 2021

You Are In My Thoughts & Prayers

   PRODUCT LINKS BELOW CONTAIN AFFILIATE LINKS AT NO COST TO YOU
 
Hello Sweet Friends! Sheri here with a card featuring a sentiment from the NEW Heartfelt Thoughts stamp set. This set is the November 2021 Stamp of the Month and is FREE with any $60 order. This set is perfect for Encouragement/Sympathy cards.
 
The background panel was created from the Grunge Stripe Background and Texture Tiles 1 stamp sets. The floral sprig is from the Botanical Branches stamp set. I used a monochromatic color pallet and used copic markers to color. For embellishment I added a few sequins.
 
Card Measurements:
Mini Slimline: 6" x 3 1/2" (6" x 7", scored at 3 1/2" on the 7" side)
Green Scallop Mat: 5 5/8" x 3 1/8"
Striped Layer: 5 3/8" x 2 7/8"
White Layer: 4 1/16" x 1 9/16"


 This weeks Birthday SALE is 20% OFF all DIES and DIGIS!!
CLICK HERE to start shopping!

Happy Stamping!!
Tuesday, February 16, 2021

Florals on a Wintry Cold Day

 Hello, Hello!

I have some florals to share with you today. 

The new Floral Background Stamp is super versatile- use it on your whole background and highlight a sentiment, or use in smaller doses, as I have done with this coffee card. 

I started with the I Like Big Cups Stamp Set and Stamped the To Go Cup on Neenah Solar White cs.  I then stamped the Floral Background Stamp over the cup, giving it a floral pattern.  The image was then colored with Copics.  The lid was stamped twice, the second lid being popped up on dimensional tape.  I added a corrugated cup cozy to finish the cup.  I cut strips in red, yellow and navy and then did some tone on tone stamping on each strip using the Texture Tiles 1 Stamp Set.  The sentiment from the Punny Love Stamp Set is perfect with this set.  The little hearts are also from the Punny Love Set.  

Here is the same Floral Background Stamp, this time being used for the entire background panel.  


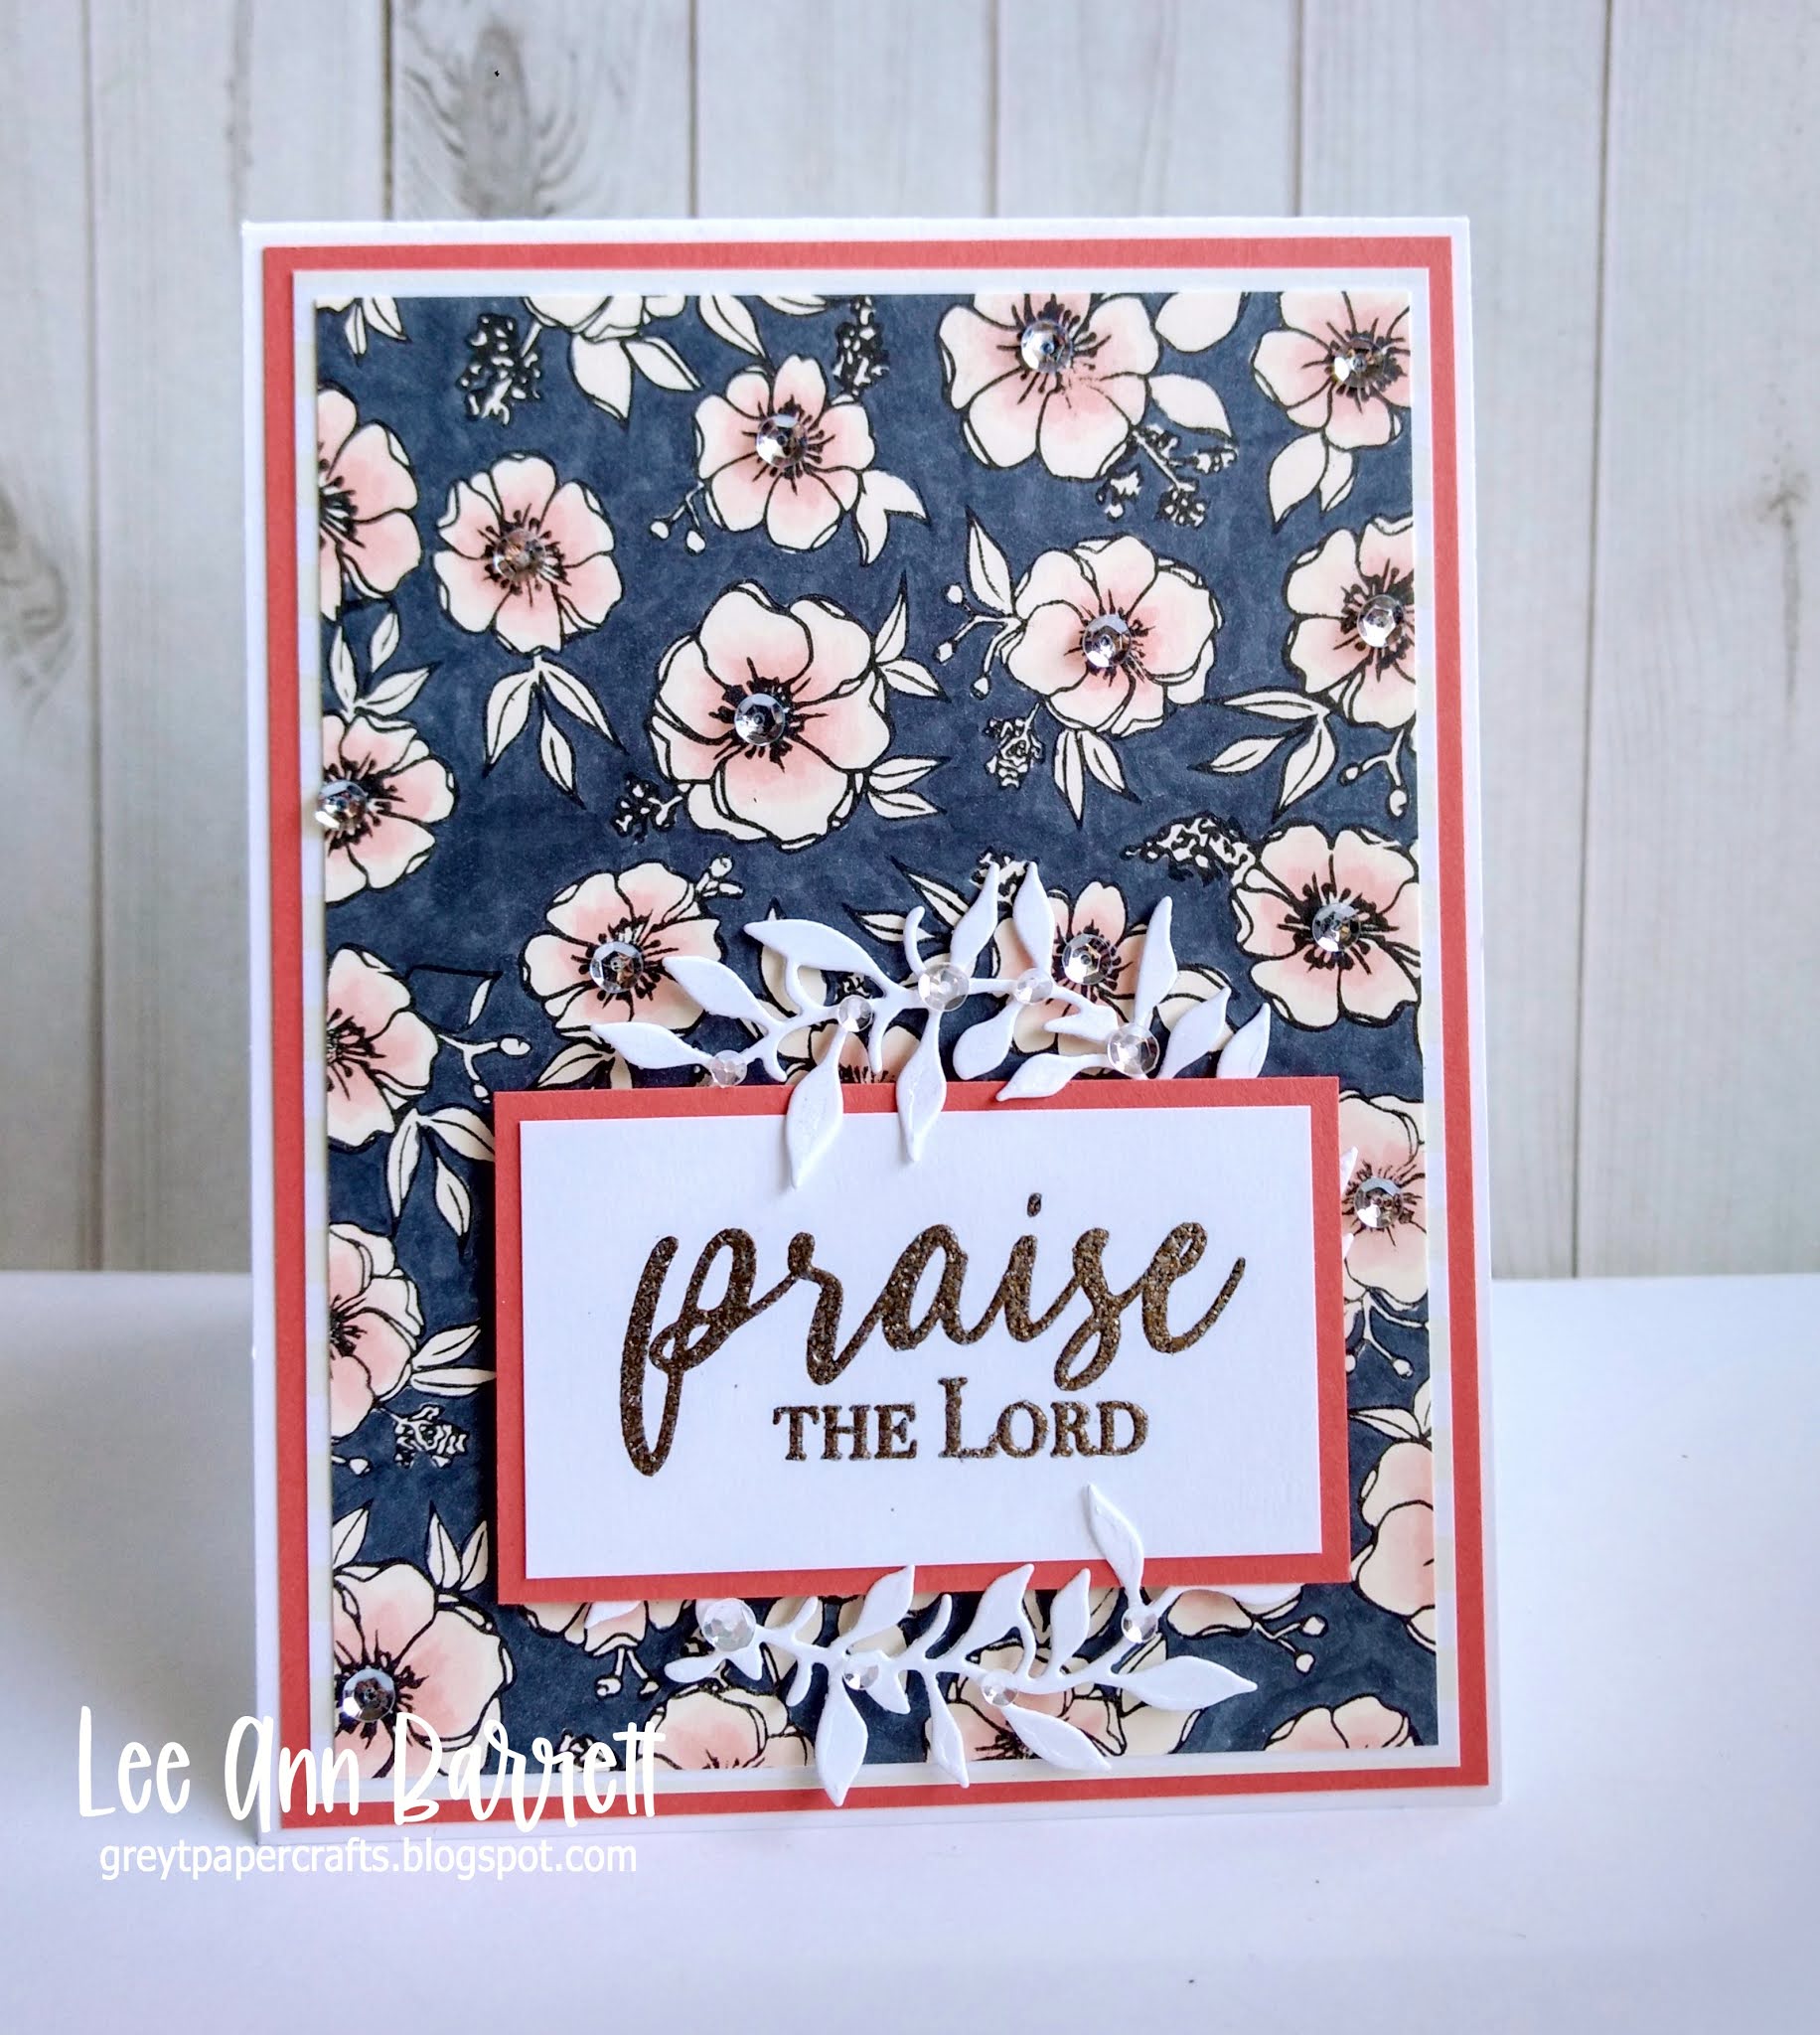
The background was stamped multiple times using my MISTI to cover the panel.  Then background was then colored with a 'C' Copic marker.  The flowers were colored a very pale peachy red color.  I added a sequin to every flower center. The sentiment, Praise the Lord, is from the Faith Phrases Stamp Set.  I heat embossed it in Pewter embossing Powder.  A die cut wreath and more sequins finish the card.  

This last card uses one of my favorite florals that I really don't use enough.  Especially with all of the sentiments it comes with.  


I used Arches Watercolor paper and Versafine Onyx Black ink to stamp this gorgeous image.  I then used some Jane Davenport Watercolor Brush Pens that I found on clearance at Micheal's.  $5- what a steal!   This was the perfect time to practice watercoloring 'loosely'.  Loosely is not in my vocab when it comes to crafting.  This was my best shot at it.  It ended up being not so loose.  

I fussy cut the image out and then found a panel in my stash that I had made with acrylic paints.  The colors were perfect with the image.  Some texture was added to another panel using an embossing folder.  Finally some gouache spatters and sequins finish the card.  

I hope I took you away to warmer days for a few minutes and also inspired you to craft!  

Thanks for stopping by and have a blessed rest of the week!

Lee Ann  

Monday, February 1, 2021

Happy Mail


Hello Sweet 'n Sassy Friends! 
It's Ceal, here to share with you today. The next time I post on the company blog will be after Valentines so I decided to share a couple more valentines cards. 
To create these I started with some Kraft card bases and white panels. I used the Happy Mail set that was our Stamp of the Month for January. 
The first card I stamped the envelopes, colored them and then masked them off and stamped the text from the Texture Tiles 1 set over them. To finish the card I added the sentiment from the Love Wordfetti set.

The second card I stamped the mailbox also from the Happy Mail set, colored it, masked it off and created some clouds. the greeting is also from the Love Wordfetti set. 


Friday, November 27, 2020

Snarky Girls Unite!

For today's post, I had so much fun with one of the November sets called A Little Snarky. She reminds me of my friend Jennifer - I Love it!

I wanted to try multiple coloring options for her so I created two projects.

The first project is a card. I inked her up on some watercolor paper then used some shimmery Michael's brand watercolors. I splashed some ink over the card and created a shadow around her. I also used some designer paper from my stash (only a billion more pieces to use now :) )

For my second project, I created a page in my mini journal page. I used Distress Oxides for the background then used Texture Tiles 1 and Texture Tiles 3 for the dimension.

I colored up my Snarky Girl with Copics and fussy cut her and glued her onto the page. I added a little washi tape and the sentiment and just need to add her to my journal!

I hope you were inspired today!

Thanks for stopping by!

Lyn


Friday, August 14, 2020

Mini Art Journal

Today I have a super fun project. I have been playing around with a mini, mixed media journal I made with watercolor paper (pages are about 4"x 5" so it's a small manageable canvas). I played around with background colors one day - just to get something done on a no-mojo day. now when I want to do a journal page, I can flip to color page I like and start building on it! It really is a great project!

For your inspiration, I have created two pages in my journal.

The first one uses this month's Stamp of the Month - Coffee Talk and one of its great little sentiments. To compliment the sentiment, I inked up one of the people images from Walk Humbly and tried to make it look like she was holding the cup of coffee from her favorite coffee house, breathing in the smell, and just in her own little paradise (I drew fingers on the cup for to this end.) I used the Tim Holtz Splatters stencil, and Texture Tiles 1 to add dimension to the background. I love it!

My second page uses the big sunflower from this month's Like a Sunflower set. I L-O-V-E this one! For the texture on this page (you know there has to be texture!), I used Texture Tiles 3, and Typewriter Text Background

This project has really renewed my mojo! I can't wait to do more pages in it!

I hope you are inspired too!

Thanks for stopping by!

Lyn

Monday, June 29, 2020

Masculine Distress


Hello, Sweet 'n Sassy Stampers! 
It's Ceal, here to share with you today. 
If you are like me, masculine cards are challenge to do. Well Korin made things easy with this Masculine set, Time Well Spent.
This set is the Stamp of the Month so you have a couple days left to be able to earn it for free with a $75 purchase. 
To create my cards I paired it up with a couple other sets, Texture Tiles 1 and Sentimental Mash-up


To create my cards I started with kraft bases, black panels and bristol panels. On the bristol panels I stamped the clock image from the Time Well Spent set with embossing ink and embossed with Embossing Glaze by Tim Holtz, next I sprayed the panels with Distress Oxide sprays in Tumbled Glass and Vintage Photo. To add more texture I used the Texture Tiles 1 set stamped in Vintage Photo distress ink. 
The sentiment on the Slimline card is from the Sentimental Mash-up set.