Happy Monday! Esther here today
sharing some fun tags I created to attach to gifts I'm giving out to my
Sunday School kids to celebrate going back to school this fall.
I started by stamping the library card from Your Story in Versafine Clair Nocturne Ink on white card stock and cutting them out. Next, I stamped a bunch of images from the Back to School stamp
set on mixed media paper and colored them with Arteza Real Brush Pens. After fussy cutting (because I don't own the Back to School coordinating dies --- yet!), I
arranged them on my library cards and stamped various school related
sentiments at the top. Each tag has a personal message from me on the back. 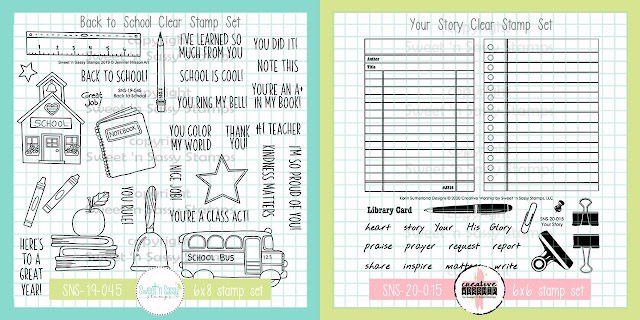

~This post contains affiliate links at no extra cost to you~~~