Showing posts with label Birds & Blooms. Show all posts

Monday, December 26, 2022

Birds n Blooms Postcard


Esther here today -- My second favorite Sweet 'n Sassy stamp set is probably Going Postal. (Texture Tiles 4 comes in at number one since it has four plaid stamps in it!) I combined the postal set with Birds n Blooms to create this pretty vintage postcard greeting for a friend who loves all things nature related.

Check out the YEAR END SALE currently in progress.

 ~~This post contains affiliate links at no extra cost to you~~~

Supplies and Tools:


Friday, December 16, 2022

Instagram Hop and Steel Die SALE!


 Hello Friend, Esther here today to let you know that it's time for another Sweet n Sassy Instagram Hop and this month we're featuring steel dies. I chose to use the NEW coordinating dies for Birds & Blooms and the NEW With Love Word Die Set. I also used some of Susan's NEW Softly Snowing Digital Papers! One lucky commenter will win a $25 gift code to the SnSS store - click here to check it out!! 


  ~~~This post contains affiliate links at no extra cost to you~~~ 

When I print these digital papers, I usually open them in my word program and resize them to fit my card front so that I'm not wasting ink by printing a full 8.5 x 11 inch paper. It also reduces the design and makes it look prettier on my card.  

All the images on this card were stamped on mixed media paper and colored with Arteza Real Brush Pens. 

Supplies and Tools:

Thursday, September 2, 2021

A few recent cards and a sneak peek!

 Hello! I am sharing a couple of cards that I recently made PLUS I have a sneak peek of some new stamps and dies that will be available to order in the Sweet ‘n Sassy Stamps shop tomorrow!

First, I created several cards with the Blooming Anemones stamp set and the Friend Word Die. Here's two of my favorites. This would be pretty in so many color combinations! I created a reverse mask by die cutting the center of a 4 1/4 x 5 1/2 piece of cardstock with a scalloped rectangle shape. The outside "frame" was placed over the front of my card and then I added three colors of ink to each one with dye based inks and blending brushes. When the center was filled in with color, I removed my mask and stamped the flower image with black ink. Then I layered two Friend die cuts and added it to the front and finished with a few sequins.


My next card was created with the Birds & Blooms stamp set. I needed a few sympathy cards and I almost always lean toward blues, greens, and purples. I skipped the purple here and kept the card CAS.


Are you ready for a sneak peek? Be sure to check out What's NEW tomorrow! In the meantime, I'll share a card and a tag I made. There's FIVE products used here from the new release! :)


Have a great day!
Diane


Wednesday, March 24, 2021

March 2021 Release Hop Winner + Inspiration

Hi Sweet 'n Sassy friends! It's Julee popping in with a little inky inspiration and some happy news for one of you blog hoppers!

As always, we had so much fun sharing the current release with you on our March Blog Hop. We so hope you enjoyed it, too, and gleaned a little inspiration for using this month's stamps! While we think you're ALL winners, we did randomly select ONE lucky reader from among all the comments on the hop to receive a $25 gift certificate to the Sweet 'n Sassy shop. 

And the winner is...


Congratulations Laurie!
Please send an email to snssassistant@gmail.com to claim your prize.

Now onto a little inspiration from me using one of my favorite past releases... Birds & Blooms. I started out by stamping out the images in the set, then watercoloring with distress inks and fussy cutting.  My first card is a shaker, using the miss you sentiment and my horizontal panel was done with the Background Builders: Stripes set. The background is a blended and sprinkled with water distress ink background.


My next card used the branch image, and I added the Blessings Word Die, cut a few times and stacked, then ink blended for some color and dimension.  The background is done with the Delightfully Delicate Stencil.  I used up a frame left over from cutting the back of my shaker above, then layered everything together.


There's still a week to save during our Moving Sale! 
Enter code MOVING at checkout to receive
15% off sitewide, excluding bundles.
Sale ends March 31, 2021.


Thanks so much for stopping by today!

-Julee
***This post contains affiliated links at no cost to you ***

Tuesday, March 16, 2021

Mixed Media Birds and Blooms

 Hello Friends!  

Today I am sharing projects made with a beautiful and versatile set, Birds and Blooms.  Both cards are also of the mixed media variety.  

This first card is very much a mixed media card- lots of layers, little white space.  


I wanted to play with some new Distress Ink products I got, Speckled Egg Distress Ink and Broken China Distress Glaze.  Various shades of rust, blue and brown shades of Distress Ink were sponged onto the card front.  I did a lot of distress with water drops. While playing with my new Speckled Egg Distress Ink, I decided to use the direct to paper method across the top of the card.  Being a new pad it was very juicy and stay fairly wet.  I took this opportunity to emboss the ink with Broken China Distress Glaze.  For a girl who loves clean, white, space, I love how this turned out.  

The bird and flowers were both stamped with Versafine Onyx Black Ink and watercolored with various watercolors- whatever happened to be handy!  They were fussy cut out and then white gel pen was added to the flower centers.  The sentiment is from the Begin Again Stamp Set and was stamped in Versafine Onyx Black Ink using my MISTI.  

This next card is more my usual style, but don't be fooled- this is mixed media as well.  


This time I flipped through my stash of backgrounds, many of them gel prints.  I found this one with aquas, yellows, chartreuse and black.  I die cut circles from the panel and then pulled out three of them for this collage style card.  I also settled on a mini slimline card.  
The bird was stamped on watercolor paper with Versafine Onyx Black Ink.  I used Ken Oliver Colorbursts to color the bird.  I also stamped the floral branch.  This I did not color.  The branch and bird were both fussy cut out.  
A strip of black cs was adhered along the left edge, circles were adhered to the card front and the bird and flowers were popped up on foam tape.  The sentiment is from the Everyday Greetings 
Stamp Set and was stamped in Versafine Black Ink with the help of my MISTI.  


Tuesday, February 18, 2020

Mixed Media, 3 Different Ways

Hello Friends! 

Today seemed like a good day to try something a bit different.  There were lots of bits and pieces on my desk- colored images, monoprints, and various other backgrounds.  I thought it would be fun to put some of these items to use and create mixed media cards.
 I think a lot of us have a certain idea of what mixed media is in our heads- lots of texture, layers, and lots and lots of products- sprays, pastes, metal items, tissue paper, pencils, crayons, gel mediums to name a few.  However, in the card making world, many consider a mixed media card to be two or more mediums on a card. 
So, here we go.  I have 3 different cards, varying in complexity and using different mediums. 
The first is super CAS!


The two mediums are watercolor and acrylic paint. 
Here is the how to~
The background panels are from a single monoprint using acrylic paint and a stencil.  If you are not familiar with monoprinting, it involves using a gel plate like the ones here.  Acrylic paint was dropped on and rolled out with a Printing Brayer.  The leaf panel is two stamps- the leaf is from the Autumn Splendor Stamp Set and the doodled square is from the Just Be Stamp Set. I stamped and masked the leaf onto water color paper, then stamped the square.  The image was then watercolored with Ken Oliver Color Bursts and fussy cut out. I doodled lines around my background panels using a Sakura Pigma Micron Pen.  Some acrylic paint splatters finish off the leaf image. 
The next card has a bit more going on~


The flower, which is from the Mason Jar Bouquet Stamp Set, was stamped with Versafine Onyx Black Ink on water color paper, painted with 
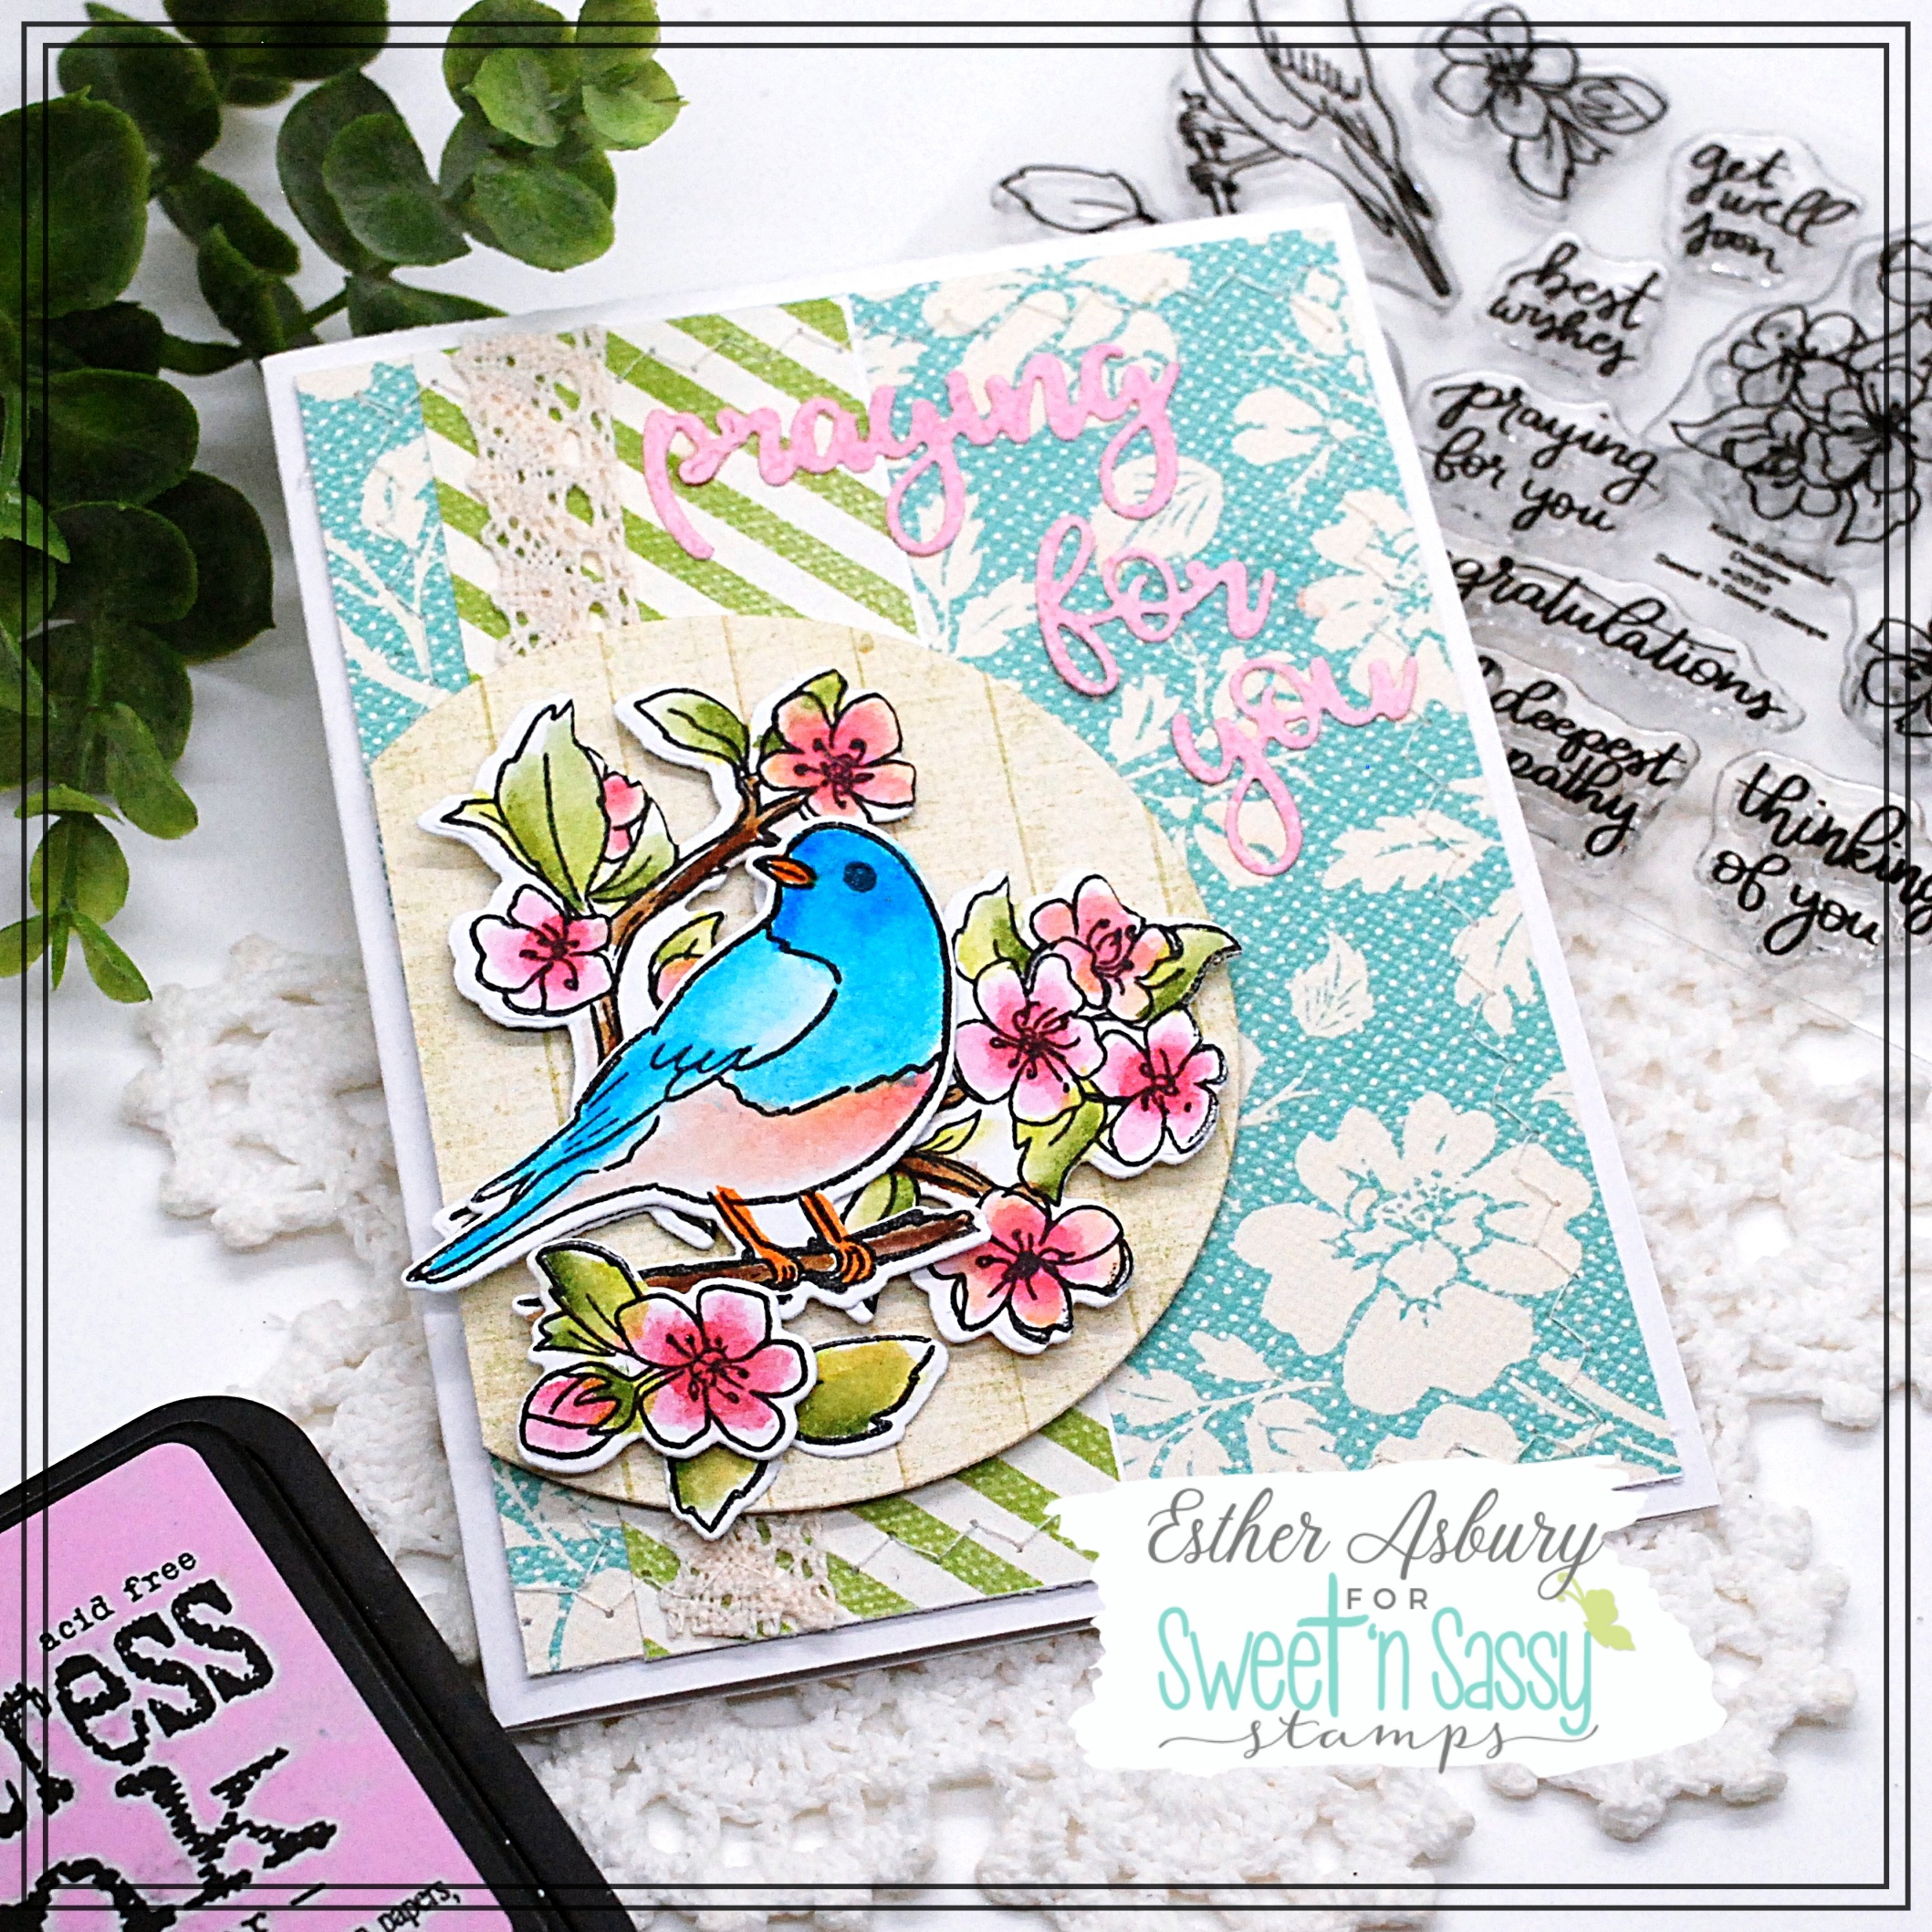
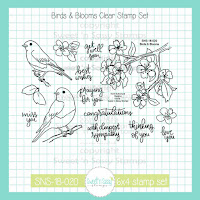
Ken Oliver Color Bursts and fussy cut out.  The background is stamped multiple times with the floral branch from the Birds and Blooms Stamp Set and colored with Prismacolor pencils.  I added dies cuts from a new die I was trying out and heat embossed a sentiment from the Singing Praises Stamp Set.   
This third card is what you may consider to be a more traditional mixed media project.  It was inspired by our own Julee Tilman! 


I had another flower laying around, wanting to be used on a card.  It was stamped on watercolor paper with Versafine Onyx Black Ink , water colored with Ken Oliver Color Bursts and then fussy cut out.  My mixed media panel was one I made when trying to replicate something that Julee had made.  Well, mine fell really short!  I was going to toss it, but, when placed next to the color orange, it suddenly came to life.  I also had a piece of patterned paper that had been spritzed with a couple of different shimmery sprays; the colors worked perfectly with the orange rose and the teal panel.  The sentiment is from the new, Sentimental Mash Up Stamp Set.  This card uses water colors, sprays, embossing paste and distress oxides. 

There you have it, 3 mixed media cards, all with very different looks.  Which do you like best? 
I hope I have inspired you to get messy today!

Thanks for stopping by and have a blessed week! 
Lee Ann 

Friday, February 7, 2020

Springtime ATC Coins

Hi Sweet 'n Sassy Friends! It's Julee Tilman popping in to share a little of what I've been creating with the new release.

During our Winter Stamp-a-thon, Lyn's challenge was to make ATC Coins, which are 2.5" circle pieces of art you can trade with other artists. I didn't have time to create any during the challenge window, but couldn't wait to try them out once I found a little me time!


At the end of the session I had six ATC Coins. I started with a 8.5 x 11 piece of cardstock and coated with one layer of gesso to prime it for paint.  Then I squirted on some distress paint in chipped sapphire, evergreen bough, salty ocean, and tumbled glass, blending in with my fingers.  I then added some brick stenciling randomly across the page with white Dylusions paint.  Once this was dry, I randomly added bits of stamping using the Texture Tiles 1 set and archival ink.  When everything was dry, I cut six circles from the page with a 2.5" circle die, placing the die where I thought it would give the most interest.  These top two coins are made with the Birthday Borders set and have already been sent out for trade!  The sweeter sentiment is from the So Sweet Cocoa set and much love is from Sentimental Mash-up.


The rest of my coins use the adorable new Springtime set. I stamped the butterflies and boots a few times on cardstock, then colored with Copics and fussy cut.  For the spring has sprung coin, I then colored in the white space on the image cut out so it appeared more natural. I softened the  coin up a bit with some white stamping with the hearts from Texture Tiles 5, then stamped my sentiment in archival ink.  The dream big sentiment is from Dragonfly Dreams and I stamped the butterfly in archival ink directly on the coin, then cut out the butterfly I had colored minus the antennae and popped up the wings.


The thinking of you sentiment is from Birds & Blooms and I used the same treatment with the butterflies, adding a bit of thin washi tape to break up my design.  My final coin uses the lovely boot image and I paired it with a sentiment from the Sentimental Wordfetti set.

I traded a couple of these, but also thought they would work great on card fronts, so created a couple cards using them.


For this one, I matted the coin with a black scalloped circle, then divided my pattern paper in half, adding a die cut border to break things up.  I stamped the flowers from the boot image at the bottom and lightly colored in, then added a few more butterflies to finish off the card.


My second card uses the same scalloped circle to mat the coin, but a few more layers of patterned paper.  I stamped one with the dots from Texture Tiles 5 and then finished off with a butterfly accent.

Thanks so much for stopping by today! I hope you have a fabulously creative day!

***This post contains affiliated links at no cost to you ***

Tuesday, January 7, 2020

Bird and Blooms

Hello and Happy New Year Friends! 

I enjoyed a lot of crafting over Christmas break and pulled out my watercolors for this card. 


I combined two fantastic sets- Birds and Blooms and Singing Praises Stamp Set
I stamped the branches two times onto watercolor paper and colored with my Ken Oliver Colorbursts.  This bird.  I just love this chubby bird!  It was also stamped on watercolor paper and then colored with colorbursts.  I fussy cut the bird out and popped it up on dimensionals over the branches. 
The sentiment is from the Mason Jar Bouquet Stamp Set.  I used a Sakura white Gelly Roll Pen for the white highlight on the eye.   A few sequins was all it needed to finish it off. 
Thanks so much for stopping by.  Have a blessed week!

Lee Ann  


Friday, August 31, 2018

Get Well Soon

Hello Sweet Friends!  It's Sheri here today sharing a card featuring a couple images from the NEWLY released Sunflowers & Pumpkins Printable.  

I love creating cards with digital files and immediately fell in love with this adorable Sunflower and sweet bee from the set.  I first printed the images on my laser printer on heavy weight card stock and then used copic markers to color them.  The sentiment is actually from the Birds & Blooms stamp set. 


http://www.sweetnsassystamps.com/creative-worship-sunflowers-pumpkins-printable/

http://www.sweetnsassystamps.com/birds-blooms-clear-stamp-set/
  
 Don't forget that the Give Thanks stamp set is the August 2018 Stamp of the Month and is FREE with a $75 order (after all discounts and before shipping & tax) through 8/31/18.


And...


 Happy Stamping!


Thursday, March 29, 2018

Praying for You

Hello Sweet Friends!  It's Sheri here today to share a card I created using a mix of stamp sets.  I love having the flexibility to mix and match stamp sets to get even more out of them.  For example I took the flower image from the Mason Jar Bouquet set, the sentiment is from the Birds & Blooms set and the back ground was created with the Texture Tiles 1 set.

I first stamped the a pattern from the Texture Tiles 1 set on a white panel of card stock and stamped it with gray ink and sponged over it with Distress Oxide Peakcock Feathers ink.  I then stamped the flower image and colored with alcohol markers and fussy cut it out.  My final step was cutting out a circle piece and stamping the sentiment on it before layering all the pieces on a turquoise card base.


The Texture Tiles 1 stamp set is the March 2018 Stamp of the Month and is FREE with a $75 order (after all discounts and before shipping & tax) through 3/31/18.
 
http://www.sweetnsassystamps.com/march-2018-stamp-of-the-month-texture-tiles-1/

 Happy Stamping!

Saturday, March 24, 2018

birds & blooms trio

Hello! I am sharing a few more cards today using stamps from the March release. Here I used Birds & Blooms, Skinny Minnie Alpha, and Texture Tiles 1.
 
I stamped the bird and branch on my first card, then the top portion plus the branch were masked. I lightly sponged with blue and stamped one of the Texture Tiles over top. The bird & branch were colored with Copics. A few images were stamped second generation on the top, along with some faint yellow dots with another Texture Tile. Half of a paper doily and some pearls finished it off.
 

My second card is very CAS with a deep purple ink and more pearls.


And my last card is another CAS one but this time in pink. The other half of the paper doily was added to the top and another pearl.


Have a great day!
Diane


Friday, March 23, 2018

He watches over me

Hello everyone, I want to share another card with the new releases today :). For this one I used the Birds and Blooms set and the Timeless Hymns. They are great if you want to let someone know you're thinking about them.
I stamped the bird on marker paper and colored it with my markers. I cut it out and made a 'sky background' for it. It's just a rectangle I die-cut with blue distress ink. I stamped the sentiment on this panel too. To make the bird stand out a little bit more I added some foam tape behind it and I let it peek out on top of the rectangle. The bird and background are pretty bright so I decided to go for a black background with botanical images on it. The botanicals work great with the bird :).
http://www.sweetnsassystamps.com/timeless-hymns-clear-stamp-set/

http://www.sweetnsassystamps.com/birds-blooms-clear-stamp-set/
Have a nice day!
- Lucinde