Showing posts with label Karen Decknick. Show all posts

Saturday, September 3, 2022

Give Thanks

Happy Saturday! It's the beginning of September and that means the fall creating can begin. I love this time of year! Today's card features Give Thanks and the brand new coordinating dies.


For the wreath, I ink blended marmalade, buttercup and parsley inks onto white cardstock and splattered with gold and brown paint. Next, I stamped the leaf image with wheat ink over the background and die cut the images out. I stamped the berries with wheat onto brushed gold cardstock and die cut. Originally I left them plain, but decided to add paint splatters to them too.

I embossed the thanks sentiment with gold powder, die cut and stacked with 3 more plain die cuts to create depth. I assembled the wreath as seen, adding more paint splatters afterwards. I glued the word in place, added foam tape to the back and set aside to make the background.

The background is really easy. I die cut the panel, placed the Leaf Branch stencil over the top and inked with antique linen distress ink. I splattered with gold and brown paint and stamped the sentiment with walnut stain distress ink. I matted the panel with dark brown, put it on a white card base and attached the wreath to the front. 


Give Thanks Bundle


 Leaf Branch Stencil


I hope you enjoyed today's card and thanks so much for stopping by!

Saturday, August 6, 2022

I'm Here for You

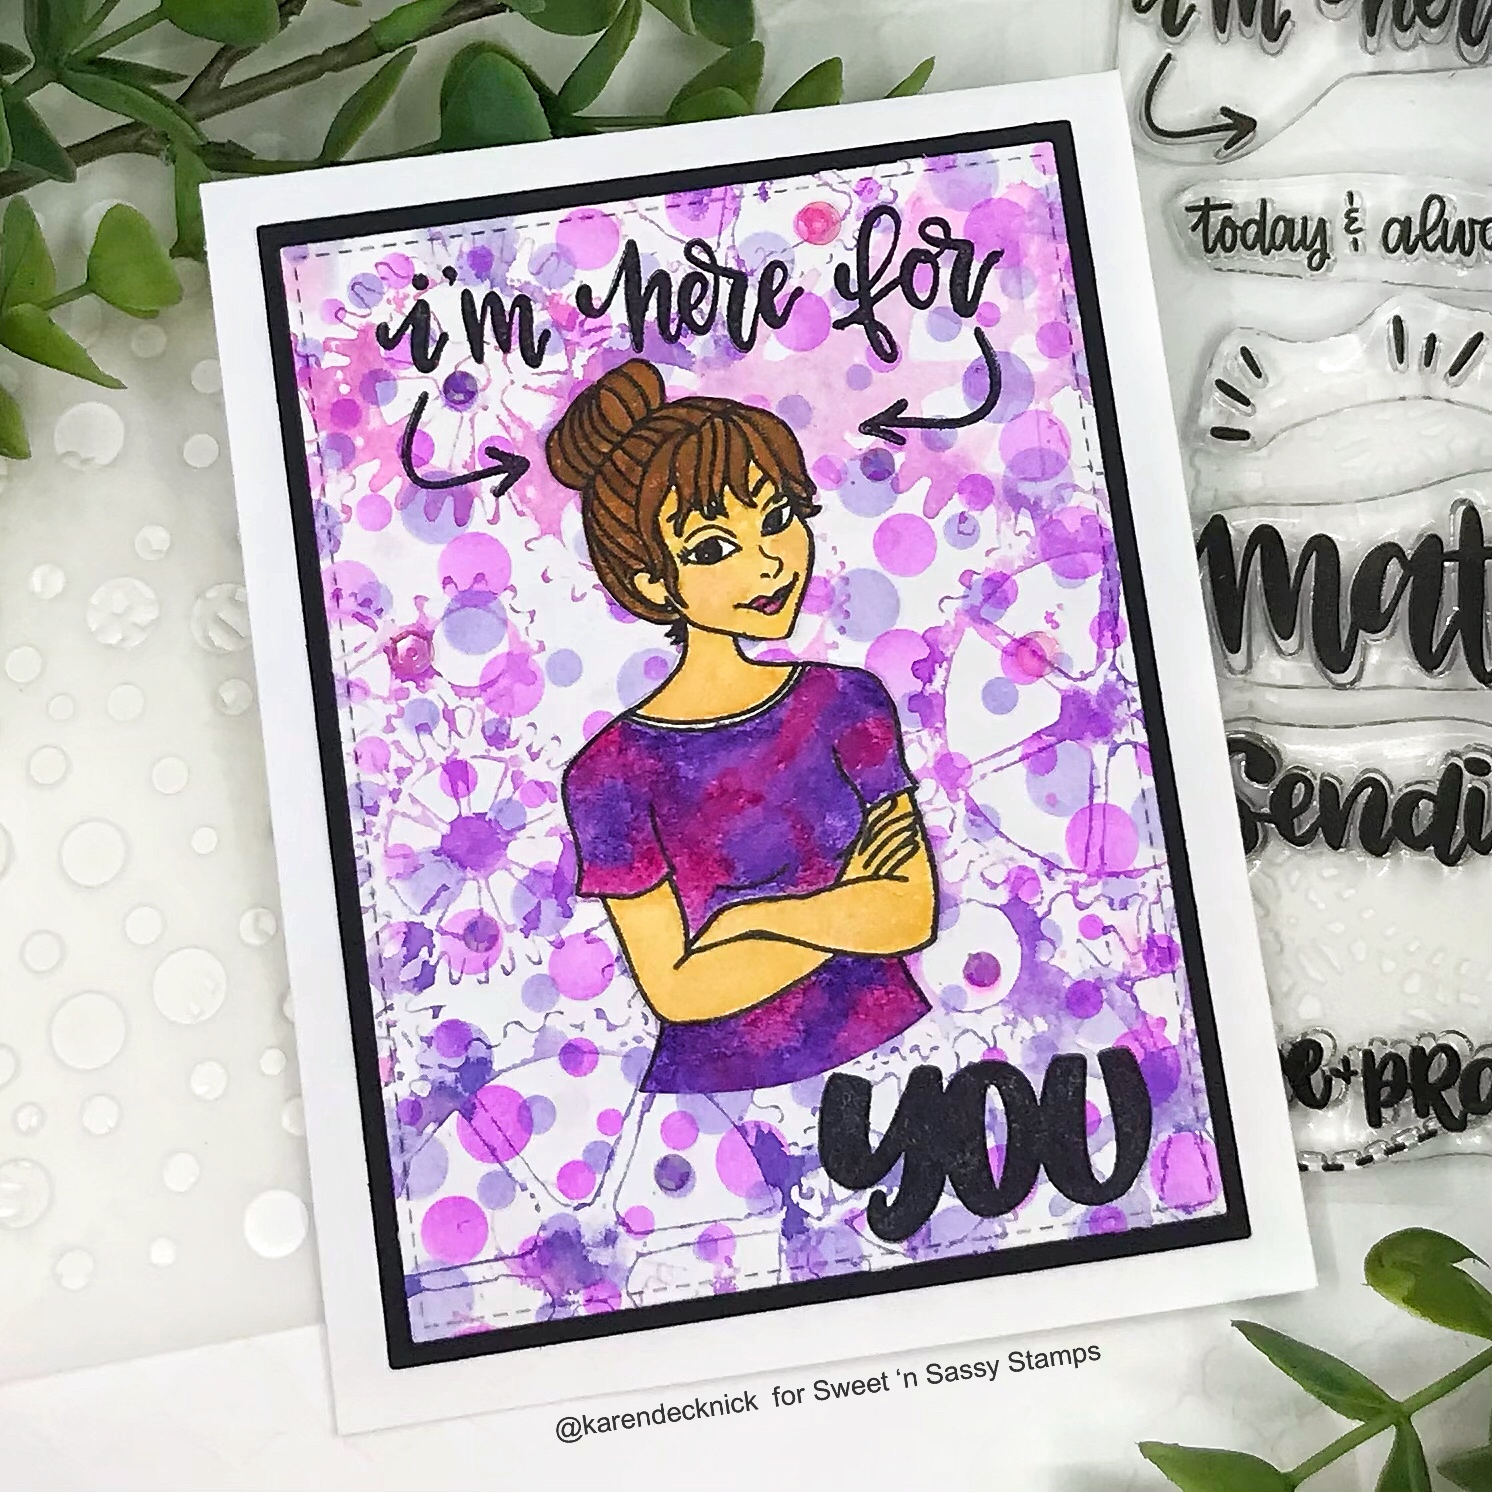
Happy Saturday! I love stencils and the new Bubbles stencil is so much fun! Plus, it's easy to mix with other stencils as you will see in today's card.


My card started with a second generation inking of the Grunge Gears stencil(take stencil off project after inking, spritz with water and lay on top of another price of cardstock). Then, I used the brand new Bubbles stencil with orchid opulence and lavender lace ink(SU!) making sure to move the stencil when I changed colors. 

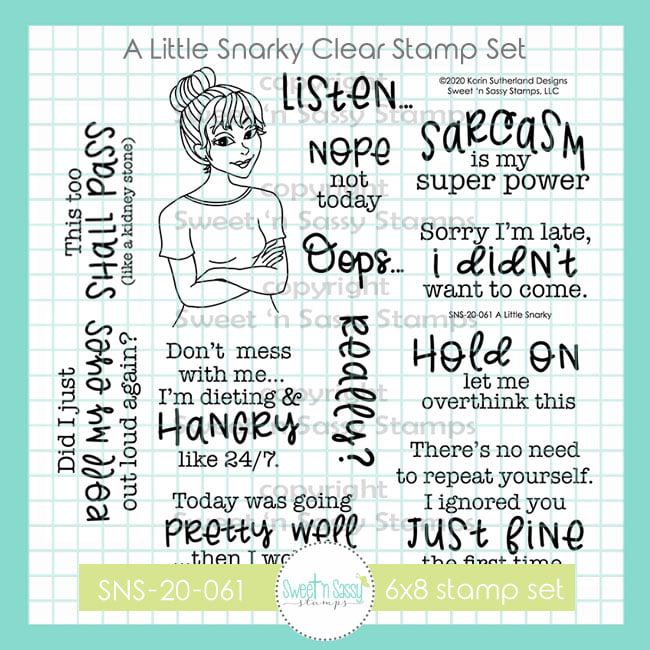
The stamped the bold sentiments from Here for You with versafine claire nocturne ink directly on the panel, matted with black and attached to a white card base. The girl image is from A Little Snarky and I adore her. I colored her with Prima watercolors(#'s 20, 22, 24, 41, 10). Her multicolored shirt was a little tricky and I took it slow so it didn't bleed onto the skin. I fussy cut the image out and glued to the front.


I hope you enjoyed today's card and thanks so much for stopping by!
Saturday, July 16, 2022

Summer Time

Nothing quite says summer like a day at the beach. I haven't been yet this season and I really want to go after creating this card. I am wishing I was sitting in the chair soaking up the sun, sights and sounds. How about you?


I stamped the image from By the Sea with versafine clair nocturne ink on mixed media paper and cut it with a stitched rectangle die. I colored the image with prima watercolor sets Woodlands(sand ridge, cavern, pond), Terrain(vine leaf) and Tropical(hibiscus, ocean). 

Once dry, I stamped the sentiment directly on the front with black. I matted the panel with white and attached to a kraft card base. I added the sun from Melt for You after when I felt it needed a little something extra. It was nice and relaxing to sit and watercolor this image. 


I hope you enjoyed today's card and thanks so much for stopping by!


Sunday, July 3, 2022

Cherry Much

 Hi everyone, I am back today sharing a sweet and easy card. I love easy cards!


I began by stamping the small cherries from Summer Vibes randomly on a piece of white cardstock. I colored the cherries with alcohol markers, die cut the panel, matted with pretty in pink cardstock and attached to a white card base. 

I cut the sentiment panel with one of the dies from the Decorative Frames Die Set. Then, I stamped one of the Decorative Frames Toppers along the top. Next, I stamped the sentiment from Summer Fruits underneath and pulled an already colored image of cherries from the same set from my stash. Finally, I glued the cherries to the front of the sentiment panel, popped it up with foam tape in the center and added three small pink gems to it. 

I almost forgot, I added some sparkle to the cherries with some nuvo glitter gloss. 


I hope you enjoyed today's card and thanks so much for stopping by!

Saturday, June 18, 2022

You are Special

Happy Saturday! Have you checked out the June MIni Release yet? Julee Tilman's new set, Special Blooms, is so sweet!


I made the background in January and pulled it from my stash for this card. I die cut the panel, added black dots with a texture stamp, and matted with green. I wrapped white string along one edge and attached to a white card base. 

I stamped the flower image, frame and sentiment with black ink and die cut out. I colored the image with watercolor brush markers and added with dots with a gel pen. This was a quick, easy card and I love all the green!


Special Blooms Bundle 


Decorative Frames Bundle


 Texture Tiles 1


 Chicken Wire Stencil


I hope you enjoyed today's card and thanks so much for stopping by!

Saturday, June 4, 2022

Nightscape Guy Cards

Hello everyone! I am back today sharing two guy cards featuring the brand new June Product of the Month Grunge Gears Stencil. This stencil is yours free this month with a $50 qualifying order! Check out what the team has done with this fabulous stencil and be on the lookout for more inspiration throughout the month.

I confess, I had zero inspiration before this stencil arrived in the mail. I just started pulling sets out I thought might work with it and let the ideas flow from there.


I created the backgrounds almost exactly the same way. The lighthouse one is fainter because I started with a layer of speckled egg distress oxide ink since I wasn't sure I liked the first one I did. In the end, I decided to use both.

First, I taped down the stencil over a piece of white cardstock. Then, I went over it with distress oxide inks(picked raspberry, wilted violet, faded jeans and chipped sapphire). I continued to blend the inks until I was happy with it. Once I removed the stencil, I went over the background lightly with a combination of faded jeans and chipped sapphire. I die cut the panel, masked off a line with post-it notes where I wanted the water to be and went over that section heavy handed with chipped sapphire.

After I removed the post it notes, I heat set the ink and embossed the images with black powder along the water line. Don't forget to use an anti static powder first! I used post-it notes to mask off the embossed areas to add white paint splatters to the top and water texture to the bottom with white pigment ink and a texture stamp. Finally, I stamped the sentiment with black ink directly on the panel, matted the panel with black and attached to a white base. 


Grunge Gears Stencil


Landscape Silhouettes 


Texture Tiles 3


Script Sentiments 


I hope you enjoyed today's card and thanks so much for stopping by!


Saturday, May 21, 2022

Bright & Sunny

Happy Saturday! I am sharing a simple and cheerful card featuring the May stamp of the month Happiness Blooms and the new Mixed Up stencil.


I began by stenciling the background on kraft with white pigment ink. Next, I stamped the image on the panel with VersaFine Clair Nocturne ink, let dry and colored with polychromos colored pencils. It's my first time coloring on kraft with pencils. I left my stamp on my stamping platform and reinked the image with black again after I was done coloring it.

Next, I matted the panel on yellow, wrapped twine around it and attached to a white card base. Finally, I stamped the sentiment on kraft, trimmed to size and glued to the front. To finish the card off, I added some black gems to the flower centers and three small orange ones around the image.


Happiness Blooms


Mixed Up Stencil 


I hope you enjoyed today's card and thanks so much for stopping by!

Saturday, May 14, 2022

Inspire

Today I am sharing a masculine card and creating them is definitely outside my comfort zone. My card features several products from the new May Release


I created the background by cutting strips of white cardstock in various sizes and swiping two different gray inks across them. Then, I glued the strips onto another white piece of cardstock, inked up the shiplap background with a darker gray and inked up the panel with it. Afterwards, I die cut the panel, stenciled the word inspire, added the brown mesh(trimmed to the edge), matted with gray and attached to a white base.

I stamped the images with ink on 3 black, colored with alcohol markers and fussy cut out. I left my boss lady apha die in one piece instead of cutting it all apart. I cut a bunch of letters from white cardstock. I used the outlines to hold the letters while I inked them up with a dark gray ink. I assembled the card as seen using bearly arts glue as my adhesive to affix the images and letters. 


Shiplap Background


 Mixed Up Stencil


 Boss Lady Alpha Die Set


 Peace Be Still


I hope you enjoyed today's card and thanks so much for stopping by!

Saturday, April 16, 2022

Stand Tall

One of my goals this year is to add more cards for kids into my stash. I also love punny sentiments too. So, when I spotted the adorable Stand Tall set on the Sweet 'n Sassy Stamps site I knew I had a winner that would do both.


The background I made in March with three different colors of green and the Grunge Grid stencil. I die cut the panel and added the fence along with three layers of grass form the Fence & Grass die set. I trimmed the edges, matted with white and attached to a white card base. I stamped the images on white, fussy cut the cloud/sun and die cut the other ones. I left the cloud white and colored the other images with alcohol markers. I assembled as seen and stamped the sentiment directly on the background panel. 


Stand Tall Bundle


 How Tweet Bundle


 Melt for You


 Grunge Grid Stencil


Fence & Grass Die Set 


I hope you enjoyed today's card and thanks so much for stopping by!

Karen

Saturday, April 2, 2022

With Love & Prayers

Happy Saturday! The April Release is here and you are going to LOVE it! My first card with the new release features the Stamp of the Month, Church Family. I love the mix of fonts and scripture references included in this set!


I recently sat down and created some backgrounds with the knit stencil. Honestly, I had no plans in mind when I created these backgrounds. I just picked some colors I liked and played knowing the ideas would hit me at some point. 


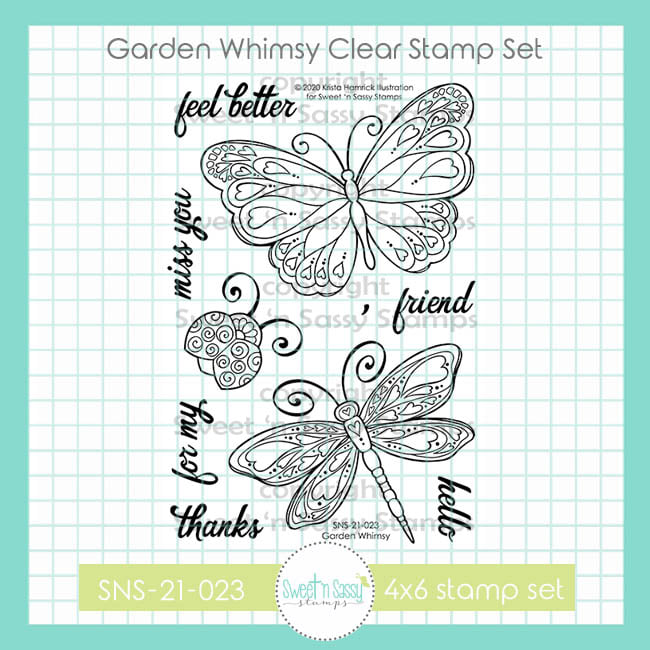
The blue background was the jumping off point for my card. To create the background, I used cool caribbean cardstock, the knit stencil along with cool caribbean, tempting turquoise and taken with teal dye inks. After I created this background, I searched though my stash of already colored images. I was excited when I came across this butterfly I colored a year ago. Yes, you read that right, a whole year ago when Garden Whimsy was first release. I remember coloring this image, trying to make it work for a card and almost pitching it in the trash when nothing panned out. Now, I am really glad I saved it!

Now that I had the main image selected I knew I had to do more to the background. I added texture and visual interest by stamping the script background in brown, the dots from texture tiles 6 in white and adding black paint splatters to complete the look. 

I stamped the sentiments in black ink, cut to size and added black lines along the edges. I die cut the background panel, matted with black and attached to a white card base. I added some white highlights with a gel pen to the butterfly. I popped the butterfly up with foam tape, glued the sentiments down and added some light blue gems to the front to finish it off. 


I hope you enjoyed today's card and thanks so much for stopping by!

Karen