Showing posts with label flowers in bloom. Show all posts

Saturday, November 17, 2018

The Celebration Continues.....

Hello Sweet friends, have you been taking advantage of our month long Birthday Specials?  I sure hope so!  This week Korin is offering 11% off all Creative Worship Stamps and All Digital Products...  Since Korin is offering a discount off of digitals I decided to print off some of my favorite images and make a few cards.
This first card is using this adorable penguin image called Pippin's Christmas Lights.  I colored with Copics and the paper is from The Paper Studios.
This next card is using one of the very first Cocoa images called Cocoa's Stocking. I colored with Copics and this paper is also from the Paper Studios.
Now this one is a go to image for me if I need a quick Birthday Card, Celebrate is so fun and makes a great Birthday card.  I colored with Copics and the paper is from Pink Paislee.
Last but not least my absolute favorite.  Flowers in Bloom is such a beautiful Digi set...  I colored it up with copics, did some distressing and I used a retired stamp (music notes)  but you could use Texture Tiles 1 for the same results.  I added the sentiment from Cocoa Sends Love.    Remember that if you spend $60 this month you can pick from one of 4 stamp of the month stamps- pictured below.
Hugs,
~Stephanie


Friday, April 13, 2018

Spring is in BLOOM!

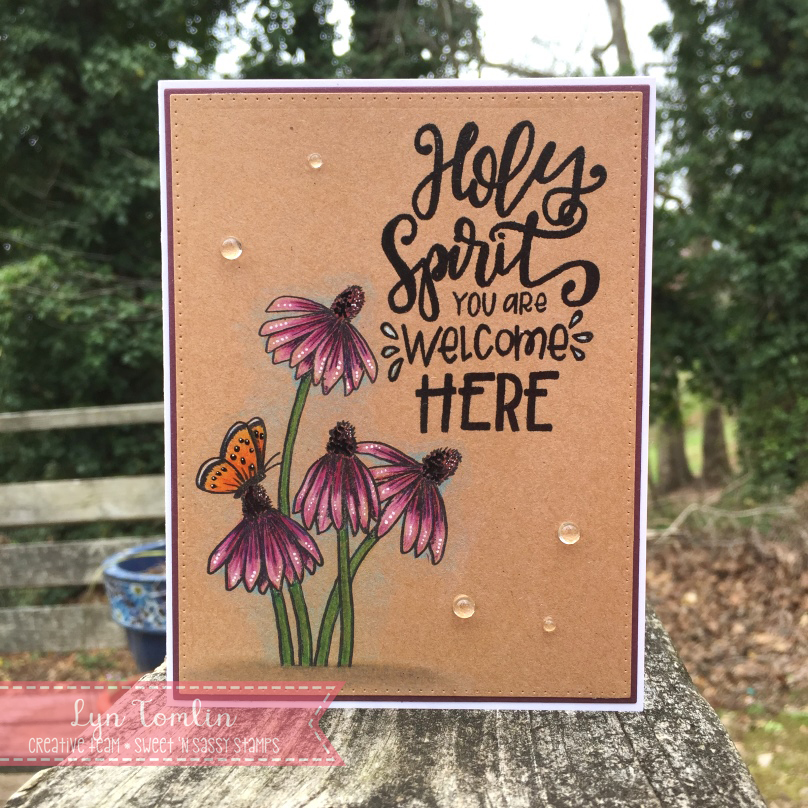
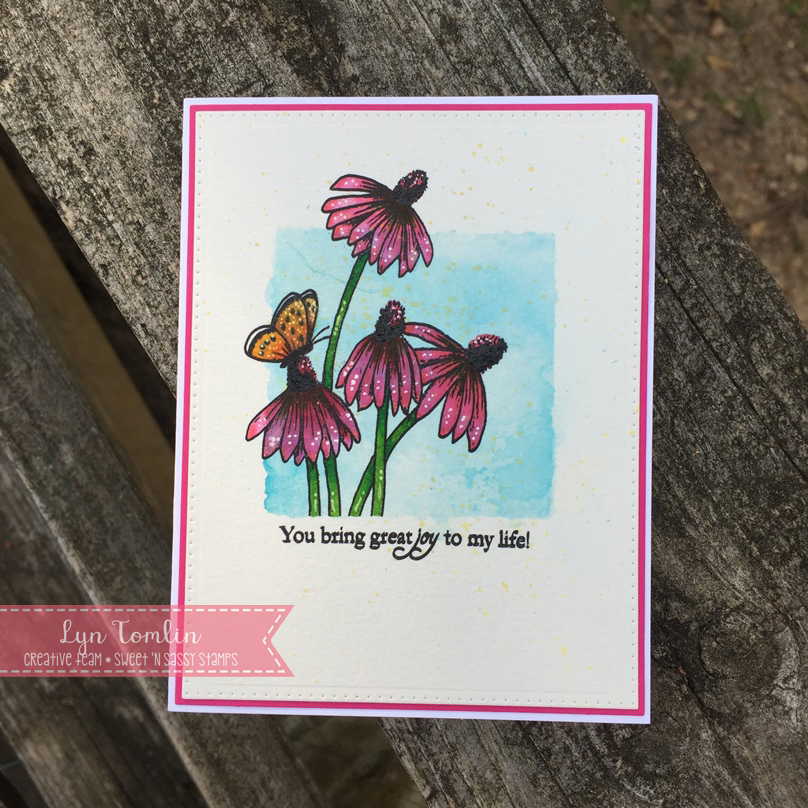
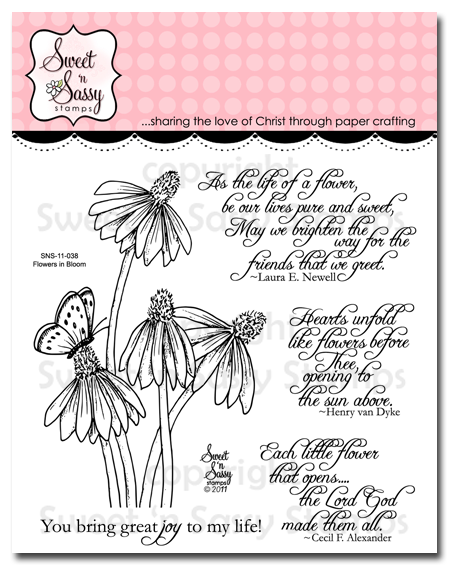
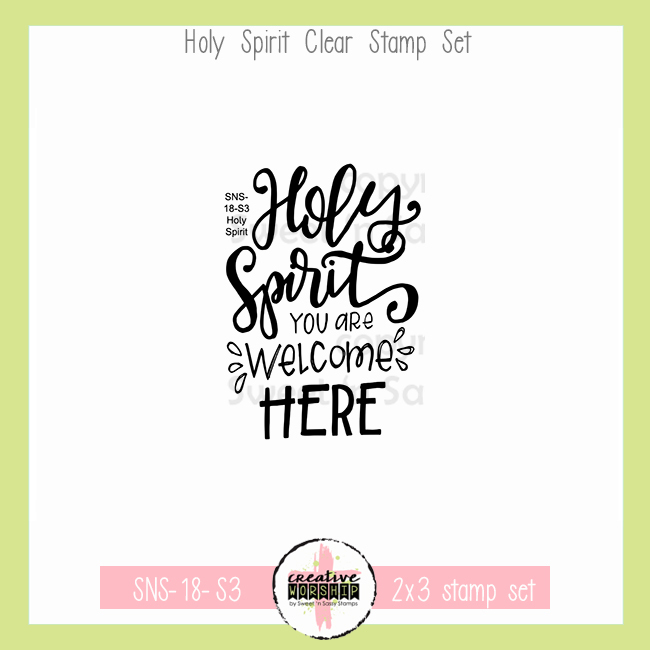
What a beautiful day we had here in Georgia today. Spring is in FULL BLOOM! :) So I grabbed The Flowers and Bloom Clear Stamp Set and Holy Spirit Clear Stamp Single from Sweet N Sassy Stamps. The latter is a new stamp this month.

I created two cards using different card stock and different inks for two fantastically different but beautiful cards.

First a new favorite go to - color pencils on Kraft. I used Polychromos and a Recollections brand Kraft. I embossed the sentiment then added some dew drops to finish it off.

The second card used watercolor paper (Canson XL) and Zig Real Color Brush Pens and distress ink (salty ocean). I inked up the blue ink onto my acrylic block and misted it and pressed it onto the paper. I inked the image with archival ink onto of the blue then colored it (even over the blue) with my markers - the blue just helped add to the shading.


I hope you are getting some Spring where you live and I hope these cards inspire to to create!

Thanks for stopping by!
Lyn

Thursday, June 4, 2015

Summertime Stamping!

Hello, Angie here!

Summer is here and that means longer daylight hours and more color in our gardens!  Coneflowers are one of my favorite flowers so I reached for the beautiful Sweet 'N Sassy stamp set, "Flowers in Bloom".

I added lots of dimension to the butterfly by adding three layers to the base wing and then popping up the fourth layer with a sticky foam pad.


This week's Tuesday Morning Sketches is sponsored by Sweet 'N Sassy Stamps so I thought it would be fun to play along with their sketch!


I changed it up a bit by leaving off the stars and adding enamel dots and I used, "Doily Border Dies" for the division between embossed paper and designer paper.

For the inside I added the beautiful sentiment by Laura E. Newell that is one of the four sentiments included in the "Flowers in Bloom" Clear Stamp Set.

Thanks so much for stopping by!
Angie

SNSS Ingredients:


Wednesday, October 22, 2014

Fall Flowers

Hello Everyone!

I hope you are enjoying these autumn days; I know I am.  We are having some much deserved sunshine after days and days of rain.  The leaves are now starting to turn and the air is crisp.  There is nothing like fall colors, is there?
Today's card focuses on fall colors, using the Flowers in Bloom Stamp Set.  I would typically use this for spring and summer, but decided fall definitely works just a well.


The Flowers and butterfly are colored with Prismacolor Pencils and then cut out with the Flowers in Bloom Die. This Pink Paislee dp worked perfectly with the colored image.  I added a scalloped edge for interest, using the Scallop Border Dies.  The sentiment is from the wonderful set, So Grateful.  I just love this font. 
The white bow and linen thread add to the delicate look of the card. 

Thanks for stopping by today!  Be on the look out for a special treat coming this Friday! 

Happy Stamping! 

Lee Ann  :)

Tuesday, October 21, 2014

flowers in bloom

Hello!  I opened a pack of 6x6 papers that I hadn't used yet to make this card. Boy, do I love the color combination here!  I thought the colors and patterns went so well with the Sweet 'n Sassy Flowers in Bloom stamp set.  I also used the NEW coordinating Flowers in Bloom die.


I wish you could see the sparkle from the Wink of Stella brush that was added to the butterfly and flower petals.  Also, the butterfly was stamped a second time, cut out, and popped up with foam dots to give it some dimension on the card front.  The long forgotten ribbon is a perfect example of how I can never seem to get rid of anything... it matched perfectly!  LOL. 

Have a great day!
♥ Diane

Tuesday, October 7, 2014

Flowers In Bloom


Good Morning! 
It's Ceal here sharing a card I made using the set Flowers In Bloom. This has always been one of my favorite sets and now there is a die to cut your image out for you as well, no more fussy cutting.  By using the die you can also do this cool technique that gives your image a shadow. Here's how, start with a white piece of card stock cut 5 1/4 X 4, stamp your mage in the center using Memento ink and color it, I used Copic markers. After I colored my image I took a blue B00 and gave it a halo all the way around it and blended it out with B000 and B0000.  The next step is to die cut your image using the coordinating die, but do not throw away the negative because it will become your mat.  You will then select your base color which will be your shadow, I used a light gray. Pop up your image and place it down in the negative just a little off centered and then you will have your shadow.  Easy peasy with a cool effect.


Monday, September 29, 2014

Many Blessings, So Thankful ~

Good morning Sweet'nSassy fans and friends! Mary here with two cards to share with you using Flowers in Bloom with the newly released matching die. This is one of my favourite flowers to colour. This time I sponged directly on the flower using distress inks and coloured the stems with coloured pencils.

Both cards are also using burlap that was stiffened using glitter ModPodge. The sentiments used are from Gloria Stengel's So Grateful Sentiment set. I love the versatility of these words! Have a blessed Week!!
Materials Used:
Stamps: So Grateful, Flowers in Bloom
Papers: SU, Heartfelt Creations
Inks: Versamagic Aspen Mist, Versamagic Perfect Plumeria, Versafine black
Accessories: Burlap, modpodge, SNSS flowers in Bloom die, ribbon, Cheery Lynn doily die

Saturday, September 13, 2014

Autumn Wreath

Hello Everyone!

I just love the September release as it is all about the fall season, which happens to be my favorite.
The new Leaf Silhouette Dies are fantastic!  There are smaller leaf dies that not only die cut but emboss as well!  I used the small maple leaf die to make an autumn wreath.


See what I mean?  These leaves are a perfect size for making wreaths.  I made mine out of  Craft Metal to give my wreath a wonderful shine.  I started by die cutting a cardstock wreath using two circle dies.  Next, I die cut my leaves and arranged them on the wreath for placement.  Then I started gluing my leaves down- some are glued with Crystal Effects and others are popped up using dimensionals. 
The sentiment, which is from the Leaf Silhouettes Stamp Set, is embossed in gold on vellum.  I added a scalloped border for interest, using the Scallop Border Dies.  
You can get complete details on my blog.   

I went CAS with my second card.  Don't like to color?  No problem!  Look how you can add color to your line images by using the Grunge Elements Stamp Set!  


 I used several of the "splotchy" images to color the flowers and butterfly from the Flowers in Bloom Stamp Set.  I did not worry about 'coloring outside the lines' as it gives the finished image a trendy, watercolored look.  The background is colored with a BG Copic marker.  I used pointillism with darker BG Copics on the background around the flower heads and butterfly.  The sentiment is from the brand new So Grateful Stamp Set.  I love it for its versatility and the great fonts!  I hope you give this technique a try!  It is fun and easy!

Thanks so much for stopping by!
Have a fabulous fall weekend!

Lee Ann  :)

Sunday, September 7, 2014

You bring great joy to my life!

Hello friends! Giovana here today bringing you a pretty card using one of the bundles from the new Sweet Perks Club (available until September 11th). For this project I used "Flowers in Bloom" bundle (stamps + die).

I colored the image with Spectrum Noir Markers, then die-cut it with the coordinated die. I sprayed a piece of white cardstock with Taxi and Green Mr.s Huey's mists, then added the die-cut flower with foam adhesive. Stamped the sentiment on a banner, then added it to panel with foam adhesive as well. I added a border frame and the the card was done!!


Hope you like it!

Here is today's Sneak Peek from our upcoming release on Friday:


Have a fantastic day!

Sunday, May 19, 2013

Praying for You


Good morning!

It's Jessica popping in with a bright 'thinking of you' card to share with you today that I made with these gorgeous flowers from the Sweet 'n Sassy Stamps Flowers in Bloom stamp set.  The sentiment is from Poppies and Greetings stamp set, which I stamped in black Stazon on vellum.


I stamped the images and colored with Copic markers.  Then, I stamped the flowers and butterfly again on Vellum with black Stazon ink.  Before cutting out the images, I colored the back of the vellum with some Copic markers matching the ones I used on the original images and then glued the paper pieced images on top.  


I've never paper pieced with vellum before and was pretty tickled to see how well it worked.  It's hard to see the dimension in the photos, but the delicate flower petals and butterfly wings add a nice touch.  When I was finished I added some copper stickles (glitter glue) and spread it just a bit with my finger.

Have a great day!
Jessica


Thursday, October 20, 2011

Flowers in Bloom...

Hello! It's Monika here today, bringing you a somewhat simple and fairly quick card. Sometimes, those are the best! I wanted to come up with a design that can be easily reproduced, but still had something extra... hence the stitching. It always looks nice, but if you have a machine, it doesn't take that long to do. If you don't have a machine, you can always do Faux Stitching, where you paper-pierce around the edges, then draw the stitch lines with white or brown marker.


I stamped my flower image from Flowers in Bloom clear stamp set on a strip of paper, colored it with Copic Markers, and sponged the edges with brown ink. Next I stamped the greeting from Poppies and Greetings clear stamp set, one of my favorite sets with most of the basic greetings. Then I attached the strip of paper to a piece of brown strip, but first I punched one edge with a decorative border punch. I stamped an extra butterfly, cut the wings out and attached them to the original image with dimensional foam tape. The background paper is dry embossed and the edges are sponged with brown ink to add more texture to the card. I also distressed the edges.


To add some sparkle to my card, I used Stickles on the middle of the flowers, and some pretty pearls scattered all over the card.


I used colors (loosely) from this week's SNSS Inspiration Challenge on SplitCoastStampers, SNSSIC10. However, I used white instead of cream.


Thank you for stopping by today!


Monika

Friday, September 30, 2011

Fun with Embossing

Hey there!! I'm so excited to share today's card! First because I get to show off two of my all time favorite Sweet 'n Sassy stamp sets and second because I get to share an embossing technique that I picked up at an online class last week!

I've been embossing for years (the first time I learned how to emboss, I embossed anything I could get my hands on! LOL!) but I confess that sometimes I tend to only emboss the same 'ol way. When I attended an online class last week, I learned a few quick and easy tricks, like embossing with clear powder on top of a printed paper. I puffy hear this look!!

Once the image, grass from the Serene Silhouettes set, was embossed I covered the entire piece of designer paper with Distress Inks and then buffed the excess ink off of the embossed area. Cool, huh? And then...I embossed this little butterfly, from the Flowers in Bloom set, with black embossing powder. To color the butterfly? Another fun trick...Add Distress Ink to a craft sheet and include a small dab of Perfect Pearls. Mist with water, grab your paint brush and paint away! The finished butterfly has a lovely pearl appearance...very, very cool!

Since the front of my card didn't include a lot of space for a sentiment I decided to add a small piece of the designer paper to the inside, along with a few stamped image and the sentiment. Oh, and the sketch is this week's Splitcoast sketch challenge!

Hope you enjoyed today's card and why not give some of these embossed techniques a try!!