Showing posts with label Friendship Is A Blessing. Show all posts

Monday, February 21, 2022

Blooming Anemones


Hello Sweet 'n Sassy friends! 
It's Ceal, here. Today I am sharing a card using this gorgeous floral set, Blooming Anemones.  I love this color combo and have made other designs using this color combo. 
I have attached them here in case you don't follow my blog, Simply Beautiful or my Instagram @cealp. I would love for you to follow me if you don't already. 

This card uses four different sets


This one uses 


Monday, December 14, 2020

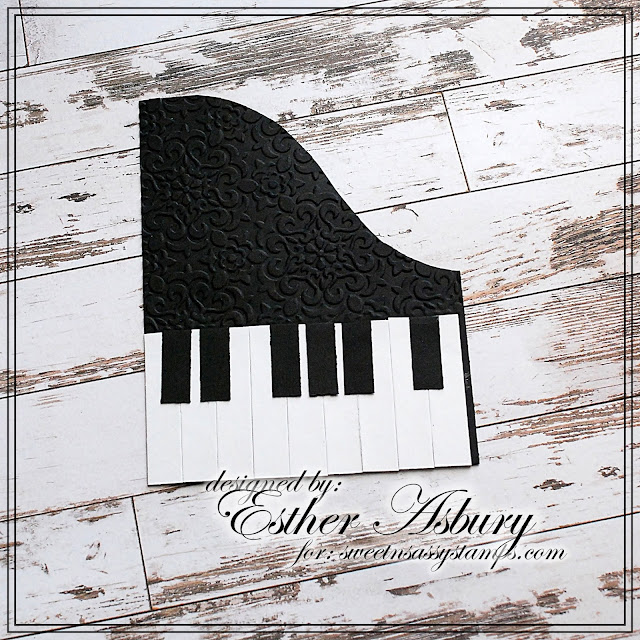
Piano Cards - Tutorial


Hello stamping friends, Esther here with two super fun music themed cards to share with you. 
I created a mini picture tutorial (at Korin's suggestion) in case you'd like to make one for yourself!

  • Cut a piece of black card stock to fit an A2 card (4.25 x 5.5 inches)
  • Trace and cut a curved line as shown above


  • Cut 8 pieces of white card stock to measure 2 x 1/2 inches
  • Cut 6 pieces of black card stock to measure  1 x 3/8 inches
 
  • Glue your piano keys in the formation shown above
  • Emboss just the top part of your piano with your choice of embossing folder
  • Trim the slight excess from the right side of your card front
  •  Stamp the top portion of your card with the music notes from Texture Tiles 7
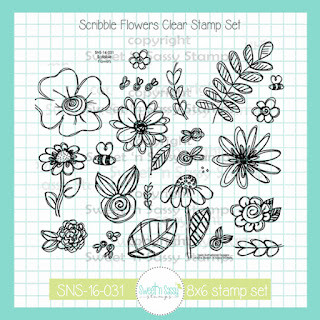
  • Stamp, color, and fussy cut 3 roses from Scribble Flowers
  • Assemble card adding ribbon or washi tape over the top of the piano keys
  • Trim the right side to fit your piano top

~~This post contains affiliate links at no extra cost to you~~~ 
Supplies and tools:


Monday, June 15, 2020

Beautiful Birds


Hello Sweet 'n Sassy friends!
It's Ceal, here to share a couple cards with you using a couple of sets that were released back in April, Beautiful Birds and Friendship is a Blessing.


For both of these cards I created a watercolor wash background using Distress inks Peacock Feathers, Speckled Egg and Salty Ocean. I used some Paper Glaze mixed with water for the gold specks. I stamped the images and colored them both using Karin Markers and also added a little gold Paper Glaze watered down on each bird.


Saturday, May 9, 2020

The Lord bless thee


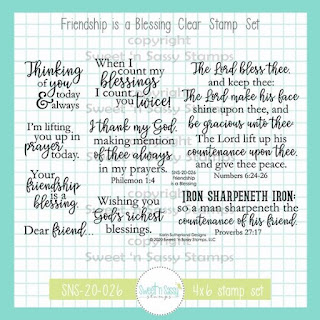
Hello everyone! Today I want to share this card I made for a friend with you. The messages on 'Friendship is a Blessing' are so beautiful and great to use for cards for friends that you can't see during this time.


I used kraft colored paper for my card and added a white background with ink and a stencil. After that I stamped the message onto the card with the leave (from the Scribble Flowers stamp set) underneath it. I colored the image with colored pencils. I added a couple of sequins, and that's it! A quick way to make a beautiful card.

https://www.sweetnsassystamps.com/scribble-flowers-clear-stamp-set/

https://www.sweetnsassystamps.com/friendship-is-a-blessing-clear-stamp-set/

I hope you're inspired to create!
- Lucinde 

Wednesday, April 29, 2020

Shabby Chic Cards

Hi Sweet 'n Sassy friends! It's Julee popping in with a couple of mixed-media shabby chic cards I created with the April release. This style is one of my favorite styles to create in.


For my first card I used the Country Garden set, stamping the jar of flowers an coloring with copics.  Next I stamped the sentiment on a 3x4" panel of cardstock and smooshed with squeezed lemonade, stormy skies, and chipped sapphire.  I then stamped partially with the Delightfully Delicate Background and Texture Tiles 1 sets for a little texture.  The flower pattern in the upper left corner is stenciled with embossing paste for a little extra interest.

The background for the card is a panel of designer paper that I smooshed with the same colors then sponged the edges.  I finished with a bit of ribbon and a little glitter on the image.


My next card uses a sentiment from the Friendship is a Blessing set. I started with some scraps of Prima paper, adhering them together, then lightly scraping with gesso to mute the colors a bit.  I then stenciled with a dot fade pattern in weathered wood distress oxide, adding sponging all around the edges.  A scrap of lace covers the seam of my two papers.


I used another scrap of paper for  the rectangle pattern, also adding a bit of gesso and sponging.  The sentiment is stamped onto a gessoed cardstock circle and then sponged and stenciled.  My finishing accents were a bit of wrinkled seam binding, some paper flowers, and an ephemera bird image.


Thanks so much for stopping by today! I hope you have a fabulous day!

***This post contains affiliated links at no cost to you ***

Monday, April 27, 2020

Scribble Flowers


Hello Friends! Esther here sharing two cards that feature the Scribble Flowers stamp set.

For this first one, I added some colorburst powders to a dictionary page, spritzed with water, and heat set. I then stamped my flowers in black ink and fussy cut them. You'll notice I "dressed up" the centers with some circle punched dots -- sometimes it's the little things that take your card to the next level!
~~~This post contains affiliate links at no extra cost to you~~~

Supplies and Tools;
  • Scribble Flowers (Sweet n Sassy Stamps)
  • Grace So Amazing (Sweet n Sassy Stamps)
  • Jet Black Archival Ink (Ranger)
  • Circle Punches
  • Dictionary Page
  • These colors of Colorburst Powders (Ken Oliver)
    • Ultramarine Blue
    • Lime Green
    • Fuchsia 


For my second card I used two of the new releases for April to create a fun library card focal point and decorated the corners with some of the pretty florals from Scribble Flowers.

~~~This post contains affiliate links at no extra cost to you~~~

Supplies and Tools:


Saturday, April 18, 2020

Thinking of You

Hello Sweet 'n Sassy friends! Today I am sharing a card I made for the April Sweet 'n Sassy VIP Group challenge on Facebook. We would love to have you join us and play along!

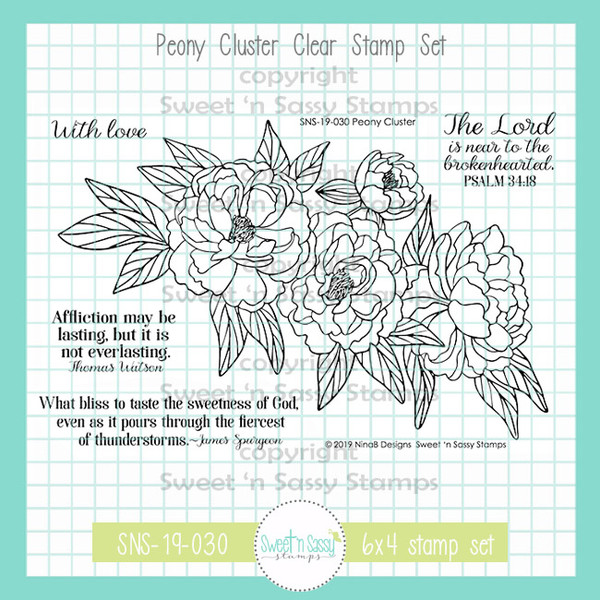
I used Peony Cluster and the brand new April Stamp of the Month Friendship is a Blessing. I stamped the floral image onto Canson XL watercolor paper using VersaFine Clair Nocturne ink. I then colored the image with a variety of pink, coral and green inks, continuing to add layers until I was happy with it. Once it was dry, I colored a light blue all around the image and die cut the panel. I stamped the sentiment from Friendship is a Blessing on the front of a gray panel and dry embossed with a honeycomb embossing folder. I must confess, I have a little addiction to using the honeycomb folder. I especially love it with floral images! Finally, I attached the honeycomb panel to the card base, popped the floral panel up with foam tape and added a couple of sequins.


Thanks for stopping by and happy stamping!

Karen

Thursday, April 16, 2020

country garden

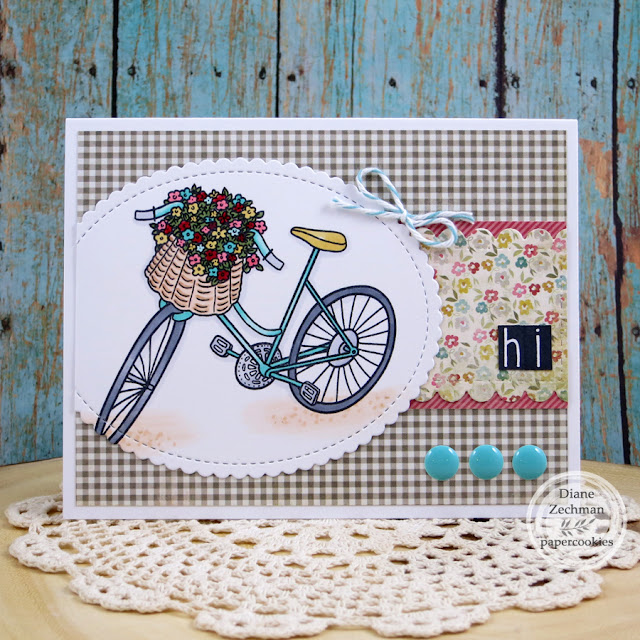
Good morning! Yesterday I shared a few cards in the Sweet ‘n Sassy Stamps hop using the Country Garden set. Today I have 3 more cards to share. What can I say...it's a great set! I also used Friendship Is A Blessing and Print Blocks Alpha.
How sweet is this bicycle in my first card? Love it! I paired it with a simple "hi" and some cute papers.

Next I used the vase with a fun layout and colored the flower red to make it pop.


For my last card I kept it CAS and added a meaningful sentiment.


Stay safe & have a great day!
Diane


Tuesday, April 14, 2020

When I Count My Blessings...

Hello Sweet Friends!  Sheri here today with a card featuring the NEWEST Stamp of the Month set called, Friendship is a Blessing.  This set is FREE with any $75 order!  Plus all orders in the US will also qualify for FREE Shipping. 

***THIS POST CONTAINS AFFILIATE LINKS AT NO ADDITIONAL COST TO YOU**

Today's card was created with a single sheet of pattern paper measuring  
3 7/8" x 5 1/8"
  • Attach/layer the 3 7/8" x 5 1/8" pattern pattern to a piece of card stock measuring 4" x 5 1/4". 
  • Take a Rectangle Die Cut measuring 2 7/8" x 3 7/8", center it on the piece of decorative paper and cut out.  
  • Layer this piece of pattern paper from the center with a piece of card stock measuring 3" x 4".  
  • Attach to the top of your card and no one will know that you cut it out from the center of the card. Hope you will be inspired to try this!

Card Measurements:
Card Base: A2 (4 1/2" x 11", scored at 5 1/2") 
Black Mat Layer: 4" x 5 1/4"
Pattern Paper Layer: 3 7/8" x 5 1/8"
Black Mat Layer: 3" x 4"
Pattern Paper layer: 2 7/8" x 3 7/8" 
Black Circle Mat: 2 1/2" Circle
White Stitched Circle: 2 3/8" Circle 


https://shrsl.com/1p6qi


Happy Stamping!!


Monday, April 13, 2020

Paper Bag Pocket of Encouragement


Hello Friends! Esther here, and today sharing a Paper Bag Pocket of Encouragement. It's stuffed full of Bible verses, hymns, and inspirational sayings to cheer and encourage.

Here's how I created my pocket
(Maybe you'll see a pink and white polka-dot / denim version later this year!!) 

  1. Start with a lunch sack
  2. Fold the top down and glue in place
  3. Punch or die cut a partial circle in the center of the bottom flap
  4. Use decorative scissors along the top of the bottom flap
  5. Fold bottom flap up
  6. Cut designer paper to decorate your panels

~~~This post contains affiliate links at no extra cost to you~~~

Supplies and tools:


I hope you're inspired to make your own little paper bag pocket of encouragement!! 
If you use Sweet n Sassy stamps, be sure to share on our VIP Facebook page!


Sunday, April 5, 2020

Ink Smooshing Challenge

Hello Sweet n' Sassy friends! We are stamping the weekend away for Korin's birthday in our Facebook Sweet n' Sassy VIP Group. Woohoo!! Get ready for lots of fun!!

The creative team will be sharing a bunch of fun challenges and lives throughout the weekend. Don't worry, you can always catch the replays. Play along with us in the VIP Group group for a chance to win one of five $10 gift codes to Sweet 'n Sassy Stamps! You have until April 11th to create and submit for a chance to win.

My challenge is ink smooshing and it is so much fun! I think what I like most about this technique is it always comes out different. I love to just sit down and play and make ink smooshed panels to have in my stash for future creations.

I used the same layout for both cards. This layout is easy, dramatic and allows my ink smooshed backgrounds to make a statement. I am not going to give instructions in this post. Instead, I am linking two videos below demonstrating the technique from fellow design team members.

For my first card, I used the timeless Hymn Word Art, canson xl watercolor paper and distress oxide inks (squeezed lemonade, carved pumpkin and candied apple).


For my second card, I used Blessings in Disguise and the brand new April Stamp of the Month Friendship is a Blessing. Love, love, love the April SOTM! Trust me, you will want to add this set to your collection. I wanted to mix it up a bit and try some water based dye ink pads. I used tempting turquoise, pixie pink, green galore and summer sun to create the background and color the flower.


I hope you will join us in the VIP group and enjoy some stamping fun!

Thanks for stopping by and happy stamping!

Karen