Showing posts with label Christmas Silhouettes Die set. Show all posts

Sunday, December 20, 2015

clear-ly Christmas

Hello Sweet 'n Sassy friends and Merry Christmas! 
 
I can't believe Christmas is just a few days away...yikes!  The time just always seems to fly in the weeks prior...I hope you've had time to stop, reflect, and enjoy this wonderful season.
 
I have a quick card today that is good for those last minute needs. I made a clear card (love these!) with the Sweet ‘n Sassy Stamps Christmas Silhouettes images, the Christmas Silhouettes dies, and the Hillside Edges dies.


It was hard to photograph without getting a glare.  The front of the acetate card was embossed with a snowflake embossing folder.  The reindeer is on the front and the tree is on the inside of the front.  Some deco labels were cut and adhered to the inside back.  Then the hillside edge die was cut and layered with the sentiment stamped on it.


An additional white layer was cut and adhered to the back to hide the tape and provide a place to write a greeting.
 
Wishing you all a blessed Christmas!
Diane


Tuesday, November 17, 2015

Borders & Backgrounds...

Hello Sweet Friends!

It's been a fun month here at Sweet 'n Sassy Stamps as we celebrate our 8th birthday! The DT Divas are sharing Daily Throwbacks with you all month long here on the blog, and over on our Facebook page, to help celebrate!

Today I am re-visiting Borders & Backgrounds clear stamp set (among some other fantastic sets):


I love making shaped cards, so I decided to make a birdhouse card. The scallop border was perfect for the roof of my birdhouse. I used the coordinating die to cut the strips out (which is no longer available). I stamped the scallop image with VersaMark and heat embossed the image with clear embossing powder.


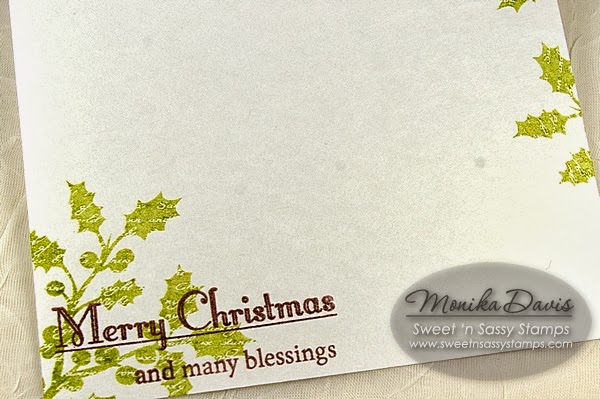
The holly came from Christmas Silhouettes clear stamp set and was die-cut with the coordinating Christmas Silhouettes die set.


The darling birds are from Season's Greetings clear stamp set. I also used the Fence & Grass and Heart die sets.

Monika
 
Get To Know Me:
Monika A. Davis
 
Hello! I was born and raised in Hungary. I've been in the States for 19 years now, living in beautiful New Hampshire. I live with my sweet husband and our 2 boys. I work part time at my sons' school, in the after school program.
I was introduced to rubber stamping 17 years ago and I've been making cards on and off ever since. It's been a great passion of mine. I love making cards and giving them away for birthdays, Christmas, teacher's appreciation day etc. I've been on a number of design teams and have been published a number of times. I taught card making classes in local stamp stores and now I offer classes at my house. These days I am crafting on a smaller scale and concentrating more on my family and on my spiritual journey.
 I love reading, traveling, playing board games... and this summer I took up gardening and canning (which I never thought I'd do).
If you are a new stamper, I'd recommend getting a nice set of ink pads with coordinating card stocks. I made a mistake of buying miss matched items when I started out as a crafter and I never liked the end result. These days, there are many companies offering matching ink pads, papers, even embellishments. 
There are so many fantastic designers who inspire me... I don't think I could name them all here. I visit Pinterest daily for ideas and get inspirations from challenges.
I was introduced to Sweet 'n Sassy Stamps in 2010 (I think) by the talented Kim Schofield. I started out as a Guest Designer, then first joined The Sweet Stop sketch challenge, then the Sweet 'n Sassy Design Divas. It's been such a blessed journey with the other design team members and Korin. I love the different image designs, the Christian sets with beautiful verses and spiritual greetings.
While I have a number of favorite stamp sets, especially the ones with butterflies, I especially love:
 Be Encouraged clear stamp set with it's powerful words:
 
 
These are just the perfect additions to any cards, no matter what the occasion is... and here are some of the cards I've created with this stamp set:


Thursday, November 27, 2014

Merry Christmas

Hello friends! Happy Thanksgiving to all my American friends who are celebrating this holiday today!!  I love Thanksgiving, in Peru, we don't celebrate it and since I move to the States I have adopted this celebration, just love it!!

Ok, today, I have for you a very simple and pretty Christmas card! I used Christmas Silhouettes stamp set, I stamped the berries on a piece of white cardstock in Versamark ink, then added White Embossing powder and heat set. I used Light blue and black gelatos to create the embossing resist.
Then, stamped and die-cut the Christmas tree in Golden Glitz Delicata. The sentiment was stamped in a piece of Kraft Cardstock.
Added the panels to card base and tie on red twine. Finally I added Ruby Liquid Pearls to the berries.

Also sharing that this is my last post as a Design Team member for Sweet 'n Sassy Stamps. I've decided to step down and take care of my health and family. I want to thank Korin for the opportunity to design for her and her business. Wishing her the best in all the upcoming things.


Many blessings to you all!
Giovana

Saturday, October 25, 2014

Christmas Silhouettes...


Hello! It's Monika here today, bringing you a nontraditional holiday card. 

Have you had a chance to hop along with us during our Special DT Christmas Hop yesterday? If you have not, make sure you check out all the wonderful samples today! 

I made couple of cards using one of my favorite sets, Christmas Silhouettes clear stamp set (with the coordinating Christmas Silhouettes die set) yesterday, and today I have another one for you:


The nontraditional Black & White colors with a touch of Silver give a great 'edge' to my card. I love it!

 I stamped the Music Background with VersaMark, and heat embossed it with clear embossing powder. It is the perfect backdrop to my Holly. 


I also added white water color splatters to the background, along with silver star sequins... and of course, I didn't want to leave out the thread!

I hope I have inspired you to make a holiday card today... create something and link up your creation to our Blog Hop.


Thanks for stopping by,

Monika


Friday, October 17, 2014

Mid Month Update

Hello Sweet 'n Sassy friends!  

Just wanted to let you know what a grand time we had at the Heirloom Rubber Stamp & Paper Arts Festival in York this past weekend!  It was wonderful having a chance to meet you at the Reflection Class on Friday afternoon and again at the Sweet 'n Sassy Stamps booth on Saturday and Sunday.  We hope you enjoyed the "Make and Take," the displays, and your shopping experience!  I am always amazed at how far some of you travel to participate in this event!

On another note, you have really kept us hopping at the Sweet 'n Sassy Studio this month…not that we are complaining, mind you!  LOL!  All of the Sweet Perks Club bundles have been shipped and we are gearing up for the next big event which will be a Special Design Team Christmas Blog Hop.  We hope you will join us next Friday, October 24th, as the DT shares some of our favorite SNSS Christmas sets,  including some of the new dies just added to the store.  I know you will be inspired by the Design Divas' creations!

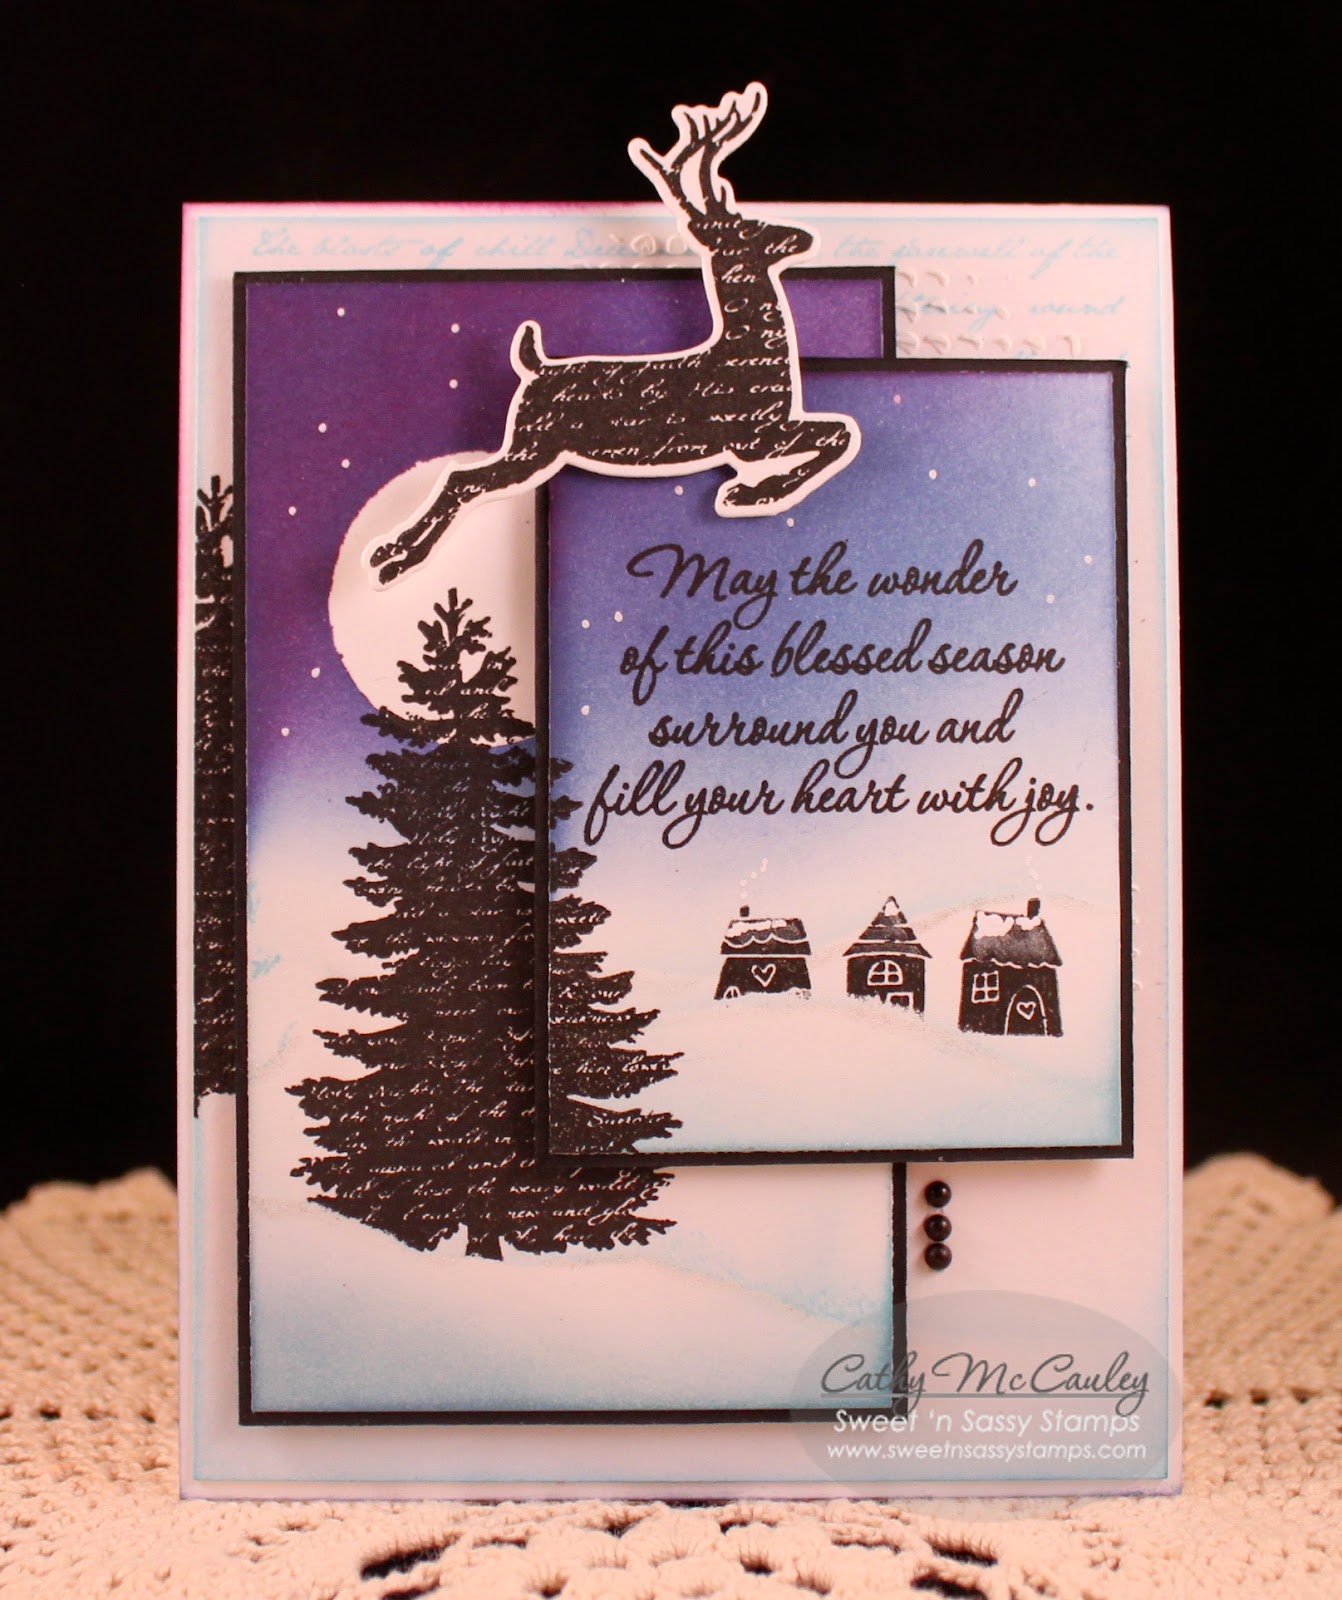
Finally, I have a card to share with you that was inspired by Korin's "Make and Take" from the York show.  An additional panel was added and a different stamp set was featured, but the sponging technique used is so versatile and can be easily adapted to many of the silhouette stamp sets carried
in the Sweet 'n Sassy Stamps Store.


Light of Christmas was lightly stamped on the background with Tumbled Glass Distress ink, and the tree from the Christmas Silhouettes stamp set was stamped with Versafine Onyx Black.  Modeling paste snow was added to this panel but was mostly covered by the top two layers.  The backgrounds on the two top panels were masked and sponged with a combination of Tumbled Glass, Faded Jeans, and Seedless Preserves distress inks.  The tree was again stamped on both layers, while the houses from the Happy Home stamp set and a sentiment from Christmas Innies were stamped on the smaller panel.  (It was quite by accident that the tree image lined up on the two panels…love when things like that happen!)  The deer was stamped, cut with the matching Christmas Silhouettes Die, and popped onto the top of the card.  A white Sharpie paint pen and Wink of Stella were used to add shimmer and accents to the card. Thanks for the inspiration, Korin, as I really like how this card turned out!

Be sure to check back each day to find more inspiration for your Sweet 'n Sassy Stamps!
Have a wonderful day!

Saturday, December 14, 2013

Christmas Silhouettes...

http://www.sweetnsassystamps.com/bundles/

Hello! It's Monika here today, bringing you a Christmas card... but before I get to my card, I would like to remind you that Sweet 'n Sassy Stamps is doing 12 Days of Christmas. 12 days of sweet deals, and today it's 15% off bundles! 

Now to my card... I am so in love with Christmas Silhouettes clear stamp set and the coordinating die set. (If you don't have this set, today you could get a sweet deal on the stamp and die bundle!)
I love using the pretty images, (especially the mistletoe), but today, I decided to use the elegant deer image.


I also used the Large Snowflake Die set and die-cut a medium large snowflake out of vellum. It was the perfect backdrop to the deer. The background was stamped with the brand new Typewriter Text Background stamp and splatters from Grunge Elements clear stamp set.


The unusual color combination came from The Color Throwdown #272.

Thanks for stopping by,
Monika

Saturday, October 12, 2013

Blessings...

Hello! It's Monika here today, bringing you a holiday card. I am in love with the new Christmas Silhouettes clear stamp set and coordinating Christmas Silhouettes Die set


I decided to make a shaker card. It gives an interesting and fun touch to your project... and it is not that difficult to make. I used sequins and micro beads inside my shaker. 


The frame of the shaker element was stamped with the wood grain image from Grunge Borders clear stamp set. The bird was cut with one of the dies from Birds & Feathers Die set.


 Since I didn't have a lot of room for a greeting on the outside, I stamped the whole greeting inside, along with the holly image I used outside. Just another extra touch you can add to your project/card.


The sketch came from The Sweet Stop, SSS232. Come and check out the beautiful samples from the Sugar Babies and play along with us.

Oh, and if you're in the York, PA area, stop by and see Korin and Cathy this weekend at the Sweet 'n Sassy booth at the Heirloom Rubber Stamp and Paper Arts Festival!
Thanks for stopping by,
Monika

Saturday, September 14, 2013

Snowflake Christmas

Hello! It's Monika here today, bringing you a holiday card using the brand new Christmas Silhouettes clear stamp set. I decided to use the beautiful snowflake image and make a fairly simple card.


BUT, since I can't just make a simple card, I added some 'special touches' like: blue watercolor paint splashes, a tiny piece of cheese cloth underneath the strip (with the greeting),  a strip of book page (underneath the blue strip) with ripped edge... these are really easy additions that can step up your simple cards. 

The set has coordinating dies: Christmas Silhouettes Die set, but because mine hasn't arrived yet, I fussy cut the images... you would get something very similar with the matching die... 


I used the new sketch from The Sweet Stop, SSS228. Please check out all the fabulous samples from the Sugar Babies and play along with us. 

Thank you for stopping by, 
Monika