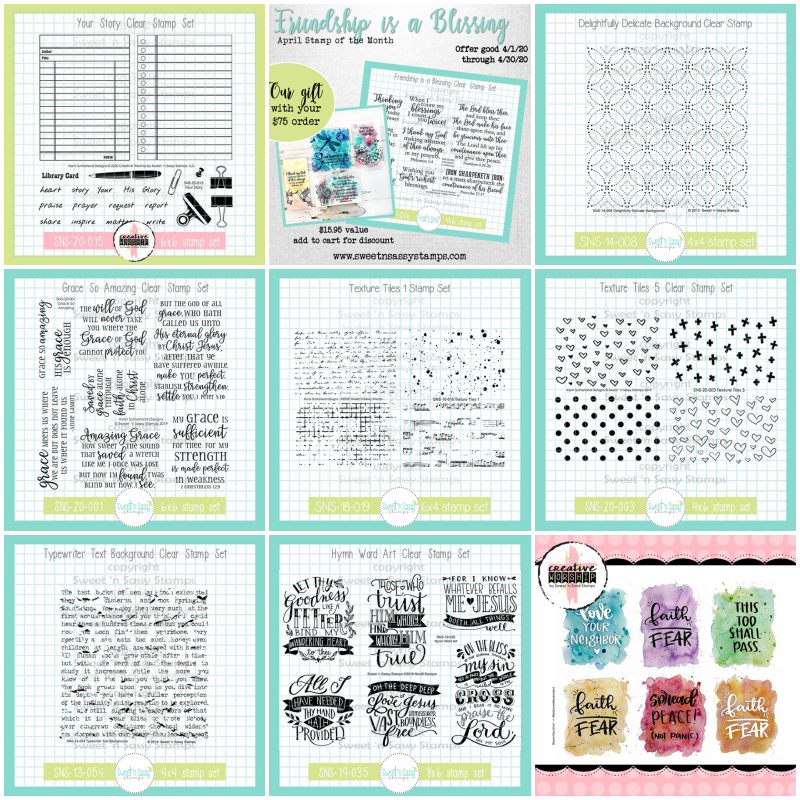
Showing posts with label Hymn Word Art. Show all posts

Friday, November 20, 2020

Silhouettes and Sentiments

Hi all! Happy Friday! It's time for another fabulous birthday sale, and this week we've got a super deal for you! Buy 3 sets from our Silhouettes & Sentiments Sale category and receive an additional set of equal or lesser value from the same category for FREE! When you add the 4th set, the discount will automatically apply in your cart. Sale ends November 26.


My first card today is a quick and easy card. To make it,  I masked off a rectangle of cardstock, then blended a rainbow of color on with a stencil.  Then I embossed the sentiment from the Hymn Word Art set in Black in the center. My stamped panel is then popped up on a foam sheet and adhered to a card base. Easy peasy!


For my next card, I stamped the trees from the Thrill of Hope set in forest moss, then embossed in clear. I then ink blended a sky with blue distress oxides. I laid the stamps down over my embossed images as a mask and flicked on white glimmer ink for a little falling snow, then finished off with a thinking of you sentiment from By the Sea.


In other news, there's an absolutely adorable new digi set illustrated by Jennifer Nilsson in the shop today! Be sure to check it out! Don't these little bears just melt your heart?


Have a fabulous weekend!

-Julee

Thursday, May 14, 2020

Bind My Heart

{jane bosi} Happy Thursday, Friends!  Today, I am sharing a card which features the largest butterfly from the Begin Again set.  I just adore this entire set--I bet you do too!!

I started my card by using the direct to stamp watercolor technique.  My distress inks work best for this technique, I think, but I bet you could also use other dye inks.  I like the way the distress inks bleed and blend together.

After the butterfly image was completely dry, I stamped over it with a sentiment from Hymn Word Art.  I could not say it better myself!  In this mixed up world, I am very aware that His goodness is THE binding I need for my ever distracted, wandering heart.  It is the constant prayer of my heart.

Blessings--Jane

Monday, April 13, 2020

Paper Bag Pocket of Encouragement


Hello Friends! Esther here, and today sharing a Paper Bag Pocket of Encouragement. It's stuffed full of Bible verses, hymns, and inspirational sayings to cheer and encourage.

Here's how I created my pocket
(Maybe you'll see a pink and white polka-dot / denim version later this year!!) 

  1. Start with a lunch sack
  2. Fold the top down and glue in place
  3. Punch or die cut a partial circle in the center of the bottom flap
  4. Use decorative scissors along the top of the bottom flap
  5. Fold bottom flap up
  6. Cut designer paper to decorate your panels

~~~This post contains affiliate links at no extra cost to you~~~

Supplies and tools:


I hope you're inspired to make your own little paper bag pocket of encouragement!! 
If you use Sweet n Sassy stamps, be sure to share on our VIP Facebook page!


Sunday, April 5, 2020

Ink Smooshing Challenge

Hello Sweet n' Sassy friends! We are stamping the weekend away for Korin's birthday in our Facebook Sweet n' Sassy VIP Group. Woohoo!! Get ready for lots of fun!!

The creative team will be sharing a bunch of fun challenges and lives throughout the weekend. Don't worry, you can always catch the replays. Play along with us in the VIP Group group for a chance to win one of five $10 gift codes to Sweet 'n Sassy Stamps! You have until April 11th to create and submit for a chance to win.

My challenge is ink smooshing and it is so much fun! I think what I like most about this technique is it always comes out different. I love to just sit down and play and make ink smooshed panels to have in my stash for future creations.

I used the same layout for both cards. This layout is easy, dramatic and allows my ink smooshed backgrounds to make a statement. I am not going to give instructions in this post. Instead, I am linking two videos below demonstrating the technique from fellow design team members.

For my first card, I used the timeless Hymn Word Art, canson xl watercolor paper and distress oxide inks (squeezed lemonade, carved pumpkin and candied apple).


For my second card, I used Blessings in Disguise and the brand new April Stamp of the Month Friendship is a Blessing. Love, love, love the April SOTM! Trust me, you will want to add this set to your collection. I wanted to mix it up a bit and try some water based dye ink pads. I used tempting turquoise, pixie pink, green galore and summer sun to create the background and color the flower.


I hope you will join us in the VIP group and enjoy some stamping fun!

Thanks for stopping by and happy stamping!

Karen

Monday, February 24, 2020

Blessings & Love


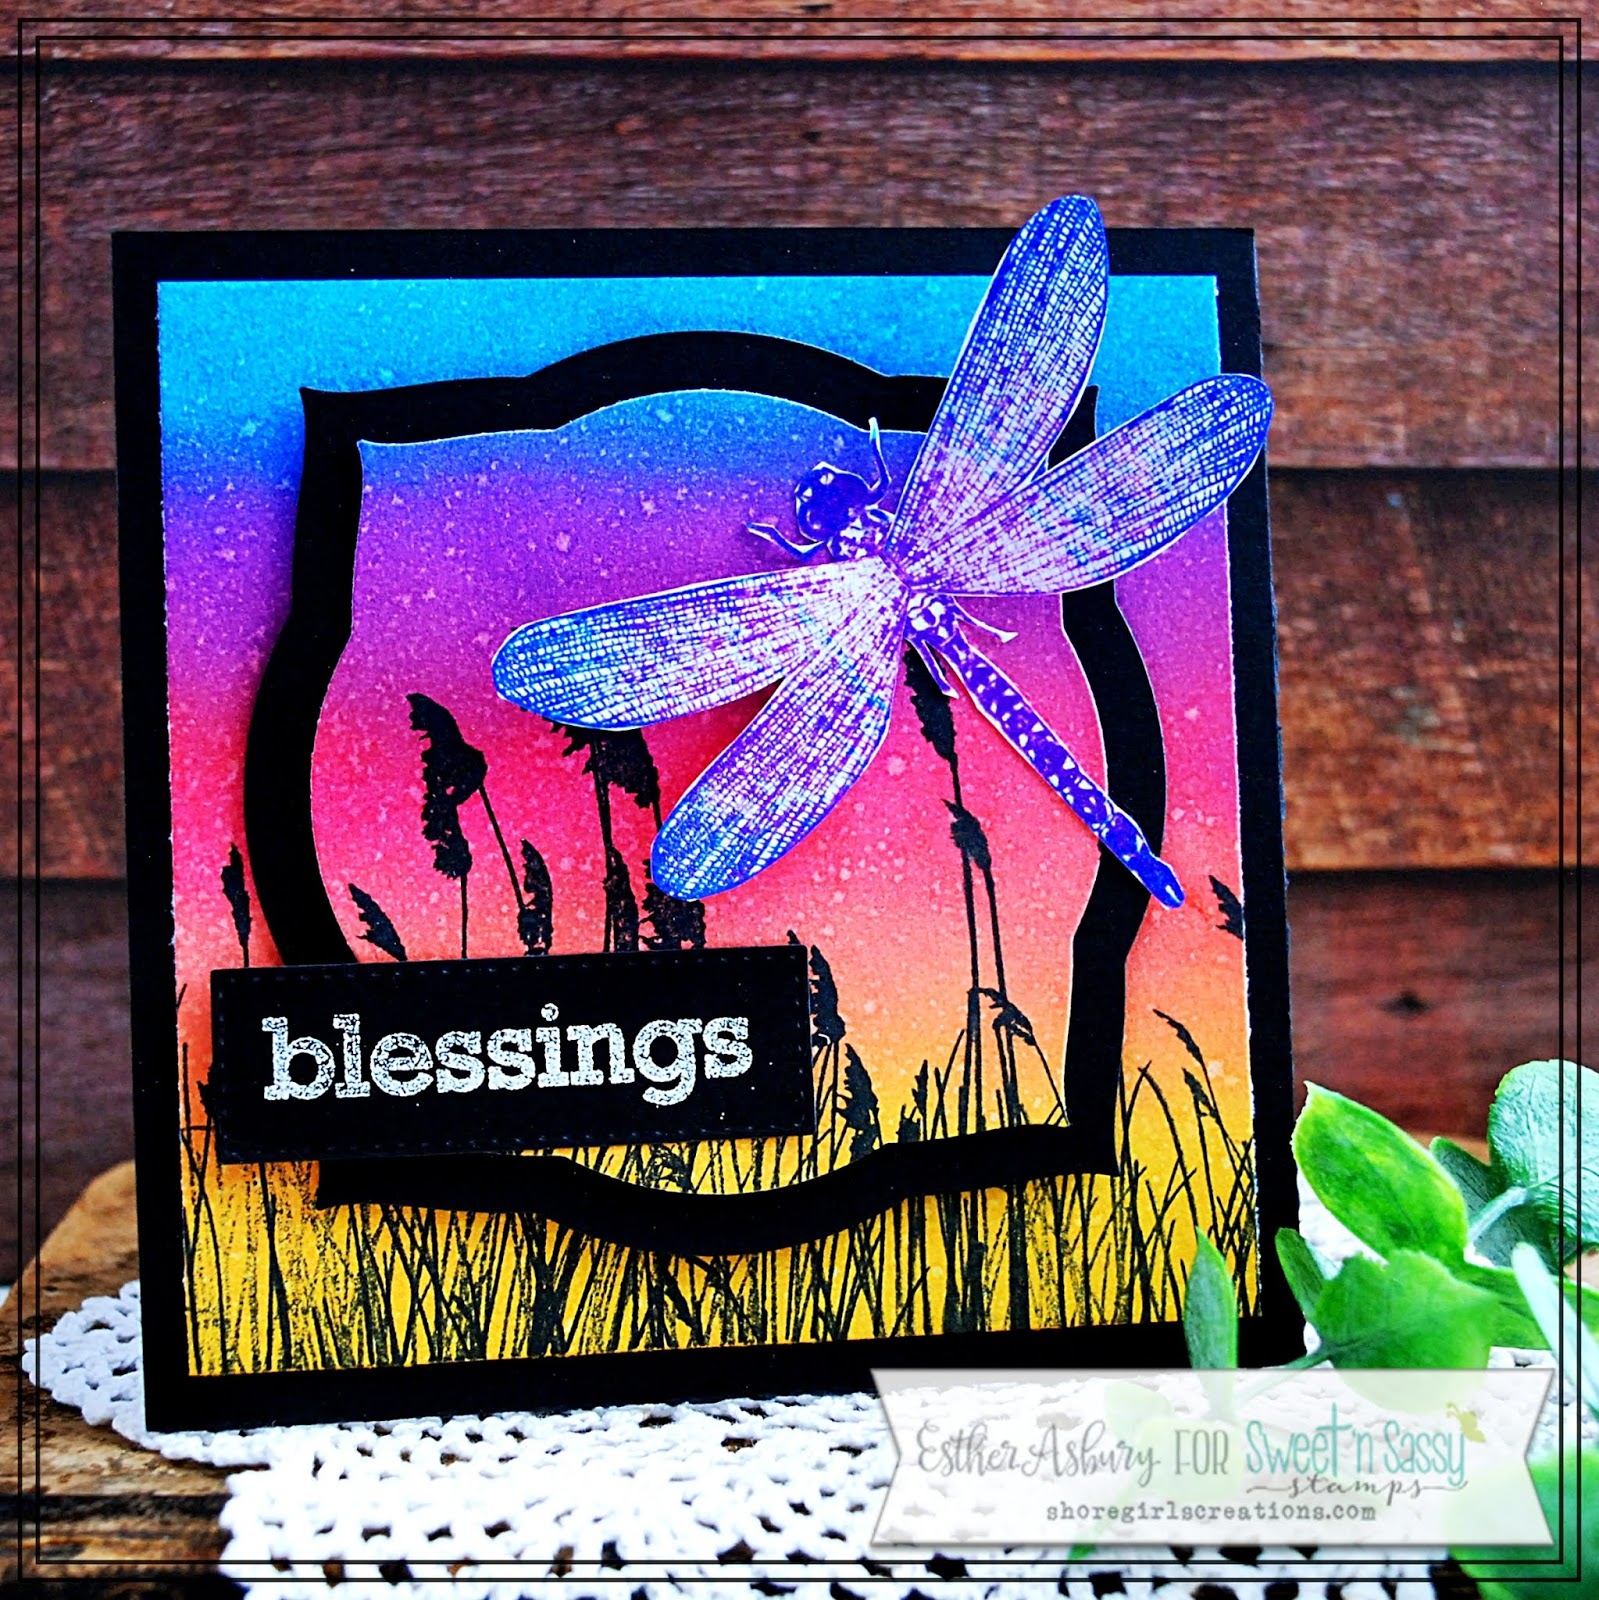
Hello friends. Esther here with two cards to share with you. One features the just released "Dragonfly Dreams" and the other an older stamp set. For this first card I did some ink blending on mixed media paper to create a sunset scene. After stamping the tall grasses along the bottom, I die cut and matted the center to create a focal point. The dragonfly was stamped in wilted violet distress oxide and then just the tips of his wings and parts of his body was re-stamped in salty ocean distress oxide. (Yay for stamping platforms that allow you to layer colors without the worry of lining things up right!)

~~~This post contains affiliate links at no extra cost to you~~~
Supplies and Tools:


My second card features the Hymn Word art stamp set, some pretty designer paper, and my favorite embellishment - a paper doily! I love making cards like this to send to names on the card ministry list I belong to. 


Supplies and Tools:
  • Hymn Word Art (Sweet n Sassy Stamps)
  • Boho Vibes Paper Pack (The Paper Studio)
  • Scallop Basic Edge Dies (My Favorite Things)
  • Doily Die (Sizzix - Tim Holtz)
  • Circle Nestabilities (Spellbinders)
  • These colors of Distress Oxide (Ranger)
    • Broken China
    • Abandoned Coral
  • Large Flower Punch
  • Small Flower Punch
  • Baker's Twine
  • Mini Pearls


Saturday, February 8, 2020

All I have needed...

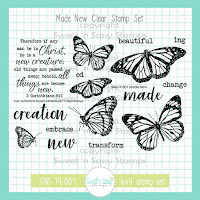
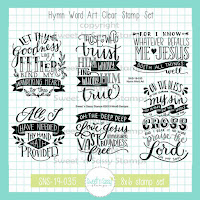
Hello everyone! Today I want to show you a card that I made with the butterflies from 'Made New' and one of the quote blocks from 'Hymn Word Art'.


I made a background with Distress inks. I added the color to a transparent sheet and sprayed it with water. After that I added my paper on top of the ink. That creates a random background with colors that blend into each other.

I colored the butterflies with watercolor markers and added a bit of sparkle with Wink of Stella to the quote (that's hard to see in the picture).


The edges of the panel are distressed with the purple Distress ink I used for the background. I adhered the panel on top of a patterned paper with a couple of silver details.

https://www.sweetnsassystamps.com/made-new-clear-stamp-set/

 https://www.sweetnsassystamps.com/hymn-word-art-clear-stamp-set/#

I hope you're inspired to create!

- Lucinde

Friday, June 28, 2019

Fun Background with Hymn Word Art

Last week I challenged the folks at Splitcoast Stampers with a fun, easy, and colorful background using my Distress Oxide Ink Pads. I thought it would be fun to share here too - Take the challenge if you dare :)
All My cards use the NEW Hymn Word Art Set. 
Now for the instructions:
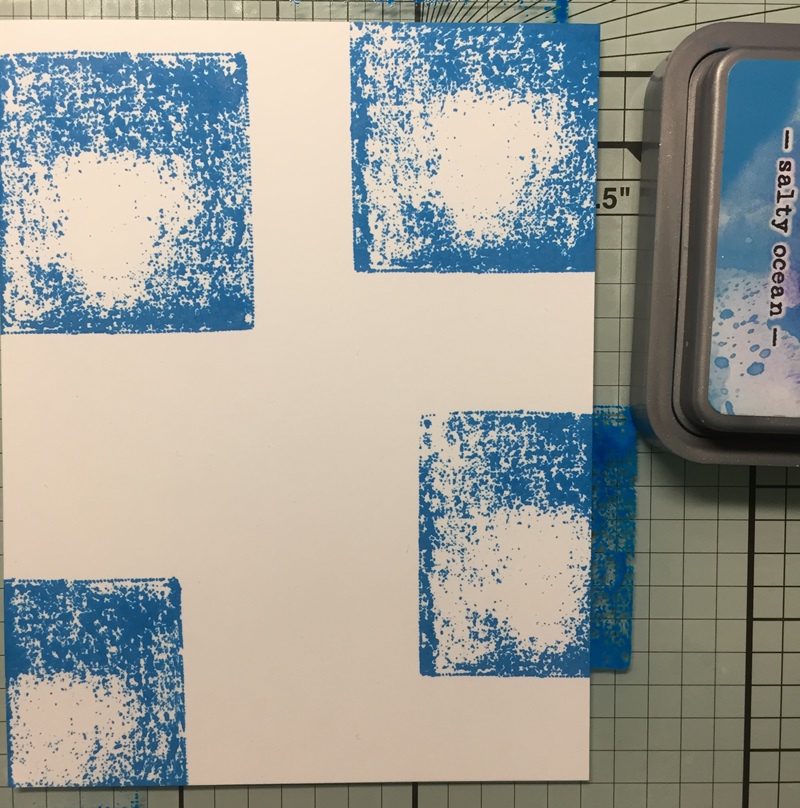
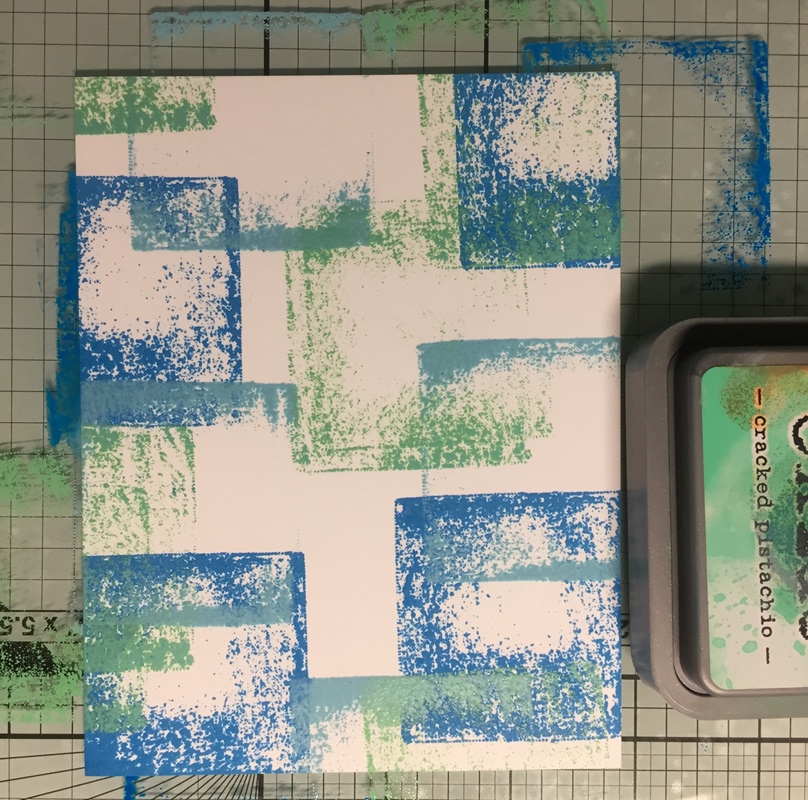
I started by randomly  placing the ink pad directly down on my paper and repeating  the  process  with  more  ink  until I was  happy  with  way  it  looked.  The  first  one  uses blues,  greens,  and yellows.When I had used all the colors, I went back in with the lightest colors to fill in the blanks. And that was it. Fun geometric looking background.
I  made  several  more  using  colors  in  rainbow order. Here is what they all looked like before I stamped the Hymn Word Art on them (Pics above).
Now it is your turn! Try it with different colors, different inks, different ink pad shapes. Just have Fun!
Lyn


Friday, June 7, 2019

It's Mer-Mazing

Hello sweet friends!  Cathy here with several cards to share from the new Sweet 'n Sassy Stamps MER-MAZING June Release!

My first card uses the new Mer-Mazing stamp set created by our newest designer, Jenn Nilsson, and the oldie but goodie,


Some of the spots from Lots-a-Spots were white embossed on mixed media paper.  Distress Oxide Inks were sponged over the embossed spots and other spots from the stamp set were stamped with the same Oxide Inks to create the underwater background.  Circle dies were then used to cut bubbles from the background.  Images from the Mer-mazing stamp set were colored with Copic Markers and cut out using the Scan 'N Cut.  Some of the images were then placed behind the popped up background while other images were popped on top of the background to finish the card.

My second card used the new Hymn Word Art stamp set designed by Nina Brackett.


Distress Oxide inks were pressed onto an acrylic block, spritzed with water, and stamped onto a piece of mixed media paper to create the background.  This panel was cut with a stitched rectangle die.  One of the hymns from the Hymn Word Art stamp set was black embossed onto the background.  A white paint pen was used to color in some of the letters.  A black gingham bow was added along with some sequins to finish the card.

My final card used the Peony Cluster stamp set which was the stamp of the month last month, but is now available for purchase.


The background panels were created with Ranger Alcohol Inks on Yupo paper.  The peonies were white embossed on vellum and fussy cut.  The vellum flowers were popped onto the card with foam tape.  Netting ribbon was added to one layer and the sentiment from Happy Couple was embossed on a die cut banner to finish the card.

These stamp sets from the Sweet 'n Sassy Stamps Store were used to create the cards above:


Well...that's all for now.  Thanks so much for stopping by!

Blessing to you,
Cathy

Monday, June 3, 2019

Backgrounds


Happy Monday! 
It's Ceal here to share a couple cards using background techniques to show off our new set, Hymn Word Art. I Love these focal point greetings and there is no better way to showcase them than on a pretty background. 
For my first sample I started with a top folding white note card and a panel of Black Onyx for the mat. To create the border I used one of the flowers out of the Happy Day set and stamped it without the leaves. I heat embossed them in white and then using some Gina K inks, I created the rainbow background.


 For my second card I also started with a white top folding note card and a white panel. To created a subtile resist background using the leaves from the Scribble Flowers and The Itty Bitty Blossoms sets. I randomly stamped the leaves with Versamark ink over the panel and then blended distress ink. It's hard to see but there are leaves in the background.