Esther here today with a fun masculine themed birthday card that features the NEW Grunge Gears Stencilwhich I stenciled onto mixed media paper in Chipped Sapphire and Prize Ribbon distress ink. I stamped theVintage Vanin Versafine Clair Nocturne Inkand colored it with Arteza Real Brush Pens. The sentiment is a combo of Boss Lady Alpha Dies and Typewriter Blocks Alpha stamped in Spiced Marmalade distress ink. To finish my card off I usedTexture Tiles 4 to create some faux washi tape and stapled it to the top corner.
~~This post contains affiliate links at no extra cost to you~~~
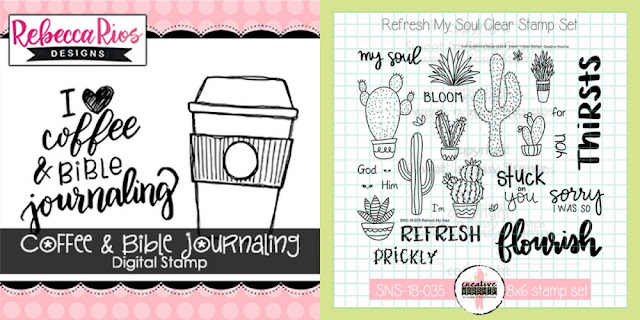
Hello
Friends, Esther here sharing two fun
coffee themed cards with you. I'm sure you're aware of that the Spring/Summer Coffee Lover's Blog Hop is in progress, and Sweet n Sassy Stamps is one of
their sponsors. You can find an awesome line-up of Sweet n Sassy
beverage themed stamps by CLICKING HERE.
They also have a digital stamp that I'm using on my cards today -- the
fun thing about digitals is you can purchase and play immediately AND
make them whatever size you want!!
My first card is feminine with a quilt themed background, strip of paper lace, and a bold flower accenting my coffee cup.
~~~This post contains affiliate links at no extra cost to you~~~
Hello Sweet n' Sassy friends! Today we are hosting a stamp-a-thon in our Facebook Sweet n' Sassy VIP Group. Woohoo!! Get ready for a fun day and week of stamping!!!!
The creative team will be sharing live projects, plus a bunch of fun challenges throughout the day.
Play along with us in the VIP Group group for a chance to win a fabulous prize—a $50 gift code
to our website! You have a whole week to create and submit for a chance to win.
My challenge is a.........
I am going to explain how to create a fun and easy background using paper scraps.You can use scraps of cardstock or pattern paper. No scraps, just cut down some of your stash. Your stripes can be horizontal, vertical or diagonal depending on your card design. So have fun, experiment and don't forget to share your creations in the VIP group on Facebook!
I used four different colors of cardstock to create the striped background.
I cut my scraps to the following sizes for my card.
2 blue 4 1/2" x 1 1/2"
1 pink 4 1/2" x 7/8"
1 orange 4 1/2" x 1/2"
1 green 4 1/2" x 1"
I put adhesive on the back of my cardstock stripes. Then starting at the top of my A2 card base, I lined up my first panel along the top edge allowing the ends to hang off the two sides. I continued to place the other pieces on the card front making sure to leave no space between the colors. After all the panels were attached I turned my card over and trimmed the ends hanging off the edge.
*I like having the ends longer so I don't have to stress about my measurements being perfect.*
*If you have white space at the bottom of your card just trim it off.*
I then stamped the white panel using the Folk Art Snowflakes and a Kaleidacolor stamp pad for a beautiful multicolored look. This beautiful snowflake set and its intricate pattern works well with a Kaleidacolor stamp pad. If you do not own one of these you can use your stamp pads to add various colors of inks to an image. Just make sure to always start with the lightest color first and work your way to the darkest.
Once my white panel was complete, I matted it on black and adhered it the front of the card. I used Typewriter Blocks Alpha and All About You to create the sentiment stamping it in VersaFine Clair Nocturne ink.
I hope you will give the Paper Scraps Challenge a try along with the other fun challenges in the VIP group. Don't froget you have a week to create and enter for a chance to win a $50 gift code to Sweet n' Sassy Stamps.
{jane bosi} I could start a regular creative feature where I show you how I resurrected some project after a major mess up or goof! I'm telling you, Sisters (and Brothers?) I painstakingly water colored this faithdex card. And, I loved it! The florals from Happy Irises are fun to color! It was going to be fabulous. I was proud of it. I couldn't wait to share it. Just one last step--add the sentiment from The Future set....
I may have CRIED. OUT. LOUD.
This is not an optical illusion or fuzzy computer screen--this is the real deal. I was just about to start over, when that little creative voice whispered--fix it.
And, just like in real life, the Word came to my rescue. I pulled a page from a thrift store bible straight out of the sermon my pastor preached that day--about Hope. This little project is a great reminder of how God works with our broken pieces. Battered and torn though we may be, He uses it all for His glory. And, Hope came down so we could be restored.
I will hope in the character of God. His plan, His provision, His love, His will. Let it be.
I finished the backside of this card with more iris images and stamps from Typewriter Block Alphabet and Trust In The Lord.
I stamped them in lots of colors for my background on the first card, then the black one was popped up with dimensionals.
I colored a rainbow of butterflies on my second card...
For the third card I die cut the top corner and sponged some inks on the layer behind it. Flowers were stamped with the same colors and the butterfly was colored to match.
This last card started out a disaster as I had one mistake after another. I was too stubborn to toss it after all the effort put into it so I kept going. LOL! In the end, I liked it after all. :)
{jane bosi} 1 John 4:10 "In this is love, not that we have loved God but that he loved us and sent his Son to be the propitiation for our sins."
1 John 4:19 "We love because he first loved us."
Truly, His banner over us is love! I've made a few projects with stamps from Sweet 'N Sassy Stamps to share for today. The card above features His Love, Texture Tiles 1 and Typewriter Block Alphabet.
My next project is a 3 x 3 canvas I made for a sweet, brave, special friend of mine. It also features His Love.
My last project is a simple card I created for a very good friend. It features His Love along with a split panel and recessed sentiment.
Whether you are a big fan or a not so much fan of the Love Holiday, I wish you love today and tomorrow, and all the days after that!