Showing posts with label Fur-ever Friends. Show all posts

Monday, September 6, 2021

Simply Amazing!


Hey there Sweet 'n Sassy stampers!
It's Ceal, sharing with you today.  I created a fall card using a side fold layout. this layout gives you a card to fit an A2 envelope but a square focal. 
To create my card I started with Stardust cardstock cut to 8 1/2 x 11 and cored at 5 1/2" and 6 3/4"
I stamped the Fall Background and colored it with alcohol markers and then went around the edges with Stardust ink. I stamped the fox from the Fur-ever Friends set and fussy cut him out.  To finish the card I added a sentiment from the My Thoughts of You set.  


Monday, November 9, 2020

Autumn ATC's


Hello stamping friends. Esther here today sharing something a little different.... autumn themed ATC's using one of my all-time favorite Sweet n Sassy sets called Fur-ever friends. Aren't those critters just adorable?! 
I stamped my images on watercolor paper and colored them with Arteza Real Brush Pens. After layering them on my patterned paper backgrounds, I added some baker's twine bows for extra dimension. 


~~~This post contains affiliate links at no extra cost to you~~~
 Supplies and tools:
  • These Sweet n Sassy Stamp Sets:
  • Mosaic Memories Paper Pack (Recollections)
  • Ornate Ovals (Divinity Designs)
  • Christmas Quilt Embossing Folder (Couture Creations)
  • Canson Watercolor Paper
  • Arteza Real Brush Pens
  • Jet Black Archival Ink (Ranger)
  • Baker's Twine

Saturday, October 10, 2020

Thankful Booklets

 Hi Everyone! This is Michelle here today! I am the newest member of the design team and I am so happy to be here with all of you!

I wanted to share with you 2 little booklets I made. This time of year always starts me thinking about being thankful. I don't know if it's because of the Fall season or because Thanksgiving is right around the corner.


I made 2 little booklets using one sheet of 12x12 paper each. Inside I added 1 scripture about thankfulness on each page. There are 6 pages. I even have a little room to journal on each page or add a photo.

I used 3 stamp sets to create the front covers. The lettering comes from the In Stitches Alpha  set. That wonderful sunflower is from the  Like a Sunflower set an the adorable little fox is from the Fur-ever Friends set. I colored all the images with alcohol markers.


Here you can see what the inside looks like.


Here is a quick and easy diagram of how to fold the paper if you want to make your own booklet. They are great for collecting verses, recipes or photos.

Enjoy your weekend and get crafty!


Monday, November 25, 2019

Fur-Ever Friends

Today I am playing with the Fur-Ever Friends Set. I have a clean and simple card and I finally got the opportunity to try my hand at a faith-dex card. It was really fun and I will definitely be making more of them!

The card is a one layer card.

I doodled a border and popped the squirrel in the middle as well as the sentiment from the set. I used some warn gray Copics and used a dot technique for the body.

Here is the faith-dex card:

This one uses Neenah Dessert Storm (kraft). I used a direct to paper technique with my Distress Ink Pads (I explain it in THIS POST). Then I used the entire sheet of Faith Wordfetti Sentiment stamps like a background/texture stamp using the darker ink color. While it was drying, I colored the deer and one of the mushrooms with Copics, fussy cut them and glued them on. I added two of the sentiments and to the back I added the verse from l Peter 4:11:
  • Whoever serves, [let him do it] as one who serves by the strength which God supplies – in order that in everything God may be glorified through Jesus Christ. To him belong glory and dominion forever and ever. Amen.
When I looked this verse up I found the following note and it really made me think about how I used my gifts… Therefore, I decided it needed to be my first faith-dex card.
  • This passage is part of Peter’s teaching on how Christians should love each other “strenuously” (1 Peter 4:8). He has urged us to offer hospitality without grumbling. Believers are to see all that we have as gifts from God, available to be used for serving each other.
These were fun! I hope you are inspired to try out these faith-dex cards or just try a new technique!.

Thanks for stopping by!
Lyn

Saturday, November 9, 2019

Hey cutie!


Hello everyone! I wasn't ready for winter yet so I sticked to the fall theme. But I think you can use this fox for every season and the butterfly gives it almost a spring feeling so let's just say it's a card you can use for the entire year ;).


I stamped the image on white paper and colored it with colored pencils. After that I die cut a panel around the image and added a golden border to the panel with a gold watercolor paint. I wanted to have a golden accent in the background too so I used a foiled background paper. Of course I had to add a couple of sequins and the little butterfly to finish the card.

https://www.sweetnsassystamps.com/fur-ever-friends-clear-stamp-set/

I used the stamp set Fur-ever Friends.

- Lucinde 

Saturday, November 2, 2019

Snow Much Coffee Goodness

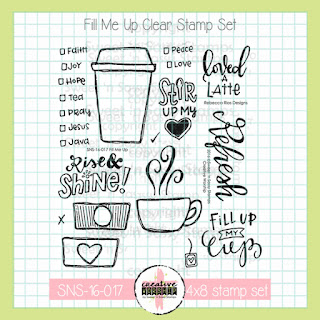
Hi Sweet 'n Sassy friends! It's Julee popping in to share a couple little creations I've been working on lately.  It's no secret that I love coffee, so I can never resist making a few cards for the Coffee Lovers Blog Hops. The Fall/Winter hop started yesterday and I shared another coffee card on our Super Sponsor post. Here are a couple others I created dressing up the big to go cup from the Fill Me Up set.


For this first card, I paired the brand new Snow Much Fun set with the cup for a fun wintry feel. This little snow friend is so jolly, I couldn't resist having him skating on top of the cup. I created a fun background by randomly stamping the snowflakes from the set in distress oxides and then blending with distress inks. A few snowflakes and some ribbon and jingle bells finish things off.


My second card for today, brings a fall spin to the cup, using the Fur-ever Friends set to add leaves and color with Spectrum Noir alcohol markers.  I created a sweet little gift card pocket and added a vellum sentiment from the Donut Worry set for the perfect little gifty for a coffee loving friend.


Thanks so much for stopping by today! Be sure to pop over to the website to see the entire NEW release, plus take advantage of the 12% sitewide savings for our 12th birthday month!

Friday, October 4, 2019

Blessed Beyond Measure

Hello sweet friends!  Cathy here with some Sweet 'n Sassy Stamps inspiration for you.
My first card features a little sneak peek of a wonderful new stamp set being released next week on October 7th as part of the October Release.


Some of the smaller succulents from the stamp set were randomly stamped in light green ink over the background.  The grid from Texture Tiles 1 was stamped in purple ink.  A second panel was embossed with a leafy stencil.  Oxide ink was rubbed onto the raised edges to bring out the detail.  This panel was cut in half lengthwise and added to the background.  Different succulents from the stamp set were colored with Copic Markers, cut with my Scan 'N Cut and popped onto the card.  A sentiment from the Faith Wordfetti stamp set was white embossed on a purple strip.  A few gems were added to finish the card.

My second card features the adorable Fur-ever Friends stamp set released last month.

j
Stripes of Oxide Inks were sponged on a white panel and then a different leafy stencil was used to emboss some texture on the background.  The wood pattern from Wood Backgrounds was stamped on a strip used to ground the cute little fox which was colored with Copic Markers, cut with my Scan 'N Cut and popped onto the card.  Some of the leaves from the set were colored and added to the card.  The sentiment was stamped on a hand cut banner and white gems were added to finish the card.

The following stamp sets from the Sweet 'n Sassy Stamps Store were used for the cards above:


You will need to stop back again next week to see the new stamp set as well as other sets being released in October!
Have a wonderful weekend!

Hugs,
Cathy

Monday, September 30, 2019

Autumn Critters


Happy Monday, Sweet 'n Sassy Stampers!
It's Ceal, here to share with you and let me tell ya it's definitely Monday!
I was going about my day and working in my planner for next month and then realized I was supposed to post today. 
I whipped up two cards using the Fur-ever Friends stamps set. This set is so adorable and can be used for many different occasions. 


For the first card I paired it up with the Wood Backgrounds set which in my opinion is a must have to compliment this set.  and the second card I stamped the adorable fox, masked him off and then used a stencil to create the background. Both images were colored using Copic markers


Saturday, September 28, 2019

Fur-ever Friends


Hello everyone! Today I want to show you two cards I made with the Fur-ever Friends stamp set. These little critters are just too cute.


I colored the squirrel and fox with alcohol markers and cut them out. I wanted to give the cards a forest feeling so I decided to go for a background with a lot of green. I love the golden details in this vellum paper so I thought it would be a perfect match.


I cut out two frames with a wood pattern and stamped the sentiments on them. After that I adhered everything to a kraft colored card and added a couple of wooden elements and sequins to finish the cards.


I hope you're inspired to create!
- Lucinde
https://www.sweetnsassystamps.com/fur-ever-friends-clear-stamp-set/

Friday, September 20, 2019

Nuts About Fur-ever Friends!

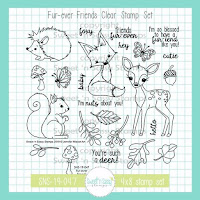
Hello sweet friends!  By now you have probably seen all of the fabulous stamp sets released for the month of September by Sweet 'n Sassy Stamps.  I have been having so much fun with the Fur-ever Friends Stamp set...I'm just nuts about all of the adorable critters that are a part of this wonderful stamp set designed by Jennifer Nilsson!


The background for my scene was created by applying Oxide Inks to a piece of acetate, spritzing it with water and patting and smearing the wet ink onto a piece of mixed media paper...blues on the top and greens on the bottom.  A smaller rectangle was cut from the panel, mounted to a piece of white card stock and popping it back onto the larger rectangle.  The fence and clouds were cut with retired dies from SNSS and were popped onto the scene along with the cute critters from Fur-ever Friends which were colored with Copic Markers and cut with my Scan 'N Cut.  One of the sentiments from Fur-ever Friends was embossed on one of the clouds to finish the card.


Oxide Inks were swiped down a piece of mixed media paper and stamped with the wood slice from the Wood Background stamp set.  A circle was cut from the ring off the edge of the paper.  More texture was added to the wood background using one of the stamps from the Texture Tiles 2 stamp set.  This panel was popped onto a piece of brown card stock and the sentiment was white embossed.  The cute little squirrel, acorns and leaves from the Fur-ever Friends stamp set were colored with Copic Markers, cut with my Scan 'N Cut and popped onto the front of the card.

These stamp sets from the Sweet 'n Sassy Stamps Store were used to create the cards above:

Thanks so much for stopping by...have a wonderful weekend!

Hugs,
Cathy

Thursday, September 19, 2019

fur-ever friends

Good morning! Today I’m sharing some cards with the Sweet ‘n Sassy Fur-ever Friends set. No matter the weather, these sweet critters are sure to get you in a mood for fall. Autumn is just a few days away!
I kept my cards pretty CAS to let these images pop.

The fox is one of my favorites but I love them all.

Have a great day!
Diane

Tuesday, September 17, 2019

Fur-ever Friends- Two Different Looks

Hello Everyone!

Lee Ann here again, and its no surprise that I am back with more ideas for the Fur-ever Friends Stamp Set!  I cannot get enough of this set.  And talk about being versatile! 

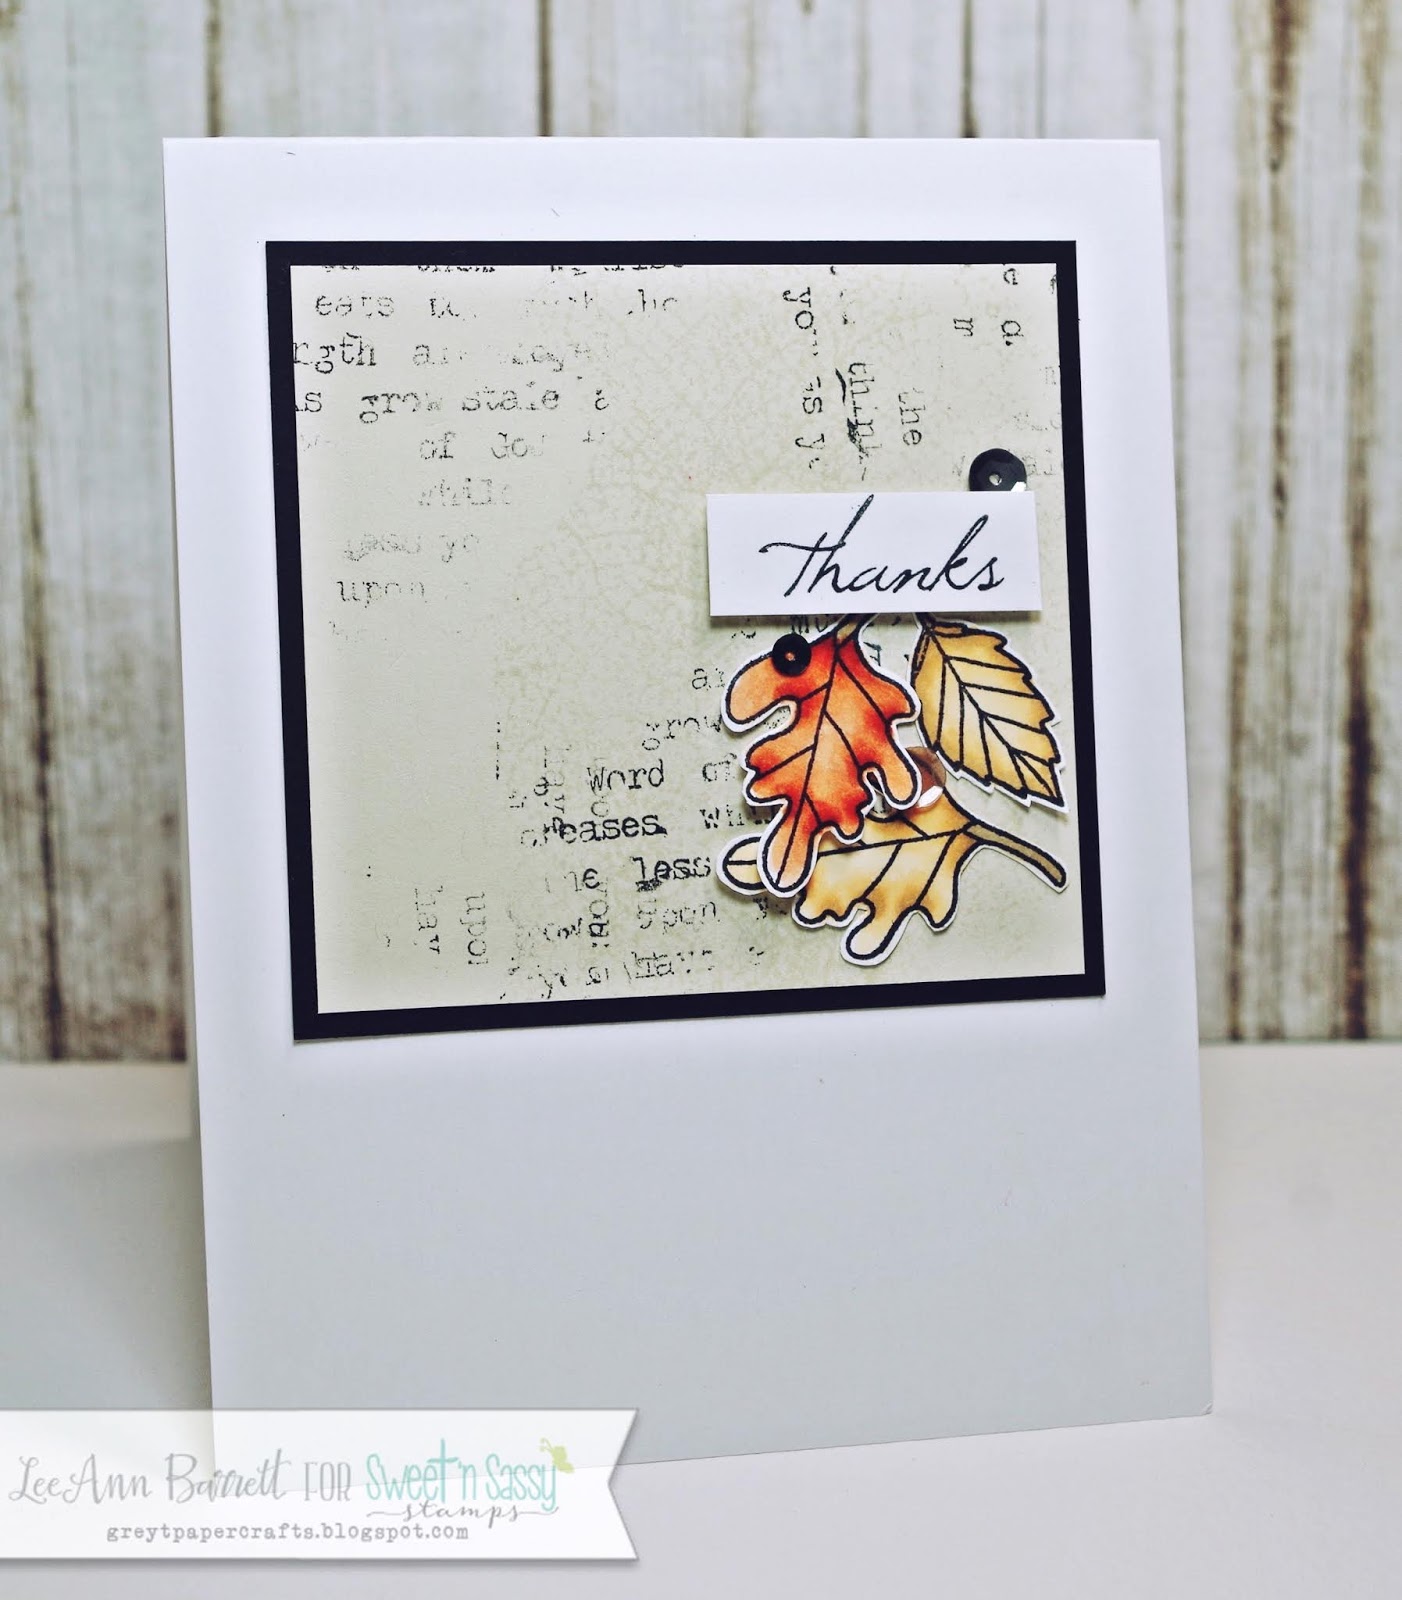
This first card is a seasonal card, using the leaf stamps in the set.  I also used Typewriter Text Background Stamp and Skeleton Leaf Background Stamp.


Obviously very CAS, I colored the leaves with Copics and fussy cut them out.  I stamped the Skeleton Leaf and Typewriter Text Stamps on a piece of gray cardstock, using gray ink and black ink.  The sentiment is from the So Grateful Stamp Set.  Super simple!
Now this next one uses the same set and looks TOTALLY different!


I have a couple of friends who are expecting grandbabies, so his set came at the perfect time.
I used all of the critters in the set, stamping them in light colored ink and water coloring them.  I then water colored stripes of the same color paints on a larger sheet of watercolor paper. 
I wanted a tone on tone look, but the images got lost in the background, so I put them back in my MISTI and stamped them with a gray ink.  To add even more contrast, I used the Falling Leaves Stamp and some white ink to add texture and a hint of white behind the critters.


Once I was happy with the background, I fussy cut the critters out, used a black Micron pen to color in their eyes, noses, etc. then popped them up on Dimensional tape over their respective color.
The image panel was mounted on gray cs and then that was mounted on a sheet of white cs.  This was trimmed down to fit in a 8 x 10 frame.

Stamp Sets used~

https://www.sweetnsassystamps.com/typewriter-text-background-clear-stamp/http://shrsl.com/1ti31


http://shrsl.com/1ti2thttp://shrsl.com/1ti2w

        
http://shrsl.com/1ti2n

Thanks for stopping by!  
Lee Ann