Tuesday, February 27, 2018

Love One Another

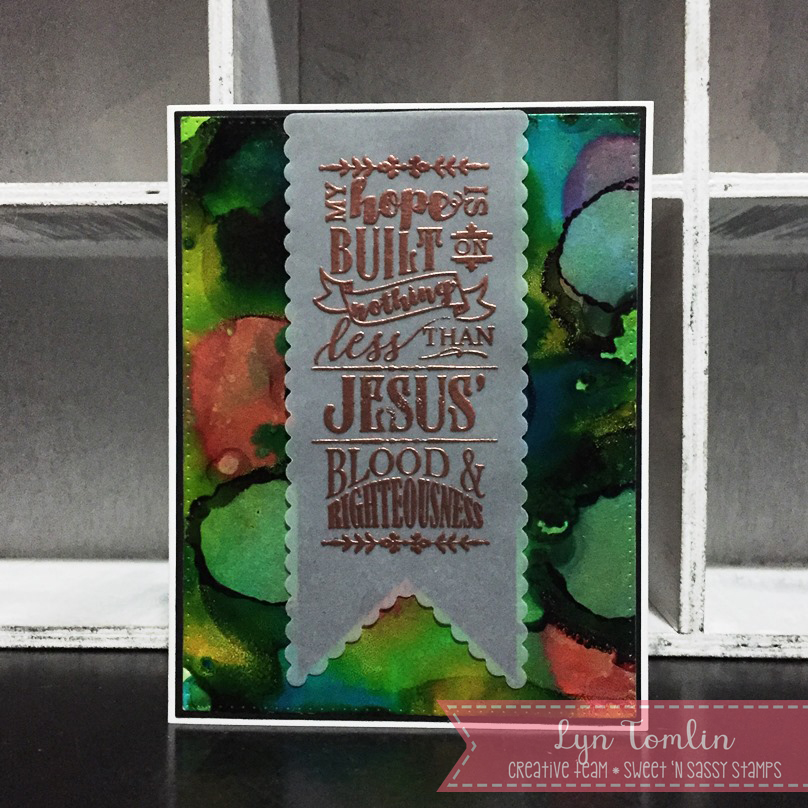
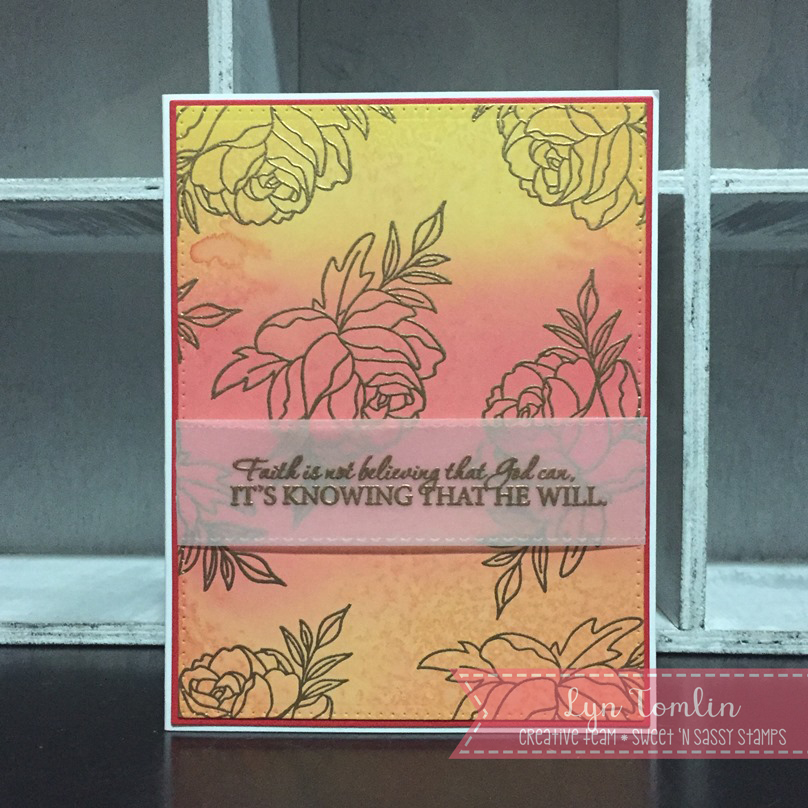
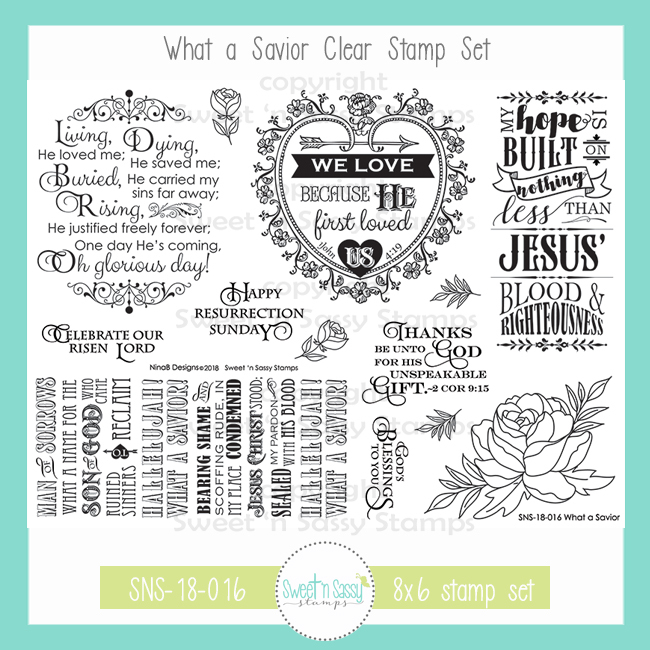
Hello Sweet 'n Sassy friends!  The new What a Savior stamp set designed by Nina Brackett contains beautiful images and lyrics for creating encouraging cards.  This set was used to make the card I am sharing today.

The Gilded Faux Silk Technique was used to make the background for this card. The beautiful scripture image from the What a Savior stamp set was stamped once in Cherry Cobbler ink and once silver embossed.  The silver embossed banner was cut and popped onto the Cherry Cobbler image.  A few hearts were die cut and wrapped with metallic silver thread.  A few rhinestones were added to finish the card.

Have you had a chance to check out the new Love One Another Printables designed by Diane Noble? They were created for Bible Journaling, but oh, how perfect for creating cards and other wonderful projects!  The printables were used to make magnets, table centerpieces, and tags/bookmarks for the ladies who attended our church's Ladies' Conference.

Alcohol Inks were used to cover two inch unglazed tiles.  The Printables were resized, cut out and attached to the tiles with gel matte medium.  A label maker was used to make the Godly descriptions.  Each tile was covered with a clear glaze and a magnet attached to the back.

Quotes were computer generated and the Printables were again resized and attached to the top of each quote.  Distress inks were used to watercolor mixed media paper and flowers from the Whimsy Bouquet and Fantastic Flowers stamp sets were cut out and used to frame the quote.

The Love One Another Printables were also used to create this tag/bookmark. Memento inks were sponged over tissue paper on which Proverbs 31 had been printed.  Images from the Just Be and Whimsy Bouquet stamp sets were also used on the tag and were colored with PrismaColor Pencils.  

These products are available at the Sweet 'n Sassy Stamps Store.


Be sure to check out these products and more at the Sweet 'n Sassy Stamps Store.  We can't wait to see your creations made with our stamps!
Thanks so much for stopping by...have a wonderful day!
Hugs,
Cathy

Saturday, February 24, 2018

Blessed and Beautiful Easter

It feels like we have a lot of days to go before it's Easter, but time's going fast so I thought I'd better prepare with some Easter cards :). I love this cute bunny!

I stamped the bunny on marker paper to color it with my markers. I cut it out and made the edges black with a black brush pen. After that I die cut the panel for the sentiment and added the bunny on top of it so I would know where I could add the sentiment. 
When all the stamping was done it's just a matter of adhering everything together. I used two patterned papers in the background and added the bunny and sentiment with foam tape. To finish the card I added a couple of purple sequins.
I used the stamp set Hoppy Easter for this card. It's the stamp set of the month so you'll get it free with your $60 order!

- Lucinde

Friday, February 23, 2018

spring blossoms

Hello! I am sharing a few cards today using the Spring Blossoms set from the February release.
 
On my first card I used the daffodil. I love to pair yellow with gray so I pulled out an old paper pad with those colors. I added half of a paper doily and it came together pretty easily.
 

For my second card, I used the tulip. Again, I used a paper doily for this springtime floral card. I love the look of these and need to use them more often! The flower has some yellow undertones that didn't pick up well in the photo.


Have a great day!
Diane


Thursday, February 22, 2018

Oh What a Savior!!

We are almost to the weekend and after my crazy week, I am looking forward to a little down time. Today's cards remind that no matter what comes my faith will get me through it!

I have a couple of cards using the new Sweet N Sassy What a Savior Clear Stamp Set. It is wonderful and powerful - you will love it!!

For the first one, I used Yupo paper and alcohol inks to create a background, then added a banner with one of the bold block style sentiments in copper embossing.


The second card has a blended Distress Oxide background that I embellished with the rose in the set - I used versa mark and randomly stamped it onto the background then heat embossed in gold powder. I added a wonderful sentiment (gold embossing) onto vellum from Be Encouraged. I l-o-v-e this one!


I hope these inspire you! Thanks for stopping by today!

Lyn


Tuesday, February 20, 2018

Buttercup


Hello Sweet 'n Sassy Stampers! 
It's Ceal, here to share with you today a clean and simple birthday card using one of our new releases, Spring Blossoms.
To make my card I started with a Pool Party top folding card base and a white panel cut down with a scolloped and stitched die.
I stamped the daffodil or buttercup as we call them here, with memento ink and then masked it off to create the background. For The background I used a Tim Holtz stencil, Skylight ink and a stencil brush. After I finished the background, I removed the masking and colored the image using Chameleon pens. To finish the card I stamped a birthday greeting from the same set and attached the panel to the card base. 


Monday, February 19, 2018

Spring Blossoms

Hello sweet friends!  Spring is just one month away, and I am ready for warmer weather and balmy days now!  Nothing screams Spring more than tulips and daffodils and that is just what you get with the new Spring Blossoms stamp set released by Sweet 'n Sassy Stamps this month.  I have two cards to share today that use this beautiful stamp set.

The tulips from the Spring Blossoms set were masked and colored with Copic Markers.  The split sentiment was added on pennant flags.  I can't resist adding a little stitching!

I found this discarded stenciled background in my stash and decided it would make a good base for the copic-colored daffodils from the Spring Blossoms stamp set.  Oxide inks were used to create the background.  Some light stamping with the Typewriter Text Background stamp was also used to add a little texture.  A past Freshly Made Sketch was used for the design of the card.

The stamp sets used to make both cards are available at the Sweet 'n Sassy Stamps Store.


These Spring Blossoms will help me enjoy a little bit of Spring until Spring arrives!
Thanks so much for stopping by...have a blessed day!

Hugs,
Cathy

Saturday, February 17, 2018

Happy Springtime

Happy Saturday Everyone!

I don't know about where you are but here in Northern California it is definitely feeling like springtime!  Love being able to open the house up and not have to be bundled up!
 
For today's card I used the NEW Spring Blossom stamp set.  I had a lot of fun coloring this beautiful daffodil with copic markers and then added a touch of sparkle with a Spectrum Noir Clear Marker.


The Hoppy Easter stamp set is the February 2018 Stamp of the Month and is FREE with a $60 order (after all discounts and before shipping & tax) through 2/28/18.

http://www.sweetnsassystamps.com/february-2018-stamp-of-the-month/

Happy Stamping!


Friday, February 16, 2018

Sweet Spring Blessings


{jane bosi}. Sweet Spring Blessings, Sweet Friends!  Today, I’m sharing a springy creation from the frozen tundra mostly to remind myself that Spring will come. There will be warmth again, new life and baseball even. Soon.

I started my creation with a swatch of fabric that seemed a perfect fit with the feel and style of the Whimsical Bouquet stamp set:

After sewing the fabric to a card stock base, I stamped, embossed and layered various stems and flowers to create a bouquet of my own. It was great therapy to trim each piece—I love me some good ol’ fussy cutting!

To finish things off, I used this months FREE with purchase set, Hoppy Easter, to add the perfect sentiment. Another great, versatile set!

Be inspire...get inky....be awesome!  
TTFN, Jane

Thursday, February 15, 2018

My Help Comes From the Lord

Hi Sweet Friends!

Julie, here sharing a masculine card designed with several stamp sets- Scene Silhouettes: WoodlandScene Silhouettes: Trees  and Be Encouraged.


To create this card, I stamped the tree image from Scene Silhouettes:Trees with archival black ink onto a piece of designer paper, applied clear embossing powder and heat set with a heat tool.  I used a distressing tool to lightly distress the edges before mounting onto a piece of black cardstock and adding to the white card base.
 
I also stamped the bear image from Scene Silhouettes: Woodland   and the sentiment from Be Encouraged with archival black ink onto a piece of white cardstock, applied clear embossing powder and heat set with a heat tool.  Once the embossing had cooled, I die cut the bear image with a square stitched die and mounted onto a piece of black cardstock.  I decided to hand trim the sentiment, mounted it also onto black cardstock and used a stencil brush to apply antique linen distress ink over both images to “antique” the paper a bit.

I looped a bit of polished hemp twine onto the card front (I used hot glue to adhere behind where the focal image would be located) and finished off the card by mounting the bear focal image along with the sentiment using dimensional foam.

This card was my Valentine for my hubby :-)  We love to drive along Skyline Drive in Shenandoah National Park and are constantly looking for bears. On one particular day trip, we saw ten bears (the highest number for one day for us)!  We also love the majestic vistas and they remind us of God's Creative Handiwork- Our Help Comes From the Lord, we are so thankful to Him!! 

Also, don’t forget this month we are offering Hoppy Easter as the February 2018 Stamp ofthe Month FREE with a $60 order (after discounts and before shipping) through 2/28/18. This set is so cute!! 

Plus we have free shipping and handling (in the US) for orders over $75.00 (after discounts).
                              

Thanks again for taking the time to stop by- hugs and God Bless, sweet friends!

Tuesday, February 13, 2018

What a Savior


Greetings friends! Kim here with you today, sharing three cards, featuring the new What a Savior stamp set, which includes eight sentiments, four of them jumbo sized, and five floral images. You can see the full set of stamps below. 

This week's video and project features three tri-fold cards, each showcasing a Distress Oxide technique. On each of my cards, I'll demonstrate three different quick and easy ways to add Distress Oxide ink to card fronts. I'll also show you how to create an easy frame utilizing simple shaped dies. Be sure to watch the video below for the step-by-step instructions, and if interested in products click on the links below the supplies title. Enjoy and happy crafting!


Monday, February 12, 2018

oh glorious day

Hello! I am sharing a few cards today using Sweet ‘n Sassy stamps from the February release. Here I used the What A Savior stamp set.
 
For the first card, I smooshed some Memento Teal Zeal and New Sprout inks onto a craft sheet and spritzed with water. Then I laid my white cardstock down to pull the color. When dry, I stamped the words with Tuxedo Black and the flowers with Teal Zeal. I stamped an additional flower with Tuxedo Black and colored with Copics, then popped it up with foam tape. Two gemstones were added above & below the words.
 

On my second card, I repeatedly stamped the flowers in black for a background, then colored just one in a very light turquoise. The word Jesus was outlined with a marker and the other three words were stamped onto colored cardstock, cut out, and adhered. If you look closely, there's a hint of fine gold thread under the word panel.
 
 
Have a great day!
Diane
 

Saturday, February 10, 2018

No spring skips its turn

Spring flowers... I can't wait for them to bloom. I have a lot of daffodils in my garden and the little green stems are coming out of the ground now, but I hope to have a wonderful sea of yellow flowers soon.

So while I'm waiting for my garden to get all these wonderful colors I decided to color these beautiful spring flowers from the Spring Blossoms stamp set. I stamped the flowers on watercolor paper and colored them with watercolor markers and a water brush. I die cut a window out of my card so I could add the watercolor panel behind it. At first I was thinking to stamp my sentiment on the larger border at the bottom of the card but the little sentence 'No winter lasts forever, no spring skips its turn' fitted perfectly on top of the watercolored piece. So now I felt like something was missing on the bottom part of the card. So I decided to stamp another tulip and cut it out to give the card a little bit more dimension. I adhered the tulip with foam tape so it's really on top of everything else. I added a couple of sequins to give the card a little bit more sparkle and that's it for today!

I hope you're inspired to create something with these amazing flowers too :)

http://www.sweetnsassystamps.com/spring-blossoms-clear-stamp-set/
- Lucinde

Friday, February 9, 2018

Is It Here Yet?

OK, I know we have another month (or so) before Spring is sprung, but it was bright and sunny today after a weekend of rain... The weather combined with the stamps I used for today's cards is making me smile out loud because I know Spring is just around the corner so YAY!

I have two cards for you. Both use the new Sweet N Sassy stamp set Spring Blossoms.


The first one is CAS I colored it up with Polychromos pencils and added a sentiment from Be Encouraged. To finish it off, I added a few dew drops. 

I love this one!


The second one combines inks and fussy cutting for a more dimensional look.

I used distress inks to create a simple background with a splash of colors. I used the tulip image and stamped it up several times making sure to curve the stem on my block for some of them because in my experience, bouquets of tulips always have some stems that are bowing. I extended the stem with a multiliner then colored my flowers with Copic markers. I cut them out and created a bouquet tied with twine. For my sentiment, I chose one of the great sentiments that come with the set.

I love tulips (especially peach ones) and I love this one too!


I had so much fun with these. I hope you are inspired!

Thanks for stopping by!

Lyn