Showing posts with label Watercolor Resist Tutorial. Show all posts

Wednesday, August 4, 2021

You've been on my mind by Charmaine Canham


Good Morning!!! 
I am all for making unique and one-of-a-kind cards, but sometimes the need arises to make multiples. Well, I have a solution for you! 


I am using the Encouraging Peonies stamp set that is just gorgeous. It has the most
simplest sentiments and can easily be paired with any of these flowers.


Here is what I did:
Start with any watercolor paper, like Strathmore, white or clear embossing powder, and Versamark.


Next, randomly stamp flowers and leaves all over an A2-sized sheet. You will need to cut the watercolor paper down as this is a bit larger (or keep it this size, it's not important!)
Make sure to use an embossing buddy before you stamp to not get embossing powder everywhere.

Next, use painter's tape or washi tape and adhere the edges to a waterproof surface. The sheet will buckle when you add water. I am using The Crafters Workshop ColorSparx that comes in packs of three. Use any complementary colors so that you don't inadvertently make mud. 
Wet your paper and start by adding a little at a time.

Add more water to dissolve the pigment. 


You can let this dry naturally or take a dry cloth and soak up all the water. You can also ( I just thought of this!) use a blank sheet of paper and transfer color for another project. If the color is still too strong in some areas, add water and dry it.
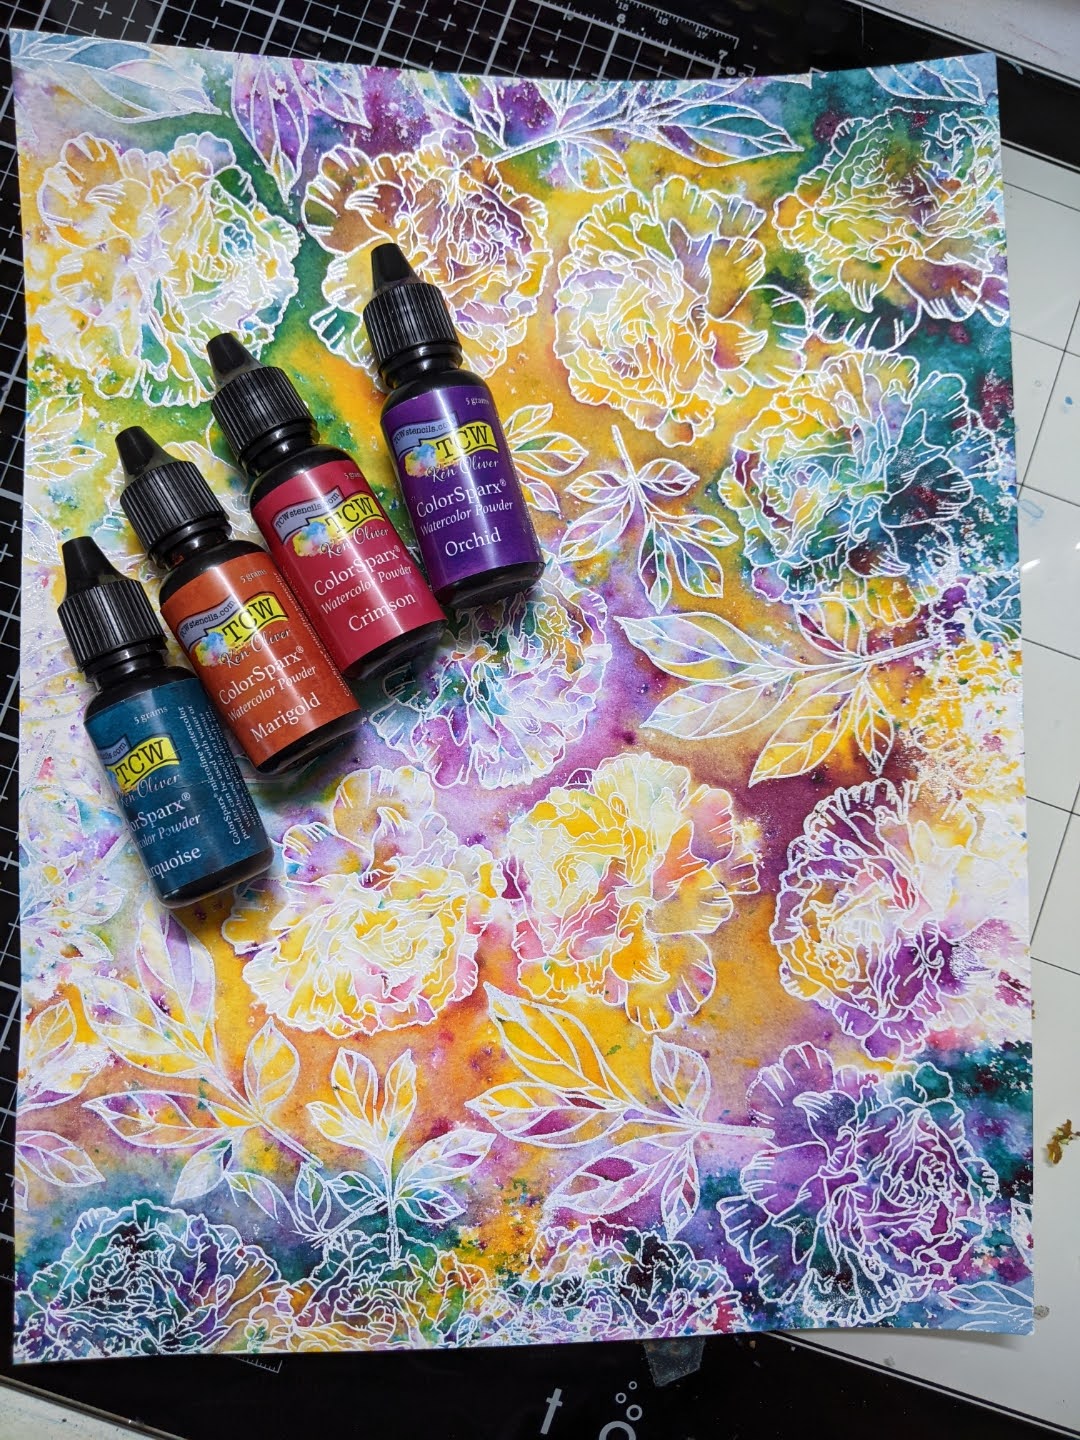

Since I am making mini slimline cards, I try to see how I can position my dies (from Gina Marie Designs) to get the prettiest areas onto my card. Run this through your die-cut machine.


Instead of stamping the sentiment on a separate piece of paper, why not try something different and stamp it on acetate?? You will need pigment ink, like Stazon, for it to dry quickly. You can also heat emboss the sentiment!


Once the sentiment is stamped, an easy way to adhere the acetate to the card front is to use brads. Punch holes through both the acetate and card front. Make sure to use double-sided foam tape to "hide" the legs in the back.


Attach the card front to a 6 1/4 x 3 1/4 base for a clean look in the back. Since the mini slimline cards are roughly 6 1/4 x 3 1/4, I still use a top folding A2 base with my pre-printed logo on it. I just cut it down to size. The envelopes I use are #7 (6 1/2 x 3 1/2) and work perfectly. 


And that is it! I use the "friend" die in gold on two cards that matched the brads on the cards. 


I hope you like today's cards and let me know which is your favorite!!!

Talk soon, 


Sunday, April 16, 2017

Thanks a Bunch!

How about a fun background using a single stamp and sparkly water colors?
I found a very inexpensive watercolor set at Michael’s (Artist’s Loft Pearlescent Watercolor Pan Set – $5) and decided "what could I lose?" They are really sparkly and fun up close. I used the new April Set – Mason Jar Bouquet offered a perfect flower and sentiment.
My water color was pretty quick and easy. I let it air dry then I used a techniques from Jennifer McGuire to iron off the embossing powder on the flowers so the background was flat and ready for the sentiment.

This was a fun technique – I hope you were inspired and I encourage you to try it!
Lyn

Monday, February 16, 2015

Watercolor Resist Tutorial

Hello sweet friends…it's Monday and that means it's time for a Design Diva Demo!   At the end of this month our church is having a women's retreat.  I'll be rooming with two precious ladies from our church, so I decided to make a set of notecards for each of them.  
It's Cathy here and it is my turn to share a demo with you.  I love trying new techniques and the one I'm going to share with you today is the watercolor resist technique I used to make my set of notecards.


Start by gathering the supplies you need to make the notecards.  Choose colors and papers that coordinate.  I'm using Bo Bunny papers and the rose image from the new Parisian Postcard stamp set by Sweet 'n Sassy Stamps.

Supplies: Neenah Solar Crest Card Stock, Watercolor Paper, Designer Paper,
Matching Card Stock, Stamp Sets, VersaMark Ink Pad, Black Stamp Pad,
White Embossing Powder, Heat Tool,Watercolors or Ink Refills, Border Die,
paint brushes, twine
(Optional: Sewing Machine, Embossing Folder, Iron)
To prepare the card bases cut Neenah Solar Crest card stock to 4 1/4" x 11" and score at 5 1/2".


Cut watercolor paper into panels measuring 4" x 5 1/4".  I used Strathmore Cold Press Watercolor Paper for my project which has a smooth side and a textured side, but any watercolor paper or mixed media paper would work for this technique.


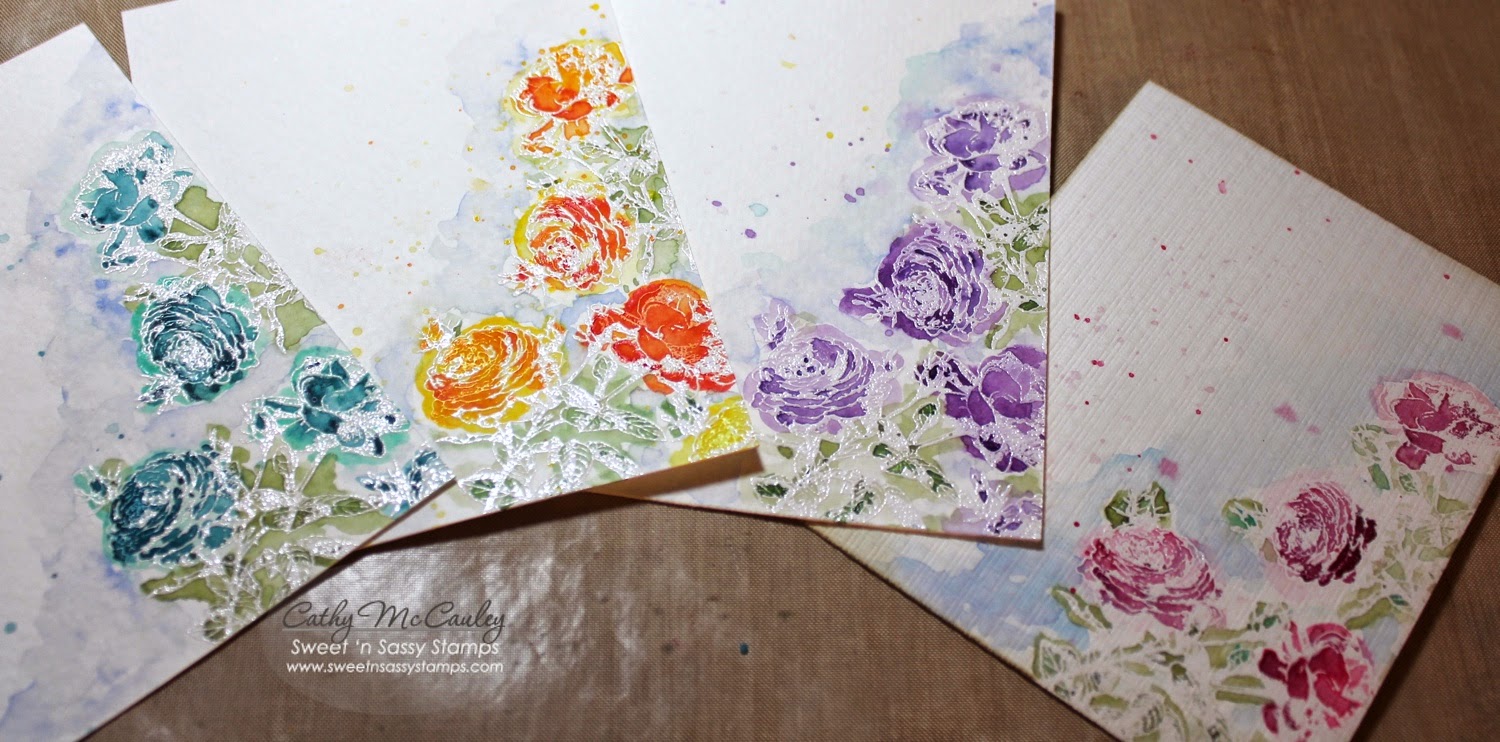
Stamp the rose from the Parisian Postcard stamp set on the smooth side of the watercolor paper with VersaMark ink and emboss with white embossing powder.  You could also use clear powder if you don't have white.  I plan where I want the stamping to go on a scrap piece of paper and use a stamp positioner to make sure the image is in the same place on all four cards.  Rub an embossing buddy over the watercolor paper before stamping to make sure the embossing powder sticks only where you want it to stick.  Click on any of the pictures to see a close up of the details.


Since these watercolors are new to me, I wanted to test the colors on scrap pieces of watercolor paper to make sure they would match my papers.


Now comes the fun part.  Use plain water to wet the areas where you want the color to be and drop the color you are using onto the wet area using a paint brush.  The water and the paint do all the work.  Start with the lightest color and keep adding darker layers for shading.  I am using a set of Kuretake Gansai Tambi watercolors, but you can use any watercolor set, distress inks, or stamp pad refills to do this step.  The embossing will resist the watercolor.  Don't be afraid to go outside the lines for a softer look.


Wait until each area is dry before moving onto the next part.  The flowers were dry before moving onto the leaves, and the background and splatters were added last.  Too much water can be dabbed off with a paper towel.  Remember…watercolors will dry lighter than they look while wet.  Each of my cards will be a different color.


I put my panels between two pieces of copy paper and ironed off some of the embossing to cut down on the shine.  If you decide to do this step, be sure to turn off the steam on your iron.  At this point, you can dry emboss your watercolored panels for extra texture if you want.  I used a Canvas Impression Plate on mine.  Now it's time to assemble the cards...I used one of my favorite layouts.  Cut border strips of DP to 1 1/4" x 5 1/4" and die cut matching pieces of card stock using the 


Attach the Doily Border to the DP strip and mount this to the left side of the watercolored panels.  I decided to stitch mine on since I love to sew on cards.


Now it's time for the finishing touches.  Sponge your edges.  Wrap some twine twice around the watercolor panel before attaching it to your card base.  The sentiments I used came from the fabulous Keep in Touch, Too stamp set which has tons of greetings perfect for any occasion.  The really cool thing about this sentiment set is that all the sentiments fit on one of the new Banner Dies!  Add a little twine bow and the cards are finished!


Wrap the finished cards in ribbon or package them however you want to give as a gift.  I made a little card purse to put mine in, but that is another tutorial for another time!  LOL!


Here are the supplies from the Sweet 'n Sassy Store that were used to 
make these cards:

  Let us know if you decide to give this fun technique a try!
Thanks so much for stopping by…have a marvelous Monday!