Showing posts with label wedding. Show all posts

Monday, May 23, 2022

Wedding Card


Esther here today with a wedding card! To create my card I inked up the 3D Doily embossing folder with gray ink, inserted a piece of light gray paper, and ran it through my machine. I lightly inked over the doily part with white pigment ink to make it stand out from the background a bit more. The dress, tux, and bouquet were stamped in waterproof ink and colored with Arteza Real Brush Pens. I used the coordinating dies to cut them out and added a die cut sentiment to one corner of the card.  Quick, easy, and elegant! 

 ~~~This post contains affiliate links at no extra cost to you~~~

Supplies and tools:


Tuesday, April 27, 2021

Congratulations on Your Wedding

 Hello Sweet Friends! Sheri here today sharing a Wedding themed card featuring the NEW Just Married stamp set from the April 2021 Release.
 
I created a simple but elegant wedding card featuring an embossed background and a little ink blending. This card can easily be duplicated and be used for a Wedding or Anniversary card.
 
To Create Card:
  1. Cut top folding card base (4 1/4" x 5 1/2" - 4 1/4" x 11", scored at 5 1/2").
  2. Cut peach mat (4" x 5 1/4")
  3. Cut peach panel (3 7/8" x 5 1/8") and emboss to add texture. I used the Cuttlebug Birds & Swirls embossing folder (retired). 
  4. Die cut Stitched Oval (2 5/8" x 3 5/8) and stamp/emboss the cake image with white embossing powder. Lightly add peach ink to image with ink blending tool. 
  5. Assemble card. I added a strip of ribbon and scattered pearls for embellishment.
Card Measurements:
White A2 Top Fold Card Base: 4 1/4" x 5 1/2" (4 1/4" x 11", scored at 5 1/2")
Peach Mat: 4" x 5 1/4"
Peach Embossed Panel:3 7/8" x 5 1/8"
Stitched Oval: 2 5/8" x 3 5/8"
 
Here's a peek in the inside...
 I stamped the cake with peach ink and then stamped the sentiment over it in black ink.


---
 

 Happy Stamping!!

Thursday, April 1, 2021

Mr. & Mrs.

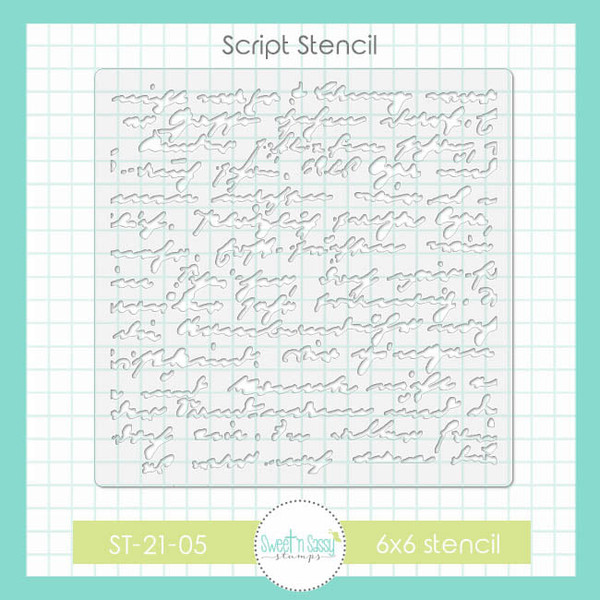
 Good morning! It’s the beginning of April already, which means there’s a great new release at SNSS! Today I am sharing a card using the new Sweet ‘n Sassy Stamps Mr. & Mrs. set and the coordinating Mr. & Mrs. Dies. I also used one of the new stencils this month…Script Stencil.

I blended a soft background with some Distress inks and then applied Versamark ink over the stencil to heat emboss it with silver embossing powder. The dress and sentiment were also embossed with silver e.p.


I added some paper doily pieces to the corners and a few sparkly white enamel dots.


Have a great day!

Diane


Thursday, May 2, 2019

happy couple


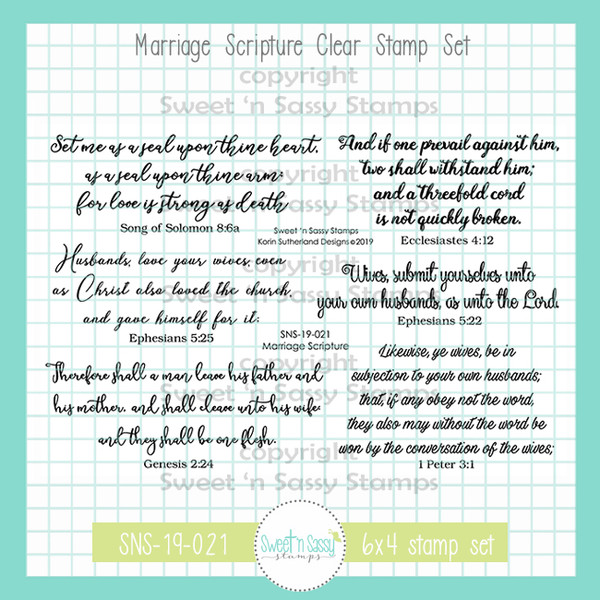
Good morning! Today I am sharing two cards using some new Sweet ‘n Sassy stamps from this month’s release. Here I used Happy Couple, Marriage Scripture, and the lovely stamp of the month, Peony Cluster.
 
The layered strip on my first card is a piece of cardstock I found in my stash that I had done the melted crayon technique on almost 20 years ago. I really need to clean out my supplies! lol. Basically, I just placed some crayon shavings (metallic crayons used here) onto my cardstock, sandwiched it between two pieces of wax paper and ironed it. I can't remember if I used regular or glossy cardstock on this piece...experiment! (I did find a quick video for this technique here).
 
 
On the inside, I used stamps from both of the wedding themed sets and kept it a classy black & white.

 
For my second card, I used the pretty peonies from this month's free set to help create the background. They were stamped with Versamark ink to keep them "softer". The cake was popped up with dimensionals.

 
Have a great day!
Diane
 

Tuesday, June 19, 2018

great guys

Good morning! I am sharing some cards today using a Sweet ‘n Sassy stamp set, Brotherly Love, from the June Release. I also used Girl Power and Bitty Minnie Alpha. I paired the guys and girls on my first card to make a wedding card.


There are a few different hats for the guys in the Brotherly Love set. I turned one into a camo hat on my second card since we have lots of hunters in our family.


These sets are very versatile and although they were designed for bible journaling, you can see they are great for cards too.
 
Have a great day!
Diane


Wednesday, April 12, 2017

Mr. and Mrs. Congratulations

Hello Everyone!!  It's Sheri Gilson here to share another card as the March/April Guest Designer. Today I have a Wedding card for you using the Floral Greetings stamp set.   I was just invited to a wedding this summer so I  thought I would get a head start on their card.

I first created a standard A2 black card base (4 1/4" x 11", scored at 5 1/2").  The sentiment is embossed directly on the card base with white fine detail embossing powder.  I then took a piece of white card stock measuring 4 1/4" X 3 3/4" and randomly stamped the floral image using Onyx Black Versafine ink and embossed it with clear detail embossing powder.  By embossing the images it added a bit of texture.  I then added a strip of black card stock to the bottom of the white stamped panel before popping it up on the card base.  Before you attach it I also added a strip of silver glitter paper to the very bottom of the card base.  I also added some white satin ribbon and a few small rhinestones.  I love how the design is elegant yet simple at the same time.  


Floral Greetings
Image 1


Thank you so much for stopping by!

Thursday, June 28, 2012

For the Bride and Groom

Hello my friends! Giovana here bringing you a Wedding Card. July is around the corner and is also a "Wedding Month", in fact, it's my wedding month :) and I although I didn't get married in the sunny summer of the United States, I enjoyed my Winter wedding in my beautiful Peru.

So, I have a Wedding Card for you today. This card is very easy. The Card Base is from "After Five Collection Card Pad" from KaiserCraft, you just need to fold it and it's ready to go. The Patterned Papers are also from the same collection.
Now, the stamp image and sentiment are from Wedding Cake Set. I stamped the image in Weathered Wood Distress Ink, die-cut and emboos it with Scallop Circle Nestabilities. Added a little bit of Pink Stickles to the bow and roses and White Opal Liquid Pearls. I embellished it with White Ribbon and paper flowers. The sentiment was stamped in Black Soot Distress Ink.
TIP: If you use Distress Inks, after the image/sentiment is stamped, let it dry for few minutes.


Hope you like my card!
Have a great day.
Giovana

Wednesday, May 16, 2012

~ Wedded Bliss ~

Happy Wednesday, Sweet N Sassy Stampers!

May 26, 1982.

Thirty years ago, I married my best friend.  It was a gorgeous spring day in Morgan Hill, California and we stood under a flower laden arch in the back yard of my aunt and uncle.  Even my aunt's goats wore bow ties.  If I think about all that we have been through in those 30 years, it makes my head spin.   But the important things is that we are happily married still to this day.

So, I felt it appropriate to make a wedding card for today's post.


I took two heart shaped wooden buttons and turned them into a bride and groom using acrylic paints and 1/2 pearls.  This sentiment from the Calla Lily set was perfect for a wedding card, don't you think?

Die cut layers with a vellum sentiment sandwiched between hover over a die cut cross.   Finally, I draped some yummy white ribbon topped with a beautiful flower.   

What do you think?
~*~*~*~
Thanks so much for stopping by!  
Hugs!