Showing posts with label Bitty Hearts Stencil. Show all posts

Saturday, December 18, 2021

Lots of Love

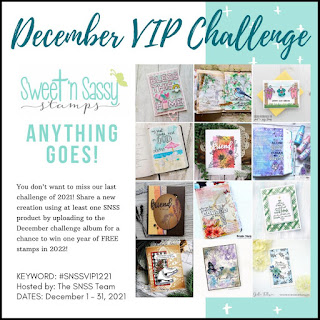
I confess, I am really enjoying the anything goes theme for the month of December in the Sweet 'n Sassy Stamps VIP Group on Facebook.  I am pulling out sets I haven't used in a while and having a blast.


I recently pulled the Lots of Love set out to use one of the sentiments on a different card. The sentiment didn't work out so I left the set on my desk. Then, I saw a sketch challenge and an idea was formed into this card. 

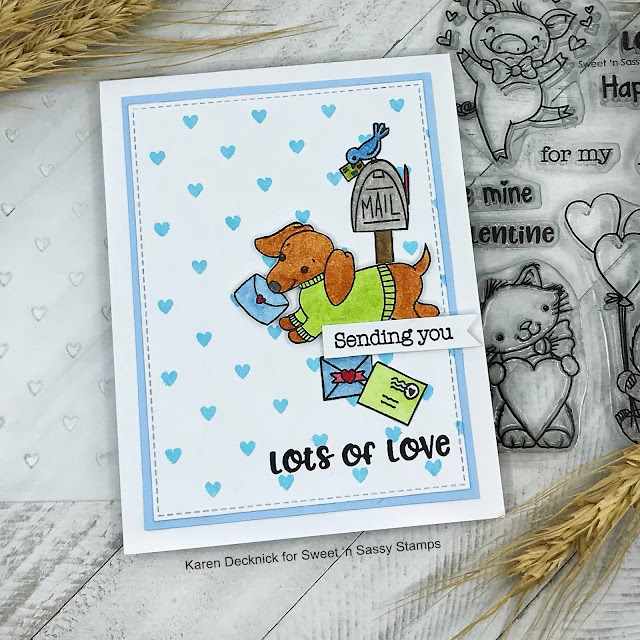
I started this card by placing the Bitty Heart stencil over a piece of white cardstock and inking up with Tumbled Glass distress oxide ink. I die cut the panel, matted it with Bashful Blue and placed on a white card base.

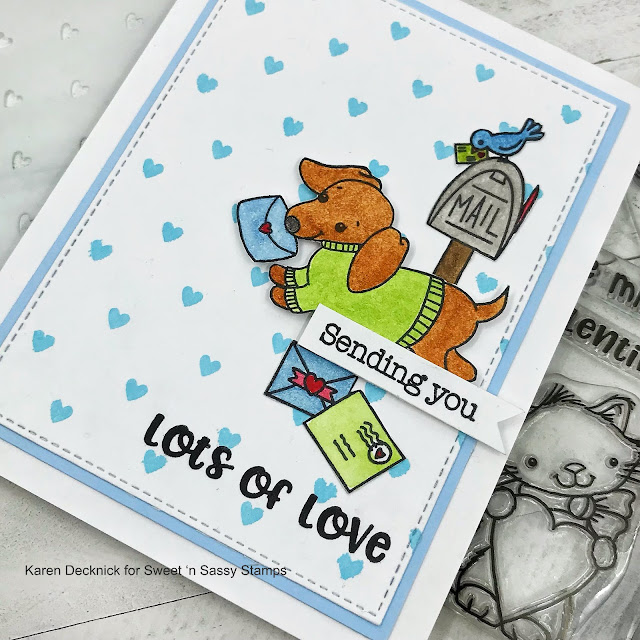
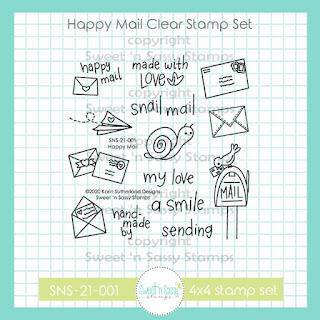
I stamped the sentiments and images from Lots of Love and Happy Mail with VersaFine Clair Nocturne ink. I colored the images with Prima watercolors(#'s 15, 86, 87, 91, 93, 121 and 128) and fussy cut out. I arranged the images and glued them down with Bearly Art craft glue, popping the dog and sentiment strip up with foam tape.

I just love this sweet set!


 Sweet 'n Sassy Stamps VIP Group


 Bitty Hearts Stencil


I hope you enjoyed today's card and thanks so much for stopping by!

Karen

Saturday, June 19, 2021

Oh Baby

Happy Saturday! I'm sharing two baby cards with you today featuring the Oh Baby stamps and dies, Grunge Stripe background, and Bitty Hearts stencil from the June Release. I paired them with the sentiment set Baby Innies to create some sweet baby cards.


For my first card, I chose a muted color combination. I stamped the overalls and duck on Strathmore Bristol smooth cardstock with VersaFine Clair Nocturne ink. I colored the images with Arteza Brush Pens and die cut. I stenciled the hearts on Barely Banana and Kraft cardstock with coordinating ink and die cut with stitched rectangle dies. I assembled the card on a Certainly Celery card base, stamping the sentiment on the same color and popping the outfit up with foam tape.


I decided to decorate the inside of the card. I trimmed a piece of white cardstock so it would leave a border of green around the edge. I stamped the ducks and sentiment with black ink and colored the ducks. I had an extra duck colored and die cut so I decided to place it next to the sentiment. I don't often decorate the inside of my cards, but I thought it added a nice touch on the baby card.


For my second card, I chose to use the same colors but a different image. I began by stamping three onsies on bristol smooth cardstock. I added the ducks to the front, colored with Arteza brush pens and die cut. I stamped the Grunge Stripe background in two different directions to create a plaid background using Barely Banana cardstock and ink. I got the idea to use the background stamp to create a plaid from fellow design team member Diane. I die cut the yellow panel, stamped the sentiment and assembled as seen popping the panel up with foam tape on a white card base. 


Thanks so much for stopping by and have a wonderful day!

Karen

Thursday, June 3, 2021

snail village

 Good morning! It’s the beginning of June already, which means there’s a great new release at SNSS! Today I am sharing a few cards using the new Sweet ‘n Sassy Stamps Snail Village Stamp & Die Bundle (also available separately), Botanical Branches, Grunge Stripe Background (the Stamp of the Month!), and the Bitty Hearts Stencil.

I made a soft background for the snail with the new Botanical Branches on my first card. Then I added some colorful, whimsical stripes to go with the "cheerful shello" sentiment. The sentiment was popped with foam tape.


My next two cards are pretty CAS. I used a single stripe from the Grunge Stripe Background here to create a road or path. The snail and balloon are popped up.


I stenciled and sponged the background on the right side of my last card. The mushroom house was cut & layered over top. This is such a cute set!


Have a great day!
Diane