Showing posts with label Get Well Critters. Show all posts

Wednesday, June 23, 2021

Jar of Blessings


Hi friends! It's Julee popping in today with a card made with a mash-up of old and new stamps and dies. As soon as I saw the Botanical Branches set, I knew I wanted to add these to a mason jar. Cue the mason jar from the Get Well Critters set.  I stamped the jar, then masked off the lid to stamp the branches. I then colored with Copics, accented with stickles and hand trimmed.

The background of the card is done with the June Stamp of the Month, Grunge Stripe Background. I really love this background! I stamped on kraft with brown ink, then sponged around the edges with brown ink for a glow in the center.


The horizontal strip is soft sky cardstock stamped with the swiss dot pattern from the Texture Tiles 8 set. I cut the Blessings Word Die several times from white and then kraft paper, then layered them together for depth and sponged just the bottom portion with black ink. The many is from the So Grateful set and I popped it up on dimensionals above the die cut sentiment to finish off the card.

Thanks so much for stopping by today! I hope your day is filled with blessings.


Tuesday, November 8, 2016

CAS Cards Using Sentiments as a Background Design


Hi crafty friends! Today I'm sharing a few clean and simple (CAS) cards that use the sentiment as a background design. Now, I confess that I saw a similar technique on a Jennifer McQuire video. *smile* I loves the idea so much that I ran straight into my craft room and whipped up these two cards!

These couldn't be easier to create and there are so many options for how to vary this idea...You can use sentiments to stamp all over a card base, similar to this card that I made a few weeks ago, you can stamp in just one color, stamp, emboss, and watercolor...the options are limitless!

I decided to go with an ombre effect, using similar colors to create the background. Since SNSS stamps are clear, lining them up in super easy, but you could use a Misti tool for stamping as well. I used Distress Inks for all of my stamping, with the exception of the little critters, who were stamped in Memento Ink and colored with Copics. Each of my little guys were attached on to of the sentiment backgrounds using foam tape.

This type of design is perfect for quickly creating a bunch of cards that can be used for a whole host of occasions. That's some of my favorite type of stamping...fast, easy, and oh so cute!

Happy Crafting!!

Stamp sets used:

Monday, October 3, 2016

Feel Better Soon

Hello friends, Stephanie here sharing a card that has been in my head for weeks and I just managed to get it on paper now.   For my card I am using 2 sets from Sweet 'n Sassy Stamps, Scribble Flowers and Get Well Critters.  First I stamped the jar from Get Well Critters and then I stamped and colored the flowers and bee from Scribble Flowers, colored them with copics and die cut them.  I just love die cuts that match the stamps, so much easier than fussy cutting! :)  My background papers are from Market Street.  I added some stickles to the bee's wings for some bling but it is hard to see in the photo.  My sentiment is from Get Well Critters.

Monday, July 25, 2016

Caught a Bug

Hi friends! Kim here today to share a fun card I created a few weeks ago, using the Get Well Critters stamp set. Seriously, is this not the cutest little set ever! Caught a bug...bug in the jar...I can't even stand it. This, my friends, is my sort of humor. LOL!

The stamp set includes nine images and 18 sentiments, and it's perfect for creating little scenes...or shaker cards!

I created the shaker portion by stamping the jar image and using scissors to cut out the "glass" part. I stuck the bug on with foam tape, after coloring with Copics, added the mica flakes, and back the jar with designer paper that contains just the slightest hint of text. The other images were stamped and colored with Copics as well. The band-aid was stamped on a separate sheet of cardstock, cut out and attached with foam tape. The flower centers got tiny pearls and I covered the heart on the band-aid with glossy accents. The sentiment was stamped in VersaMark and embossed with white embossing powder. Here's a closer look at the completed card:

I hope you enjoyed today's project! I'm a little obsessed with shaker cards lately...how about you?

Sunday, July 24, 2016

Uh Oh! Heard You Caught a Bug


Happy Sunday Sweet 'n Sassy Friends!

It's Susie here to share another card using the Get Well Critters clear stamp set. I love all the adorable images and sentiments in this set!  I can see many
 more get well cards in my stamping future!

Here is a look at this fun stamp set:


Have a fantastic day and stay tuned for more great creative team projects.

Susie

Thursday, June 30, 2016

Sorry to Hear of Your Accident


Happy Thursday Sweet 'n Sassy Friends!

It's Susie here to share a card using the Get Well Critters clear stamp set. 

I colored the poor broken-armed chicken with Copic markers and then added my sentiment and a few enamel dots.  I added a black mat to my circle and then adhered it to my card.  I added an additional sentiment and some splatters to finish my card.

Here is a look at the stamp set I used. There are so many adorable images.  
It was hard to choose just one!


Have a fantastic day and stay tuned for more great creative team projects.

Susie

Friday, June 10, 2016

Get Well Chicken

Hello! It's Monika here today, with a get well card.

I have a friend who loves chickens. She recently had to have a hand operation, so I wanted to make a card for her with the sweet chicken from Get Well Critters clear stamp set. I knew she'd get a kick out of it...


While I did not use the coordinating die set (Get Well Critters Die set), I used some of my favorite dies to make the scene. It might seem familiar, since I used these dies before... remember?


To build the fun scene, I used Hillside EdgesBare Tree, Happy Happy, and Fence & Grass (currently unavailable) Die sets.

For the greeting, I used Get Well Innies clear stamp set.
 
Thank for stopping by,
Monika


Saturday, October 10, 2015

Hawaiian Chicken...yum!

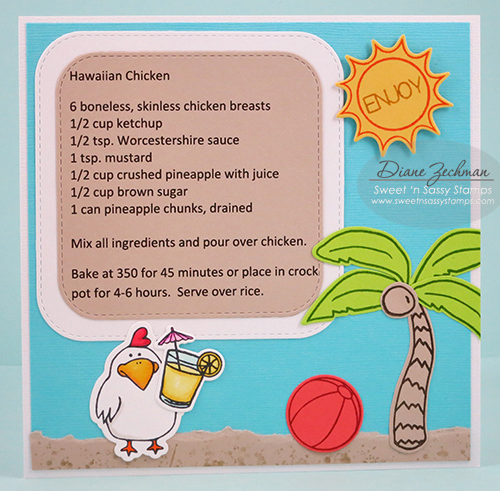
Hello!  Today I am sharing one of my favorite recipes in a 6x6 format. While you are reading this, I am spending the day stamping with good friends from NY and PA.  This recipe was scrapped for one of the swaps we are having.


I stamped the little chicken from my Get Well Critters stamp set.  I didn't want his bandaged wing to show since I was doing a Hawaiian scene, so I gave him a tropical drink to cover it up!  ;)  The drink, sun, beach ball, and palm tree are from the Wish You Were Here stamp set.  And I gave the sand a little "texture" by stamping some speckles from Grunge Elements.


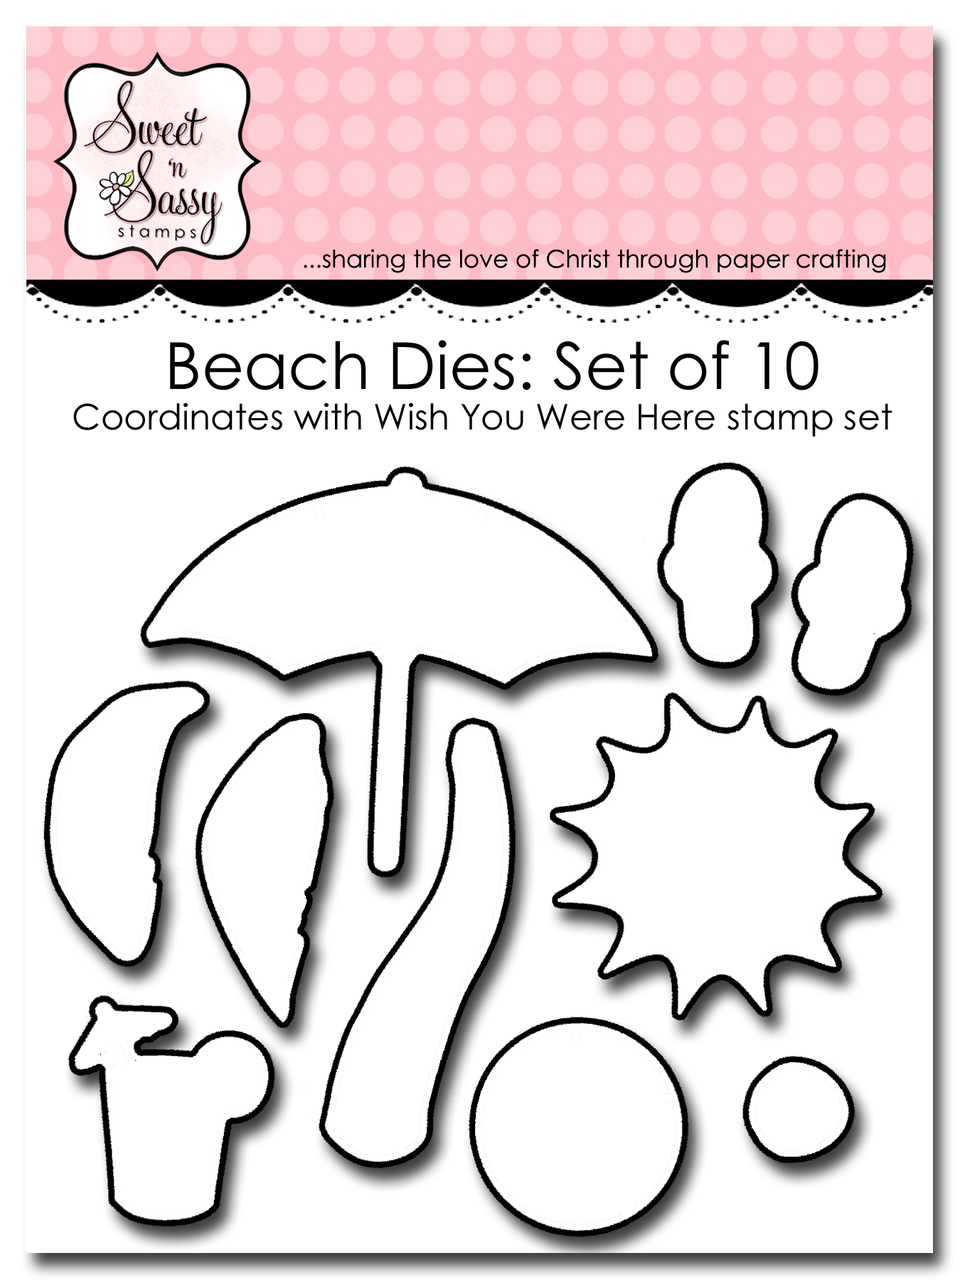
The Get Well Critters Dies and Beach Dies made cutting all the pieces out a snap!
 
Thanks for stopping by today!  I hope you try the recipe... and like it!
Diane


Saturday, October 3, 2015

Just Chicken in On You!

I love this funny little chicken from Get Well Critters:
I stamped with Memento Tuxedo Black ink and then colored in using Copic markers. I added some piercing around the edge and some fun little embellishments (button, cork arrow sticker, mini clothespin), and used contrasting designer paper.

This is such a great set that can be used for lots of occasions with all those cute images! 

Hope your weekend has no "fowls"!

Thursday, August 27, 2015

Get Well Critter(s)...

Hello! It's Monika here today with a get well card. It was made for a teenage boy so I kept it somewhat neutral...


I stamped the sweet image from Get Well Critters Clear Stamp Set on water color card stock with Jet Black Archival ink and water colored it with Gansai Tambi Kuratake water color. Then I cut the image out... while I hand cut the image, there is a coordinating die: Get Well Critters Die Set.
To make the background, I swiped (smooshed) Onyx Black Memento ink on my craft sheet, spritzed it with water, and laid my water color card stock on top... then I heat dried the card stock.
The grass was cut with the Fence & Grass Die Set.
The bottom of the card stock was covered with washi tape.
 

 Thank you for stopping by today,
Monika


Tuesday, July 7, 2015

Chickie On The Mend

{jane bosi}  Happy Tuesday, Sweet Friends!!  Some sweet little chickie I know busted up her wing the other day.  I thought it would be sweet, since she is an animal lover and all, to send her this little card!

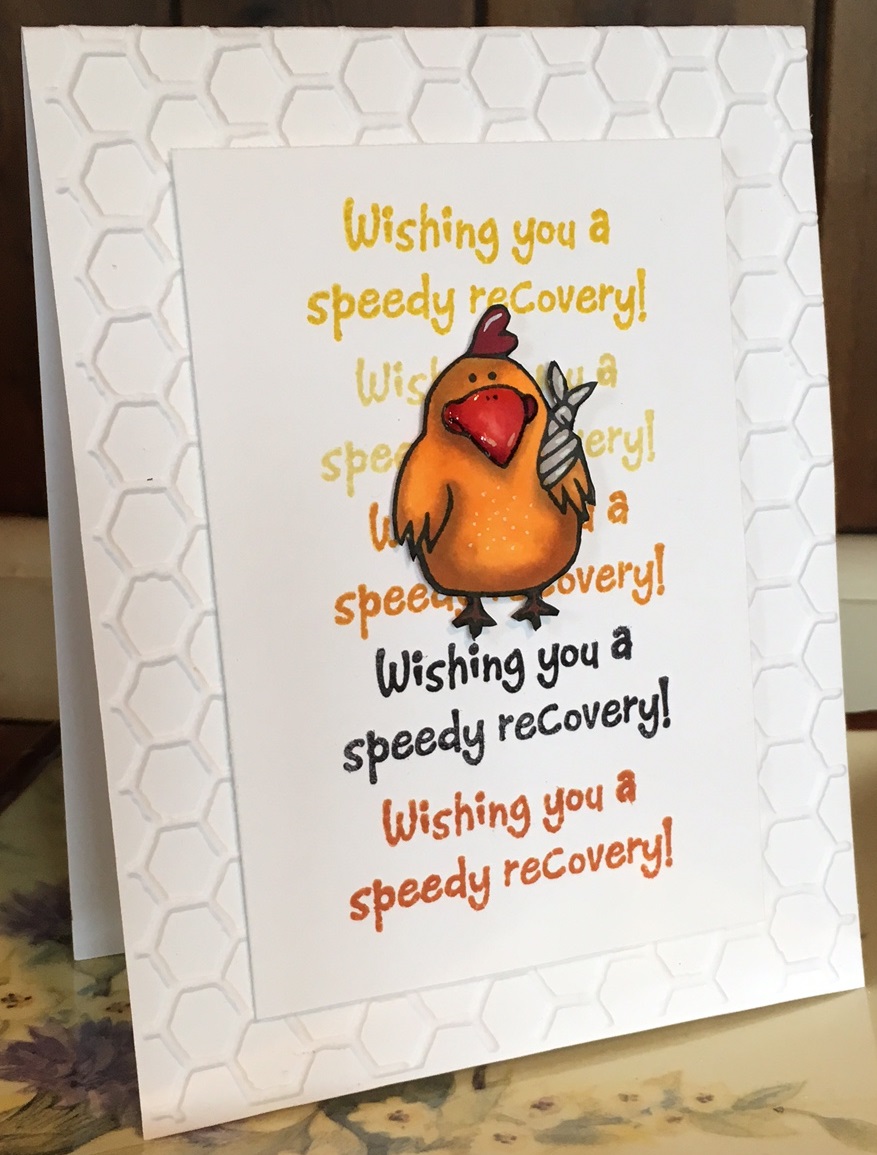
I created the background by repeatedly stamping the busted wing chick from Get Well Critters using a grey ink.  On a separate piece of white cardstock, I stamped the chick again using Memento black and colored with alcohol markers.  After die cutting the image, I popped it up on dimensional tape.  I added the sentiment, also from Get Well Critters.

I sure hope she likes it, and, more importantly, feels better soon!

Be awesome!  TTFN--Jane

I got crafty with: 


Monday, April 6, 2015

Sweet! A Tutorial......

{Jane Bosi}  Happy Monday, Sweet Friends!  It's time for a project tutorial and, I have a SWEET one to share!  A few weeks ago, I shared this cute little owl candy box on my blog.  If you are interested in the back story, you'll see it there.  Today, you'll need a scoring tool, scissors, card stock (4 1/2" x 12"), ruler, pencil and adhesive.
Along the 4 1/2" side of the card stock, score at 3/4" and 3 3/4".  Rotate the card stock and score along the 12" length at 3/4", 2 3/4", 3 1/2", 5 1/2", 6 1/4", 8 1/4", 9", 11" and 11 3/4".
Remove the card stock from the paper scoring tool, but maintain the orientation as shown. The next step involves marking points on the first five vertical score lines.  You will be working on the wrong side of the card stock--your lines and marks will not show on the finished box.  You will measure from the top horizontal score along the 3/4" vertical score and mark a point at 5/8"; similarly, mark points along the 2 3/4" and 3 1/2" vertical scores at 1"; on the 5 1/2" vertical score mark a point at 5/8" and finally, on the 6 1/4" vertical score mark a point at 1/2".
 

Use your straight edge and pencil to connect each dot with a straight line.  This is the cut line which divides the card stock and creates the pour top! 
Continue moving down the card stock to the next two vertical score lines.  Between these scores, you will create the pour spout.  Measure approximately 1/4" from the horizontal score.  Mark a slightly curved lined between the two vertical scores.  Roughly 1/2" from the first mark, make a similar line, as shown.
 Using scissors, snip the 3/4" vertical scores that extend beyond the top and bottom horizontal score lines.  This will create 10 flaps on the bottom and 10 flaps on the top. 
For the purpose of this tutorial, I have numbered the flaps, from left to right,  for ease of omitting the correct spaces.  I have also "x" the sections to discard.  On the top row, omit section 1, 5 and 10.  On the bottom, omit 1, 3, 5, 6, 8, and 10.  I've also angle cut the smaller flaps as this will make them easier to fold and secure when building the box.

 Cut from the edge along the entire marked line, as shown.  Also, remove the interior of the pour spout.
 Apply adhesive to the small 1/4" tab on the right end.  Place the adhesive on the right (outside) side of the card stock  Folding along the scores, fashion the box frame.  In addition, adhere the box top closed.
On the opposite end, place adhesive on the wrong (inside) side of the cardstock.  Wrap this portion around the box frame and secure with the adhesive.  Do the same with the upper portion.  Fold the top flaps in to close and adhere the box top.  The top of the box functions on a hinge of sorts.  Therefore, the smaller end flap may need to be trimmed before securing it to the spine. 
Below, are two pictures of the assembled box and the box top function.  The final picture shows how I trimmed the smaller top flap prior to securing it with adhesive.  It is also important to note that the box should not be "opened" more than as shown.  The top should slide up just enough to reveal the pour spout and dispense the candy.
 Decorate as desired!!  I chose a colorful jar full of sweets from the Get Well Critters stamp set.  I used an eraser and lots of inks to fill my jar :)  The sentiments are both from So Sweet Cocoa.
 
Have a sweet day and don't forget to be awesome!
TTFN, Jane