Hello! I’m sharing a different type of project today for the Sweet ‘n Sassy Stamps May release. I started making cards recently for our church card ministry and I thought it would also be nice to decorate some mini composition notepads that people can use for sermon notes, prayer journals, etc. I picked the notepads up at Walmart. They are pretty colors in packs of three.
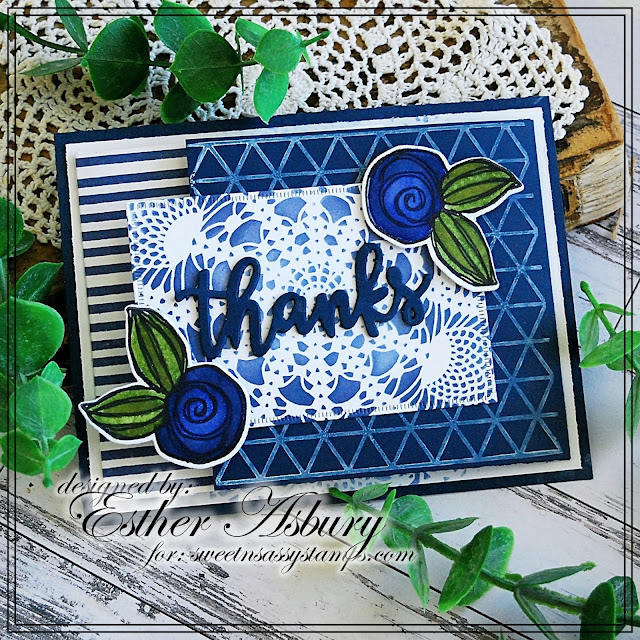
Happy Monday! Esther here today with fun fold thank you card all done up in blues (my favorite
color!). I used several NEW products including the doily stencil,
geometric background stamp, and those pretty scallop border dies.
~~~This post contains affiliate links at no extra cost to you~~~
I
just love the elegance of that doily stencil, so I included it on the
inside of my card as well as the front panel. It's light enough that I
can write my message over top.
Good morning! I can't believe that it’s July already, although it has been a scorcher here the past few days! The beginning of a new month means there’s a great new release at SNSS! Today I am sharing a few cards using the new Sweet ‘n Sassy StampsSummer Vibes Stamp & Die Bundle (also available separately). For my first card, I also used Fern Background and Scribble Flowers with matching Dies (also in a bundle). I started by stamping the ferns around the outside edges. Then I stamped a few images in the center and cut/layered a few images on top.
For my second card, I heat embossed the flower on the top & left of the card front with black embossing powder. Then I layered some additional flowers and the sentiment which were embossed with gold. A piece of gold washi tape was added to the bottom.
Happy Monday! Did you know that Sweet n Sassy Stamps recently added several new die sets to the store? One of the sets they added coordinates with their awesome Scribble
Flowers that I used on my bright and cheery card for today. (To check out their entire steel die collection click here)
~~~This post contains affiliate links at no extra cost to you~~~
(This post may include affiliate links at no cost to you.)
Today I have two different projects using an all time favorite Sweet N Sassy Stamp - Scribble Flowers.
The first project is a CAS card with some very unique pieces. I stamped the Texture Tiles 11 Background onto a piece of tissue paper with archival ink. I adhered it onto a piece of cardstock I cut it into strips with a pierced die then I inked up each piece with Distress Oxides and added it to a card base. Then I water colored the leaf from Scribble Flowers in coordinating colors, fussy cut it, and glued it onto the card. A simple Birthday greeting from Birthday Wordfetti and that is all there is to this one.
My next project is a mixed media ATC Coin. These little canvases are so much fun to work on and this little 2.5" circle has a lot going on.
I created the background with Distress Oxides and the smooshing technique. Using Archival Inks and the Typewriter Text Background, I added a little texture. Then I Copic colored the Flower and bee from Scribble Flowers. Finally, I added a sentiment from the Faith Wordfetti Set and that is all there is to this one. I really love it!
I hope you were inspired today! Thanks for stopping by! Lyn
PS - The entire store in on sale for 15% off until the 31st if you want to grab any of these sets!
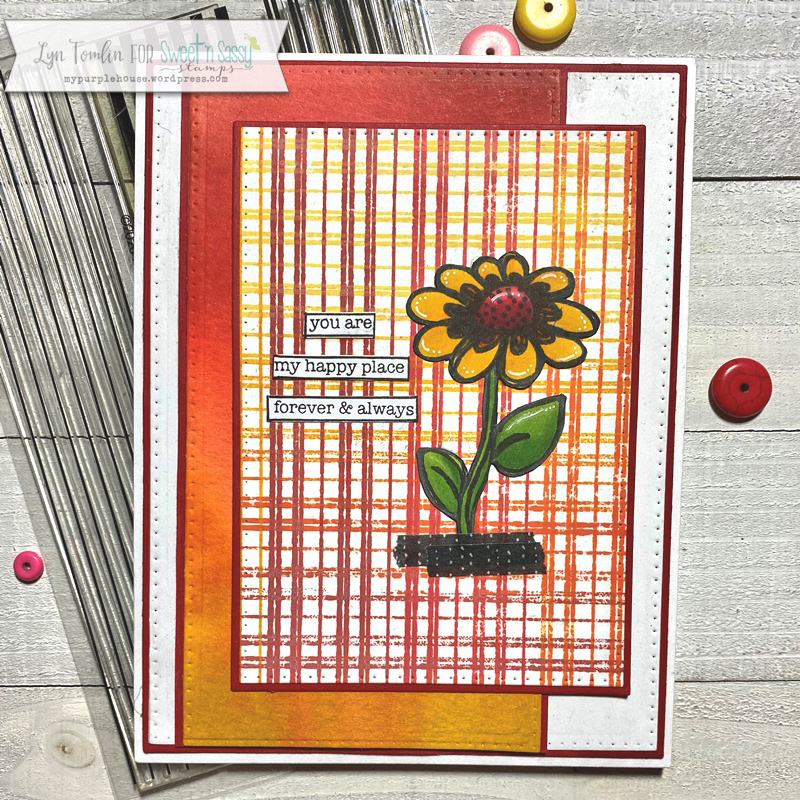
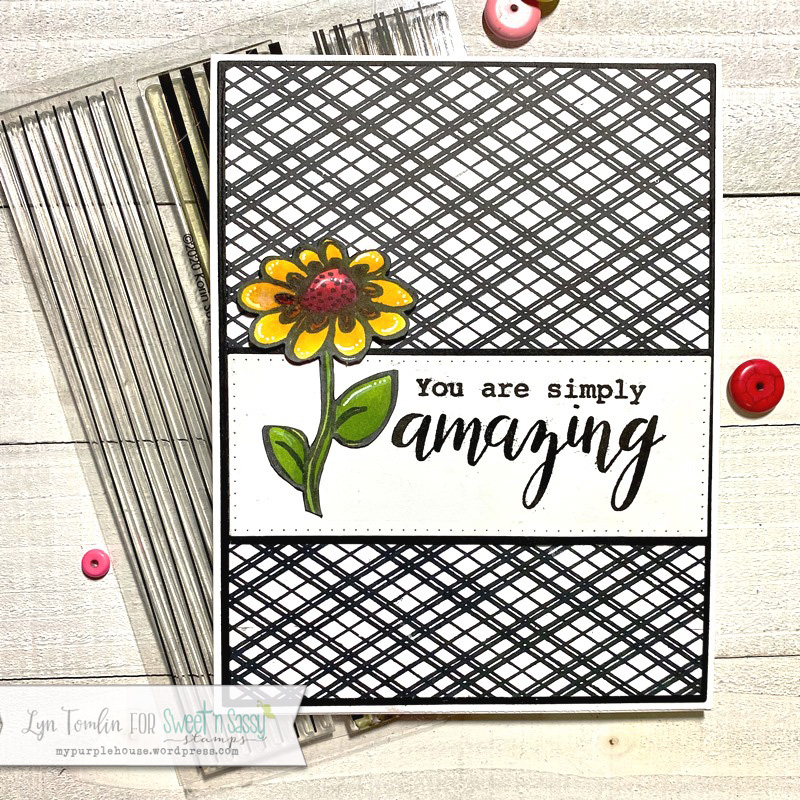
Today I have a couple of cards to share using the new Background Builder Stripes set. This set has so many possibilities but I decided to go plaid with my cards. One straight up and across and the other on the diagonal. I also decided to play in my stash and I found two colored up flowers (from Scribble Flowers set) left over from a recent ATC coin swap with the SNSS DT that seemed to be the perfect fit for both cards... How could I not use them?
Card number one uses distress inks in reds and yellows I tried to go ombre-ish with my plaid in both directions. I added my flower (grounded with some washi) and then used one of my favorite sentiments by clipping out some of the phrases from the Texture Tiles 7 word block. For some reason, I just love those tiny words.
Card number two used black ink (VersaClair Nocturne) to create a diagonal plaid - I love this plaid so much!! I will be creating lots more of these backgrounds. I created a wide strip for the sentiment from My Thoughts of You and added another Scribble Flower.
I hope you are inspired to play with this stripe background builder. I can't wait to see what you come up with!
Hello everyone, today I want to show you a card I made with the encouraging thoughts stamp set and the scribble flowers set. This card is pretty easy to make and a great way to let someone know you're thinking about them.
I made a background with soft hearts on white paper with a stencil and some green ink. After that I stamped the sentence and image on it. I colored the image with watercolor markers and blended the green color to a lighter shade in the top of the leaves.
I added a bit of Wink of Stella on top of the leaves to give them a bit more sparkles. To finish the card I added a couple of sequins and adhered everything on a blue-green background.
Happy Friday friends!! Today I have a journal page I created in my 6x6 disc bound journal.
I pulled out quite a few stamp sets to put this one together - here we go... First, I covered my page with Acrylic paints and stamped some background texture with Archival ink and pieces from Gear Up and clock hands from Time Well Spent.
I colored up some Scribble Flowers and fussy cut them and the big clock face from Time Well Spent and tried to channel my inner Gayle Bond to create a flower bouquet. I inked up the Bitty Minnie Alphas and the new this month alpha called Country Fair for my focal sentiment. I also inked the scripture sentiment from Begin Again to put on the back of my page. I inked around the page and added some splatters to finish it off. It is a little messy, but it was a lot of fun to create and I really like the final page. What do you think? Thanks for stopping by!
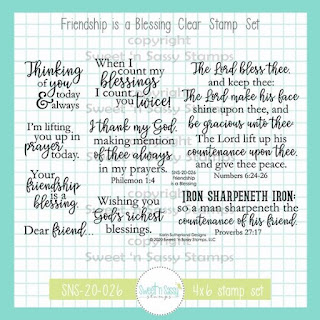
Hello everyone! Today I want to share this card I made for a friend with you. The messages on 'Friendship is a Blessing' are so beautiful and great to use for cards for friends that you can't see during this time.
I used kraft colored paper for my card and added a white background with ink and a stencil. After that I stamped the message onto the card with the leave (from the Scribble Flowers stamp set) underneath it. I colored the image with colored pencils. I added a couple of sequins, and that's it! A quick way to make a beautiful card.
Hello Friends! Esther here sharing two cards that feature the Scribble Flowers stamp set.
For
this first one, I added some colorburst powders to a dictionary page,
spritzed with water, and heat set. I then stamped my flowers in black
ink and fussy cut them. You'll notice I "dressed up" the centers with
some circle punched dots -- sometimes it's the little things that
take your card to the next level!
~~~This post contains affiliate links at no extra cost to you~~~
For my second card I used two of the new releases for April to create a
fun library card focal point and decorated the corners with some of the
pretty florals from Scribble Flowers.
~~~This post contains affiliate links at no extra cost to you~~~
It's Ceal here to share a couple cards using background techniques to show off our new set, Hymn Word Art. I Love these focal point greetings and there is no better way to showcase them than on a pretty background.
For my first sample I started with a top folding white note card and a panel of Black Onyx for the mat. To create the border I used one of the flowers out of the Happy Day set and stamped it without the leaves. I heat embossed them in white and then using some Gina K inks, I created the rainbow background.
For my second card I also started with a white top folding note card and a white panel. To created a subtile resist background using the leaves from the Scribble Flowers and The Itty Bitty Blossoms sets. I randomly stamped the leaves with Versamark ink over the panel and then blended distress ink. It's hard to see but there are leaves in the background.