Showing posts with label Bookmarks & More dies. Show all posts

Thursday, March 18, 2021

fern background

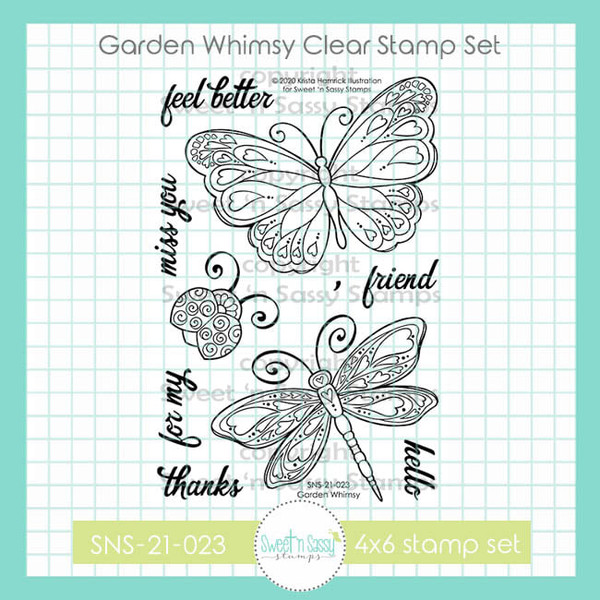
Good morning! Today I have 2 cards in which I used the March Stamp of the Month: Fern Background, along with Garden Whimsy and Happy Day. For the white border on my first card and the die cut center on the second one, I also used Bookmarks & More Dies.

The fern stamp makes such a pretty background and I love it in purple! I definitely need to make more purple cards! I embossed a little texture on the black layer and colored the flowers with Copic markers. 


The second card turned out bright and fun. I blended a few colors of Distress ink and stamped the ferns on top. The panel was cut down and layered onto a horizontal gate-fold card. I used a die from Bookmarks & More Dies to cut a window in the center. (I lined it up, cut one side, then lined it back up and cut the other side.) A left-over strip from the background was adhered to the left side of the card. The dragonfly was stamped onto another piece of ink-blended cardstock. This time I added a bit of blue.


The card opened...I added the scrap pieces that were die cut from the front panel to the inside.


Have a great day!
Diane


Saturday, March 6, 2021

Your Kindness

Good morning Sweet 'n Sassy Stamp friends! Today I am excited to share this card with you. I recently received the sentiment set Kindness Matters and I am so glad I finally got it. I love the mix of fonts and different ways to put the sentiments together! 


I paired the sentiment set with a few other goodies to create this bright and bold thank you card. I started by creating the background with the Delightfully Delicate Stencil and picked raspberry distress oxide ink on white cardstock. I love this stencil! I layered the white panel on black and attached to a pink passion card base.

Then, I cut one of the bookmarks from Bookmarks & More Dies, trimmed it to fit the stenciled panel and stamped the sentiments from Kindness Matters with VeraFine Clair Nocturne ink. Next, I embossed the three flowers from Happy Day with VersaMark and black embossing powder on white cardstock. I colored them with watercolor brush pens and fussy cut out. Finally, I attached the flowers popping the two bigger flowers up with foam tape.


I hope you enjoyed today's card and thanks for stopping by!

Karen

Wednesday, January 13, 2016

Valentine Bookmark

Hello! It's Monika here today bringing you a sweet bookmark. Valentin's Day is just around the corner so I decided to make my project extra SWEET!
 
The bookmark shape was die-cut with the Bookmarks & More die set. I used the cute little teddy from Valentine Critters clear stamp set. To make it quick and easy, I stamped the image on a piece of designer paper, then fussy cut it. Just a note: if you don't like cutting, the stamp set has a coordinating die set.
 
 
The background was stamped with the hearts from Grunge Elements 2 clear stamp set.  To make the background more fun (and because the sweet bear looked a bit too sad against the simple background), I created a scene with the Bare Tree and Fence & Grass die sets. The little hearts were die-cut with the Heart die set.
 
 
I adhered couple of magnet strips inside of the front and back panels, so the bookmark would clip onto a page.
 
I hope I inspired you to create something today!
 
Thank you for stopping by,
Monika


Sunday, December 6, 2015

Bookmark This!

{jane bosi}  Happy Sunday, Sweet Friends!!  I've finally taken the time to complete this long awaited project!!  Many months ago, I purchased Bookmark Bits & Pieces and Bookmarks & More Dies so I could make bookmarks for my budding reader and his classmates!

I started by creating a box to house the 30 bookmarks.  Using a 8 1/2" x 9 3/4" piece of card stock and some strategic scoring, it was a piece of cake!  Score on the 8 1/2" side at 1 1/2", 3" and 6".  Rotate and score at 2 1/4", 3 3/4" 6" and 7 1/2".  You'll have to omit the corners and trim a few other panels, but once you get going, it will all make sense!

I decorated the bookmarks by water coloring images from Bookmark Bits & Pieces.  I cannot decide which image I like the most!  That little bookworm is awfully cute!
I also used Borders & Backgrounds, What's Up and Grunge Elements 2 to decorate the backgrounds.  This was a great way to spend the afternoon!  I sure hope they like them as much as I do!

TTFN, Jane
Monday, September 28, 2015

Cocoa Pouch--Monday Morning Technique!

{jane bosi}
Happy Monday, Sweet Friends!  Fall just seems to be the perfect time for gift making and giving--isn't it?  Today, I have a fun little self opening pouch tutorial that is perfect for sharing a treat with someone special!

To get started, you will need the following supplies:

Paper Trimmer/Scoring Tool
Cardstock/Designer Paper  6” x 8 ½”
Straight Edge & Pencil
Scissors
Decorative Edger Die or Punch
Adhesive

The steps are pretty easy, but accomplish a project with lots of WOW!
 Along the 6” side of the card stock/designer paper, score at 1” and 5”. 
Rotate the card stock and score at 4” and 8”.


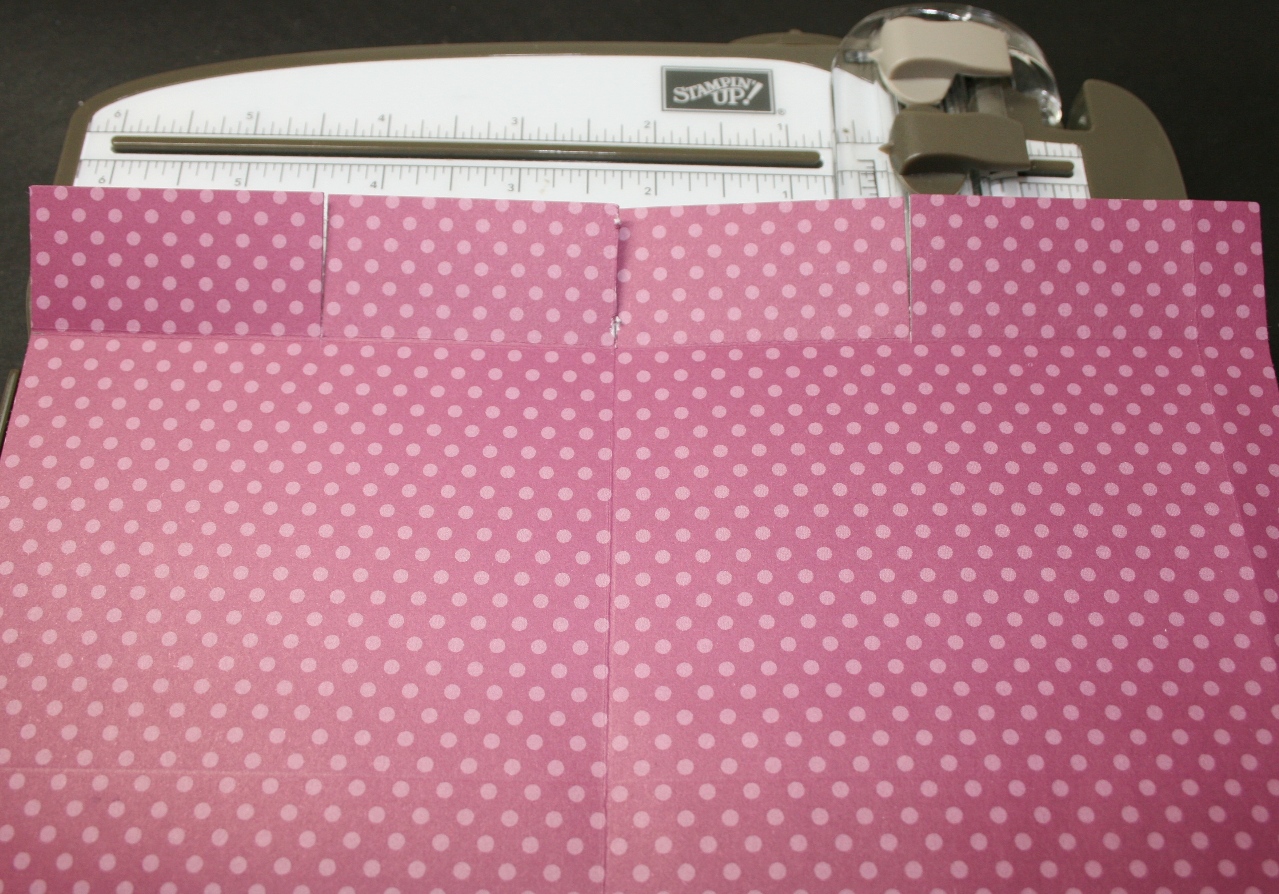
Realign the card stock so that the left edge is at 2”.  Cut from the top of the card stock to the score line.  Repeat this one inch cut at 4” and 6”.

Make a similar one inch cut, using trimmer or scissors, on the opposite side of the card stock at the 4” (middle) mark. Trim the ½” panel you will use to close the pouch by angle cutting and removing each corner.


Using a pencil and ruler, lightly draw a diagonal line, in each panel, from the center cut line to each corner, as shown. 

 Score each diagonal line and crease it, as shown.

Trim top edge with an edge die, such as the one I've used from Bookmarks & More Dies.

Place adhesive on the ½” flap and join the sides of the pouch.

 Adhere the bottom flaps.
 
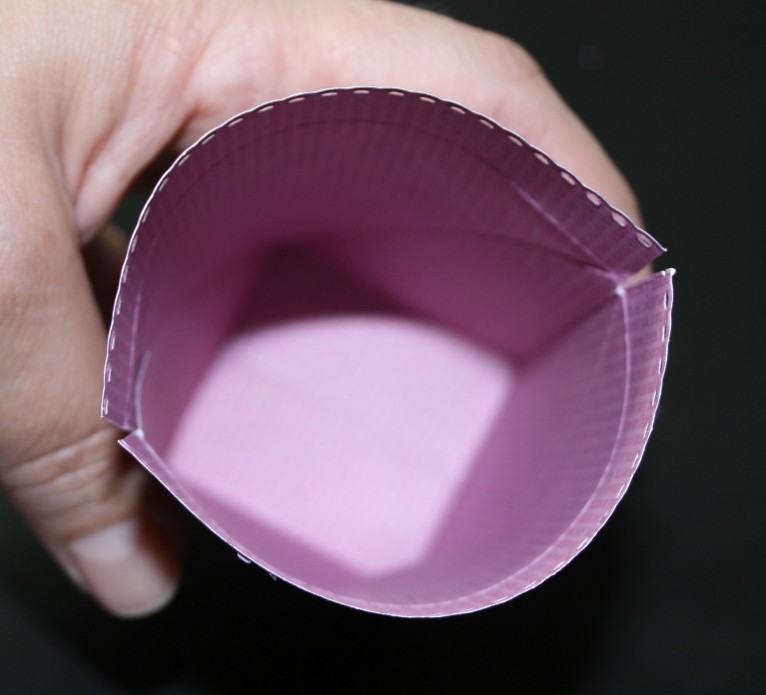
 The pouch opens when you squeeze the sides. 
Decorate and fill, as desired.
I used Winnie's Warm Wishes and matching dies, one of this month's Sweet Perks Club sets, to finish off my cocoa pouch.  Doesn't it just make you want to have a nice warm mug of chocolate?  Me too!!

Make today a great one and, don't forget to be awesome!  TTFN-Jane