Monday, August 29, 2022
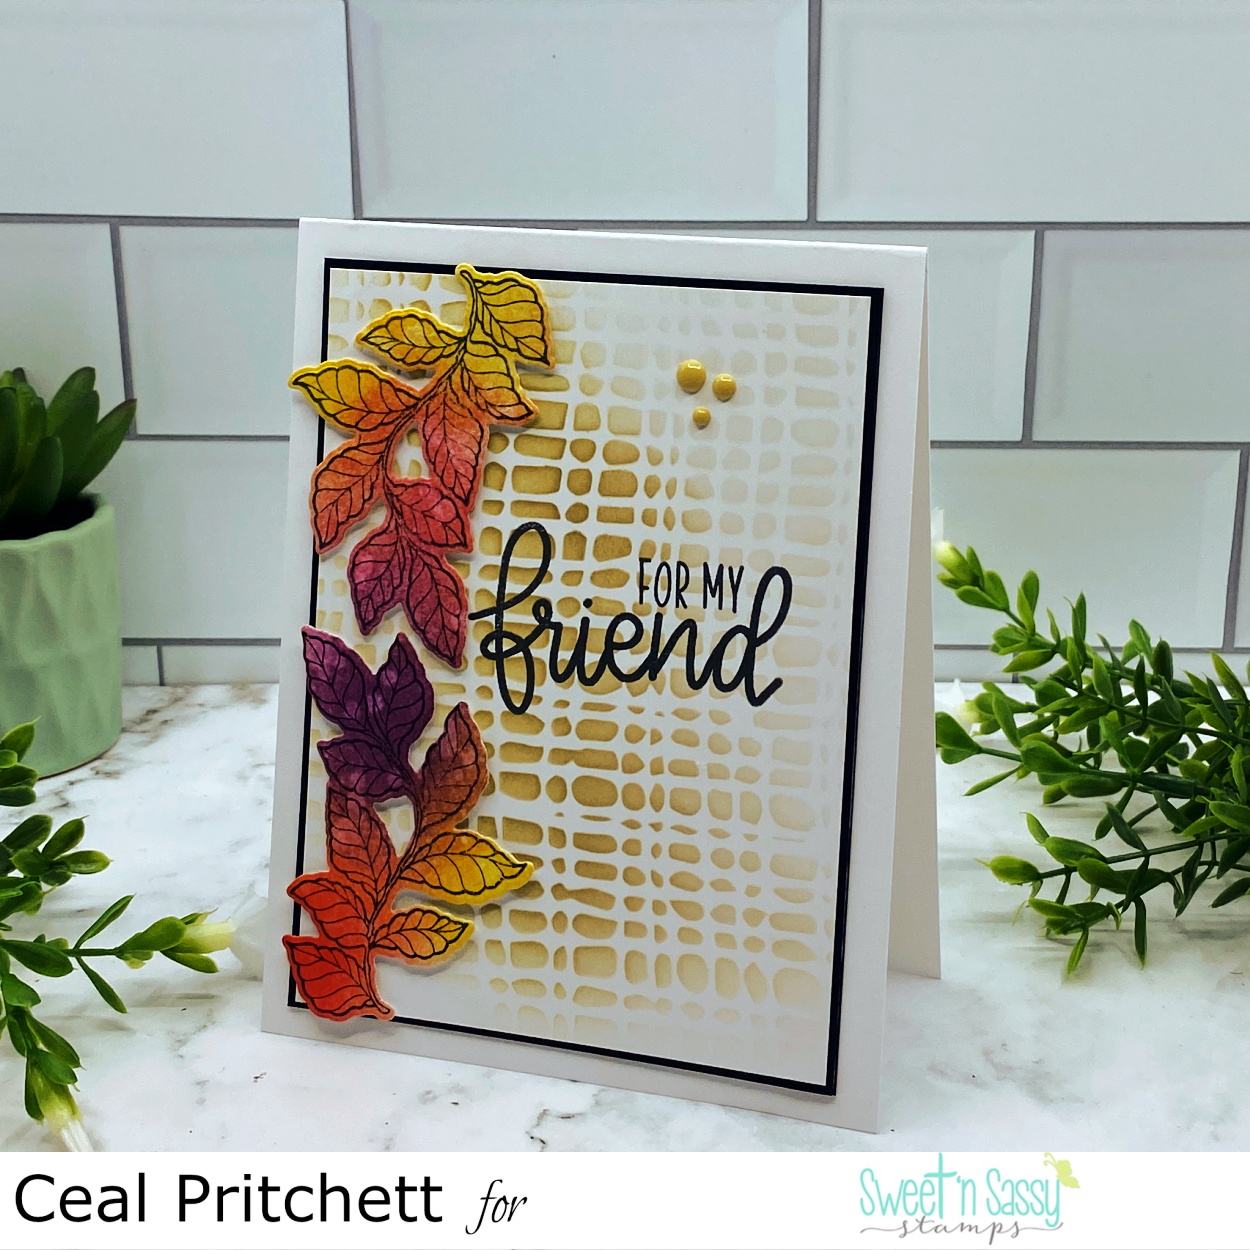
For My Friend
Friday, May 20, 2022
Mini Botanical Greetings
Happy Friday crafty friends! I hope you had a good week! Today I'm sharing a simple card using stamps from Sweet 'n Sassy Stamps.
I wanted to keep things very simple so I started with a premade mini slimline card. I trimmed another piece measuring 3 ¼ x 5 ¾. On this piece I stamped images from the Botanical Branches stamp set. Then used my Copic markers to color the images.
Next I used gold watercolor to splatter on the background. After that dried, I stamped one of the sentiments from the Everyday Greetings stamp set. To finish my card, I trimmed another piece out of pattern cardstock to glue to my card base and then I used foam tape behind the front panel to glue it to the card.
I hope you enjoyed today's blog post and that it has given you some inspiration to do something creative this weekend! For more inspiration you can follow me on Instagram.
Don't forget to checkout Sweet 'n Sassy Stamps Inspiration Hop! Make sure you click the image below to join the fun on each stop for a chance to win $25 credit to shop at Sweet 'n Sassy Stamps.
*Products mentioned contain affiliated links at no extra cost to you.*
Monday, October 25, 2021
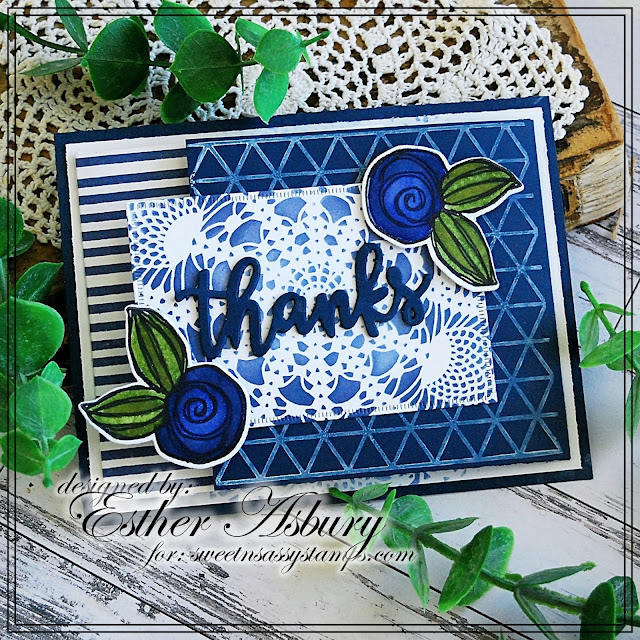
Thanks so much!
Happy Monday! Esther here today with fun fold thank you card all done up in blues (my favorite
color!). I used several NEW products including the doily stencil,
geometric background stamp, and those pretty scallop border dies.
~~~This post contains affiliate links at no extra cost to you~~~
Supplies and Tools:
- From Sweet n Sassy Stamps:
- Doily Stencil
- Geometric Background
- Scribble Flowers
- Scribble Flowers Dies
- Background Builders: Stripes
- Everyday Greetings
- Thanks Word Die
- Scallop Border Dies
- Versafine Clair Nocturne Ink
- Arteza Real Brush Pens
- Yeti Ink (Lawn Fawn)
- Chipped Sapphire Distress Oxide (Ranger)
I
just love the elegance of that doily stencil, so I included it on the
inside of my card as well as the front panel. It's light enough that I
can write my message over top.
Monday, June 28, 2021
Just a Note
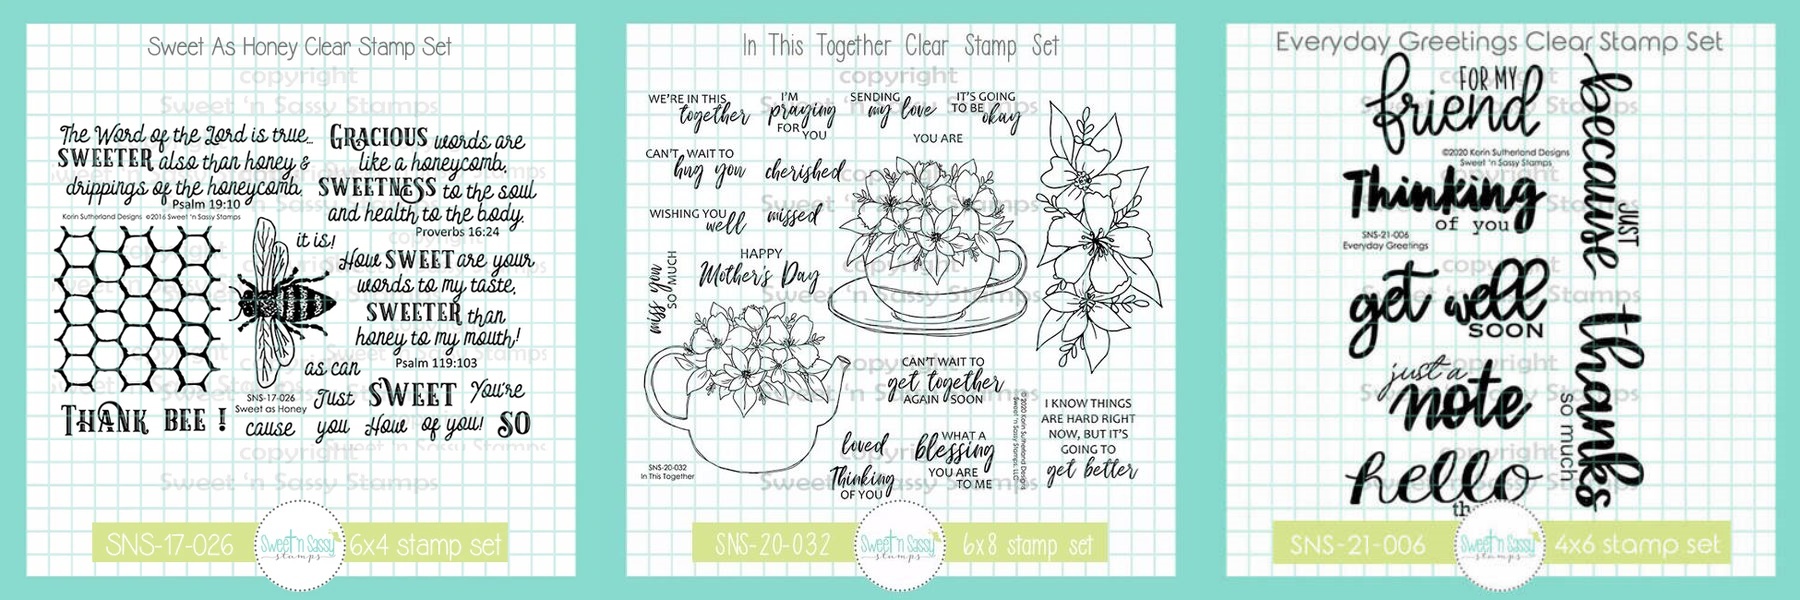
Esther here today sharing a bee themed card. I started by watercoloring the top left part of mix media card front with watercolor paints from Zenacolor. Next I stamped the honeycomb design from Sweet as Honey in Tumbled Glass Distress Oxide (Ranger), and added a few white paint splatters. To finish it off, I added a sentiment from Everyday Greetings and embossed the entire panel with the Organic Lined 3D embossing folder from Altenew.
The bees and flowers (In This Together) were stamped in Versafine Clair Nocturne Ink
and colored with Arteza Real Brush Pens. I stamped, colored, and popped
up an extra flower in the center of my arrangement for a bit more
dimension.
~~~This post contains affiliate links at no extra cost to you~~~
Monday, March 22, 2021
Hello There Lilies
Hello friend. Esther here today sharing this friendship card that features two stamps sets from the March Release as well as a few older ones. Obviously lilies aren't just for Easter as they also make great focal points for friendship, get well, and even sympathy cards!
~~~This post contains affiliate links at no extra cost to you~~~
Don't forget about the 15% off moving SALE
Sweet n Sassy has going on through the end of the month!!
Tuesday, March 16, 2021
Mixed Media Birds and Blooms
Hello Friends!
Today I am sharing projects made with a beautiful and versatile set, Birds and Blooms. Both cards are also of the mixed media variety.
This first card is very much a mixed media card- lots of layers, little white space.
I wanted to play with some new Distress Ink products I got, Speckled Egg Distress Ink and Broken China Distress Glaze. Various shades of rust, blue and brown shades of Distress Ink were sponged onto the card front. I did a lot of distress with water drops. While playing with my new Speckled Egg Distress Ink, I decided to use the direct to paper method across the top of the card. Being a new pad it was very juicy and stay fairly wet. I took this opportunity to emboss the ink with Broken China Distress Glaze. For a girl who loves clean, white, space, I love how this turned out.
The bird and flowers were both stamped with Versafine Onyx Black Ink and watercolored with various watercolors- whatever happened to be handy! They were fussy cut out and then white gel pen was added to the flower centers. The sentiment is from the Begin Again Stamp Set and was stamped in Versafine Onyx Black Ink using my MISTI.
This next card is more my usual style, but don't be fooled- this is mixed media as well.
Friday, March 12, 2021
GARDEN WHIMSY
Have you had a chance to play with any of the March Sets? They are so fun and they compliment each
other so well to create adorable projects!
Today I am working with
the the Garden Whimsy set and the Everyday
Greetings set. I love
the unique style of the critters in Garden Whimsy. They are
super fun to color - you can really use your imagination. And the sentiment set
is just what I have been looking for. They are perfect for any occasion, just
thinking of you type cards.
My first card features the dragonfly and the Thanks sentiment. I never really have many of those in my stash so I am happy to have this one. I created the background with Distress Oxides and the new Puffy Clouds stencil. I added a lot of water so the cloud shapes are very subtle. (I have another panel that I created at the same time that is much clearer. You will likely see that soon.) My dragonfly is stamped on top of the background then colored with Polychromos pencils. I got out my color wheel and tried to use colors that aren't my norm and I love the final look. I added the sentiment on the card front and didn't do anything else.
My second card is actually part of a set. I did
a swap with some of the team members at Sweet N Sassy and I decided to create
cards for everyone. I laid down inks of blues and purple Distress Oxides onto
my mat, added water then smooshed the card front through - this is a one layer
made from watercolor paper and cut to a fun Bar 4 size of 3 1/2"x4
7/8". Once the background dried, I inked the sentiment and the ladybug
onto all of my cards. I inked the ladybug body onto copic friendly paper and
colored them rich pinks and blues - they are so much fun! I fussy cut the body
and glued them onto the inked image on my card front. Now it has antennae and I
didn't have to cut them out :)

These are so cute in real life - they make me
smile out loud! I hope you are inspired to pay with colors today and have a
blast doing it! AND...If you need anything from the new release...Sweet N Sassy
is moving and they are having a sale so they don't have to load it all up -
Just use the Code MOVING... winner!!

Thanks for stopping by!
Hugs,
Lyn
What’s next?
Convert to audio
Seamlessly turn this post into a podcast episode with Anchor - and let readers listen to your post.