
Our Product of the Week is the Berry Branch Background stamp.
Regularly $12.95, you can get it for just $7 through December 26th.

Sheri's beautiful card features:

Our Product of the Week is the Berry Branch Background stamp.
Regularly $12.95, you can get it for just $7 through December 26th.

I created a mini slimline base card measuring 7x6 with scoring on the 7 inch side at 3½. Then I trimmed a piece of cardstock measuring 5½ x 4¼. I used this piece of cardstock to stamp the cute snowman from the Christmas Blocks stamp set.

I masked the snowman so I could ink the background using nice blue ink pad and the Diamond Tile Stencil. Then I used my Copic markers to color that adorable snowman. To finish the card, I heat embossed a sentiment from the Holiday Greetings stamp set, added some glossy accents on the snowman, and used some clear sequins to make the background pop more.
This was such an easy/fun card to make! I hope you give it a try with your supplies.
I also want to take advantage to remind you of two things:

Sweet 'n Sassy Stamps has the last Inspiration Hop for the year! Make sure you join in the fun and leave some love comment on the design team's post for a chance to win $25 to shop at Sweet 'n Sassy Stamps! Check their Instagram page for more info.

That is all I have to share with you today. I hope that you have enjoyed today's post and crafty project. For more inspiration make sure you follow me on Instagram: @harshgurl
I hope you and yours have a Merry Christmas and a blessed New Year!
See you in 2022!
*Products mentioned contain affiliated links at no extra cost to you.*


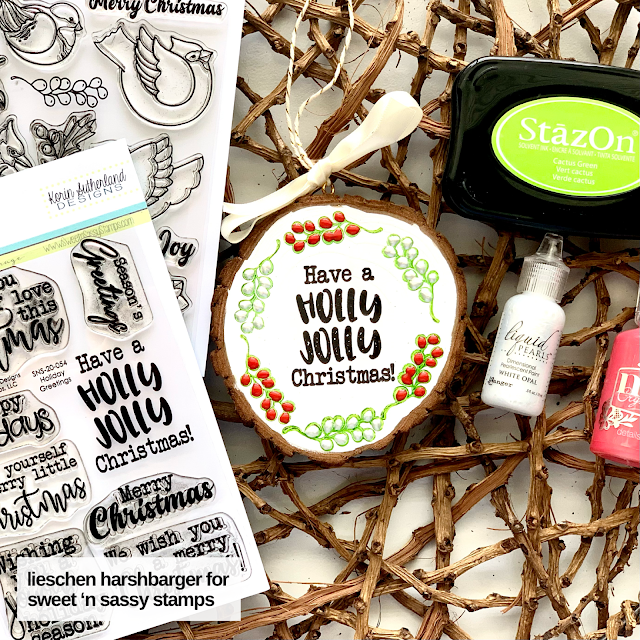
Hello crafty friends! Today's blog post will be a bit short, but the project I'm sharing will be a lot of fun to make - especially for the holidays!
I bought these wooden circles from Amazon a couple of months ago to make some ornaments to give to my family & friends as Christmas gifts. I used the Holiday Greetings and Winter Birds stamps set to make these ornaments. I first used white acrylic paint for the background. Once it was completely dried, I stamp one of the images from the Winter Birds set with Stazon Cactus Green ink.
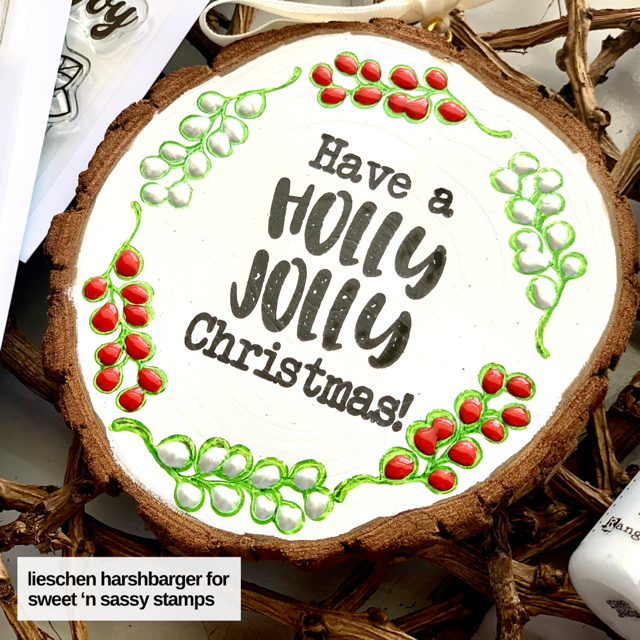
Then I stamped one of the sentiments from the Holiday Greetings set with obsidian pigment ink. Once I was done stamping, I used some liquid drops to fill in the berry images from the Winter Birds set. To finish, I added some string and ribbon.
I hope you liked today's simple crafty project. It's perfect for the holidays!
I also want to remind you that for the month of December Sweet 'n Sassy Stamps has a challenge on their Facebook Sweet 'n Sassy Stamps VIP Group page. I hope you check it out and join in the fun!

Hello Sweet 'n Sassy stampers!
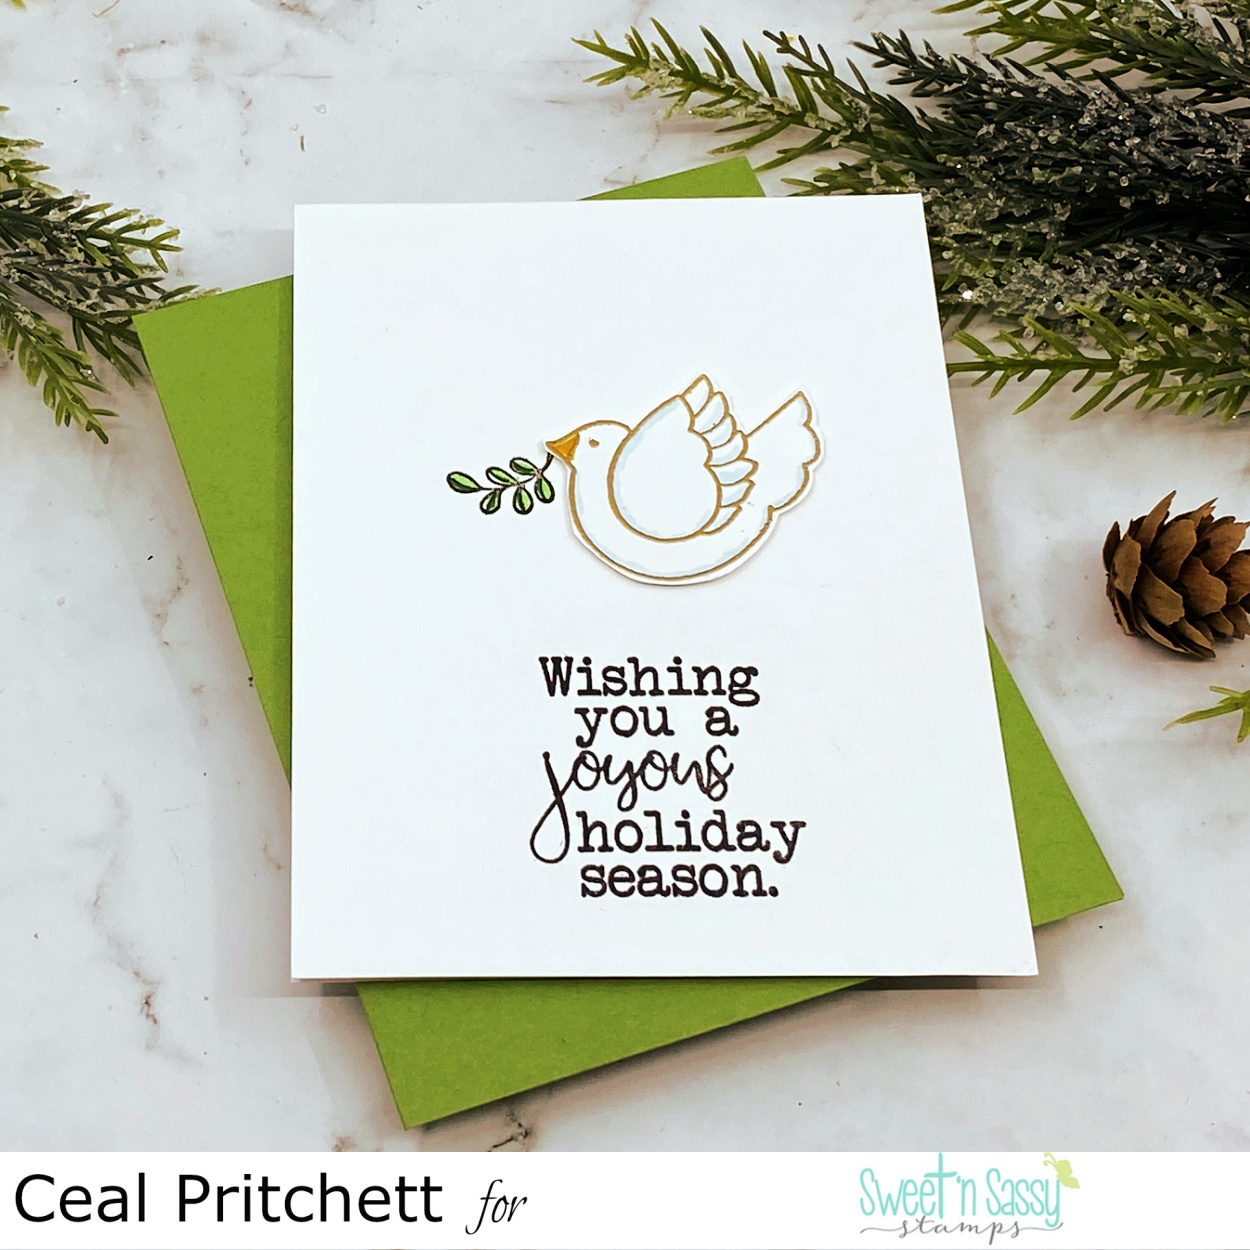
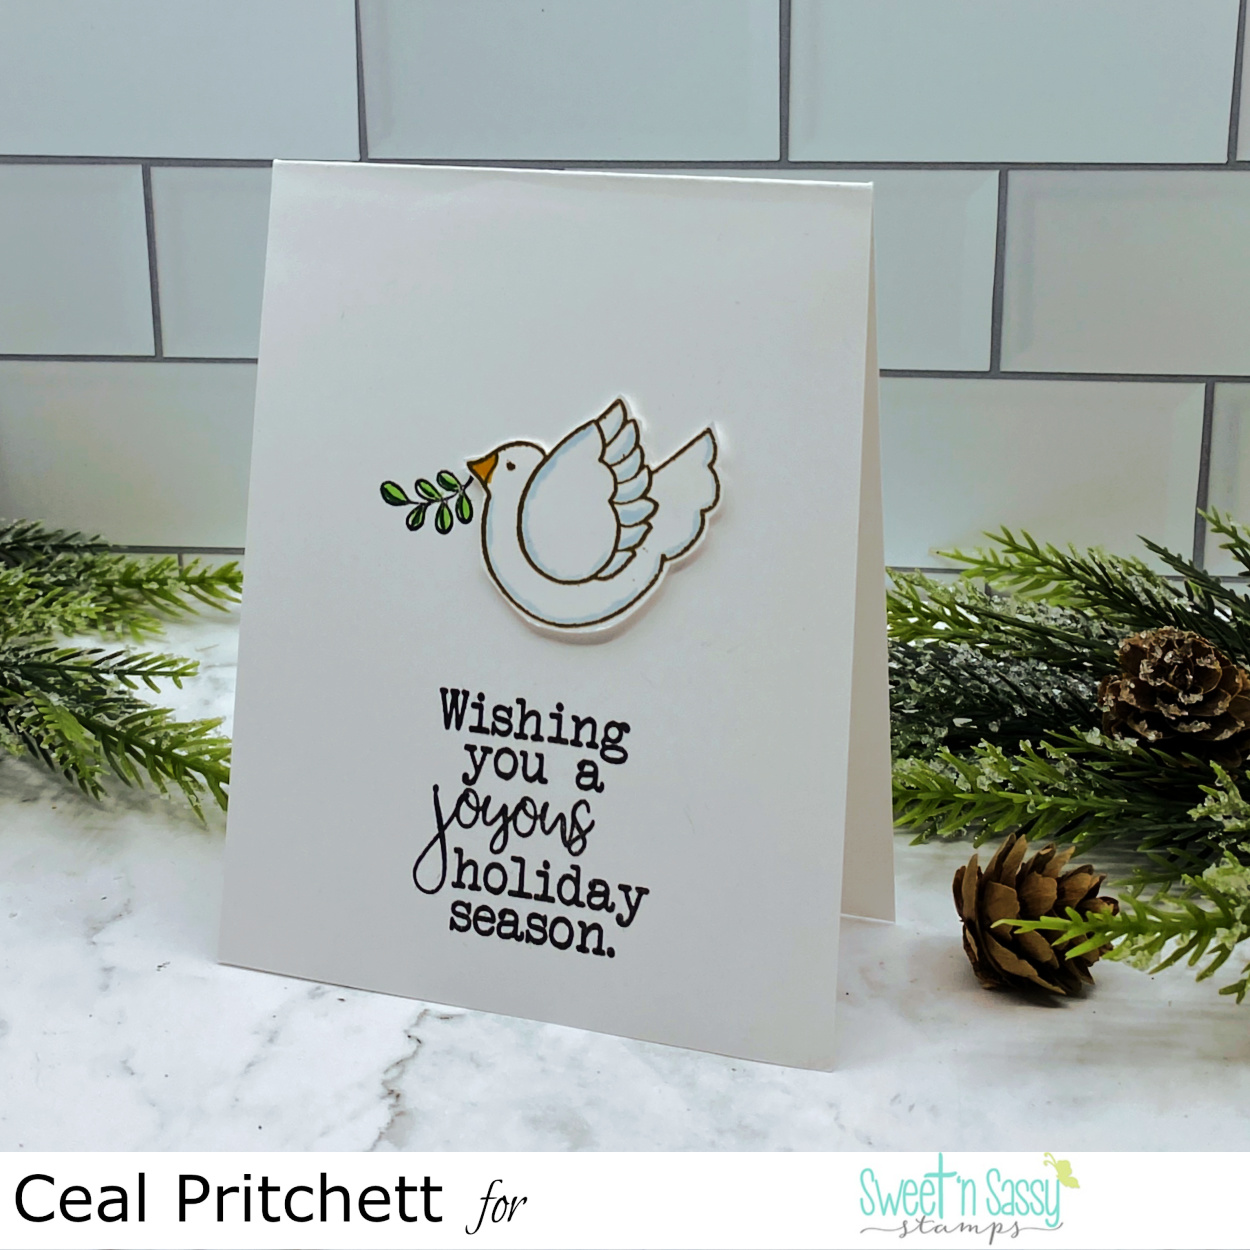
It's Ceal, here. Today I am sharing a Christmas card using several different holiday sets.
To create my card I started with a top folding white card base and a white panel. I stamped the pine bough from the Christmas Pine set across the top of the panel and then ink blended some distress at the top. I stamped an ornament from the Antique Ornament set and also colored it using Copic markers then cut it out with the coordinating die.
To finish the card I added the sentiment from the Holiday Greetings set embossed in gold.


Hello, Hello, All!
Today I am revisiting the gorgeous Poinsettia Greetings Stamp Set. This is a favorite of mine that I reach for again and again.
I like to make my parents a special card for Christmas so given the popularity of the slimline card, I decided to go that route. I used two shades of red Ken Oliver Color Bursts to color this monochromatic card.

I started out with a 10 x 4 inch piece of Canson Watercolor Paper. I spritzed it with water and sprinkled on some Alizerin Crimson Color Burst Water Color Powder. I used a large brush to move the color around and add water where needed. I also sopped up some of the color with a paper towel as I did not want it too dark.
Next, using my MISTI, I Stamped the poinsettias 3 times. I then painted them all, using the Alizerin Crimson as well as Cadmium Scarlet color bursts. A little mixture of black, blue and purple color bursts was used for the shadows. The panel was then cut down for a 8.5 x 4inch card.
When the flowers were dried, I used Winsor and Newton white gouache that was watered down to make splatters. The flower centers were filled in with a Uniball Signo white gel pen.
The sentiment is from the Holiday Greetings Stamp Set. Both the sentiment and the image panel were matted with shiny gold wrapping paper. Some sequins finish it off.


Hello, Hello!
Well, here we are, the last day of September! Can you believe it!? Before you know it Thanksgiving and then Christmas will be here.
Christmas. September has been all about Christmas! I simply love this month's release. Let's take a look at Vintage Van. What a versatile set this is! Christmas, birthday, Fall. It covers it all!

I opted for the fall version of the van for this card. I started by stamping the van in Versafine Onyx Black Ink and then watercolored it. I used trees from the Scene Silhouettes-Trees Stamp Set and inked them up with distress inks shades of fall. The foreground was done with distress inks as well; I smooshed them onto my craft mat and then used them to watercolor. The leaves in the very front most foreground is stamped in the same color as the ground; the image is from the Falling Leaves Stamp Set. Once I was done with finishing up little details here and there, I place the panel in the MISTI and stamped the sentiment, from the Fall Remix-Autumn Splendor Stamp Set in Versafine Black Ink. A hemp twine bow finishes it off.
Next up, the adorable gnomes.
I went for a very simple look on this card with a very muted color palette. I started with the igloo image from the Winter Hugs Stamp Set.

I stamped it in a light grey, then masked it off and stamped the gnome. Everything was colored in neutral shades of Copics with a pop of red added. The igloo was even decorated for Christmas with the wreath from the Vintage Van Stamp Set. 'Peace on Earth' is also from Vintage Van.
Next up, the gorgeous sentiment set, Holiday Greetings.

The pine branch was stamped in various shades of green distress ink and was spritzed some with water to get the ink moving. The branch is from the Christmas Pine Stamp Set. Next I stamped the ornament from the Deck the Halls Stamp Set. Initially I tried some no line watercoloring, but thankfully I had left the stamp in the MISTI so I was able to restamp in Versamark ink and heat emboss in gold when I decided the no line look did not work for this card.
Once again I used the wreath from the Vintage Van Stamp Set and heat bossed it in the center of the ornament. It was the perfect size!
Lastly, I added layers of blues and greens in the background. The sentiment was heat embossed in gold ep.
That's it for me! I hope I have inspired you to get out your September stamps and play a little!
Lee Ann
I'm showcasing a fun card with an easy layout today. I love the cute gnomes in the brand new Christmas Gnomes set! They pair well with the Christmas sentiments in the September Stamp of the Month, Holiday Greetings.

For my layout today, I am using a previous sketch from Freshly Made Sketches (FMS451). I started by picking out my pattern paper from my stash (wonderful winter from My Mind's Eye). I stamped the gnomes and presents (from Happy Camper) on canson mixed media with VersaFine Clair Nocturne ink. I colored them with Shuttle Art markers and fussy cut out. I cut a Kraft panel with a stitched rectangle die, adhered to a Kraft base and attached two strips of pattern paper. I stamped the sentiment with purely pomegranate ink (SU!) on the same cardstock and hand trimmed a banner end. I attached the adorable gnome and presents and added a little bit of Wink of Stella to the gnome to match the glitter on the pattern paper. There you have it, easy peasy and just my style!


Thanks for stopping by and have a fabulous day,
Karen
Hello Sweet Friends! Sheri here today with a card featuring the NEW Holiday Greetings stamp set. This set also happens to be this months Stamp of the Month and is FREE with any $75 order! Plus if you are in the US you will also qualify for FREE Shipping!
***THIS POST CONTAINS AFFILIATE LINKS AT NO ADDITIONAL COST TO YOU***
I love sentiment sets and this one is definitely a must have for the holidays. I was able to create this card using the sentiment as the focal point.


