Showing posts with label HIllside Edges Die Set. Show all posts

Thursday, August 4, 2022

down on the farm

Good morning! Today I am sharing some cards using new stamp & die sets from the Sweet ‘n Sassy Stamps August release. This adorable farm set pairs so well with the new alpha dies!

Product links: Bold Caps Alpha Dies, Down on the Farm Bundle (Stamps and Dies also sold separately), Hillside Edges Dies, Sentimental Wordfetti.

For my first card, I die cut a hello greeting in various colors and offset the letters for a bit of whimsy. My greeting and cute pig were layered onto a floral embossed panel, then I added a little Wordfetti sentiment.


I die cut letters to spell YIPEE for my second card. This time I used the little cow and created a scene for him with patterned papers and the Hillside Edges Dies. I have a clear 6 inch ruler that I got in the sewing department somewhere many years ago. I use it very often on my cards...it stays in my tool caddy. The clear ruler is very helpful to me in lining up alpha dies! (You could also use a piece of washi tape to create a straight edge for alignment, then remove it).


Have a great day!
Diane


Wednesday, May 25, 2022

Warm Blooms

 Hi sweet friends! It's Julee Tilman, popping in with a bit of sunny inspiration for your Wednesday.  This month's Stamp of the Month, Happiness Blooms, is such a smile maker. I love these whimsical flowers and the sweet sentiments that are the perfect size for adding to cards.


I was inspired by a recent art project my boys brought home from school. They were to only use warm colors at the top of the page and cool colors at the bottom.  I loved their yellow/orange/red combinations, so decided to use that color palette when I sat down to do some Copic coloring. I cut the image out with my Brother Scan 'n Cut machine, then added a few embellishments to the flower centers.

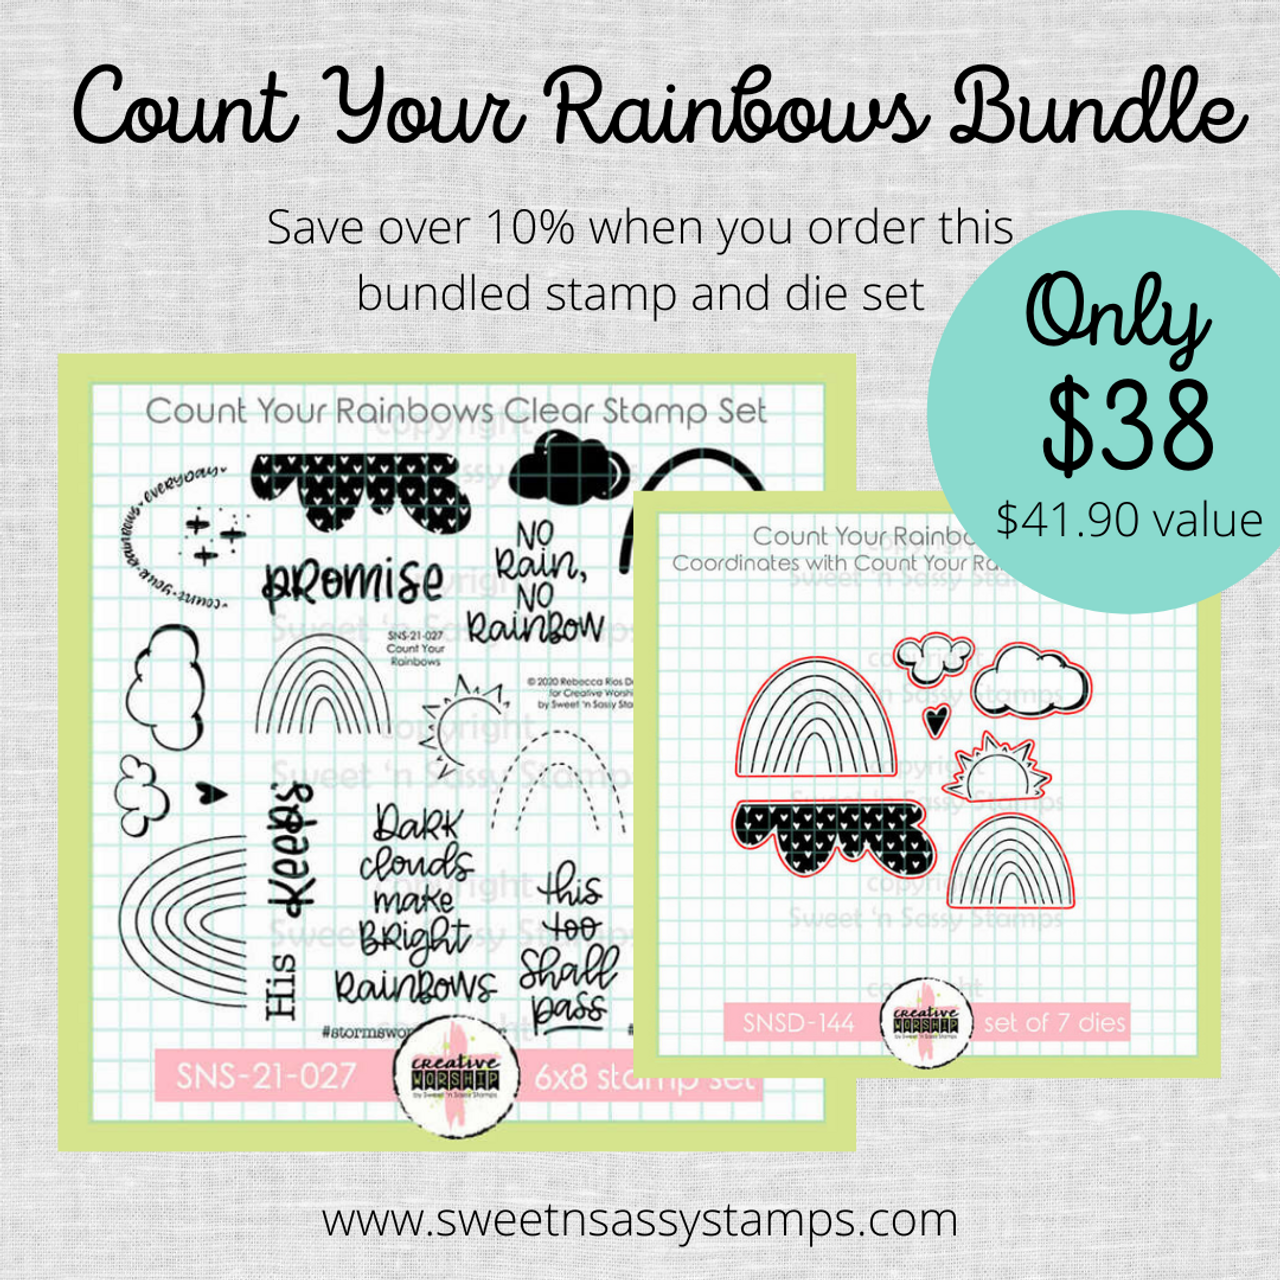
I wanted to create a little scene for the card, so chose a bright, sunny colored background, then added a hill die cut from the Hillside Edges Die Set to ground my flowers.  I added a red vertical panel for a little contrast, then pulled out the Count Your Rainbows stamp and die set for the clouds.

The sentiment is stamped onto a die cut circle, then I stamped and fussy cut one of the flowers from the Happiness Blooms image to accent it.


The Happiness Blooms stamp set is available to purchase, or you can receive it for FREE with a $60 order during the month of May. Just add it to your cart and the discount will apply automatically once your order reaches $60. 


Friday, January 7, 2022

Fun card for someone special!


Happy Friday crafty friends! I hope all of you had a wonderful Holiday and a Happy New Year! Today I want to share with you a fun card I made using a new stamp/die set from Sweet 'n Sassy Stamps new release - Snowy Hello. This stamp set has some adorable images that are not only great for the Holiday Season but perfect to make and send a card any time throughout winter time.

I made an A2 card base and trimmed another piece of cardstock measuring 4 x 5¼. On this piece, I ink blended the background using some of my favorite inks. I wanted my background to be bright so I used yellow, pink, and purple.

Once I was done inking the background, I sprayed some water to add some white spots. I also splattered some white pearl watercolor to add a bit of shine.

I used the Hillside Edges dies to add some pine trees in the back ground and I added one of the cute snowman images from the Snowy Hello stamp and die set. All images were colored with alcohol markers. To finish the card I added some glossy accents on the hat and the carrot and added some clear sequins to add more sparkle to the card.

I hope you have enjoyed today's blog post! Don't forget to checkout this month's new release, you will love it! 

For more inspiration you can follow me on Instagram: @harshgurl. As always, I do hope this has given you some inspiration to do something fun and creative today. See you next time!


*Products mentioned contain affiliated links at no extra cost to you.*

Friday, November 19, 2021

Starry Night on a Hillside


Happy Friday my friends! I hope you're having a great day and that your weekend goes even better.

Today I want to share with you a fun card I made using the Starry Night stencil, the Hillside Edges die set, and the Warm Winter Friends stamps.

I trimmed my cardstock to make an A2 base card. On it, I stamped one of the images from the Warm Winter Friends stamp set to create a background. Then I die cut a semi stitched circle and used my distress inks to color the background. Next, I used the Starry Night stencil with white pigment ink to add those cute stars.
 
 
On a separate piece of cardstock, I die cut the Hillside Edge and used my Copics to color the trees, houses, and hills. Once I finished coloring, I splattered some white metallic watercolor to make it look like snow. To finish the card I heat embossed a sentiment from the Warm Winter Friends stamp set.

Remember! Sweet 'n Sassy Stamps is still celebrating their birthday! This week to celebrate, all of the animal stamp sets and stencils are 20% off! No code needed. You can take advantage of this sale to get the Warm Winter Friends stamp set & the Starry Night stencil I used on today's card.


I really hope you have enjoyed today's crafty project! For more inspiration you can follow me on Instagram @harshgurl . Have fun getting some crafty supplies! See you next time!


*Products mentioned contain affiliated links at no extra cost to you.*

Wednesday, October 19, 2016

Dashing Through the Snow


Happy Wednesday!
It's Ceal, here to share a card with you today. I am still working on my Christmas cards as there is only 67 days until Christmas, can you believe it??
My card uses one of our new Christmas releases, Holiday Hugs. This is the sweetest set and I love all the images but this little penguin is such a cutie! 
I also used the Hillside Edges die set for the snow covered hill and trees.

To find out all the details on how I made this card, head over to my blog Simply Beautiful.


Sunday, October 16, 2016

how tweet

Good morning!
 
Today I am sharing two cards using the How Tweet stamp set from this month’s release.  
For the first card, I used the little bird to create a whimsical thank-you card.
 

I die cut the center from the polka-dotted layer and it was popped with foam tape to create a frame.  Some fussy-cut clouds were attached at the top.
 
For the second card, I also used the Hillside Edges dies.


This time I colored the bird with yellow and pink. Since I had some pink in my background paper too, I went ahead and also made pink-ish clouds.  Why not?  The bird and clouds are popped up with foam dots.
 
Thanks for popping in and… happy stamping!
 
Diane
 

Monday, September 19, 2016

Sending Christmas Cheer

Hello Sweet 'n Sassy Friends, 
It's Ceal here to share with you today!

There are less than 100 days until Christmas and for me that means get on the ball with my card making. Our 2016 Christmas release has lots of great stamps to make some amazing cards, not to mention the ones that we already have in our Christmas line. 
For my sample I used the set Holiday Hugs along with the Hillside Edges dies. these two pair up so nicely, a must have for your holiday card making. 


Tuesday, August 9, 2016

Summer Fun Winnie easel card

Hello! It's Monika here today, with a fun Winnie card. I decided to add an easel fold to my card... which is super easy and it takes your card to a different level.


It is just one fold! It's how easy it is... just score the front panel... you do have to plan the elements, but it is rather fun designing what would work, what would look nice.
I used Summer Fun Winnie and Winnie's Garden clear stamp sets. I stamped the images with Jet Black Archival ink on water color paper and colored them with Prismacolor water color pencils.
The cutting was a bit tedious, but well worth it, don't you think?


The background was die-cut with Hillside Edges die set. You can tell I love using these dies... they are the perfect backdrop to scenes...
The greeting is from Keep In Touch Too clear stamp set.
For the inside, you need something that holds the folded panel up... I used the little punched flower... but even a strip of cardstock (preferably popped up on dimensional tape) would work...

 
Thank you for stopping by,
Monika


Friday, June 10, 2016

Get Well Chicken

Hello! It's Monika here today, with a get well card.

I have a friend who loves chickens. She recently had to have a hand operation, so I wanted to make a card for her with the sweet chicken from Get Well Critters clear stamp set. I knew she'd get a kick out of it...


While I did not use the coordinating die set (Get Well Critters Die set), I used some of my favorite dies to make the scene. It might seem familiar, since I used these dies before... remember?


To build the fun scene, I used Hillside EdgesBare Tree, Happy Happy, and Fence & Grass (currently unavailable) Die sets.

For the greeting, I used Get Well Innies clear stamp set.
 
Thank for stopping by,
Monika


Wednesday, January 27, 2016

Forest Silhouettes Scene

Hello! It's Monika here today with a fantastic scene I built with dies. I love stamping, but these days I am crazy about dies. I love the sharp lines the dies can cut, the sweet images... oh, I get so excited looking at my box full of these metal pieces.
 
I decided to create a masculine scene for a frame I got at Ikea ages ago.
 
 
I wanted dimensions so I used different colored cardstocks and lots of foam adhesive.


The background was sponged with Peacock Feather Ranger distressed ink, then was blended with a wet paintbrush.

Can you spy all the different die sets I used? Ok, you don't have to guess... here they are: Forest Silhouettes, Bare Tree, Fence & Grass, Hillside Edges die sets. The verse is from Our Refuge clear stamp set.
 
I hope I inspired you to create something.
Thank you for stopping by,
Monika