Showing posts with label CAS. Show all posts

Thursday, April 21, 2022

roses for you

 Good morning! I’m sharing a quick & easy set of cards today using stamps from the Sweet ‘n Sassy Stamps April release. Sometimes I like to show how images can be used without coloring them in, so this set of cards is another example. (Next week I'll share a card with the same image, colored).

Product links: Roses For You Bundle, stamps and dies are also sold separately.

I started this CAS set of cards with four A2 size white card bases. Then I cut 4 pieces of cardstock in various colors to 3" squares. Using a MISTI stamping tool, I was able to stamp all four colors with the image being in the exact same place. Then each square was cut into quarters (cut @ 1 1/2", turn and cut again). The pieces were shuffled so each card base has one of each color that realigns to complete the image. You could tape them together on the back before adhering to the card, but I chose to leave about 1/16" space between them.


After the pieces were glued down, I added the sentiment. Again, a Misti tool makes it quick and easy for perfect placement.


Have a great day!
Diane


Monday, December 13, 2021

Masked Background


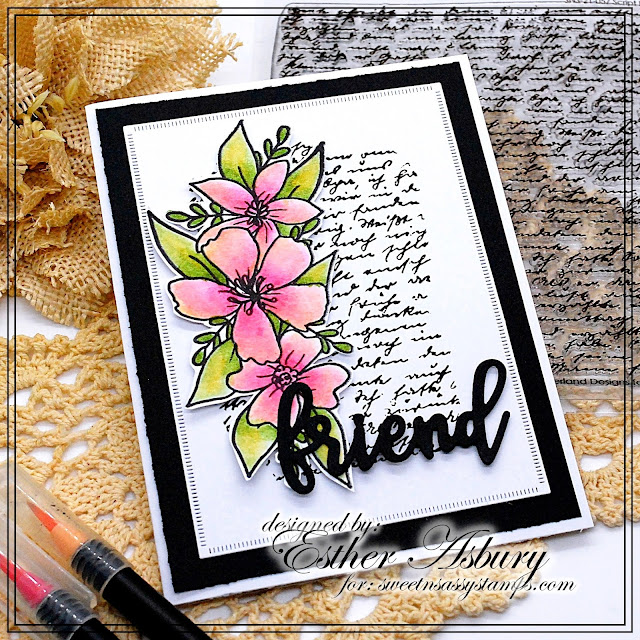
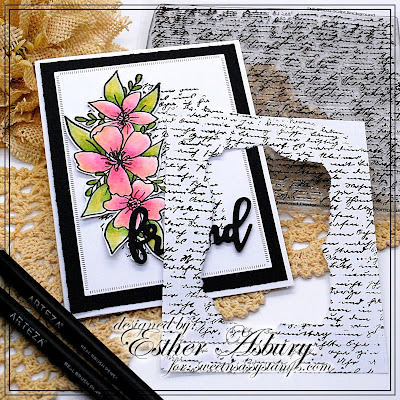
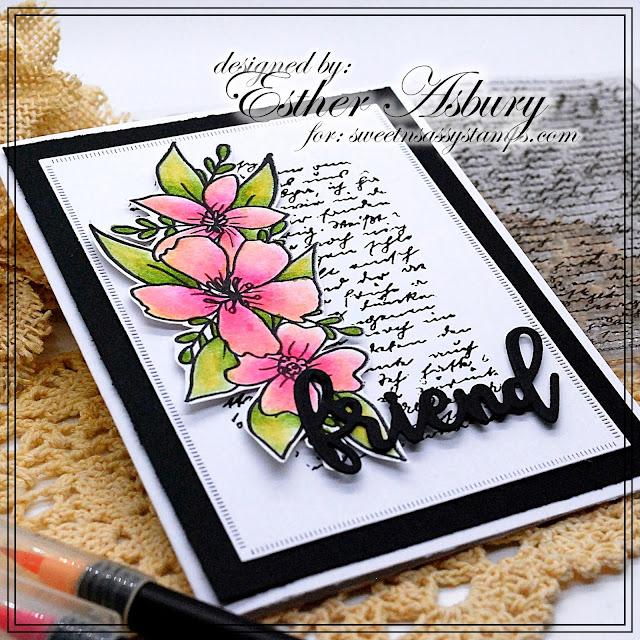
Hello friend, Esther here today with a clean-and-simple card featuring a quick way to create a masked background. 

I cut a piece of scrap paper the size of a card front and then tore a jagged opening in the middle. I placed this scrap paper over my card front before stamping the script background stamp, and wa-la, a pretty partial stamped background!


Would you like to win FREE STAMPS FOR A YEAR? Come link up to the final challenge for 2021 on Sweet n Sassy Stamp's VIP Facebook page using at least one SnSS product on your creation. (Remember there are digital stamps if you don't own any regular ones!).  

CLICK HERE to be taken to the challenge album. 

~~~This post contains affiliate links at no extra cost to you~~~

Supplies and Tools:


Monday, June 14, 2021

Scribble Flowers


Happy Monday! Did you know that Sweet n Sassy Stamps recently added several new die sets to the store? One of the sets they added coordinates with their awesome Scribble Flowers that I used on my bright and cheery card for today. (To check out their entire steel die collection click here)

     ~~~This post contains affiliate links at no extra cost to you~~~

 Supplies and Tools:

Wednesday, May 26, 2021

Light It Up

 Hi friends! It's Julee here, popping in with a little mid-week inspiration. May is always such a busy month with all sorts of end of year projects, activities, and celebrations. This year seems more hectic than most, but maybe that's because last year was 2020 and there was nothing going on. Haha! Anyhow, this is the time of year by necessity my crafting usually turns to a clean & simple style. So my card today has lots of white and lots of bright!

Rebecca's Count Your Rainbows set seemed like the perfect start for not only a clean & simple design, but also for the rainbow color challenge  in our VIP Facebook group this month. If you haven't played along, there's a prize up for grabs if you enter by May 31. All the details are in the group.

I started by stamping the larger rainbow image and the sun in black ink, then lining up the stitched rainbow lines and stamping over the rainbow.  I then colored with Copic markers and die cut with the coordinating Count Your Rainbows Die Set.  The cloud was stamped in two shades of purple ink, then die cut.

For the sentiment, I thought the you light up my life phrase from My Punny Valentine (on sale this week) went well with the images, so stamped and cut in a circle.  I finished off with a background panel embossed with a rays folder for some texture, then layered up my die cut images on different levels of foam tape for dimension.


Thanks so much for stopping by today. I hope you have a fabulous day! If you haven't heard this week's sale is 25% off Korin Sutherland's sets. No code needed, while supplies last through May 27.


Monday, April 26, 2021

Morning Glories Two Ways

Esther (from Shoregirl's Creations) here today sharing two cards using the Sympathy Morning Glories stamp set.


This first card is a one layer card with the morning glories stamp around the edges of a watercolor panel in  Versafine Clair Nocturne Ink. I then used a dabbing method to watercolor the flowers and leaves. (I dabbed on two colors of watercolor paint and used a wet paint brush to spread the color around.) After my paints were dry I added some text using the Typewriter Text Background  stamp and black soot distress ink. I then splattered the piece with white acrylic paint. The final step was adding a sentiment from the Timeless Hymns stamp set and a few black jewels. 


My second card is a clean-and simple card with lots of fussy cutting and paper piecing. 


To color my image I created two ink smooshed backgrounds (on mix media paper) using dusty concord and worn lipstick distress ink for the first and shabby shutters and rustic wilderness for the second. I stamped the morning glories on the first one and the leaves and stems on the second. Next I fussy cut all the flowers and leaves, and stamped a third image stamped in Versafine Clair Nocturne Ink on white card stock. I glued the leaves down first and popped up the flowers with foam mounting tape. I fussy cut around this third image and added a bow using purple burlap string.

The black background was embossed with Swirl Motif 3D embossing folder from Altenew, and I stamped the sentiment in Yeti ink from Lawn Fawn. 

 ~~~This post contains affiliate links at no extra cost to you~~~

Saturday, January 16, 2021

My Happy Place

 Happy Saturday everyone! I'm sharing this clean and simple Valentine's Day card with you today.


I began by cutting a white cardstock panel with a stitched edge rectangle die. I stamped the banner from Happy Camper across the top with VersaFine Clair Nocturne ink and the small hearts from Sweet Little Lamb in red along the bottom. Then, I stamped the camper (Happy Camper) on white and the sentiment from Love Wordfetti on pink.  I colored the banner and camper with Arteza Real Brush Pens and fussy cut the camper. I assemble as seen, cutting banner ends on the sentiment strips.


I hope you enjoyed today's card and have a great day!

Karen

Saturday, December 5, 2020

Love You

For today's card, I paired the super fun December Stamp of the Month, Much Love, with Forever & Always to create this quick colorful card.


I started by stamping six of the striped hearts in different colors and fussy cut out. I cut a piece of white cardstock with a crimped frame die and adhered the hearts. I stamped one of the small hearts with Versamark ink on a Bashful Blue card base. I stamped the sentiment with VersaFine Clair Nocturne ink and hand trimmed the banner tail. I assemble the card as seen popping the white panel up with foam tape. I love how simple and quick this card was to create!

The stamp of the month is available in the shop to purchase, or you can receive it as a free gift with a $75 order in the month of December. Just add it to your cart before you check out and it will automatically apply the promotion.


I hope you enjoyed today's card and thanks for stopping by!

Karen

Friday, November 20, 2020

Silhouettes and Sentiments

Hi all! Happy Friday! It's time for another fabulous birthday sale, and this week we've got a super deal for you! Buy 3 sets from our Silhouettes & Sentiments Sale category and receive an additional set of equal or lesser value from the same category for FREE! When you add the 4th set, the discount will automatically apply in your cart. Sale ends November 26.


My first card today is a quick and easy card. To make it,  I masked off a rectangle of cardstock, then blended a rainbow of color on with a stencil.  Then I embossed the sentiment from the Hymn Word Art set in Black in the center. My stamped panel is then popped up on a foam sheet and adhered to a card base. Easy peasy!


For my next card, I stamped the trees from the Thrill of Hope set in forest moss, then embossed in clear. I then ink blended a sky with blue distress oxides. I laid the stamps down over my embossed images as a mask and flicked on white glimmer ink for a little falling snow, then finished off with a thinking of you sentiment from By the Sea.


In other news, there's an absolutely adorable new digi set illustrated by Jennifer Nilsson in the shop today! Be sure to check it out! Don't these little bears just melt your heart?


Have a fabulous weekend!

-Julee

Monday, August 24, 2020

Blessings of Autumn

 
Hello friends, Esther here with a square card featuring the NEW "Bushel of Blessings" stamp set. I stamped it on watercolor paper, colored it with my Arteza Real Brush Pens, fussy cut, and popped it up on my card front.  I really wanted the main image to shine so I kept the background layers to minimum and left plenty of white space.


~~~This post contains affiliate links at no extra cost to you~~~

Supplies and Tools:

Monday, August 10, 2020

Autumn Blessings


Hello friends, Esther here with a fall card in non-traditional colors! I created a subtle background by stamping a sunflower in versamark watermark ink on my dark blue paper, and added interest to my label with some faux stitching done with a white gel pen. The main image was colored with Arteza Watercolor Pencils -- I'm still trying to get the hang of them!


~~~This post contains affiliate links at no extra cost to you~~~

Supplies and Tools:
  • These Sweet n Sassy Stamps sets:
  • Canson Mix Media Paper
  • Arteza Watercolor Pencils
  • Album Tags and Accents Die (Heartfelt Creations)
  • Brilliance Moonlight White Ink (Tsukineko)
  • Versamark Watermark Ink
  • White Gel Pen
  • Foam Mounting Tape


Monday, July 27, 2020

Succulents & Bees


Hello everyone, Esther here sharing two fun cards with you! On this succulent card, I did some masking on watercolor paper to create this fun collage.  I colored my succulents with Arteza Real Brush Pens and fussy cut them before popping them up over a plain white (embossed) background. Keeping the background simple really helps to make the main image "pop."


~~~This post contains affiliate links at no extra cost to you~~~

Supplies and Tools:


My second card features the honey jar and bees from the NEW "Bee Sweet" stamp set.


 I included lots of "frilly" accents on this one with die cut lace and doilies!


Supplies and Tools:.
  • Bee Sweet (Sweet n Sassy Stamps)
  • Encouraging Thoughts (Sweet n Sassy Stamps)
  • Arteza Real Brush Pens
  • 3D Lumber Embossing Folder (Sizzix -Tim Holtz)
  • Crochet Dies (Sizzix -Tim Holtz)
  • Hello Doily Dies (Sizzix)
  • Circle Nestabilities (Spellbinders)
  • Fishtail Banner Dies (Stamp Simply)
  • Barnwood Pretty Designer Paper (The Paper Studio)
  • Jet Black Archival Ink (Ranger)
  • Dusty Concord Distress Oxide (Ranger)


Tuesday, July 21, 2020

Mixed Media and Garden Flowers

Hello Friends!

Today's post is all about using background panels and scrap pieces of panels that I have had in my stash.  I paired these panels with various different images from the Flower Garden Stamp Set.  As you will see, you may not even recognize that the same stamp set was used in each card.


First up, nothing says summer like a beachy/sea themed card!  I love this mermaid from the Mer-Mazing Stamp Set.  She was stamped on Neenah Solar white cs and colored with Copics, then fussy cut out. And that crab!  I love this crab!  He is the cutest!  Colored and fussy cut as well.
I used a water color panel that was done with water color paper and Ken Oliver Color Burst Powders.  I used the water colored panel as my base and then built upon that.
For the image panel, I sponged some Salty Ocean Distress Ink onto the panel and followed that up by using a circle stencil and sponging Mermaid Lagoon ink.  Finally, the seaweed.  It is actually from the Flower Garden Stamp Set; as soon as I saw this image I knew I wanted to use it for an underwater scene.  The seaweed was stamped with Memento Tuxedo Black ink and quickly colored with Copics.  The sentiment was stamped using my MISTI, in Versamark Onyx Black Ink.
I popped up the top half of the mermaid and the crab on dimensional adhesive, added some sparkle to her and added Glossy Accents to his eyes.  A few sequins finish it off.

Next up, a simple card with NO coloring.


No flowers here; this time I stamped the bitty butterflies from the Flower Garden Stamp Set and fussy cut them out.  They were grounded with a black cs circle and a white cs strip.  The sentiment is from The Future Stamp Set and is heat embossed in white ep.
The background panel is one I created with when crafting with a friend; I had just received some new Distress goodies in the mail and went to town spritzing and spraying.  I love how this panel turned out.  It was the perfect panel for this card.   Sequins added to the butterfly bodies finish the card.

Lastly, a pretty straight forward, floral card~


These whimsical flowers screamed for bright colors!  I pulled out a coloring medium I had not used in a long, long time.  I stamped the image on water color paper and colored them with Inktense Water Color Pencils.  They really popped on a background panel that was done with Distress Sprays.  I fussy cut the flowers out and popped them up on dimensional adhesive.  I added some strips of white cs (per the CASE This Sketch sketch) and added my sentiment, which is from the Mason Jar Bouquet Stamp Set.
That's it for me!  3 background panels used, same Flower Garden Stamp Set used, resulting in 3 very different cards!
I hope I have inspired you; thanks for stopping by!

Lee Ann