Showing posts with label Sentimental Mash-Up. Show all posts

Friday, October 22, 2021

Geometric Background Birthday Card

Today I have a simple card using the October Stamp of the Month - Geometric Background. I used Copics in a rainbow type order and I paired it with Sentimental Mash Up for an awesome Birthday card for a male or female. I created a candle with a scrap of the background and using a "candle flame" shape gem, my card is complete.

The colors are really vibrant in real life - I am loving this card! What do you think!

I hope you are inspired!
Lyn


Tuesday, September 14, 2021

Happy Birthday | #SNSSVIP0921

 PRODUCT LINKS BELOW CONTAIN AFFILIATE LINKS AT NO COST TO YOU
 
Hello Sweet Friends! Sheri here with a card for the September 2021 VIP Challenge over in our Facebook Group. Each month we host a new challenge and a chance to WIN a $10 Gift Code to the SNSS shop. One random winner is selected each month.  You can find the details on how to play along HERE.
 
This months we are challenging you with a
 "Nautical Theme Challenge"
 

You just need to create a project with a nautical theme using at least one SNSS product. Don't have an image that will work...we have a FREE digital image over in the VIP that you can download and use!
 
For my sample I created a masculine birthday card using the Master of the Sea and a sentiment from the Sentimental Mash Up stamp set.

Card Measurements:
White A2 Top Fold Card Base: 4 1/4" x 5 1/2" (4 1/4" x 11", scored at 5 1/2")
Kraft Layer: 3 15/16" x 5 3/16"
Navy Mat Strip: 2" x 5 3/16"
Red & White Stripe Pattern Paper Strip: 1 7/8" x 5 3/16"
Navy Circle Mat: 3"
White Stitched Circle: 2 7/8"


We hope you will be inspired to play along! 
You can find the challenge details HERE.

 
 Happy Stamping!!

Monday, May 17, 2021

Thanks for you Service


 Hello Sweet 'n Sassy friends! 
It's Ceal here. Today I am sharing a card that I was asked to make for someone who is retiring from the military and the giver wanted to thank him for his service. 
This set The Lords Battle was perfect. 

To create this card I used the Lord's Battle stamp set illustrated by Rebecca Rios whose designs are on sale right now 25% off through May 20th
I also used the Starry Night stencil and the sentiment is from the Sentimental Mash-Up set. 

For all the details and supply inks head over to my blog Simply Beautiful


Tuesday, February 2, 2021

Alleluia Lilies

 Hello Friends!  

Have you seen the new release yet?  Well, I now have a new favorite stamp set, lol.  This Alleluia Lilies Set is just amazing!  Copics were my medium of choice for these two cards.  


This did not come together easily- mojo ran dry!  Once colored, I really couldn't decide what to do.  This cardstock ring in teal was sitting on my desk and when I picked it up, it seemed like a match made in heaven.  The flowers and bits of grass from the Tall Grass Die and are bursting from the circle which is grounded with a larger striped circle and a couple of horizontal strips of cs.  The grass was also colored with Copics. 

The background panel is a piece of Vanilla cs that was embossed with a Stripes Embossing Folder.  I tried to line the embossed lines up with the lines in the larger circle patterned paper.  The sentiment is from the Lots of Love Stamp Set.  I finished the card off with some sequins for sparkle.  

Next up is a card with a tropical feel, perfect for that person who is retiring with plans to travel to the beach! 


This is another image from the Alleluia Lilies Stamp Set, colored and fussy cut out. This time I also colored and cut out a palm branch.  To add a bit more, I heat embossed the palm branch in white on vellum a couple of times and fussy cut them out.  The images are all grounded using a stenciled panel that I had in my stash.  This was done with stencil, coffee filter and my favorite medium, Ken Oliver Colorbursts.  The sentiment is from the Sentimental Mash Up Stamp Set; a few sequins finish the card.  For details on how I made the stenciled panel, check out my blog, greytpapercrafts.blogspot.com

Right now, there are lots of deals happening.  You can get the whole February release discounted, you can get the Stamp of the Month, Floral Background, free with a $60 purchase, AND, the Overstock Sale has been continued through this month, with new additions to the sale.  

Thanks for stopping by!  Have a blessed week!

Lee Ann  

Monday, October 5, 2020

Birthday Fun


Hello Sweet 'n Sassy Stampers!
It's Ceal, Today is my day to to share with you. 
I can always use birthday cards in my stash and because I have been out of town all week and needed a couple of quick and easy cards to share here today. 
To create these cards I used top folding white card bases and panels. I stamped the images from the Birthday Borders set, then colored them using Copic markers. Both of the greetings were stamped from the Sentimental-Mash-up set. 


These are a quick and easy way to add birthday cards to your stash

Tuesday, July 7, 2020

Roses for Days!

Hello Everyone! 

Have you checked out July's release?  Yes, I did say July!  How can that be???  I happen to be in Florida right now, visiting my parents.  I feel like once I get home, I am going to blink and the summer will be over. 
Anyway, back to the new stamps.  True Beauty.  It IS a beauty!  So versatile! 

My first card was super fun to make.  I really did not even plan it out; I was crafting with a friend and it just happened, lol.  I may need to craft with her more often! 


This was so so simple; I did not even put the image on a stamp block!  I used the rose image in the bottom right hand corner.  I simply inked up the stamps with distress inks to create an ombre design. 


Once the background was done, I stamped a butterfly from the Made New Stamp Set with Memento Tuxedo Black ink and colored it with Copics.
The butterfly was grounded with a sprig of leaves die cut from vellum, as well as a sentiment strip in black.  The sentiment is from the Sentimental Mash Up Set ( I love this set!) and is heat embossed in white embossing powder. 
This next card came out of that same crafting session~


This time I used the solid rose image and the outline rose image.  I stamped the outline first, and then, using my MISTI, I inked up the solid image, using two different colors of distress inks on each rose.  Then, using some very simple masking, I stamped the outlines of the leaves followed by stamping the solid leaves, again, using two different colors of green distress inks.  I die cut the rose panel with a scallop frame die and popped the frame up on dimensional adhesive.  The sentiment, from the Mason Jar Bouquet Stamp Set, was heat embossed with white embossing powder.

And lastly, a more typical card, at least for me- there is Copic coloring!

 
I did some no line coloring this time, using the outline rose image again.  The image was stamped with Antique Linen Distress Ink on Neenah Solar White cs and then colored with Copics markers. 
After fussy cutting the flower out, I went to work on the background panel. 
A stencil and some Coloringz spray is all that was used for the background.  And that sprig of leaves pops up again, this time die cut from white cardstock.  'Hello' is stamped in a yellowish green ink that looks more black here than irl. 
That's it for me!  I hope I have inspired you to just PLAY with this set!  I promise you, you will love it. 


Thanks for visiting!

Lee Ann 

Monday, June 29, 2020

Masculine Distress


Hello, Sweet 'n Sassy Stampers! 
It's Ceal, here to share with you today. 
If you are like me, masculine cards are challenge to do. Well Korin made things easy with this Masculine set, Time Well Spent.
This set is the Stamp of the Month so you have a couple days left to be able to earn it for free with a $75 purchase. 
To create my cards I paired it up with a couple other sets, Texture Tiles 1 and Sentimental Mash-up


To create my cards I started with kraft bases, black panels and bristol panels. On the bristol panels I stamped the clock image from the Time Well Spent set with embossing ink and embossed with Embossing Glaze by Tim Holtz, next I sprayed the panels with Distress Oxide sprays in Tumbled Glass and Vintage Photo. To add more texture I used the Texture Tiles 1 set stamped in Vintage Photo distress ink. 
The sentiment on the Slimline card is from the Sentimental Mash-up set. 


Saturday, June 6, 2020

Dazzling Dahlia No Color Cards

Hello everyone, Sweet 'n Sassy Stamps has just released seven brand new stamp sets! One of the new sets is the gorgeous Dazzling Dahlia! The flower is huge! I knew it was big, but it didn't dawn on me just how big until it arrived. It is gorgeous all colored up, but sometimes we just need a quicker card. So, I decided to showcase some ways to use this flower without coloring it.


My first card was inspired by some red and white cards I saw on Instagram recently. They were so striking and I knew I wanted to try it out with this new set. I found a piece of red pattern paper in my stash and paired it with real red ink. I stamped the flower onto a slightly off white card base and stamped the sentiment onto a scrap of the same cardstock. I die cut along the edge of the pattern paper with a scallop edge die. Next, I popped the pattern paper piece up with foam tape along the top edge. Finally, I punched two holes in the sentiment strip, tied some red string into a bow and popped up along the left edge.


For my second card, I wanted to do a variation of my first card. I started by finding a scrap of pretty pattern paper and coordinating cardstock. I settled on garden green and matching ink. I heat embossed the flower on the green panel with Versamark and white embossing powder. I decided to die cut the green panel and mount on the same card base as my first card. I stamped the sentiment from Sentimental Mash-up in green ink and assembled in the same way as above.


So there you have it, two quick and easy cards using the gorgeous Dazzling Dahlia. Love this flower!

Thanks so much for stopping by and have a fantastic day!

Karen

Monday, May 18, 2020

Dragonfly Dreams


Hello Sweet 'n Sassy Stampers!
It's Ceal, here to share a couple cards with you today using the Dragonfly Dreams stamp set and coordinating dies

Korin is testing the waters with dies and I am glad that she choose the Dragon Dreams set to have matching dies. You get the large and small die in the set. 

To create my cards I started with a top folding white card base, a couple of white panels and some bristol cardstock for the images. 
I ran the dies cuts through the Gemini Jr and then using the Misti, I placed the die cut back into the negative space and stamped the different layers in color and then for the second layer I embossed with Chrome embossing powder. 
I used a stencil for the side border on the top card and as a background on the bottom one. 
The greetings are from the sets In This Together and Sentimental Mash-up.


Monday, April 20, 2020

Unicorn Hugs


Hello Sweet 'n Sassy friends!
It's Ceal here to share with you today. It has been a rough weekend for me so I only have one card to share. I used an older set but one of my favorites! especially when I need to send a card out to a little girl who loves unicorns, this Be Unique set is perfect. 


To create my card I started with a white top folding card base and a white panel. I stamped the unicorn on the panel, colored it using Copic markers and then masked it off to create a rainbow behind her using a stencil. It's hard to see in the photo but I added some liquid pixie dust to the rainbow so it is shimmery and I added some glossy accents to her horn. 
To finish the card I added a greeting from the Sentimental Mash-up set. 

Edited to add another card I finished today 

For this one I used the Be A Flamingo set, another older set but perfect to make a cute card to send to a little girl. I have a friend who has been using her stash of patterned paper and inspired me to do the same so I created the background with patterned paper. 


Tuesday, March 17, 2020

For Such a Time as This

Hello All!

I have a couple of cards to share with you today using the Succulents Stamp Set.


These were easy-to-color images that I did not get all detailed with, nor did I think about things like light source much.  I just did some basic coloring with Copic markers.
The 3 images were fussy cut out; then came trying to figure out what to do with them.  Nothing seemed quite right until I landed upon a monoprint made with acrylic paint and my gel plate.
The background panel was cut with a stitched rectangle die.  The succulents were attached, using foam tape to pop up the top most image. The sentiment is from the Love Wordfetti Stamp Set.

Anyone who knows me knows I am a colorist.  I typically shy away from silhouette stamps.  I was determined to use a silhouette stamp from this set.  The outcome was this wreath, made with the larger of the two silhouette images in the stamp set.


I stamped my wreath in desert-like colors and then fussy cut the wreath out.  I die cut a white frame and then used my Wood Background Stamp Set to create a wood grain effect on the frame.  I stamped in a light grey ink.
The inside panel of the frame was done on a medium grey cardstock and again stamped with the woodgrain stamp, this time in time in a darker grey ink.
The sentiment is from the Sentimental Mash Up Stamp Set.  I stamped the 'Hugs' in Onyx Black Versafine Ink directly onto the card and then heat embossed it with clear ep.  'To you' was stamped on a dark gray strip and heat embossed in white.
After spritzing the wreath with an irridescent Shimmer Spray, I popped it up on dimensional tape, surrounding the word 'Hugs'.  I glued the 'to you' onto the wreath and added a few sequins to finish it off. 
I made these cards to send to my parents to encourage them during this unsettled time.  Being in their 80s, they are pretty much house bound for the long haul.
It sure is easy to get caught up in the panic of it all, but believers can get out there and share God's love.  For we were created 'for such a time as this.'  

Have a blessed day all! 

Lee Ann 

Monday, February 24, 2020

Blessings & Love


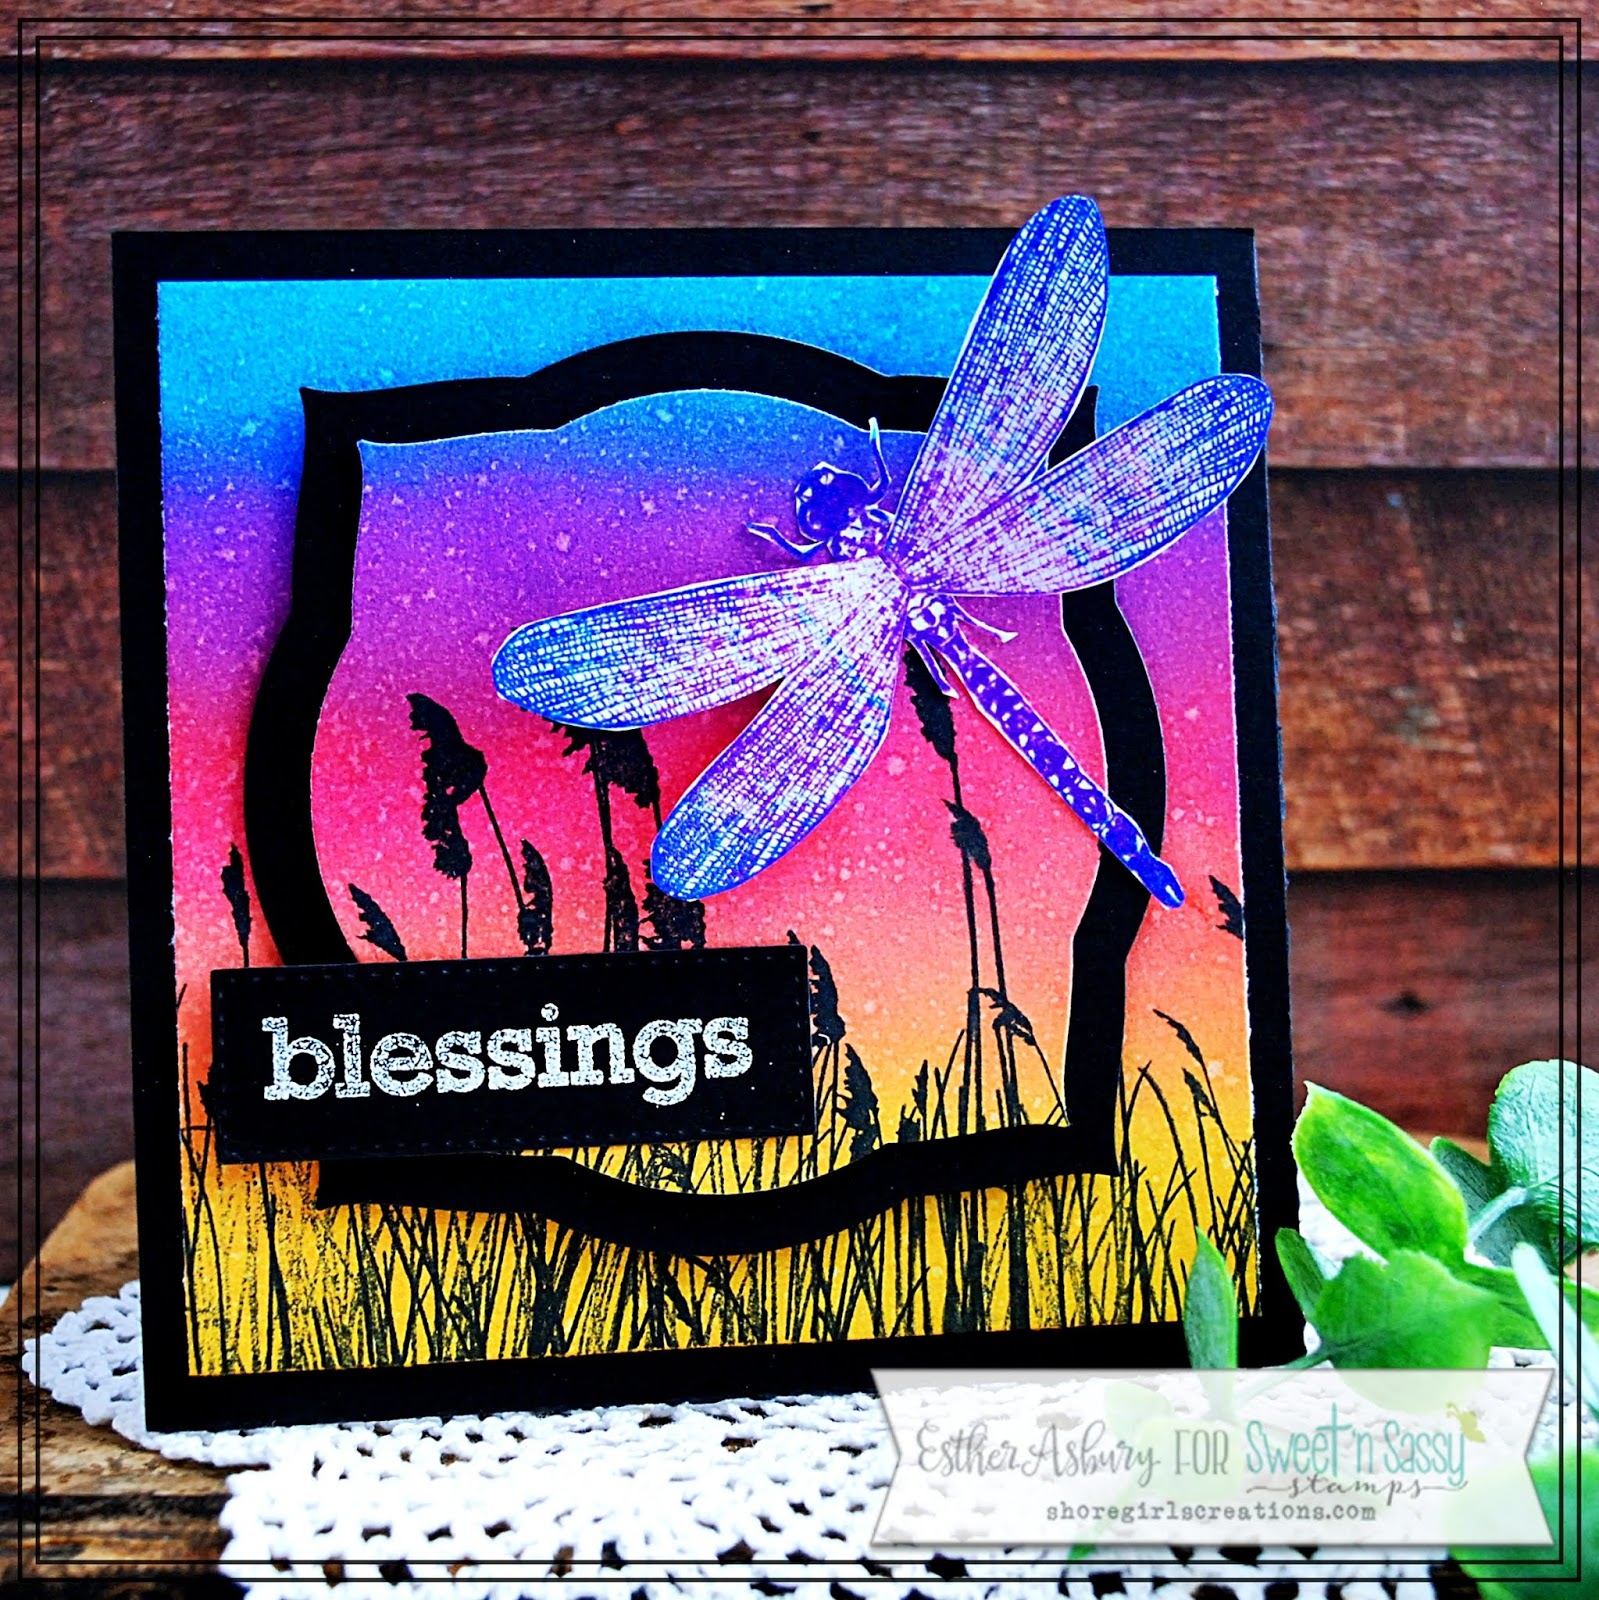
Hello friends. Esther here with two cards to share with you. One features the just released "Dragonfly Dreams" and the other an older stamp set. For this first card I did some ink blending on mixed media paper to create a sunset scene. After stamping the tall grasses along the bottom, I die cut and matted the center to create a focal point. The dragonfly was stamped in wilted violet distress oxide and then just the tips of his wings and parts of his body was re-stamped in salty ocean distress oxide. (Yay for stamping platforms that allow you to layer colors without the worry of lining things up right!)
~~~This post contains affiliate links at no extra cost to you~~~
Supplies and Tools:


My second card features the Hymn Word art stamp set, some pretty designer paper, and my favorite embellishment - a paper doily! I love making cards like this to send to names on the card ministry list I belong to. 


Supplies and Tools:
  • Hymn Word Art (Sweet n Sassy Stamps)
  • Boho Vibes Paper Pack (The Paper Studio)
  • Scallop Basic Edge Dies (My Favorite Things)
  • Doily Die (Sizzix - Tim Holtz)
  • Circle Nestabilities (Spellbinders)
  • These colors of Distress Oxide (Ranger)
    • Broken China
    • Abandoned Coral
  • Large Flower Punch
  • Small Flower Punch
  • Baker's Twine
  • Mini Pearls


Friday, February 21, 2020

Dragonflies

Hi Sweet 'n Sassy friends! It's Julee Tilman popping in to share a couple cards I created with the Dragonfly Dreams set.


For my first card, I started with a randomly stamped background of dragonflies, stamped with pigment inks.  I stamped the solid wings in a mint color and the detailed wings in a teal color, then added the detailed bodies in brown.  When I was done with this, I stamped one more dragonfly on white cardstock and quickly trimmed around to accent my sentiment panel.


The scripture is from the By the Sea stamp set, and I embossed it onto a white circle die cut, then matted with brown cardstock.  I adhered this to the center of my panel, then used the two green inks to make some splattres on the page.  I finished off with the dragonfly accent and a few holeless sequins for a bit of shine.


My next card uses the same dragonfly stamps, but I inked up the solid wings on my Misti with green and turquoise ink then stamped and spritzed to get the colors to blend. Once I had a nice blend, I stamped in brown with the detailed wings, and then stamped the body. I realized I had postitoned the wings too low, so repeated the process above with the wings and fussy cut them out to pop up a little further up the body to give the appearance of fluttering wings. These are painted with a glitter pen brush and absolutely shimmer.


I then stamped the sentiments from Sentimental Mash-up in the corner, one in two shades of green and the other in black.  I finished with lots of splatter in the colors of ink I had used.

Thanks so much for stopping by today! Hope you have a fabulous day!

***This post contains affiliated links at no cost to you ***

Thursday, February 20, 2020

hello spring!

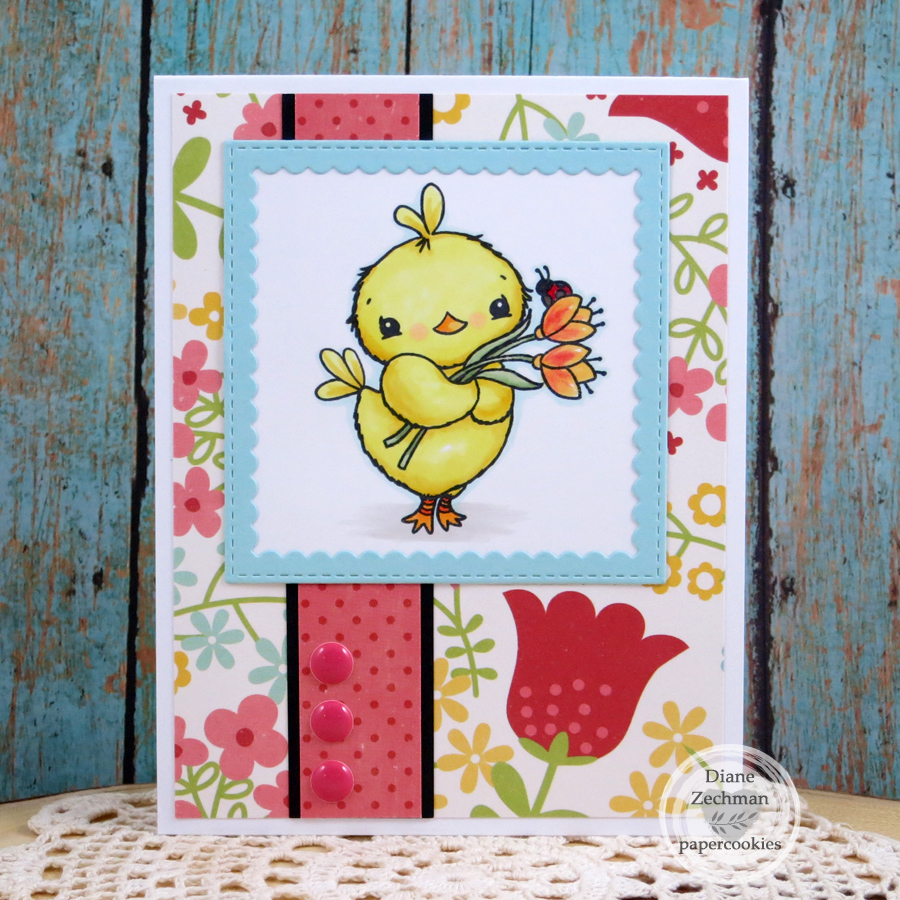
Good morning! Today I have some cards to share using the Springtime and Sentimental Mash-Up stamp sets from this month’s release at Sweet ‘n Sassy Stamps. This cute spring set is a must have and the sentiment set will be a great go-to set for your cards! First I stamped the boots image and accented it with the little ladybug. The blue cardstock layers were leftover from die-cutting the frame for this card. I embossed them with a subtle texture embossing folder.


I've been wanting to try the Bridge Card fold so that's where my inspiration for my second card started. I wanted the bottom piece across the front to be grass and the pieces all fell into place from there. These are SO fun and easy. I can see many more in the future!


This card does lay flat and fit in an A2 envelope for mailing!


There are a few variations on these, including horizontal and vertical cards. The measurements I followed are to start with a 4 1/4" x 8" base, scoring each end @ 1 1/4" and 2 1/2". The Bridge piece is 5 1/2" wide x however tall you want it. Mine is about 1 3/8" at the tallest peak after die-cutting the grass edge. My patterned paper layers are 1 1/8 x 4 1/8 and 2 7/8 x 4 1/8.


Have a great day!
Diane