Showing posts with label Autumn. Show all posts

Monday, October 24, 2022

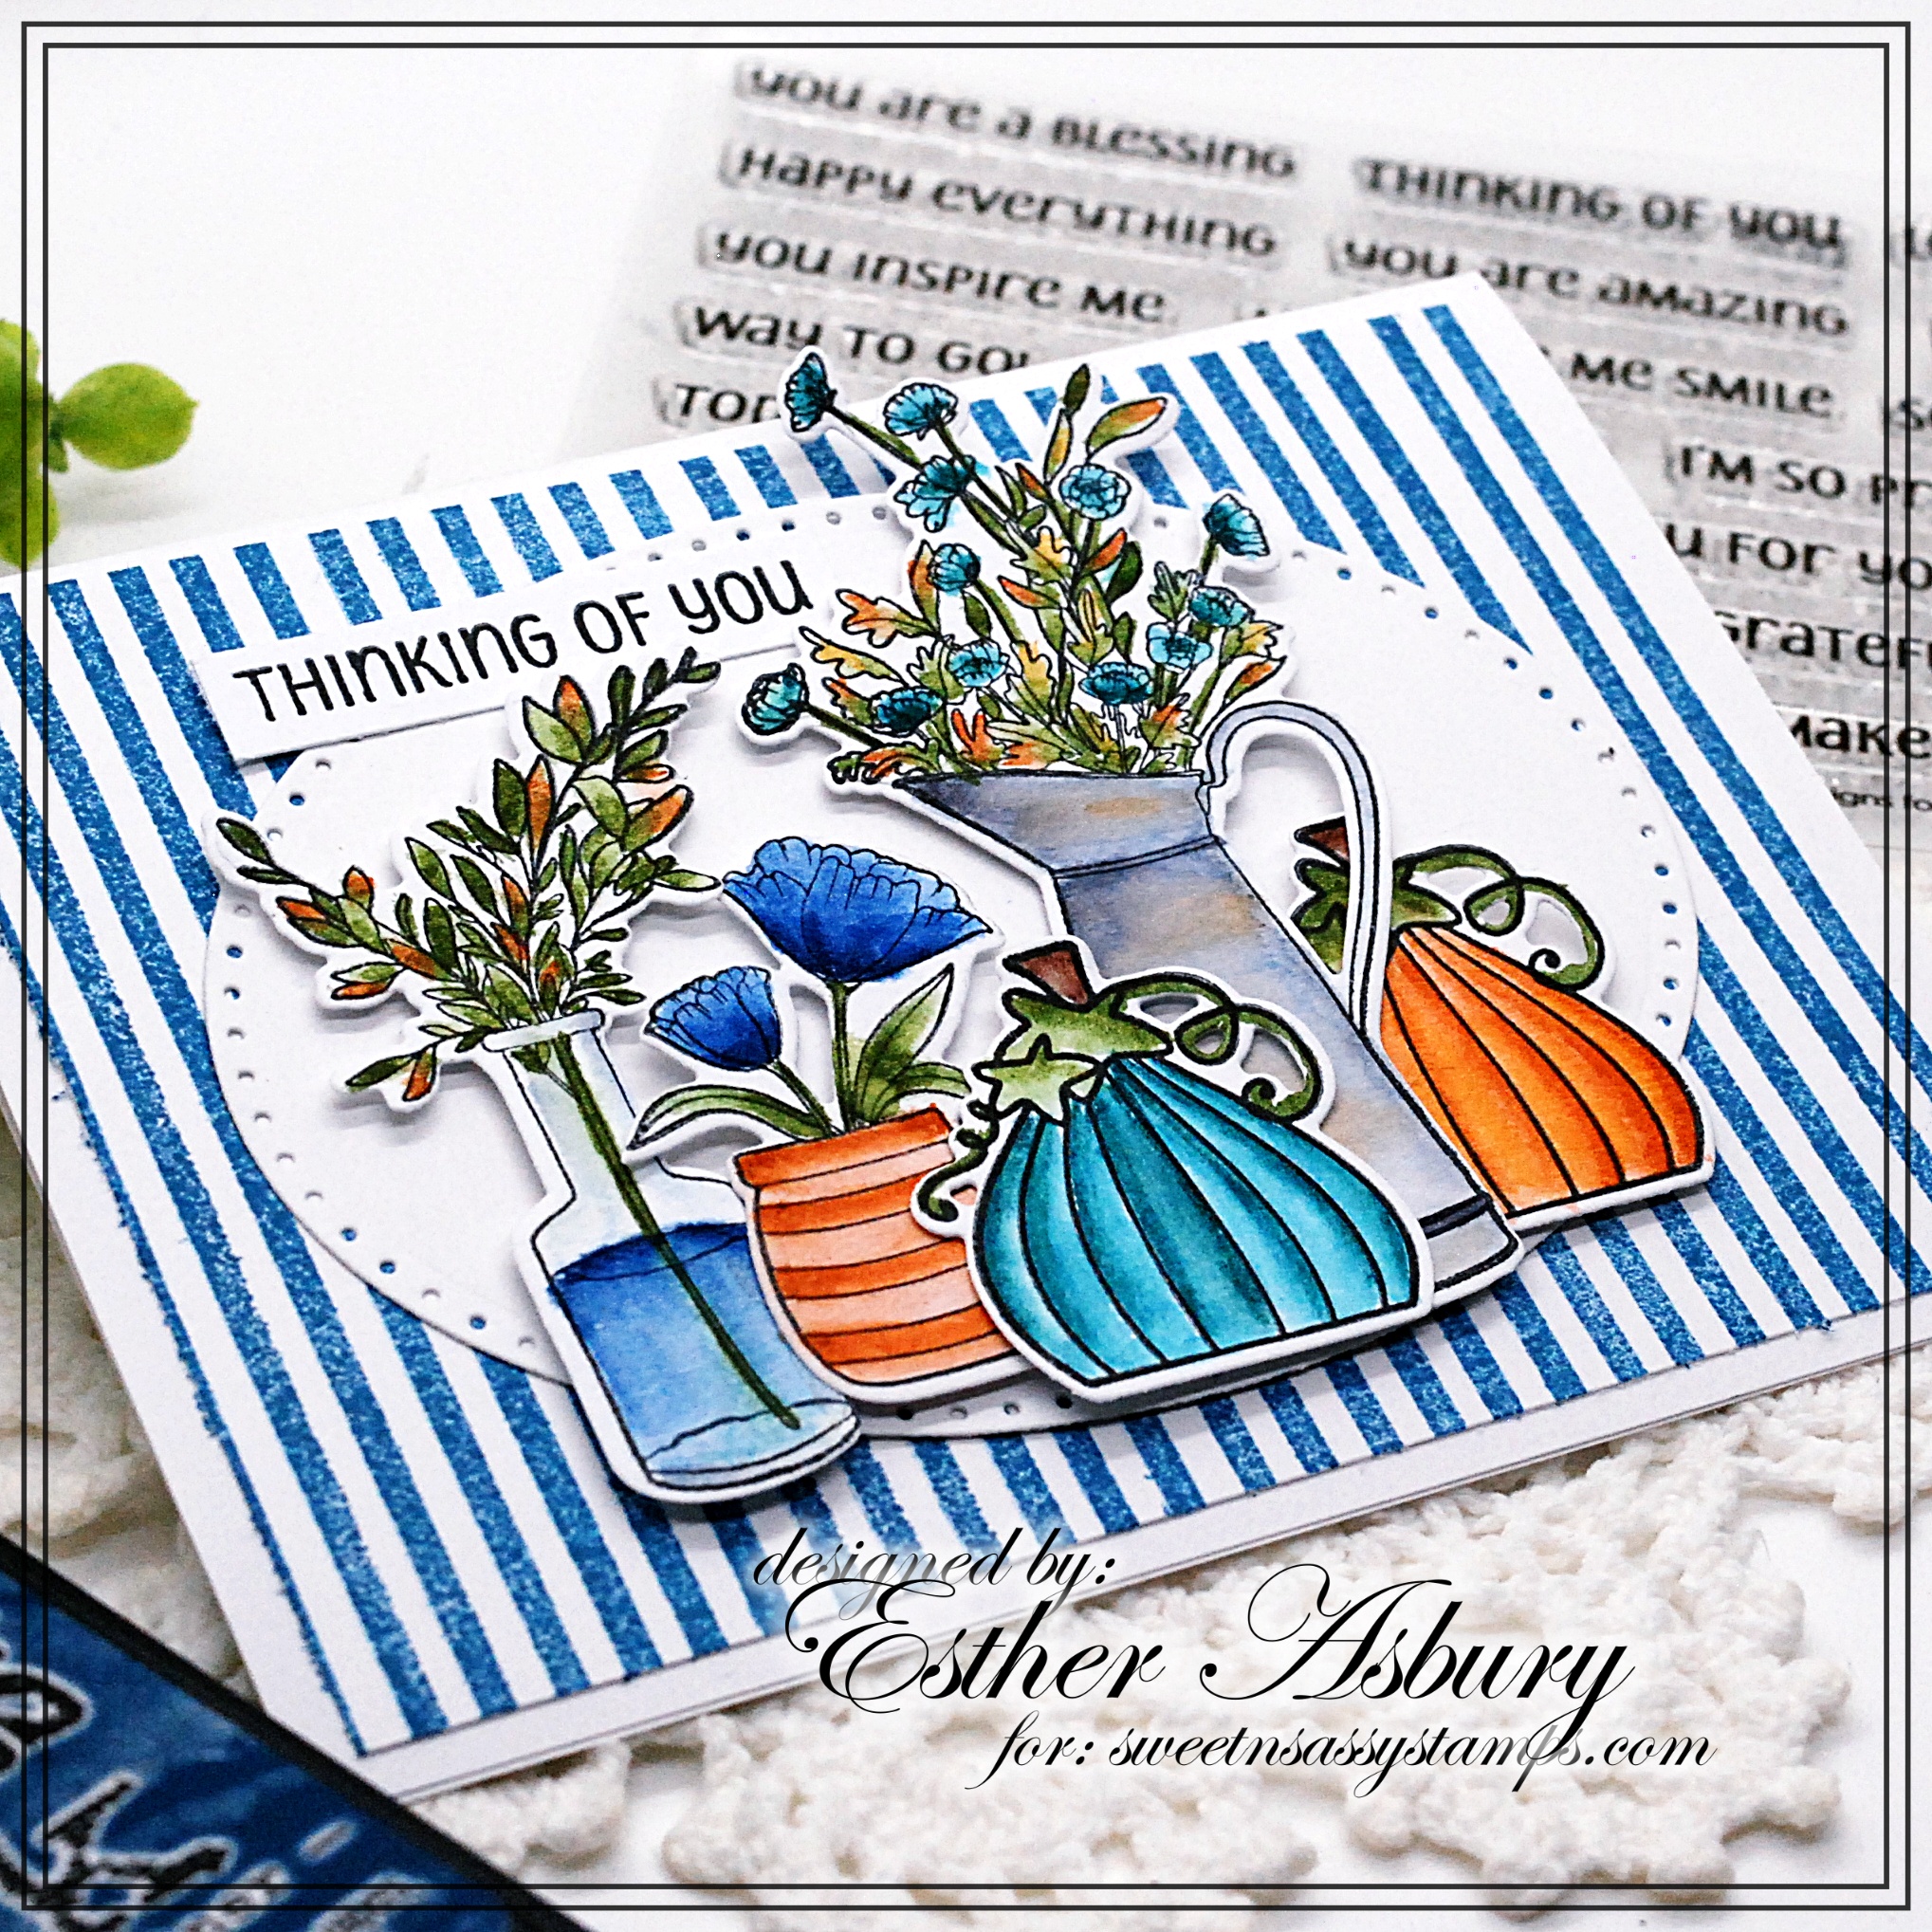
Thinking of You


Esther here today with an autumn still life scene created using one of my all-time favorite stamp sets (Beautiful Bouquets) combined with pumpkins from the Fall Beeze set. All the images were stamped on mixed media paper and colored with Arteza Real Brush Pens, and the coordinating dies made this a snap to create. 

~~~This post contains affiliate links at no extra cost to you~~~

Supplies and Tools:


Tuesday, September 6, 2022

partial die cut scarecrow

 Hello! Today I’m sharing a card using one of the new die sets from this month’s Sweet ‘n Sassy Stamps release. This stamp set is a previously released one so you may purchase the dies separately, if you have the stamps, or both together in a bundle.

Product links: Happy Scarecrow Die Set, Happy Scarecrow Bundle

This happy fella was stamped in the center of the card front. Since he's not layered on, and I didn't want the coloring to bleed through to the inside, I colored the image with Prismacolor pencils and blended with Gamsol and paper stumps. Then I used the Partial Die Cutting Technique on my card front to cut around just half of the scarecrow.


After die cutting, I used a trimmer to cut above and below the image, where the die cutting stopped. I glued a piece of plaid paper to the inside and added a few more die cut and colored images. The sentiment and pumpkin were popped with foam tape.


Have a great day!
Diane


Monday, September 27, 2021

Autumn Coffee


Happy Monday! Esther here today with this autumn themed coffee card. I started by using my stamping platform to stamp one of the plaid designs from Texture Tiles 4  in rusty hinge distress oxide with a bit of walnut stain layered over top. I inked around the edges with vintage photo distress ink and stamped the coffee rings from Texture Tiles 9 in fallen leaves Versafine Clair ink. Next, I stamped the right panel with the coffee beans from Texture Tiles 9 on kraft card stock and inked those edges as well. The sentiment inside is from the Fall Breeze Stamp Set  and is colored with Arteza real brush pens.
 I cut a medium sized tag using the Tag Collection dies from Tim Holtz and lightly stenciled  the Chicken Wire Stencil in vintage photo distress ink. After stamping and coloring some of the images from the Fall Breeze Stamp Set  I die cut them with their coordinating dies (Fall Breeze Die Set). Last of all I inked a piece of kraft card stock with walnut stain distress ink and die cut it with the Coffee Word Die

After arranging all the pieces on my tag, I scored and folded the edge and attached it to the right side of the card under the coffee bean panel. 

Click here to check out all the beverage themed stamps in the Sweet n Sassy Stamps store.

Come back Wednesday for a fun National Coffee Day blog hop with prizes.

 ~~~This post contains affiliate links at no extra cost to you~~~

Monday, August 23, 2021

Autumn Wreath


 Hello friend, Esther here today sharing this warm and cozy autumn wreath card. I started by stamping the smallest leaves and acorns (from the Autumn Splendor stamp set) in Versafine Clair Nocturne Ink and painting them with watercolors. After fussy cutting I added splatters in both walnut stain distress ink and white acrylic paint. 


 Next, I cut a ring using  the largest two Spellbinders nestabilities dies, and arranged my leaves/acorns around the circle using foam mounting tape for dimension. 

For the background, I stamped the NEW Fall Background in versamark watermark ink on kraft cardstock. I distressed the edges with my open scissors and inked all the way around with vintage photo distress ink from Ranger.  The last step was adding the sentiment in Fallen Leaves Versafine Clair Ink.

 ~~~This post contains affiliate links at no extra cost to you~~~


Monday, November 9, 2020

Autumn ATC's


Hello stamping friends. Esther here today sharing something a little different.... autumn themed ATC's using one of my all-time favorite Sweet n Sassy sets called Fur-ever friends. Aren't those critters just adorable?! 
I stamped my images on watercolor paper and colored them with Arteza Real Brush Pens. After layering them on my patterned paper backgrounds, I added some baker's twine bows for extra dimension. 


~~~This post contains affiliate links at no extra cost to you~~~
 Supplies and tools:
  • These Sweet n Sassy Stamp Sets:
  • Mosaic Memories Paper Pack (Recollections)
  • Ornate Ovals (Divinity Designs)
  • Christmas Quilt Embossing Folder (Couture Creations)
  • Canson Watercolor Paper
  • Arteza Real Brush Pens
  • Jet Black Archival Ink (Ranger)
  • Baker's Twine

Friday, October 2, 2020

Autumn Smiles

 Hi friends! It's Julee Tilman popping in to share a card featuring our October Stamp of the Month, My Thoughts of You. I'm absolutely smitten with these big uplifting sentiments!


For this card, I started by masking off  the edges of a panel of white cardstock, then ink blending crackling campire and wild honey over the Tim Holtz Autumn Layering Stencil. Once the leaves were how I liked them, I wanted to add a touch of texture. So with the stencil still in place, I used the Embossing Dabber to add just a bit of embossing ink to the bottoms of each leaf, then removed the stencil and sprinkled crackling campfire embossing glaze  over it and heat set.


Next I embossed the smile sentiment from My Thoughts of You with copper embossing powder in the center of the panel.  I blended antique linen and gathered twigs inks around the edges of the stamped panel and then layered on a foam sheet over a kraft card base also blended with brown inks.

I love how these big, beautiful sentiments can make sending encouragement cards super quick and easy! My Thoughts of You is the October stamp of the month, which means it's available for purchase OR you can receive it for FREE with a $75 order during the month of October. Just be sure to add it to your cart to receive the promotion.


And if you haven't had a chance, take a hop on over to the Sweet 'n Sassy Stamps shop to see the entire release! Through October 9, you can get the ENTIRE October release (including the October Stamp of the Month), for just $75 when you purchase the October Early Bird Bundle!  And you'd also qualify for FREE shipping in the US. That's $103.75 worth of stamps for just $75! Wow!


Thanks so much for stopping by today! May you be blessed today and always!

***This post contains affiliated links at no cost to you ***


Tuesday, August 25, 2020

Autumn Blessings

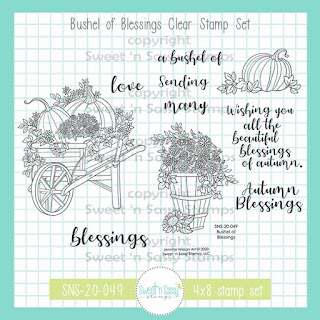
Hello Sweet Friends! Sheri here today to share an Autumn themed Card featuring the NEW Bushel of Blessings stamp set from the August 2020 Release!

I love the images in this set and there are so many possibilities.  I know that sometimes I don't like to color and still would like an elegant looking card.  Well how about a little embossing and ink blending?  Not good at ink blending?  Here's a little trick...I start with a piece of colored card stock instead of white.  You will not only use less ink but will have a little glow in the middle of your image.

  1. One a piece of mustard colored card stock stamp the image and sentiment with a Embossing Ink (Versamark), sprinkle embossing powder (gold), and heat set with embossing heat tool.
  2. I used the coordinating mustard ink and a light brown along with a ink blending tool. Start with your lighter color and work from the edge and around the card. Don't cover the entire image...I leave the center alone so it looks like there's a bit of  a glow. You can then add the darker color with a very light hand.  You can repeat and stop when you get the desired look.  I always start of the paper and find working on a glass mat very helpful. 
  3. The Gold mat was created by taking the Embossing ink direct to paper along the edges of the card stock and embossing with the same embossing powder.  It's an easy way to make sure your golds match.
Card Measurements:
A2 Top Fold Card Base: 4 1/4" x 5 1/2" (4 1/4" x 11", scored at 5 1/2")
Gold Mat: 3 5/8" x 4 7/8"
Stamped Image Layer: 3 1/2" x 4 3/4"

http://shrsl.com/2ge86


Happy Stamping!!


Monday, August 24, 2020

Blessings of Autumn

 
Hello friends, Esther here with a square card featuring the NEW "Bushel of Blessings" stamp set. I stamped it on watercolor paper, colored it with my Arteza Real Brush Pens, fussy cut, and popped it up on my card front.  I really wanted the main image to shine so I kept the background layers to minimum and left plenty of white space.


~~~This post contains affiliate links at no extra cost to you~~~

Supplies and Tools:

Monday, August 10, 2020

Autumn Blessings


Hello friends, Esther here with a fall card in non-traditional colors! I created a subtle background by stamping a sunflower in versamark watermark ink on my dark blue paper, and added interest to my label with some faux stitching done with a white gel pen. The main image was colored with Arteza Watercolor Pencils -- I'm still trying to get the hang of them!


~~~This post contains affiliate links at no extra cost to you~~~

Supplies and Tools:
  • These Sweet n Sassy Stamps sets:
  • Canson Mix Media Paper
  • Arteza Watercolor Pencils
  • Album Tags and Accents Die (Heartfelt Creations)
  • Brilliance Moonlight White Ink (Tsukineko)
  • Versamark Watermark Ink
  • White Gel Pen
  • Foam Mounting Tape


Friday, October 25, 2019

Fall Is In The Air!

Fall is finally here! The weather is finally a little cooler and the leaves are starting to change colors - I love it!

Today's cards are perfectly fall and so much fun! We have a Remix - a  FALL Remix called - Autumn Splendor. I created some "falling leaves" layouts using two different papers and different mediums to see what the differences would produce - they both make me smile out loud and I can't decide which one I prefer!

The first card is a one layer card using Neenah Dessert Storm (kraft). The leaves were colored with Polychromos pencils which are so wonderful on kraft. The colors just pop! I tried to create some dimension with shadows. It was a fun challenge and I am really happy 
with the results.


My second card uses Canson watercolor paper, Brushos, and a Falling Leaves Stencil for a background panel and then for the focal point, I colored up the leaves with Inktense pencils for a watercolor look.


These were fun! I hope you are inspired to test out different papers and mediums and see what happens!

Thanks for stopping by!
Lyn


Saturday, October 19, 2019

Happy Fall

Hi Sweet 'n Sassy friends! It's Julee Tilman, popping in to share a little autumn loveliness I've been creating with this month's release.


This little bear from Rhubarb's Harvest holding his pumpkin makes me smile. It reminds me of when my boys were younger and Trevor picked out a pumpkin almost twice his size. He's never shied away from a challenge, and watching him try to lift that big pumpkin sure did make me laugh!


I wanted to give the feeling of a beautiful October afternoon, so I colored him up with Copics, then blended around the edges with tumbled glass distress oxide. I did a little stamp surgery with the two uppermost falling leaves on the image, cutting them out so I could stamp them individually.  I added them to the largest stitched circle and colored with Copics, inking the edges with tumbled glass.


The sentiment is the final circle element, stamped in gathered twigs distress oxide and embossed clear.  The lovely embossing folder background is debossed with gathered twigs distress oxide, and I finished off with a seam binding bow and a glitter leaf sticker.


For my next little project, I made some fun treat bags for my kiddos. They love candy corn, so I couldn't resist coloring up the Candy Corn Cocoa digital image. This image is available as a freebie in our VIP Facebook Group this month.


These bag toppers are super quick to make. I cut a piece of black cardstock 3.5" x 4.25" and scored at 1.75". I then added a strip of patterned paper to the front that measures 1.5" x 4.25".  The digital image was printed on my laser printer and colored with Copics, then I cut with a circle die and matted onto a scalloped circle die cut. The sentiment is from the Heart Candy set. Then it was just a matter of filling a little bag with candy corn and closing it up. I like to staple each side of the bag to the back flap and use a strip double sided tape to secure the front flap to the bag.


Thanks so much for stopping by today! Have a fantastic weekend!

Thursday, October 17, 2019

Grateful Heart

Good morning! Today I used the October Stamp of the Month: Grateful Heart to create 2 cards. I paired my images with some pretty fall papers and a cable knit embossing folder for some warm and cozy greetings. I love this fall arrangement!


Here's a great pumpkin image for any autumn occasion.


Have a great day and check out all the new stamps in this month’s release!
Diane

Saturday, October 5, 2019

Grateful Heart

Hi Sweet 'n Sassy friends! It's Julee Tilman here, popping in to share a couple of cards with the October Stamp of the Month: Grateful Heart.


Grateful Heart is a sweet remix of images from a retired set by Korin with a few new sentiments I designed sprinkled in. For my first card, I went for a traditional Thanksgiving card using the cornucopia image from the set. I remember in 2nd grade making a "stained glass" cornucopia project with aluminum foil, saran wrap, and markers. Ever since then I get delighted every time I see a cornucopia, so I had to start with this image!


I colored it with Copic markers, then highlighted with glossy accents and glitter for a little shine.  This panel is matted with brown cardstock and the corners rounded.  I did a similar treatment with the Thanksgiving Blessings sentiment and then finished with some patterned paper from my stash.


For this next card, I strayed just a bit from traditional colors, adding in a bit of aqua. I love all the aqua and sage fall decor I've been seeing, so colored this fall bouquet with  an aqua flower and bow.  The background for the card is a sage patterned paper that I stenciled with a ledger stencil then used distress inks to shade the edges.  I added a bit of patterned paper for interest and some lace trim.  Each of my focal circles is matted with a vellum scallop circle. I love the soft look to it.


Since Grateful Heart is our stamp of the month, it's available for purchase right now. Or you can get it for free with a $75 order (after discounts and before shipping) in the month of October. Don't miss the rest of the October release, coming on Monday, October 7!