Shaker cards are cute and extra fun for the recipient.
Check out these adorable creations featuring some of our sea themed stamp sets.
.png)
Andrea's card features
.png)
Michelle's card features:

Lucilight's card features: Mer-mazing stamps


Today we're showcasing four fun ways to use our Poinsettia Greetings Stamp set.
Esther used Arteza Real Brush pens to color hers and combined it with Texture Tiles 4 and Script Sentiments stamps and dies for a Christmas birthday card.
Susan colored hers with Copics and combined it with our NEW Softly Snowing Digital Paper Packs for a soft winter look.
Sheri created her clean-and-simple, classy card using gold embossing powder over a beautiful teal card stock.
Nina used colored pencils, glitter, and an old hymn page to create her beautiful card.

~~~This post contains affiliate links at no extra cost to you~~~

There are still a few days left to take advantage of our steel die sale.

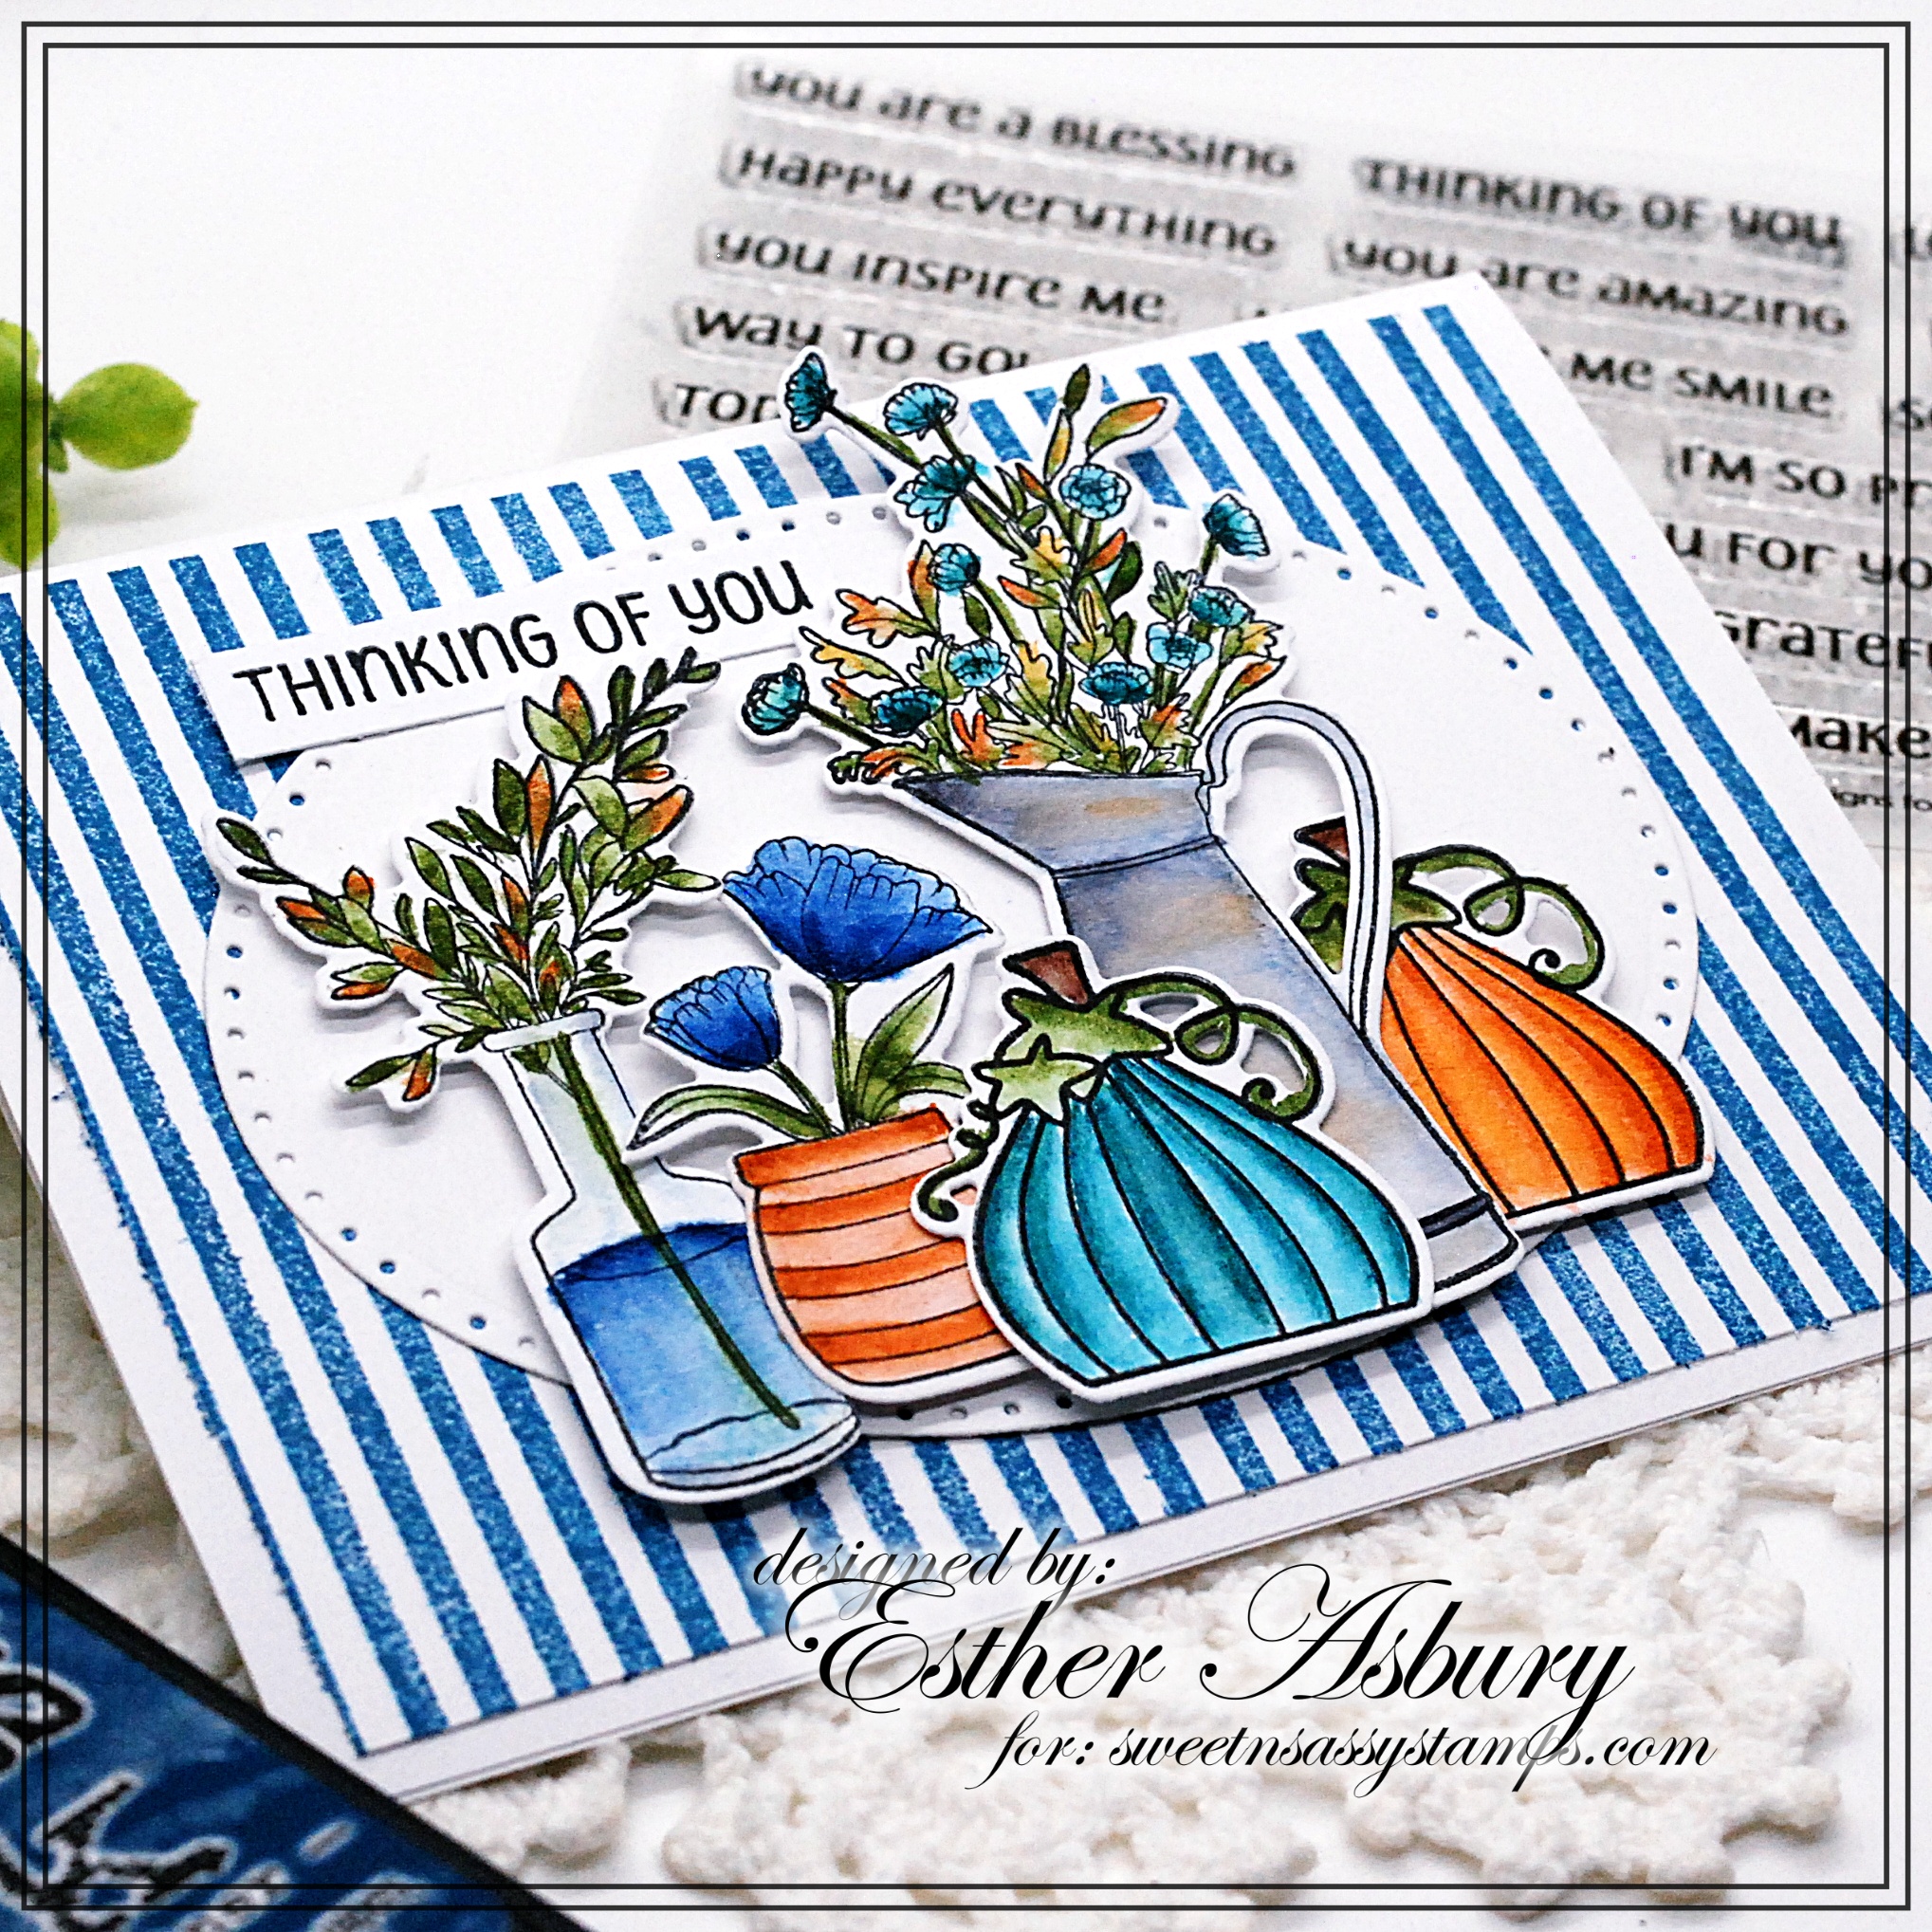
Esther here today with an autumn still life scene created using one of my all-time favorite stamp sets (Beautiful Bouquets) combined with pumpkins from the Fall Beeze set. All the images were stamped on mixed media paper and colored with Arteza Real Brush Pens, and the coordinating dies made this a snap to create.

Supplies and Tools:

Do you actively share your creations on social media?
Do you live in the USA?
If this is you, we invite you to apply to be a guest designer for Sweet 'n Sassy Stamps in 2023.
To apply, send an email to Esther at snssassistant@gmail.com and include:
Your name and address
Links to all your social media accounts (blog, Instagram, Facebook, Youtube etc.)
Which
team you are applying to guest for (Card Making or Bible
Journaling)
We look forward to hearing from you!!

Esther here today sharing this frosty winter card that uses the BRAND NEW Snowstorm stencil.
To create my card I pressed Versamark watermark ink through the snowflake stencil on mixed media paper, removed the stencil, added white embossing powder, and heat set. Next, I used Prize Ribbon distress ink to do some ink smooshing and then inked the edges with Chipped Sapphire distress ink. I added the largest snowflake from Large Snowflake dies set and then a die cut sentiment over that.
Click here to shop the entire October Release.

Supplies and Tools:


Did you know Sweet
n ' Sassy Stamps is in the process of adding product from their brick
'n mortar store (The Stamper's Boutique) to their online site? Check out
all the fun NEW stuff added to the Art Mediums
category! There will be limited quantities of these products until
Korin gets a feel for what sells well, so if you see something you like,
grab it up fast!
I'm showcasing Gilding Polish
on today's card. After embossing the azalea's I went over the raised
design with two shades of blue polish. Don't you love that beautiful
shimmer?

Supplies and Tools:


~This post contains affiliate links at no extra cost to you~~~

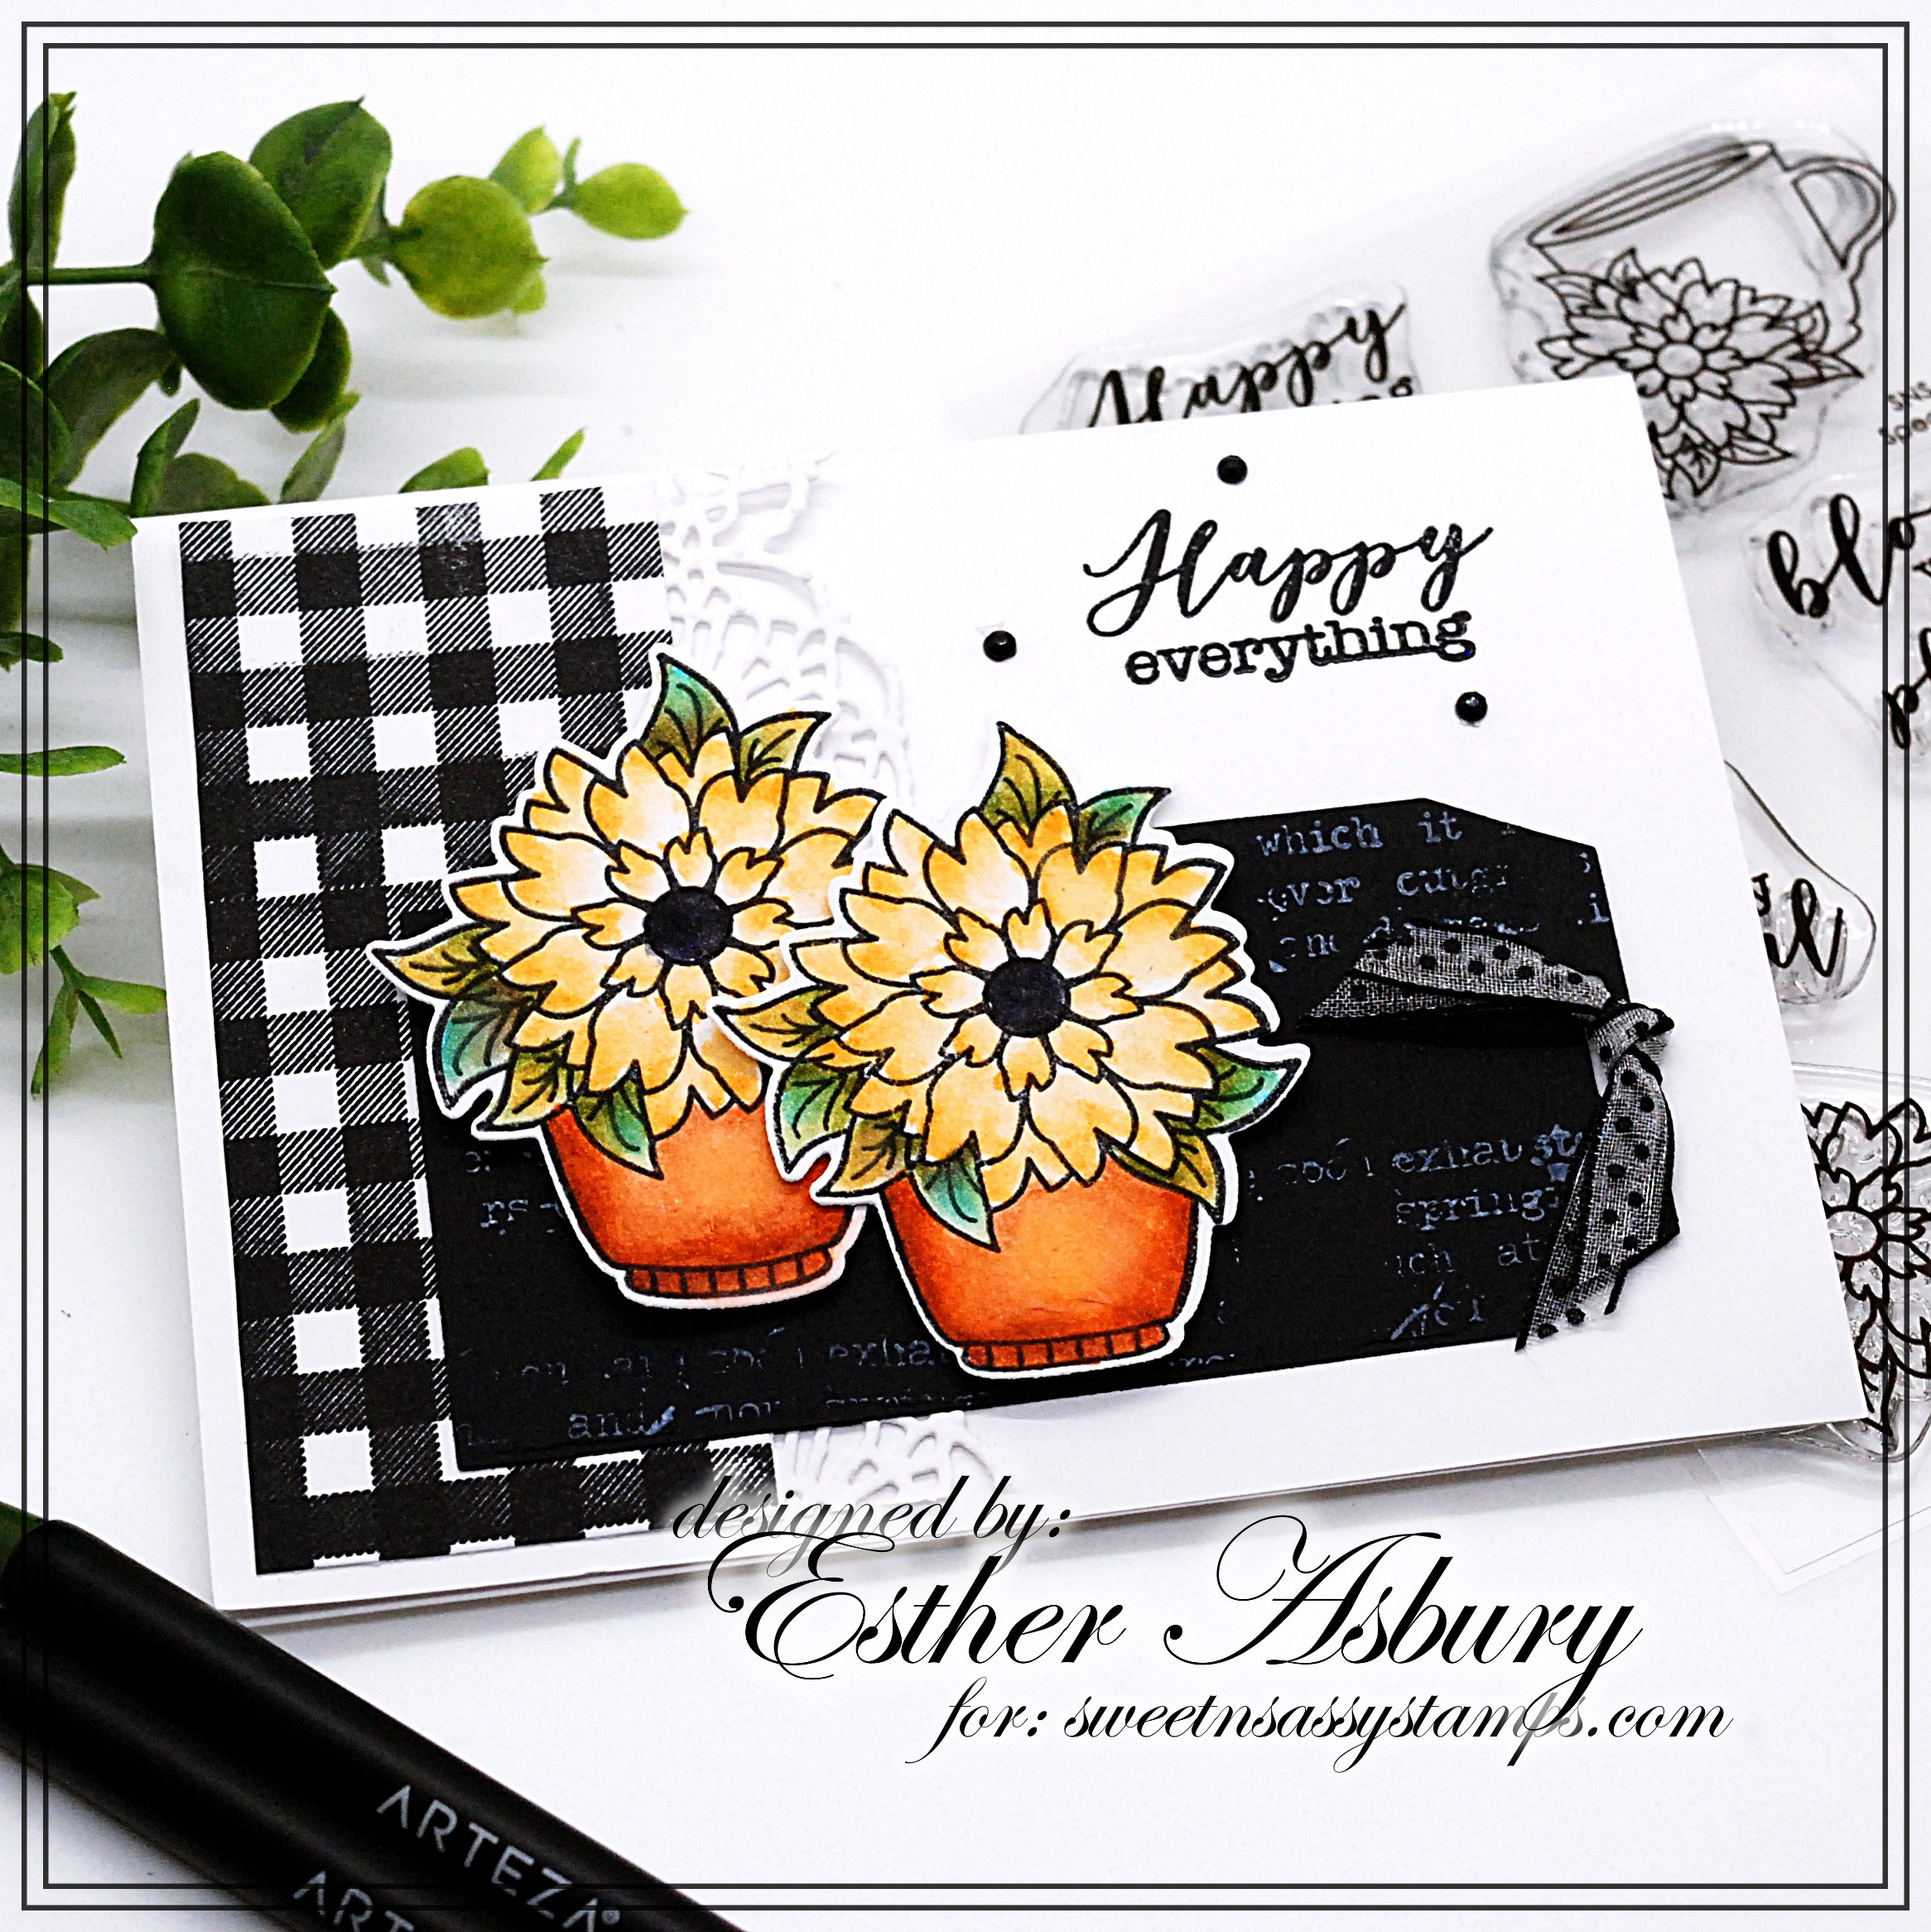
Hello, Esther here today with this summery floral card. To create my card I stamped one of the flower pots from the Special Blooms Stamp Set twice on mixed media paper and colored them with my Arteza Real Brush Pens before die cutting with the coordinating Special Blooms Dies. I die cut a tag from black card stock and added some white text using the Typewriter Text Background stamp. The gingham was stamped in Versafine Clair Nocturne Ink using one of the images from Texture Tiles 4 . A bit of ribbon, three rhinestones, and some paper lace complete this card.

~~This post contains affiliate links at no extra cost to you~~~


~~~This post contains affiliate links at no extra cost to you~~~
Supplies and tools:


Esther here today with this mixed media coffee card. The Spring Summer Coffee Lover's Blog Hop is in full swing. It's a traditional hop this time with prizes and giveaways at each stop. Sweet 'n Sassy Stamps is proud to be one of the sponsors for this hop and is giving away a $25 gift code to one lucky commenter. Click here to go to the original post.

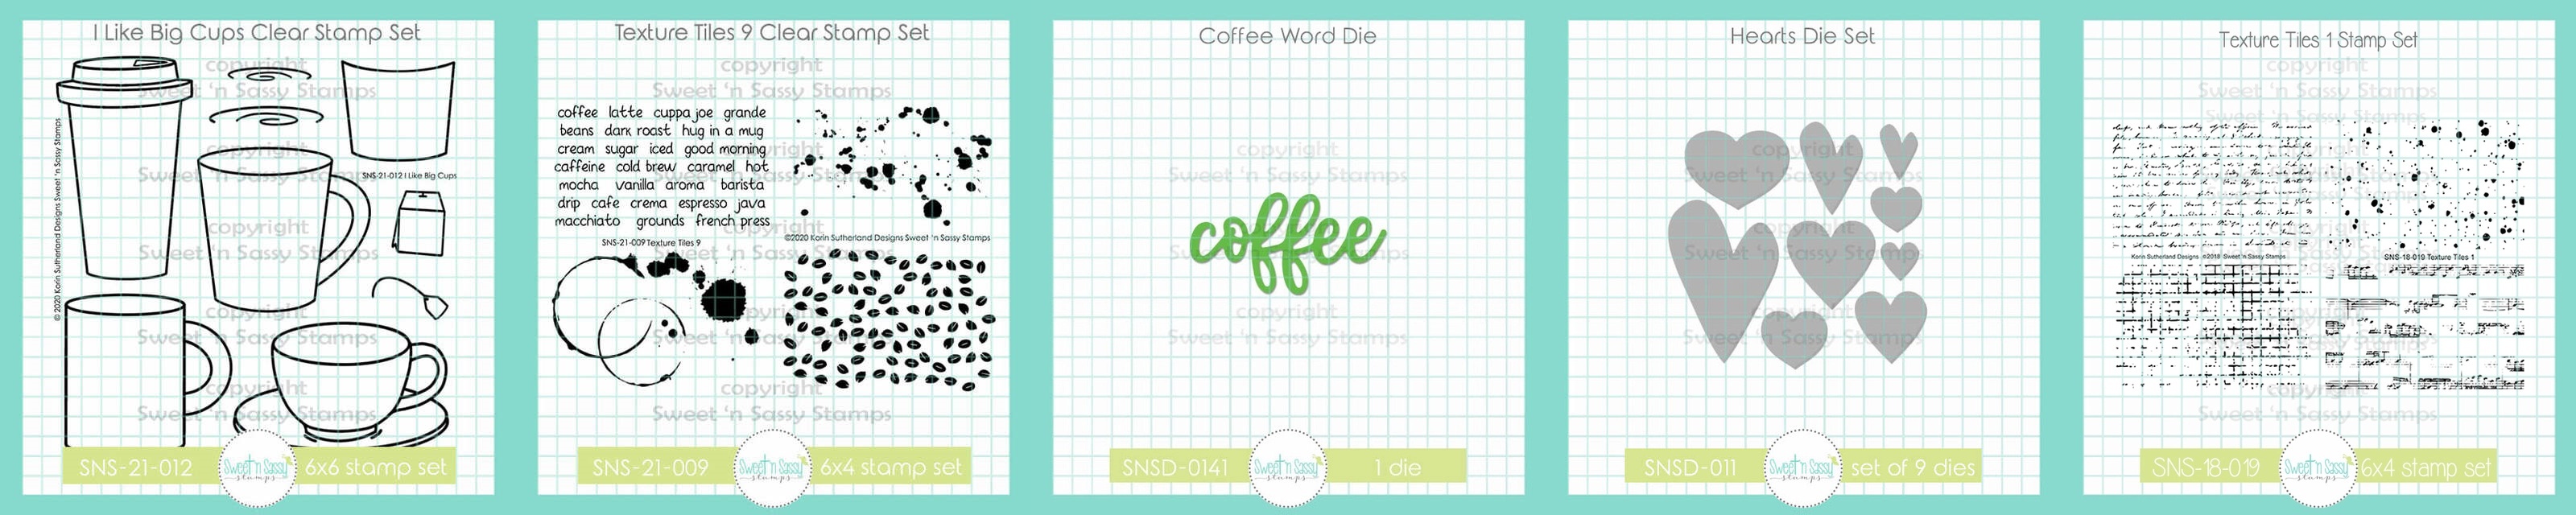
To create my card today I started with a piece of kraft card stock and swiped some white pigment ink across it. Next I stamped the coffee words from texture tiles 9 across the top and bottom and layered up my lace, dictionary page pieces, and burlap ribbon. Using distress inks I did some ink smooshing on watercolor paper, die cut it with a circle die, and stamped a bit of text from texture tiles 1 over top. After fussy cutting one of the coffee cups from I Like Big Cups I added a bit of lace to the front. A sentiment and two little hearts complete this shabby mixed media card.
~~~This post contains affiliate links at no extra cost to you~~~
Supplies and Tools:


~~~This post contains affiliate links at no extra cost to you~~~
Supplies and Tools:

Hello friend, Esther here today with this sweet little square card that features the Stamp-of-the-Month, Spotted.
I stamped the little lamb from Sweet Little Lamb in Versafine Clair Nocturne Ink and colored it with my Arteza Real Brush Pens. Next I stamped the Grunge Stripe Background in Yeti Ink (Lawn Fawn) on a piece of purple cardstock and added some grunge using a stamp from Texture Tiles 1.
I die cut a circle using circle dies from Spellbinders and layered it
on a black doily cut with the Doily Die from Sizzix. The sentiment is
from the Script Sentiments stamp set.

~~~This post contains affiliate links at no extra cost to you~~~
Shop the entire March Release Here

Esther here today
sharing a soft pink card using my favorite stamp and die set from
the February Release --- Beautiful Bouquets. I created the gingham
background using Texture Tiles 4 and added a sentiment from Fear Not.
The pretty little flourish comes from the Decorative Frames Toppers set.
To soften the embossed background just a little, I lightly rubbed some
white ink over the raised part.

~~~This post contains affiliate links at no extra cost to you~~~
Supplies and Tools:


For the background, I stamped the NEW Fall Background in versamark watermark ink on kraft cardstock. I distressed the edges with my open scissors and inked all the way around with vintage photo distress ink from Ranger. The last step was adding the sentiment in Fallen Leaves Versafine Clair Ink.

~~~This post contains affiliate links at no extra cost to you~~~


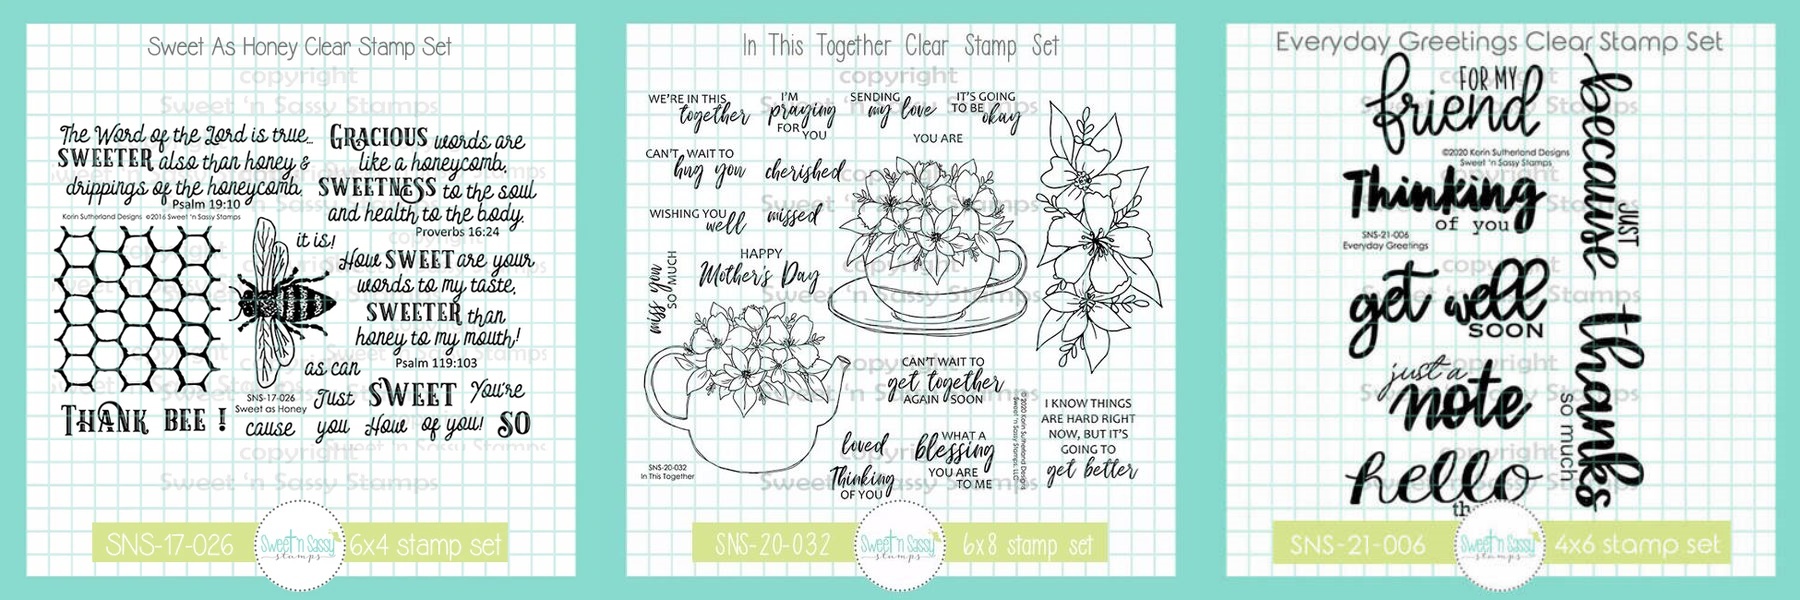
Esther here today sharing a bee themed card. I started by watercoloring the top left part of mix media card front with watercolor paints from Zenacolor. Next I stamped the honeycomb design from Sweet as Honey in Tumbled Glass Distress Oxide (Ranger), and added a few white paint splatters. To finish it off, I added a sentiment from Everyday Greetings and embossed the entire panel with the Organic Lined 3D embossing folder from Altenew.
The bees and flowers (In This Together) were stamped in Versafine Clair Nocturne Ink
and colored with Arteza Real Brush Pens. I stamped, colored, and popped
up an extra flower in the center of my arrangement for a bit more
dimension.
~~~This post contains affiliate links at no extra cost to you~~~


Happy
Monday!! Esther here with a Christmas card
in traditional red and green! This was super simple and fun to create. I
embossed my red card stock with a knitted folder and lightly rubbed
white ink over top to make the embossing stand out. Add a sentiment,
some pine die cuts and lots of paint splatters and wa-la a festive
holiday card!

Supplies and Tools:


