Showing posts with label Julee Tilman. Show all posts

Wednesday, June 22, 2022

Double Dose of Caffeine


Hey sweet friends! It's Julee Tilman, popping in to share a double dose of caffeine featuring two different looks with my Special Blooms set.

For this first card, I colored the cup and the bloom image with Copic markers, then accented with white gel pen.  I cut with the coordinating dies. If you're inspired to shop, you'll save a bit if you buy the stamp set and dies together in this bundle.


I was feeling like getting my fingers inky, so pulled out some kraft cardstock and stenciled it with the Grunge Dots and Paint Splatters Stencils in varying shades of brown ink. Next I embossed the sentiment directly on the panel and inked around the edges.  

The butterfly was already colored and fussy cut from a previous art session. It's from the Spread Your Wings stamp set and I had coated it with embossing ink and sparkle embossing powder for extra shine.  I then decided placement and stamped the same butterfly in black directly on my stenciled panel and popped up the butterfly to finish things off.


My second card is a simple one, making use of patterned paper from my stash for an easy layout. The sentiment is stamped onto a die cut circle, then I added the cup and bloom image and a bit of skinny ribbon from days gone by. There you have it, one stamp set... two different looks.


Thanks so much for stopping by today! I hope your day is filled with lots of happy.

Featured Products:


Wednesday, June 8, 2022

Every Day is Special

 Hi friends, it's Julee Tilman, popping in with a little inspiration with my newest release, Special Blooms. I love me some flowers, so couldn't wait to color these images up.


I went with a pink combo for the flowers, and a blue for the pot and background, coloring the images with Copic markers and then cutting with the coordinating die cuts.  I wanted a little more dimension, so I stamped and colored the pot flower again and cut out just the flower to pop up over my die cut image.


For the darker panel, I masked off a rectangle, then blended the entire panel with a stone blue. Next I stenciled over the blended piece with the Diamond Tile Stencil in a dark blue. Not wanting to waste the ink still on my stencil, I spritzed it with water and then pressed it to a white panel for the main card background.  I finished off with some blue cardstock, and a vellum sentiment embossed in blue.

Thanks so much for stopping by today! I hope you have a fabulous day!


Wednesday, May 25, 2022

Warm Blooms

 Hi sweet friends! It's Julee Tilman, popping in with a bit of sunny inspiration for your Wednesday.  This month's Stamp of the Month, Happiness Blooms, is such a smile maker. I love these whimsical flowers and the sweet sentiments that are the perfect size for adding to cards.


I was inspired by a recent art project my boys brought home from school. They were to only use warm colors at the top of the page and cool colors at the bottom.  I loved their yellow/orange/red combinations, so decided to use that color palette when I sat down to do some Copic coloring. I cut the image out with my Brother Scan 'n Cut machine, then added a few embellishments to the flower centers.

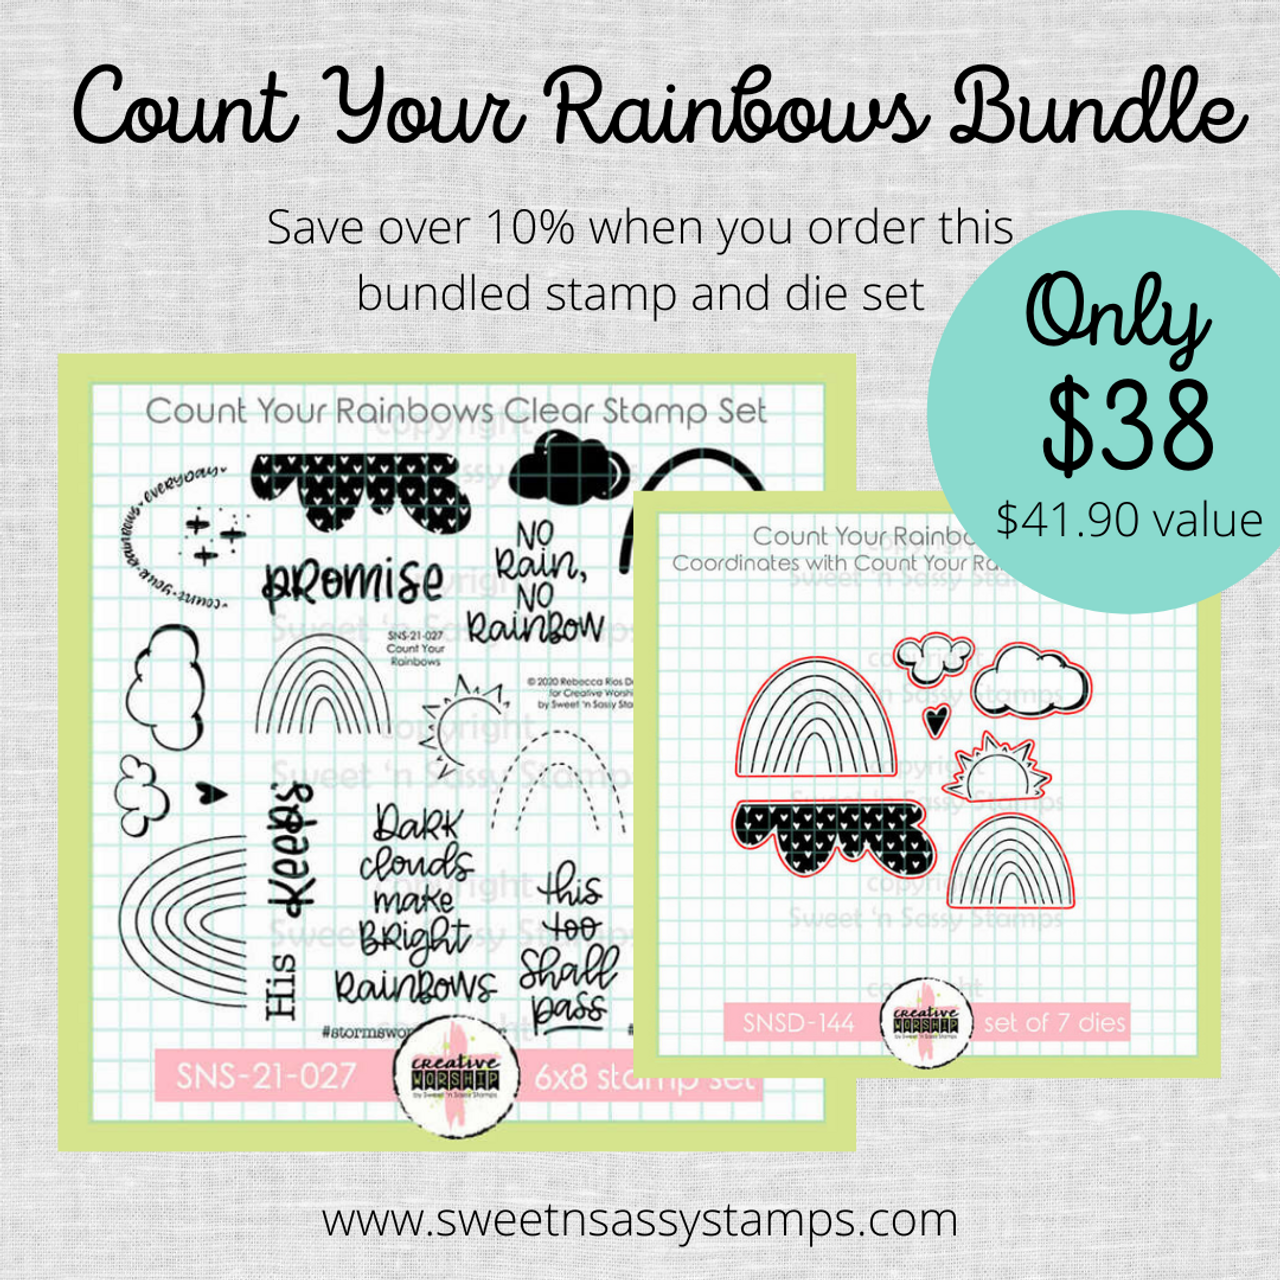
I wanted to create a little scene for the card, so chose a bright, sunny colored background, then added a hill die cut from the Hillside Edges Die Set to ground my flowers.  I added a red vertical panel for a little contrast, then pulled out the Count Your Rainbows stamp and die set for the clouds.

The sentiment is stamped onto a die cut circle, then I stamped and fussy cut one of the flowers from the Happiness Blooms image to accent it.


The Happiness Blooms stamp set is available to purchase, or you can receive it for FREE with a $60 order during the month of May. Just add it to your cart and the discount will apply automatically once your order reaches $60. 


Wednesday, May 11, 2022

Hello

 Hi friends! It's Julee Tilman popping in to share a little inspiration.  Today's card features the Diamond Tile Stencil, God is Faithful Stamp & Die Bundle, and Script Sentiments.


I started with the background, first lightly blending Tumbled Glass Distress Oxide ink onto a white card stock panel, fading to white on the one side.  I then placed the Diamond Tile Stencil over it and stenciled with the same color ink lightening up as I moved across the panel to continue the fade.

The beautiful floral image from God is Faithful is colored with Copic markers in pinks and purples, then cut with the coordinating dies.  I also cut the floral shape from plain cardstock a couple of times and layered them together to give some dimension.

The sentiment panel is stamped with the hello from Script Sentiments, then I added a couple sprigs from the God is Faithful set on eighter side for embellishment.  I finished with some black matting to make things pop and a few small rhinestones.

Thanks so much for stopping by today! I hope you have a fabulously creative day!


Wednesday, April 27, 2022

Happy Mother's Day


Hi sweet friends! It's Julee Tilman, popping in with a little Mother's Day inspiration with the new Roses for You stamp set. I just love these beautiful roses and sweet sentiments.

I stamped the solo rose image from Roses for You, then colored with Copic markers and cut with my Scan 'n Cut machine (but there are coordinating dies as well). The sentiment circle is cut from a paper I swiped the ink pad direct to paper with Wintergreen and All That Jazz inks. I stamped the mother's day sentiment and then matted with a white circle.


The background is stenciled with the Delightfully Delicate Stencil with Wintergreen ink, then I stamped the love you so very much stamp repeatedly in All that Jazz for a meaningful background.  A bit of sponging around the edges finishes things off.

Thanks so much for stopping by today! I hope you have a fantastic day.


Wednesday, April 13, 2022

Hello Dear Friend

 Hi sweet friends! It's Julee Tilman popping in with a clean and simple card design for you. Today is our April Release Inspiration Hop over on Instagram, so be sure to head over there for more inspiration and a chance to win a $25 gift code to the Sweet 'n Sassy Stamps shop.


I am absolutely in love with the beautiful new Roses for You stamp set illustrated by Jennifer Nilsson. These blooms were so fun to color up in some blue greens.  I added dimensional foam to the back of my colored and cut image and then set aside.


The background is a super easy technique, just swiping the Wintergreen ink pad three times lightly across white cardstock. I then splattered with some white, wintergreen, and all that jazz inks. The sentiment is from the same stamp set.  I added my flower to this panel, then popped the panel up on dimensional foam and adhered to a white A2 card base to finish things off.

Thanks so much for stopping by today! I hope you have a wonderfully creative week.


Wednesday, March 23, 2022

Spread Your Wings Mixed Media

 Hi sweet friends! It's Julee popping in today with a little mixed-media inspiration using the new Spread Your Wings and Spotted stamp sets. I've been in a bit of a creative slump lately, just having a hard time getting into the creative mood and staying there long enough to make a card. I know it's just the normal ebb and flow of the creative process, but I sure wish there was an instant fix!

Here's what I did to try to break out of the cycle. I found a pad of paper at Ross that was $1.99. It was 8.5 x 11" 300 gsm mixed media paper and I was intrigued by the thickness. So even though I have a ton of other cardstock, I bought this pad expressly giving myself permission to just play with it. See how well it worked, play with inks and paints, and see where the process took me. 


So I tore out one of the pages and got my fingers inky blending distress inks, oxides, and sprays to my heart's content. Next I pulled out the Spotted stamp set and stamped the different stamps randomly over the paper in archival ink.  I then added a bit of texture with the Script Background stamp here and there.  I watercolored some of the open circles with distress crayons and a waterbrush, then added gel pen accents to others.  When I was satisfied with the page, I cut it into six 3 x 4" panels and inked around the edges with black soot ink. I took two of the panels and stamped them randomly with the butterflies from Spread Your Wings.

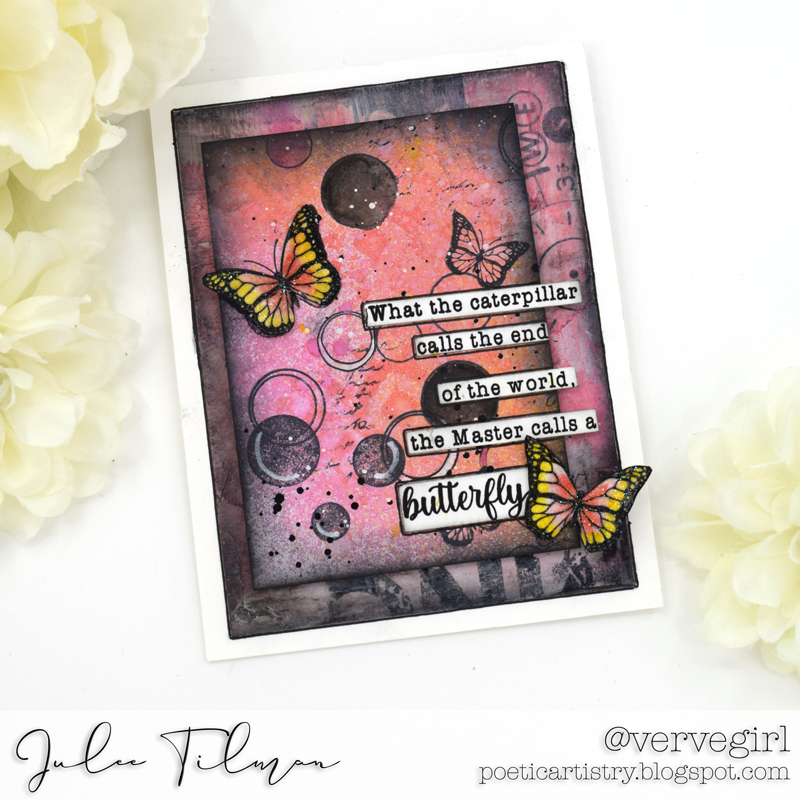
Next I stamped the larger monarch butterfly several times and watercolored with distress inks.  When it was dry, I fussy cut the butterflies, then coated with Versarmark and embossed with sparkle embossing powder. This makes them not only sparkly, but have a little less fragile when you add them to your card.

For my first card I went with a simple HOPE sentiment from the God is Sovereign set, embossed in white on black cardstock.  I added a panel dry embossed with an embossing folder behind, then accented with some shiny sequins and distressed edges to finish it off.

For the second panel, I stamped out the quote, then cut with my paper trimmer to add to the side of the panel.  I then added a couple of the butterflies.  The background is from a second mixed media page I did with some similar colors, usiing tissue paper, paints, and gel crayons. I tied it all together with some black around the edges and two cards are done.  I still have four more panels for next time I need a little jump start getting created!

Thanks so much for stopping by today! I hope you're inspired to just play a little in your studio and see where it leads.

-Julee


Friday, March 4, 2022

Soft Sympathy

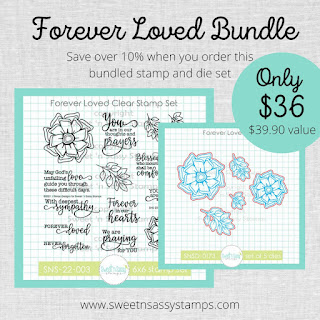
Hi sweet friends! It's Julee, popping in to share a little inspiration with my new Forever Loved stamp and die set that released this month. Have you had a chance to check out the March release yet? There's a whole lot of stampy goodness in there! 


It seems like I've needed a lot more sympathy cards lately, and so I'm on a mission to replenish my stash. For this card, I wanted a soft subtle look, so decided on a pink and grey color combo.  The flower and greenery from Forever Loved were stamped on cardstock, then colored with Zig clean color real brush markers. The paper MATTERS with these markers, and  I accidentally filed the wrong cardstock scrap in the wrong bin, so what I thought was Bristol Smooth cardstock ended up being Neenah cardstock. Oops. It was pretty obvious when the color wasn't moving with the water brush. I ended up sticking with it, though, just doing a lot of marker on marker blending instead of using water and was able to achieve a result I was pretty happy with. I then cut the images out with the coordinating die set and set aside.

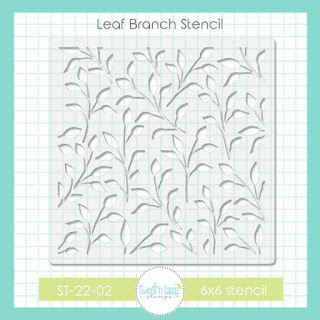
For the sentiment panel, I used the new Leaf Branch Stencil with pumice stone ink for a soft background, then cut in a circle and blended tattered rose ink around the edges. I then embossed the sentiment with black ink and clear embossing powder.

For the card base, I used the same stencil with weathered wood ink and a very light touch on fog cardstock. I love the soft look of it.  I then added a white circle mat to my sentiment panel and layered my flower and leaves. I finished off with a fun sprinkling of sequins.

Thanks so much for stopping by today! I hope you are inspired to create something. If you're in the mood to shop, be sure to take advantage of earlybird savings through March 9!


Wednesday, February 23, 2022

A Little Mix and Match


 Hi sweet friends! It's Julee popping in to share a fun card with you.  This one's a mish mash of a lot of sets. I love to mix & match, and SNSS stamps all work so beautifully together.  For this card I started with the gorgeous Flower Bunch Background. I stamped it in black, then colored really loosely with alcohol markers. I cut off just one section of my colored panel to use, then fussy cut one of the flowers from the other section of the background to add to my collage of elements around the sentiment panel.

The sentiment and stemmed floral are from the fabulous God is Good set and the branch is from the new God is Love set, both illustrated by Deeds. Isn't she just knocking it out of the park with her new sets?  I cut these images with a 0.4" border with a  Scan 'n Cut machine. The sentiment is framed using a stamp from the Decorative Frames stamp set, and then cut with the coordinating dies

I really love the contrasting look of pairing stripes with floral images. Something about those straight lines next to all the curvy floral goodness make me happy! So I pulled out the new Grunge Grid Stencil.  and lightly blended with pink and soft aqua dye inks for a fun lavendar-ish blend. I finished by layering everything onto an A2 size card base and adding a bit of sparkle with a Wink of Stella glitter pen.

So, how about you? Do you love to mix up your stamp sets, or do you usually stamp with just a single set? I'd love to know.

Thanks so much for stopping by today!

-Julee

Wednesday, February 9, 2022

Coffee & Chocolates Gift Card Holder


Hi sweet friends! It's Julee here, popping in with a fun gift card holder idea for a valentine, birthday, or just because. First things first, this is not my original idea. I made one years ago from a tutorial on someone's blog, but I can't remember who posted it. So I measured the prototype I had and drew up my own instructions. You can click on the image for a larger version, then save and print for reference.

It's a fun template, which has a belly band to hold a gift card, and depending on the size of circle you cut, can hold a mini coffee cup, a k-cup, or with no circle you can fill it with chocolates. I of course, went with a coffee theme, and used my new set, Latte Love.


For this holder I added a little embellishment to the k-cup with removable glue dots. The treat yourself sentiment is from the Birthday Wordfetti set, and I added my cup image and steam from Latte Love to the belly band.

You can also make this easily into a treat/gift card holder by not cutting a circle in the base.  I tucked  three ghirardelli squares wrapped in ribbon inside, but you could also use single reese's peanut butter cups, or any little goody bag tucked in the 2.5" square portion. 


If you have mini coffee cups, then you can use an approximate 2" circle for the hole.  I bought my cups off Amazon and filled this one up with chocolates for my boys' awesome teacher.  I deconstructed one of the cups and cut it down to make a template for the mini cup belly band, then cut that from patterned paper and embellished with a heart from the Hearts Die Set.  The happy valentine's day portion is from the Love Wordfetti set, and the rings of coffee behind the Latte Love sentiment piece is from Texture Tiles 9.


Here are the written instructions (included in the graphic above):

  1. Score 11 x 2.5” in cardstock on the long side at 0.75”, 3.25”, 4“ and 6.5” 
  2. If making a coffee cup or k-cup holder, adhere the 2.25” square mat (if using) in the square you will cut the circle from (right of the 0.75” scored edge), then die cut or punch circle. For a chocolate holder, you do not need to cut a circle. 1. Score 11” in cardstock on the long side at 0.75”, 3.25”, 4“ and 6.5” 
  3. crease and burnish scored lines
  4. Apply adhesive to front 0.75” flap then fold up so circle hole is facing up and attach adhesive portion to the longest section
  5. Mat with patterned paper and embellish as desired.
  6.  Score 6.5" x 0.75" belly band piece 1.75” from each side, crease and burnish, then apply adhesive to one end and wrap around holder.
Thanks so much for stopping by today! I hope you're inspired to make one of these gift card holders.  If you do, be sure to share it over in the VIP Facebook group so we can ooh and ahh over it!

Wednesday, November 24, 2021

Good Times


Hi friends! I have a new digi set releasing in the Sweet 'n Sassy Stamps shop this week! This is a birthday themed set with lots of sentiments perfect for the inside and outside of your cards. And of course, there's a little bit of coffee, because that's just how I roll!


For my first card, I sized the coffee cup, balloon trio and sentiment for a mini slimline panel, then layered together before printing.  Once printed, I colored with copics in blues and greens for a masculine card. I layered this panel on white, then added a panel stenciled with my Peppermint Stripe Stencil as a background.


My second card uses the balloon image and a different sentiment from the set. I colored with Copiics, matted with midnight cardstock, then stenciled a background with my Diamond Tile Stencil and some dress blues ink from Catherine Pooler.  Super quick and easy!


All digis and dies are on sale this week, during Sweet 'n Sassy's birthday bash, so it's the perfect time to pick up some of my digis if you've had your eye on them.


Thanks so much for stopping by! I hope you have a fabulously creative day!