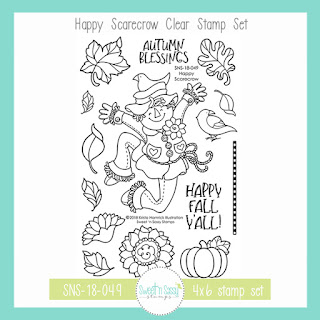
Showing posts with label winter birds. Show all posts

Monday, December 19, 2022

Joyous Holidays


Hello Sweet 'n Sassy friends!

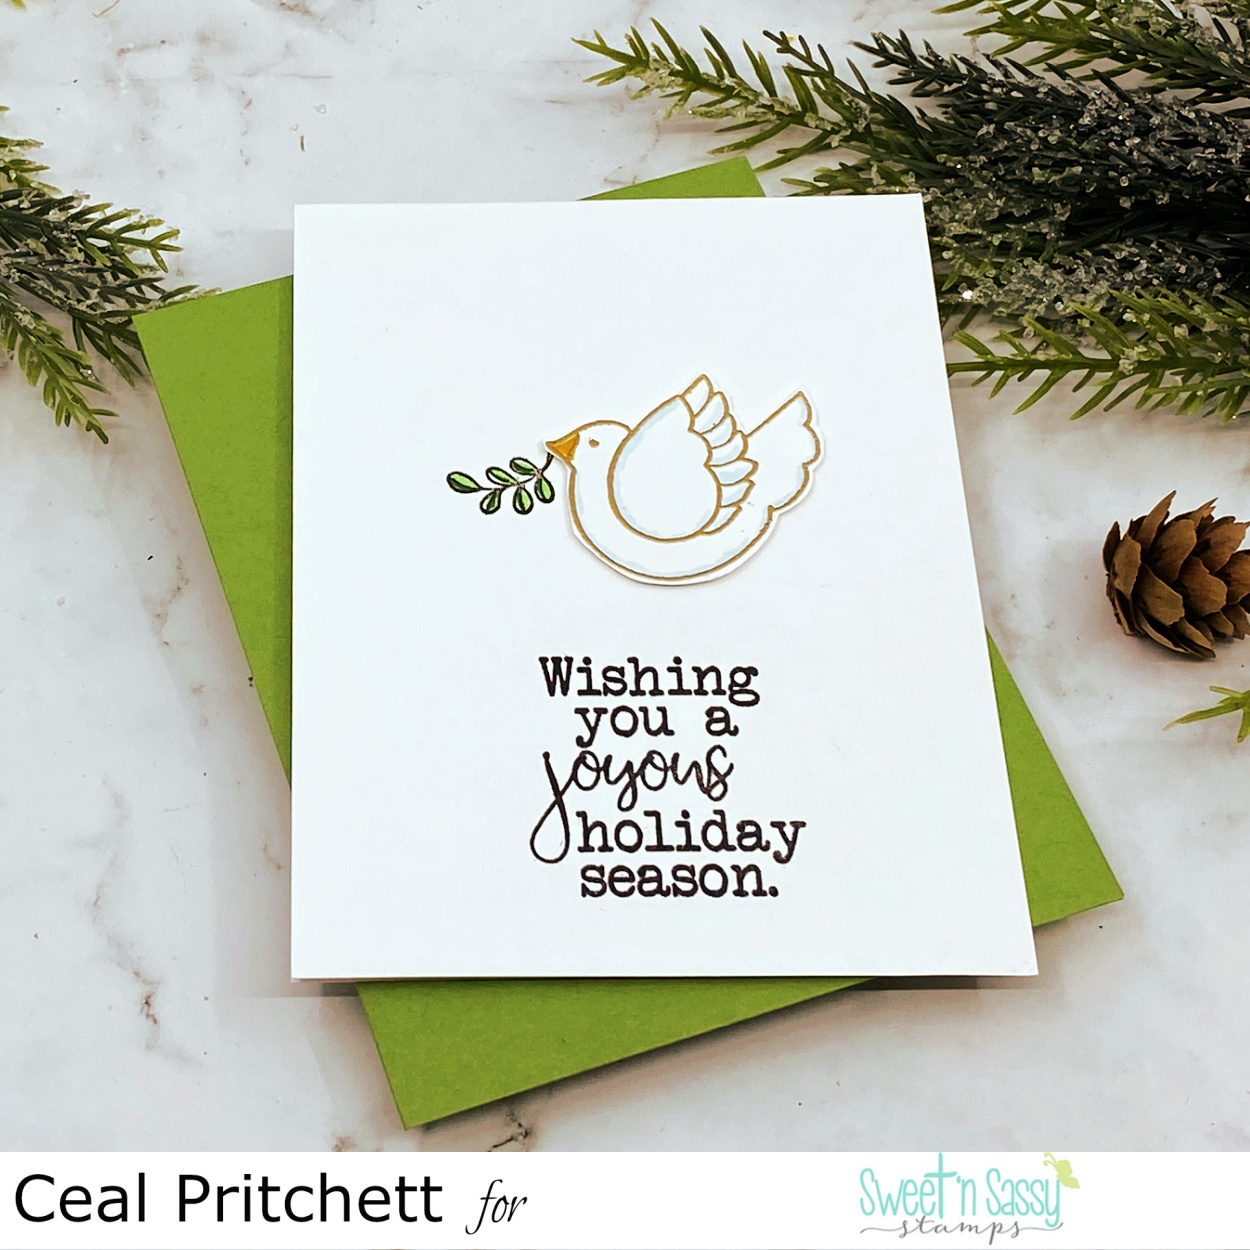
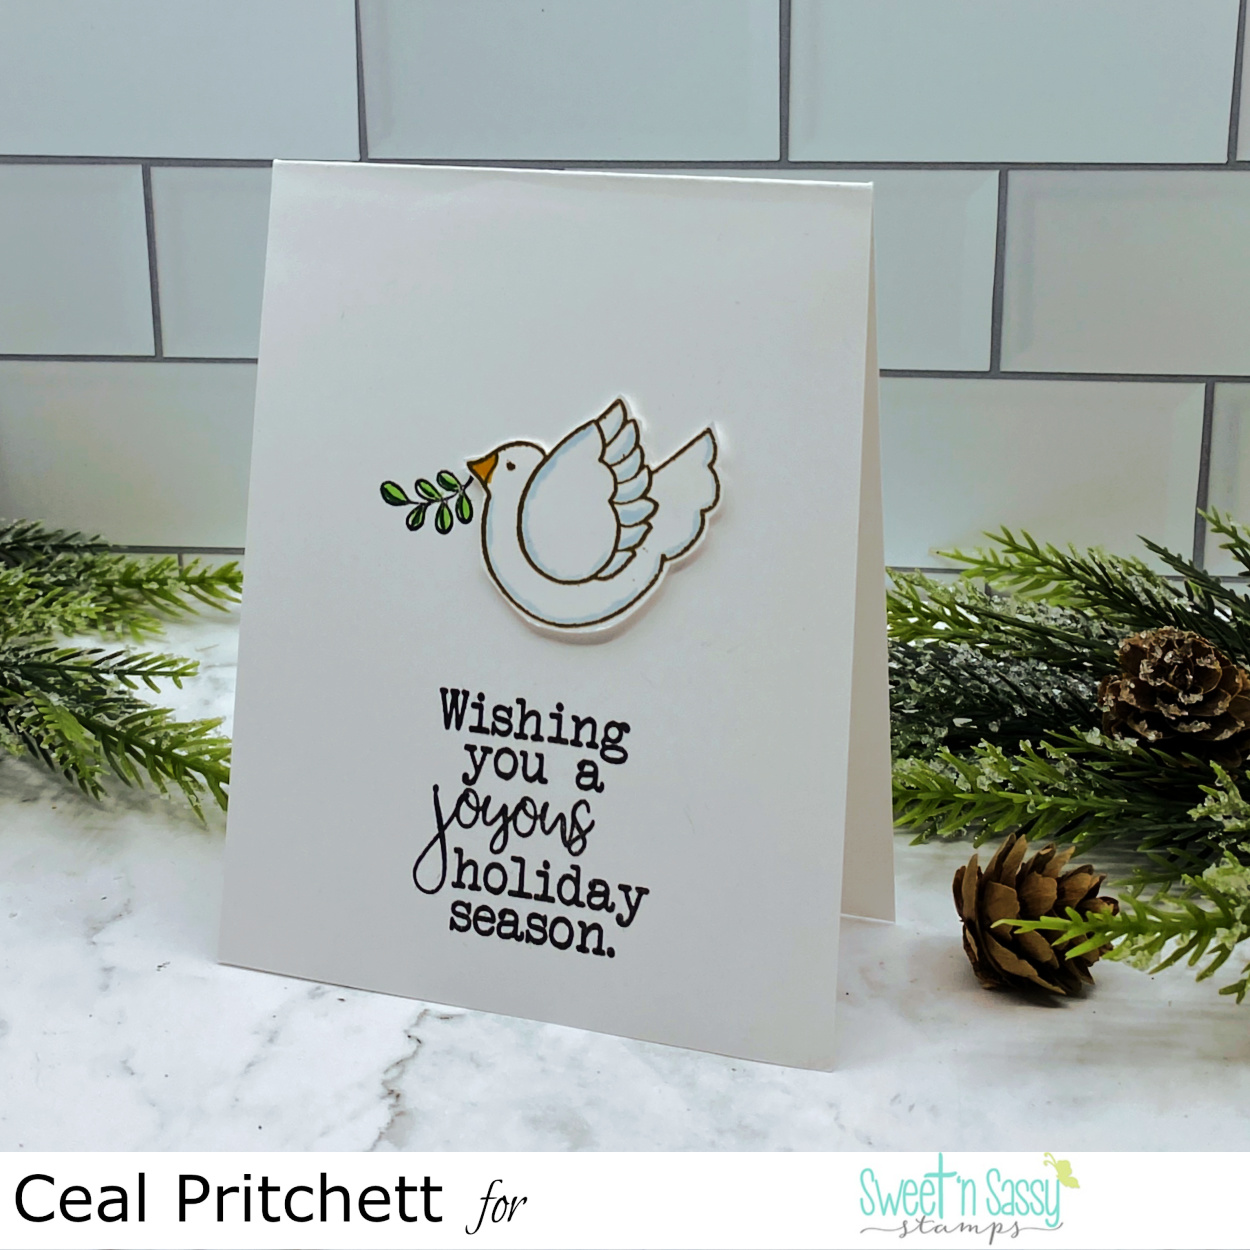
It's Ceal here sharing a simple card with you today.  Can you believe that Christmas is only a week away? I don't know about you but I am still making much needed cards. As Christmas gets closer my cards get much more simple like this one. 
I used the Winter Birds along with the matching dies and Holiday Greetings sets. 
For complete details hop over to my blog, Simply Beautiful.


Monday, November 21, 2022

Winter Birds


Hello Sweet 'n Sassy friends! 
It's Ceal, Here. Today I am sharing christmas card using the Winter Birds set and coordinating dies
I made this ne for my Sister in Law and we lost my Brother in Law last month and it will be her first Christmas without him. 
To make this card I started with a white to folding white card base and a white panel cut down with a decorative die. I stamped the sentiment from the Holiday Greetings set directly on that panel and stamped the cardinal from the Winter Birds set, colored it and cut it out with the coordinating die. Next I stamped some holly from the Holly Christmas set, colored it and cut it out with the coordinating die. To finish it I added them to the panel with the sentiment using some foam dots. 


Friday, December 3, 2021

DIY Christmas Ornaments


Hello crafty friends! Today's blog post will be a bit short, but the project I'm sharing will be a lot of fun to make - especially for the holidays!

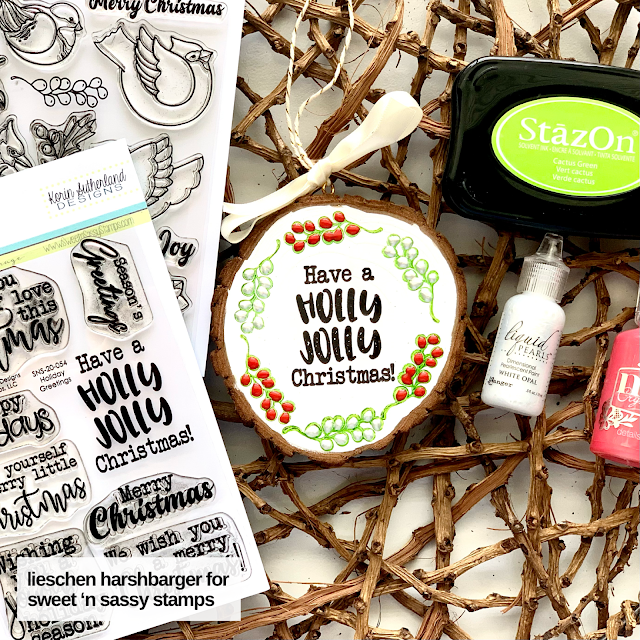
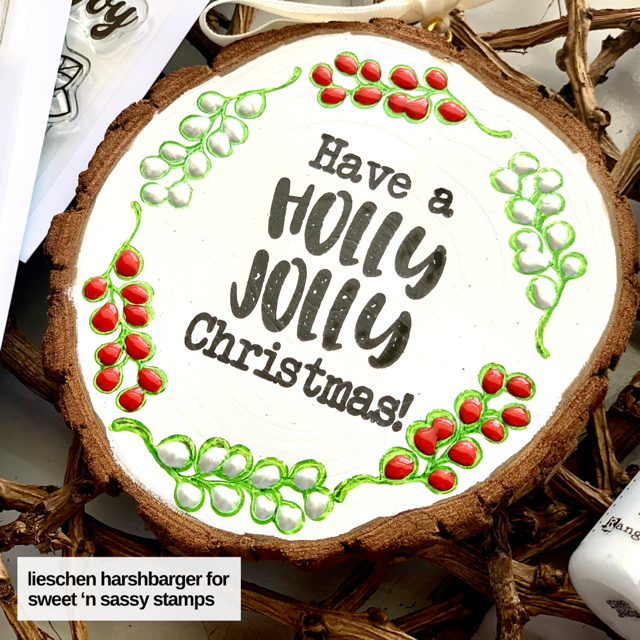
I bought these wooden circles from Amazon a couple of months ago to make some ornaments to give to my family & friends as Christmas gifts. I used the Holiday Greetings and Winter Birds stamps set to make these ornaments. I first used white acrylic paint for the background. Once it was completely dried, I stamp one of the images from the Winter Birds set with Stazon Cactus Green ink.

Then I stamped one of the sentiments from the Holiday Greetings set with obsidian pigment ink. Once I was done stamping, I used some liquid drops to fill in the berry images from the Winter Birds set. To finish, I added some string and ribbon.

I hope you liked today's simple crafty project. It's perfect for the holidays!

I also want to remind you that for the month of December Sweet 'n Sassy Stamps has a challenge on their Facebook Sweet 'n Sassy Stamps VIP Group page. I hope you check it out and join in the fun!


For more inspiration you can follow me on Instagram @harshgurl . See you next time!


*Products mentioned contain affiliated links at no extra cost to you.*

Friday, July 16, 2021

For A Sweet Friend


    Hello crafty friends! Lieschen Harshbarger here sharing another crafty project I made using some of the new supplies that were released this month at Sweet 'n Sassy Stamps.

 To start the background for my card, I used the new Chicken Wire stencil with a light blue ink. Once I was done with the background, I placed my die cuts (I used my Brother Scan-n-Cut to cut out the bird from the Winter Birds stamp set) to decide where I will place my sentiment.


To finish the card I colored the images with color pencils, created and placed a sentiment using the new Curly Girl Alpha stamp set, and added some clear sequins.

I hope you have enjoyed today's post! For more inspiration you can follow me on Instagram: @harshgurl

Hopefully this has given you some inspiration to do something fun and creative today! Until next time!

Tuesday, July 13, 2021

Merry Christmas | #SNSSVIP0721

 PRODUCT LINKS BELOW CONTAIN AFFILIATE LINKS AT NO COST TO YOU
 
Hello Sweet Friends! Sheri here with a card for the July 2021 VIP Challenge over in our Facebook Group. Each month we host a new challenge and a chance to WIN a $10 Gift Code to the SNSS shop. One random winner is selected each month.  You can find the details on how to play along HERE.
 
This months theme is "Christmas In July"!  
 
It's never to early to get a jump start on your holiday cards! For my card sample I created a Mini Slimline card featuring the Winter Birds stamp set. 
 
To create the background I randomly stamped the holly images with alcohol friendly ink and used copic markers to color. Then I stamped the bird and colored with copics before fussy cutting it out and popping it up on the vellum circle.
 
Card Measurements:
White Slimline Card Base: 6" x 3 1/2" (6" x 7", scored at 3 1/2")
Red Stitched Mat: 4 5/8" x 3 1/8"
White Panel: 5" x 2 1/2"
Vellum Circle: 2"
 

Hope you are inspired to stop by and play along!
 
Happy Stamping!!


Tuesday, December 11, 2018

Wild About Wood

Hello sweet friends!  I just love the texture stamps in the Sweet 'n Sassy Stamps Store and the new Wood Backgrounds Stamp Set is no exception.  Cathy here sharing a couple of cards using Wood Backgrounds with a few other favorites from the store.


Papers from Carta Bella were used on the card base.  The wood round was stamped on a mixed media panel that was sprinkled with Color Burst Powders and spritzed with water.  This was cut with a circle die.  The cardinal and holly leaves from the Winter Birds stamp set were colored with Copic Markers and popped onto the Wood Background.  Glossy Accents was added to the berries and the sentiment was stamped on a banner die cut to finish the card.

Next up is Wood Backgrounds with the new Doves of Peace stamp set.


Wood texture was impressed onto the background and one of the Wood Backgrounds was white embossed on a piece of Kraft card stock cut with a Stitched Rectangle Die.  One of the doves from the Doves of Peace stamp set was colored with Copic Markers, cut out and popped onto the embossed wood panel.  Glossy Accents was added to the globe.  The sentiment was white embossed on a red banner.  Strips of red card stock and sequins were added to finish the card

These stamp sets were used for the cards above:


Wood Backgrounds is the December Stamp of the Month and is free with your $75 purchase until the end of the month.


Thanks so much for stopping by...only 14 more days until Christmas!

Hugs,
Cathy

Thursday, December 6, 2018

Faith Moves Mountains

{jane bosi}  Hello Sweet Friends!  I'm sharing this project today and asking you to please join me in prayer.  Today, I am receiving my last chemotherapy dose. Praise God!  I've been blessed with healing so far, but there are mountains left to climb.  Will you join me in praising our Great Physician and join your prayers to mine for continued, full healing.

"I believe that I shall look upon the goodness of the Lord in the land of the living"  Psalm 27:13

I'm so in love with this card--it turned out even better than I imagined it.  It's a simple one layer-ish card. I started with the beautiful wood grain image from December's Stamp of the Month set, Wood Backgrounds.  I added a blue bird from the Winter Birds set and a sentiment from Faith.  It makes my heart happy to create with such lovely things.  The only thing better will be having the right reason to share it with someone else.

I pray a rich blessing for each of you; be well--Jane

I got crafty with:


Tuesday, October 23, 2018

October Stamp of the Month - Texture Tiles 4

Hello Sweet Friends!  It's Sheri here today with some Christmas inspiration featuring the NEW Texture Tiles 4 stamp set.  It's the October Stamp of the Month and is FREE with any $75 order.

I thought it would be fun to stamp some background and break out the embossing folders, punches and dies that we all have to our stash and create some fun cards.  These are 4.25" Square cards and can be mailed in either a square envelope or a standard A2 envelope.

 Features the Texture Tiles 4 and Winter Birds stamp sets.

  
 Features Texture Tiles 4 and Christmas Wishes stamp sets.


 http://www.sweetnsassystamps.com/october-2018-stamp-of-the-month-texture-tiles-4/
 
http://www.sweetnsassystamps.com/winter-birds-clear-stamp-set/http://www.sweetnsassystamps.com/christmas-wishes-clear-stamp-set/


Happy Stamping!!


Saturday, September 29, 2018

Christmas Wishes.

Hello! It's Monika here today with couple of simple Christmas cards. 

I used the same technique on both cards. Alcohol ink background and heat embossing.
I used green, red and pink Tim Holtz alcohol inks, blending solution, and gold foiling on the backgrounds. They were just the perfect backdrop to the vellum with the white heat embossed images. 

For my first card, I used the word tree image from O Holy Night clear stamp set. The embellishment images were stamped on water color paper from the Winter Birds clear stamp set. I colored those images with Kuretake Gansai Tambi water colors before fussy cutting them.  


On my second card, I used the pretty poinsettia image and one of the many greetings from the September 2018 Stamp of the Month: Christmas Poinsettia clear stamp set.


Thanks for stopping by,
Monika


Friday, September 28, 2018

Fall into Christmas

Hello sweet friends!   Now that fall is officially here, I plan to enjoy the crisp mornings and falling leaves even though we are already seeing signs of Christmas!  Cathy here with several cards to share from the SNSS August and September 2018 releases.  First...my fall card:

This jolly scarecrow from the Happy Scarecrow stamp set just make me so...HAPPY!  All of the images were colored with Copic Markers and were mounted to a watercolored panel made with Distress Oxide Inks.  The brown horizontal panel was also made with DOX inks and the Texture Tiles 2 stamp set.  The sentiment was cut with a stitched circle die and some jute twine was added to complete the card.

Now...on to Christmas!

The holly leaves from the Winter Birds set was stamped around the outside border of a panel and colored with Copic Markers.  The center of this panel was cut with a stitched rectangle die.  The sentiment was stamped, a Texture Tiles 3 image was lightly stamped in blue ink and texture was added with an impression plate.  The panel was mounted to black card stock and popped back onto the border.  The dove was colored, cut out and mounted to the center with foam tape and sequins were added to finish the card.

Several stamp sets from the Sweet 'n Sassy Stamps Store were used to create the cards above.


Thanks so much for stopping by...take time to enjoy fall!

Hugs,
Cathy

Friday, September 21, 2018

Autumn Blessings


Hello everyone! Are the fall colors already coloring your world? We thought we would have an early fall here in the Netherlands because it was so dry this summer. But at the moment the first leaves are changing colors, but it's still very green outside. So maybe that's why I turned to my blue markers instead of my orange and brown when I made this card. Even though I love the colors of fall, I decided to use some 'non-traditional' fall colors for this autumn blessings card.


I stamped the birds from the Winter Birds set on marker paper and colored them with my markers. After that I cut them out and I searched for the patterned papers I wanted to use for this card. I used patterned papers with geometric patterns but I decided to use circle shaped die-cuts for them. I die cut a circle from the orange/pink paper and I die cut clouds out of the blue patterned paper. I decided to die cut another small circle to stamp my message on. When I had all the elements for the card it was just a matter of adhering everything together. I used a blue ribbon and sequins to give the card a little bit more sparkle.

http://www.sweetnsassystamps.com/happy-scarecrow-clear-stamp-set/#http://www.sweetnsassystamps.com/winter-birds-clear-stamp-set/

For this card I used the stamp sets Winter Birds and Happy Scarecrow.

I hope you're inspired to create something today!

- Lucinde

Monday, September 17, 2018

Winter Birds

Hello! It's Monika here today with couple of Christmas card, showcasing Winter Birds clear stamp set.

For my first card, I wanted to make my own background, so I stamped most of the foliage images with gray ink on a white A2 card stock, then added gold mist to darken the area where the focal images were going to be...


Next I stamped the cardinal and some of the foliage images on watercolor card stock and colored them with Kuretake Gansai Tambi watercolor before cutting them out.
To add more texture/dimension to my card, I distressed the edges of the panel.

My second card is a birdhouse shaped card. I love making shaped cards... circle is the most basic, but from time to time, I just have to make one of my birdhouses. :)


 I usually use a template, but I couldn't find it this time... so I had to improvise. I folded an 8-1/2" x 5-1/2" white card stock in half (wanted to make sure it would fit in an A2 envelope) and using a ruler I sketched out the shape and cut it out... then I traced the front panel onto a brown card stock (minus the roof), cut it out, and stamped it with the 'tree bark' image from Texture Tiles 2 clear stamp set. Next I punched the circle openings of the brown piece and the front panel of the white base card. The red roof strips were punched with an old Fiskars hand punch then were adhered to the base card with dimensional adhesive.


The images were stamped on water color card stock and colored in with ZIG watercolor markers. I stamped an extra bird and poinsettia flower so I could cut parts of the images out and popped them up with dimensional adhesive.
The fence was die-cut with a retired SNSS die.

I just love the way it turned out... do you like making shaped cards? 

Thanks for stopping by,
Monika