Showing posts with label Grunge Gears Stencil. Show all posts

Saturday, August 6, 2022

I'm Here for You

Happy Saturday! I love stencils and the new Bubbles stencil is so much fun! Plus, it's easy to mix with other stencils as you will see in today's card.
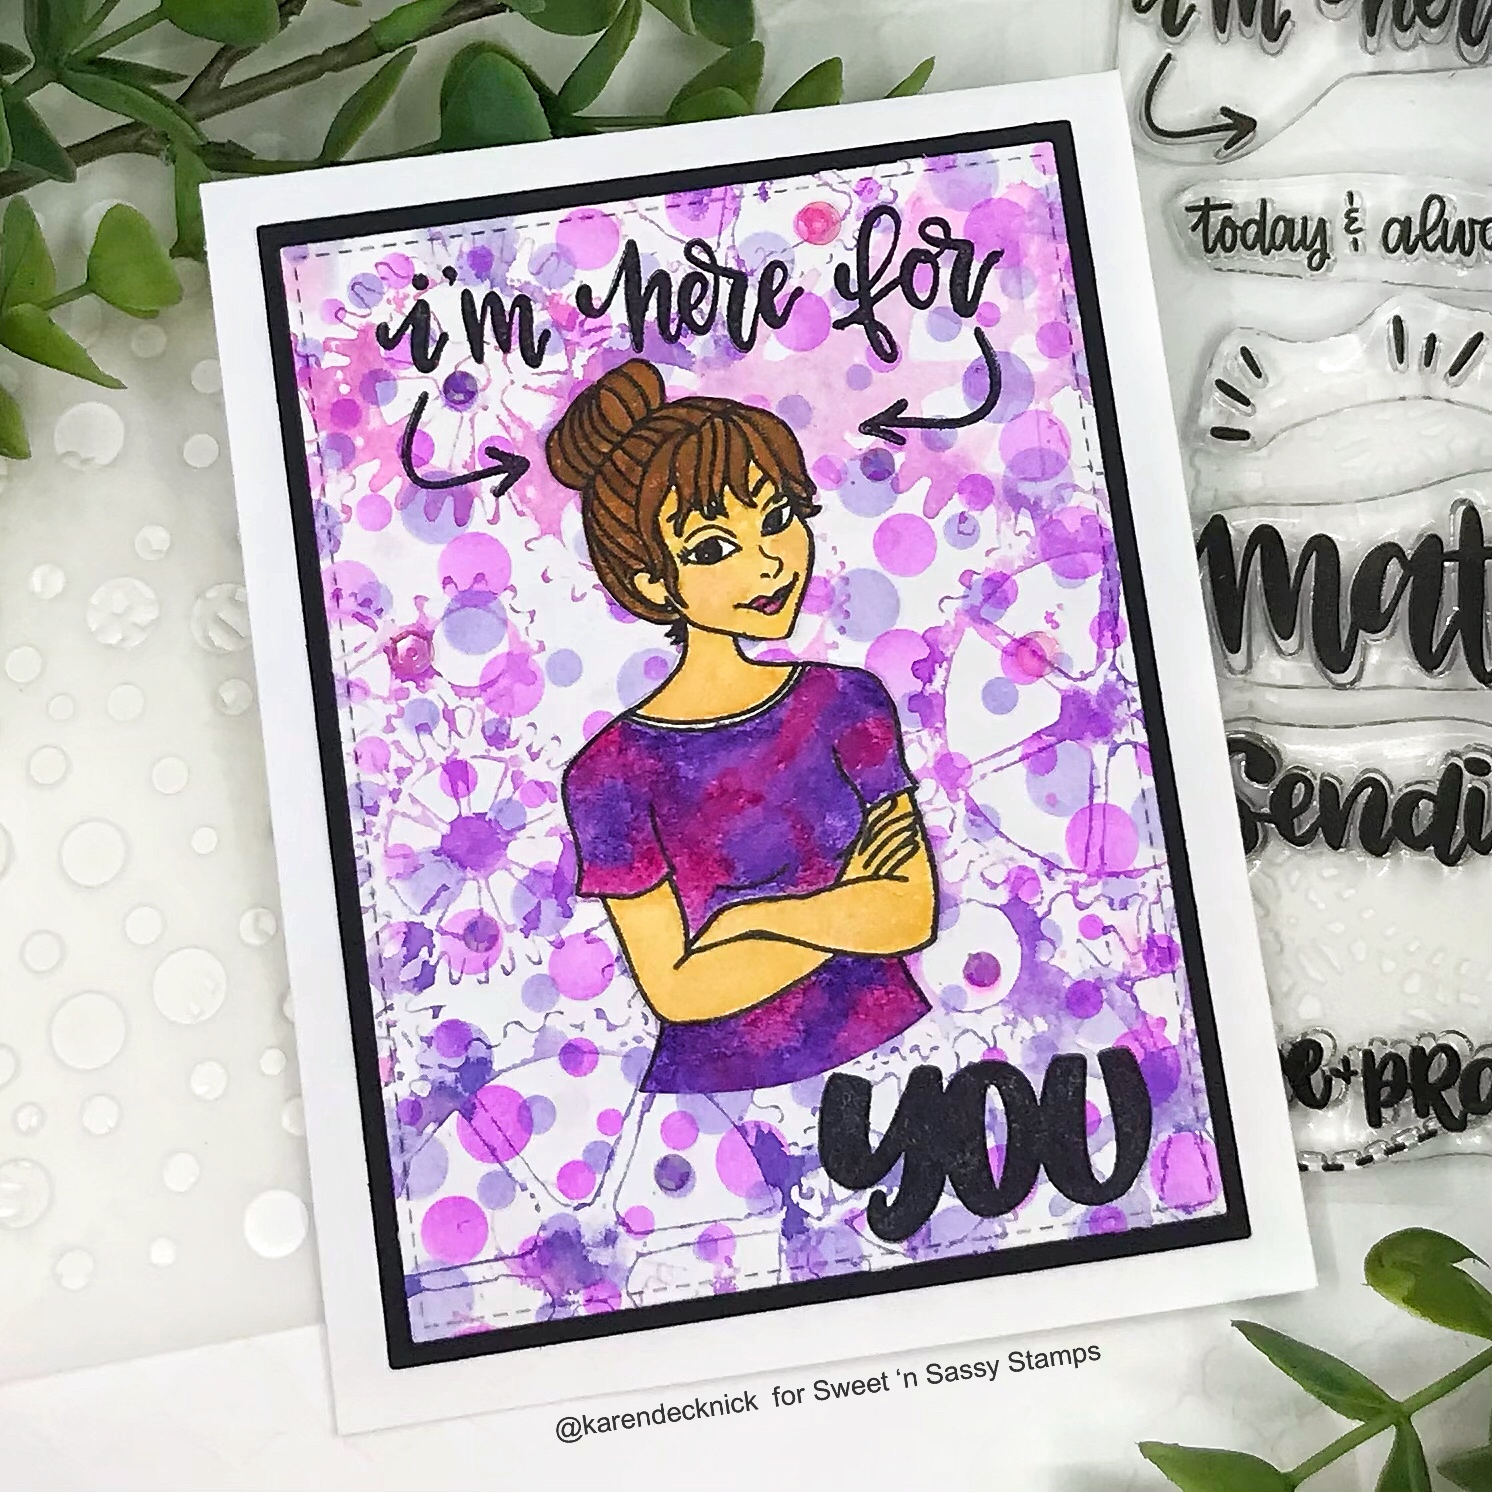


My card started with a second generation inking of the Grunge Gears stencil(take stencil off project after inking, spritz with water and lay on top of another price of cardstock). Then, I used the brand new Bubbles stencil with orchid opulence and lavender lace ink(SU!) making sure to move the stencil when I changed colors. 

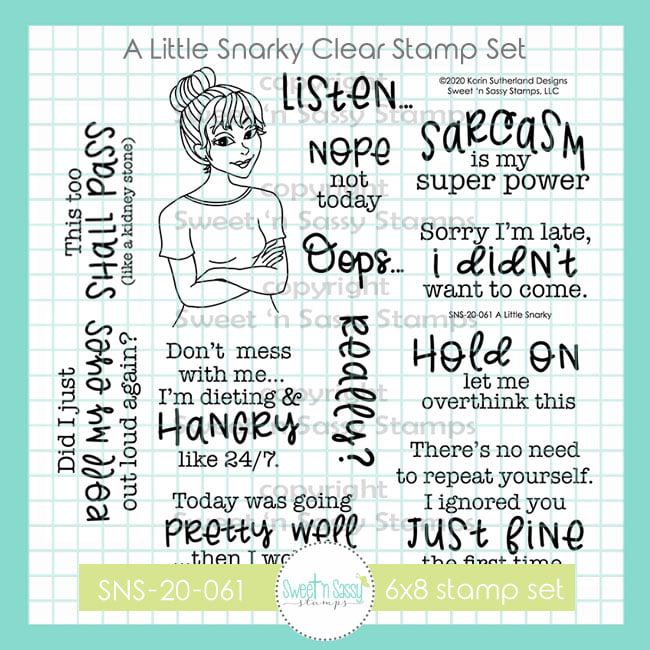
The stamped the bold sentiments from Here for You with versafine claire nocturne ink directly on the panel, matted with black and attached to a white card base. The girl image is from A Little Snarky and I adore her. I colored her with Prima watercolors(#'s 20, 22, 24, 41, 10). Her multicolored shirt was a little tricky and I took it slow so it didn't bleed onto the skin. I fussy cut the image out and glued to the front.




I hope you enjoyed today's card and thanks so much for stopping by!

Monday, June 27, 2022

Happy Bday


Esther here today with a fun masculine themed birthday card that features the NEW Grunge Gears Stencil which I stenciled onto mixed media paper in Chipped Sapphire and Prize Ribbon distress ink. I stamped the Vintage Van in Versafine Clair Nocturne Ink and colored it with Arteza Real Brush Pens. The sentiment is a combo of Boss Lady Alpha Dies and Typewriter Blocks Alpha stamped in Spiced Marmalade distress ink. To finish my card off I used Texture Tiles 4 to create some faux washi tape and stapled it to the top corner. 

~~This post contains affiliate links at no extra cost to you~~~

Tuesday, June 14, 2022

Happy Birthday | #SNSSVIP0622

 PRODUCT LINKS BELOW CONTAIN AFFILIATE LINKS AT NO ADDITIONAL COST TO YOU

Hello Sweet Friends! Sheri here today to let you know that a NEW VIP Challenge has started over in our Sweet 'N Sassy Stamps VIP Group over on Facebook. Each month a new challenge is posted with a chance to win s SNSS stamp set! This month in honor of Father's Day we are challenging you with a Masculine Card Theme. You can find the challenge HERE.
 
I just had to use the NEW Grunge Gears Stencil to create another sample. During the Month of June, you can earn this stencil FREE with any $50 order. I also pulled out the Everyday Greetings 2 stamp set. I'm normally not a very messy crafter so this card really took me out of my comfort zone with ink blending and ink splatters. I do have to admit I love how it turned out and how it pops against the white card base.  I hope you are inspired and will stop by and play along!
 
Steps to Create Card:
  • Cut & Score White A2 Top Fold Card Base: 4 1/4" x 5 1/2" (4 1/4" x 11", scored at 5 1/2")
  • Cut Black Mat: 3 5/8" x 4 7/8"
  • Cut White Panel: 3 1/2" x 4 3/4"
  • Take White Panel, Grunge Gears Stencil, Blue Inks (used Gina K Sea Glass, Tranquil Teal, Blue Denim & In the Navy) to create background.
  • Take background and add paint splatters (used White Gouache & Brushed Pewter Distress Paint)
  • Cut Black Strip (3 1/2" x 4 3/4") for Birthday sentiment from Everyday Greetings 2 stamp set and stamp and emboss with VersaMark and White Embossing Powder.
  • Assemble Card. Black mat is popped up with foam tape (optional).
  • For embellishment I added a few black enamel dots.
Card Measurements:
White A2 Top Fold Card Base: 4 1/4" x 5 1/2" (4 1/4" x 11", scored at 5 1/2")
Black Mat: 3 5/8" x 4 7/8"
White Panel: 3 1/2" x 4 3/4"
Black Sentiment Strip: 3 1/2" x 4 3/4"
 
 -------
 
 
Happy Stamping!!

Saturday, June 4, 2022

Nightscape Guy Cards

Hello everyone! I am back today sharing two guy cards featuring the brand new June Product of the Month Grunge Gears Stencil. This stencil is yours free this month with a $50 qualifying order! Check out what the team has done with this fabulous stencil and be on the lookout for more inspiration throughout the month.

I confess, I had zero inspiration before this stencil arrived in the mail. I just started pulling sets out I thought might work with it and let the ideas flow from there.


I created the backgrounds almost exactly the same way. The lighthouse one is fainter because I started with a layer of speckled egg distress oxide ink since I wasn't sure I liked the first one I did. In the end, I decided to use both.

First, I taped down the stencil over a piece of white cardstock. Then, I went over it with distress oxide inks(picked raspberry, wilted violet, faded jeans and chipped sapphire). I continued to blend the inks until I was happy with it. Once I removed the stencil, I went over the background lightly with a combination of faded jeans and chipped sapphire. I die cut the panel, masked off a line with post-it notes where I wanted the water to be and went over that section heavy handed with chipped sapphire.

After I removed the post it notes, I heat set the ink and embossed the images with black powder along the water line. Don't forget to use an anti static powder first! I used post-it notes to mask off the embossed areas to add white paint splatters to the top and water texture to the bottom with white pigment ink and a texture stamp. Finally, I stamped the sentiment with black ink directly on the panel, matted the panel with black and attached to a white base. 


Grunge Gears Stencil


Landscape Silhouettes 


Texture Tiles 3


Script Sentiments 


I hope you enjoyed today's card and thanks so much for stopping by!