Showing posts with label Bubbles Stencil. Show all posts

Tuesday, August 23, 2022

Make a WISH

 PRODUCT LINKS BELOW CONTAIN COMPENSATED AFFILIATE LINKS AT NO COST TO YOU

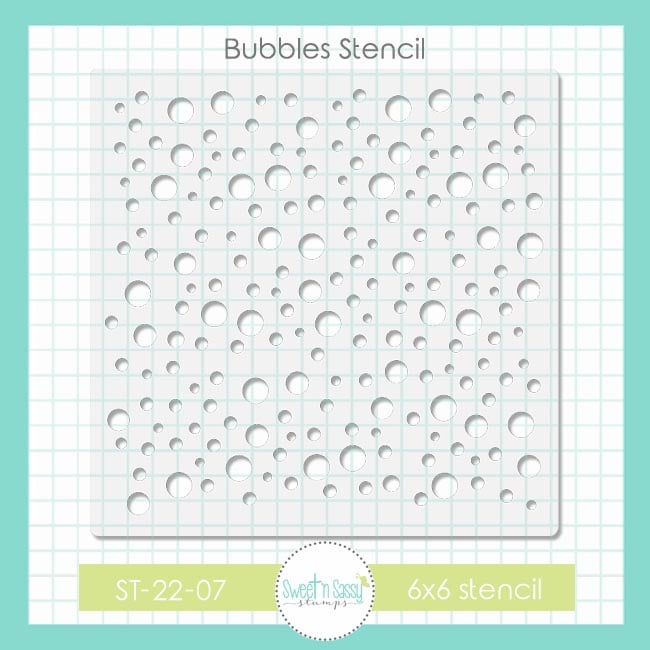
Hello Sweet Friends! Sheri here today with a BIRTHDAY card featuring the Make a Wish stamp set and Bubbles Stencil. The Bubbles Stencil is the current Product of the Month and is FREE with any $50 order!

I don't know about you but I'm always in need of birthday cards and had fun creating the fun background with the NEW Bubbles stencil and two shades of teal ink and offsetting the stencil with each color. Then I took a lighter (third shade) and went over the whole panel to add color. The candles were stamped, colored and fussy cut out. Coordinating dies are now available. The sentiment was stamped and embossed in white. I kept the design simple and on the focal point.
 
Card Measurements:
White A2 Top Fold Card Base: 4 1/4" x 5 1/2" (4 1/4" x 11", scored at 5 1/2")
Black Mat: 3 7/8" x 5 1/8"
White (Stenciled) Panel: 3 3/4" x 5"
Black Rectangle Mat: 2 3/8" x 3 3/8"
White Double Stitched Rectangle: 2 1/4" x 3 1/4"
Black Sentiment Strip: 2 3/8" x 1 1/8"
 
 
Happy Stamping!!

Thursday, August 18, 2022

hey, chick!

 Today I'm sharing two more cards with the great alpha dies and cute farm set from this month's Sweet ‘n Sassy Stamps release. I also used some SNSS stencils on the backgrounds.

Product links: Bold Caps Alpha DiesDown on the Farm Bundle (Stamps and Dies also sold separately), Bubbles Stencil, Chicken Wire Stencil.

For my first card, I die cut the letters "HEY" from a 4 1/4 x 5 1/2-inch panel, saving the letters for the next card. I layered some patterned paper onto a card base where the letters would show through. Then the stamped and stenciled panel was popped up on the base with foam tape. The sweet little chick was placed on the fence.


Next, I masked off the top portion of the letters and heat embossed them with a clear sparkle embossing powder. The card base was also masked and the bubbles were stenciled with black ink. I added the same die cut chick and a simple sentiment with some red twine accent.


Have a great day!
Diane


Saturday, August 6, 2022

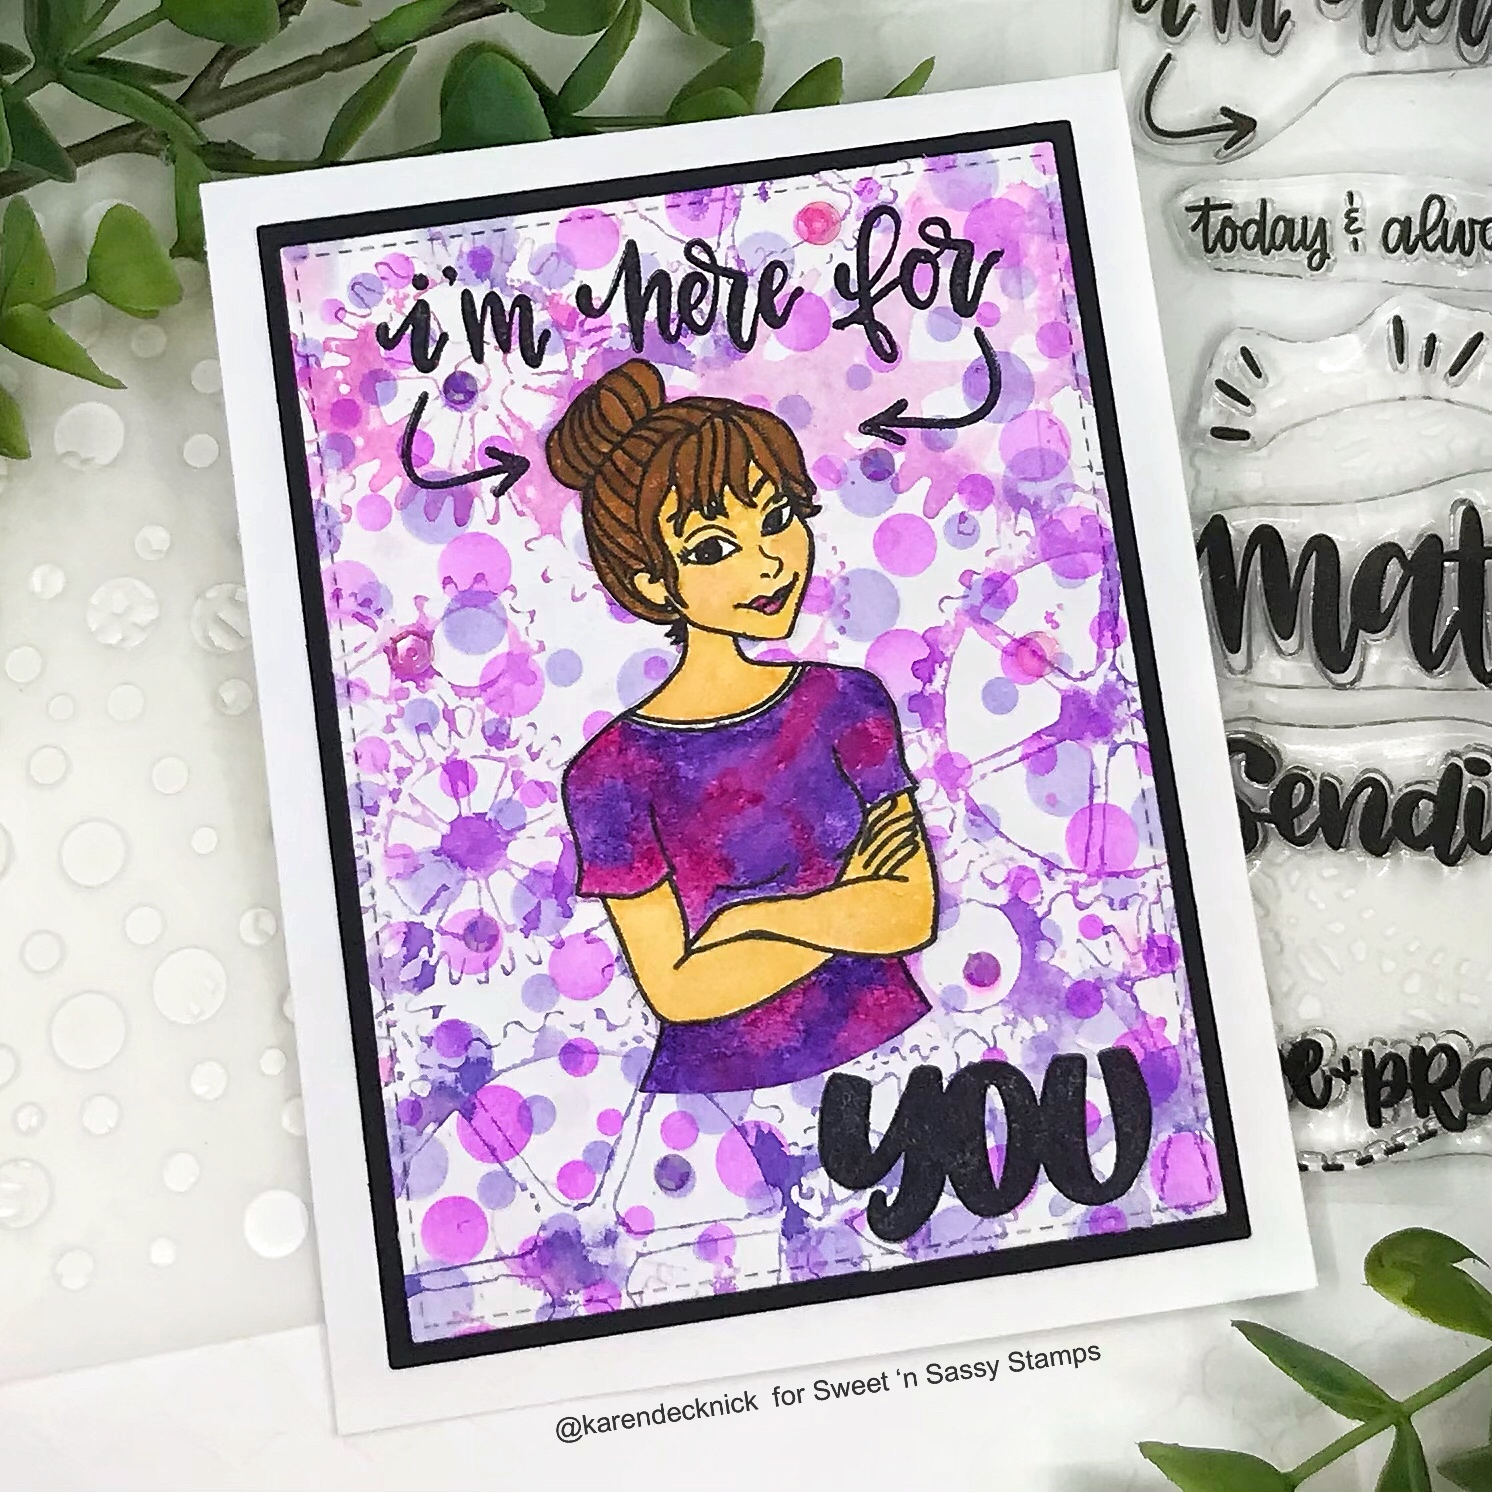
I'm Here for You

Happy Saturday! I love stencils and the new Bubbles stencil is so much fun! Plus, it's easy to mix with other stencils as you will see in today's card.


My card started with a second generation inking of the Grunge Gears stencil(take stencil off project after inking, spritz with water and lay on top of another price of cardstock). Then, I used the brand new Bubbles stencil with orchid opulence and lavender lace ink(SU!) making sure to move the stencil when I changed colors. 

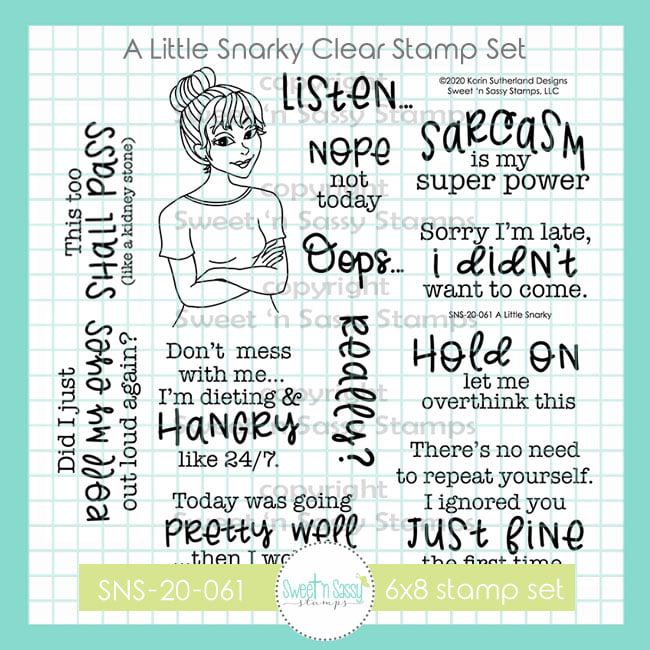
The stamped the bold sentiments from Here for You with versafine claire nocturne ink directly on the panel, matted with black and attached to a white card base. The girl image is from A Little Snarky and I adore her. I colored her with Prima watercolors(#'s 20, 22, 24, 41, 10). Her multicolored shirt was a little tricky and I took it slow so it didn't bleed onto the skin. I fussy cut the image out and glued to the front.


I hope you enjoyed today's card and thanks so much for stopping by!