Good Morning!!!
I am all for making unique and one-of-a-kind cards, but sometimes the need arises to make multiples. Well, I have a solution for you!
I am all for making unique and one-of-a-kind cards, but sometimes the need arises to make multiples. Well, I have a solution for you!

I am using the Encouraging Peonies stamp set that is just gorgeous. It has the most
simplest sentiments and can easily be paired with any of these flowers.
simplest sentiments and can easily be paired with any of these flowers.

Here is what I did:
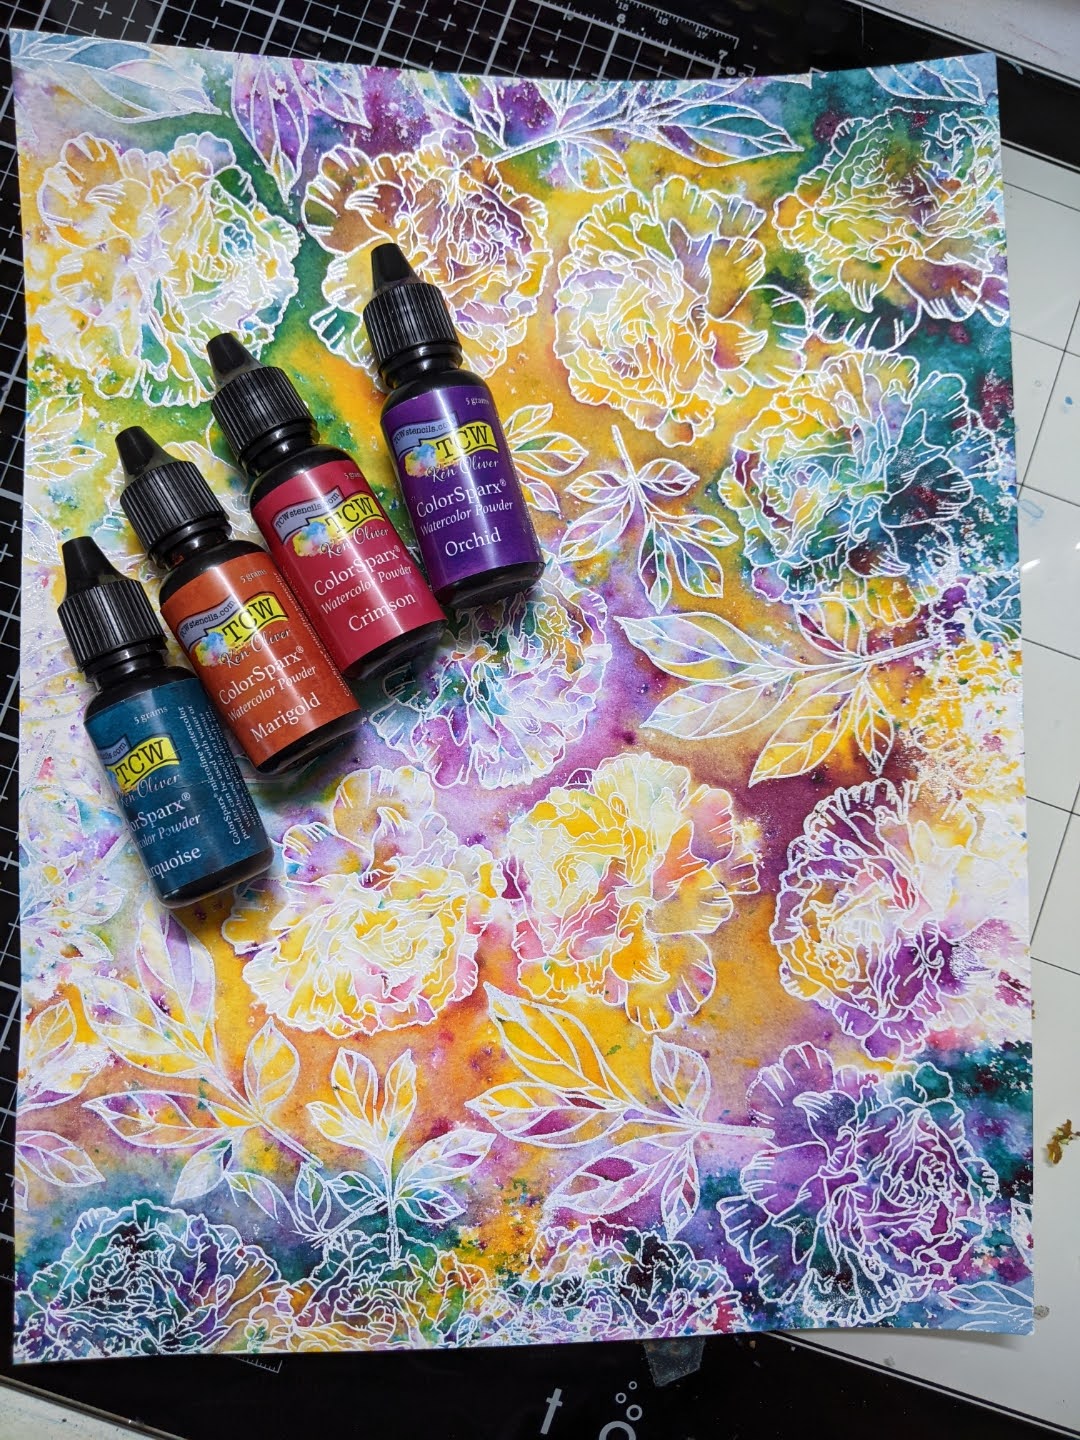
Start with any watercolor paper, like Strathmore, white or clear embossing powder, and Versamark.


Next, randomly stamp flowers and leaves all over an A2-sized sheet. You will need to cut the watercolor paper down as this is a bit larger (or keep it this size, it's not important!)
Make sure to use an embossing buddy before you stamp to not get embossing powder everywhere.

Next, use painter's tape or washi tape and adhere the edges to a waterproof surface. The sheet will buckle when you add water. I am using The Crafters Workshop ColorSparx that comes in packs of three. Use any complementary colors so that you don't inadvertently make mud.
Wet your paper and start by adding a little at a time.

Add more water to dissolve the pigment.

You can let this dry naturally or take a dry cloth and soak up all the water. You can also ( I just thought of this!) use a blank sheet of paper and transfer color for another project. If the color is still too strong in some areas, add water and dry it.
Since I am making mini slimline cards, I try to see how I can position my dies (from Gina Marie Designs) to get the prettiest areas onto my card. Run this through your die-cut machine.

Instead of stamping the sentiment on a separate piece of paper, why not try something different and stamp it on acetate?? You will need pigment ink, like Stazon, for it to dry quickly. You can also heat emboss the sentiment!

Once the sentiment is stamped, an easy way to adhere the acetate to the card front is to use brads. Punch holes through both the acetate and card front. Make sure to use double-sided foam tape to "hide" the legs in the back.

Attach the card front to a 6 1/4 x 3 1/4 base for a clean look in the back. Since the mini slimline cards are roughly 6 1/4 x 3 1/4, I still use a top folding A2 base with my pre-printed logo on it. I just cut it down to size. The envelopes I use are #7 (6 1/2 x 3 1/2) and work perfectly.

And that is it! I use the "friend" die in gold on two cards that matched the brads on the cards.


I hope you like today's cards and let me know which is your favorite!!!
Talk soon,

6 comments:
Great cards! They look like so much fun to make!!!
So, a few questions: 1) do you go ahead and heat emboss before adding the pigment? 2) How does pigment powder react? is it different from the liquid pigment that you used? thank you!! I love the look of the cards.
Thank you!!! Yes, and so easy to make 3 at a time!!
Thank you Kelley. Yes, heat emboss first and then spray water all over the page. Randomly let the powder fall and spray more water to lighten it and to let it spread over a larger area. I don't have liquid pigment but I would imagine liquid watercolor for sort of give the same effect. The powders actually has 3 different colors in each bottle...bits of pink in a purple bottle. Hope this helps.
Beautiful cards! I'm definitely going to try this technique. Thanks for the inspiration!
Great backgrounds, love the color combinations.
Post a Comment