Showing posts with label Chicken Wire Stencil. Show all posts

Thursday, August 18, 2022

hey, chick!

 Today I'm sharing two more cards with the great alpha dies and cute farm set from this month's Sweet ‘n Sassy Stamps release. I also used some SNSS stencils on the backgrounds.

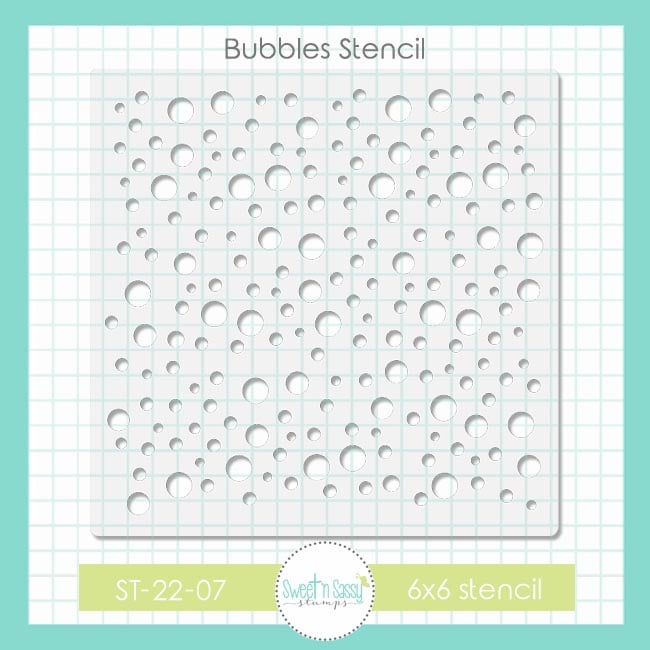
Product links: Bold Caps Alpha DiesDown on the Farm Bundle (Stamps and Dies also sold separately), Bubbles Stencil, Chicken Wire Stencil.

For my first card, I die cut the letters "HEY" from a 4 1/4 x 5 1/2-inch panel, saving the letters for the next card. I layered some patterned paper onto a card base where the letters would show through. Then the stamped and stenciled panel was popped up on the base with foam tape. The sweet little chick was placed on the fence.


Next, I masked off the top portion of the letters and heat embossed them with a clear sparkle embossing powder. The card base was also masked and the bubbles were stenciled with black ink. I added the same die cut chick and a simple sentiment with some red twine accent.


Have a great day!
Diane


Saturday, June 18, 2022

You are Special

Happy Saturday! Have you checked out the June MIni Release yet? Julee Tilman's new set, Special Blooms, is so sweet!


I made the background in January and pulled it from my stash for this card. I die cut the panel, added black dots with a texture stamp, and matted with green. I wrapped white string along one edge and attached to a white card base. 

I stamped the flower image, frame and sentiment with black ink and die cut out. I colored the image with watercolor brush markers and added with dots with a gel pen. This was a quick, easy card and I love all the green!


Special Blooms Bundle 


Decorative Frames Bundle


 Texture Tiles 1


 Chicken Wire Stencil


I hope you enjoyed today's card and thanks so much for stopping by!

Monday, September 27, 2021

Autumn Coffee


Happy Monday! Esther here today with this autumn themed coffee card. I started by using my stamping platform to stamp one of the plaid designs from Texture Tiles 4  in rusty hinge distress oxide with a bit of walnut stain layered over top. I inked around the edges with vintage photo distress ink and stamped the coffee rings from Texture Tiles 9 in fallen leaves Versafine Clair ink. Next, I stamped the right panel with the coffee beans from Texture Tiles 9 on kraft card stock and inked those edges as well. The sentiment inside is from the Fall Breeze Stamp Set  and is colored with Arteza real brush pens.
 I cut a medium sized tag using the Tag Collection dies from Tim Holtz and lightly stenciled  the Chicken Wire Stencil in vintage photo distress ink. After stamping and coloring some of the images from the Fall Breeze Stamp Set  I die cut them with their coordinating dies (Fall Breeze Die Set). Last of all I inked a piece of kraft card stock with walnut stain distress ink and die cut it with the Coffee Word Die

After arranging all the pieces on my tag, I scored and folded the edge and attached it to the right side of the card under the coffee bean panel. 

Click here to check out all the beverage themed stamps in the Sweet n Sassy Stamps store.

Come back Wednesday for a fun National Coffee Day blog hop with prizes.

 ~~~This post contains affiliate links at no extra cost to you~~~

Friday, July 16, 2021

For A Sweet Friend


    Hello crafty friends! Lieschen Harshbarger here sharing another crafty project I made using some of the new supplies that were released this month at Sweet 'n Sassy Stamps.

 To start the background for my card, I used the new Chicken Wire stencil with a light blue ink. Once I was done with the background, I placed my die cuts (I used my Brother Scan-n-Cut to cut out the bird from the Winter Birds stamp set) to decide where I will place my sentiment.


To finish the card I colored the images with color pencils, created and placed a sentiment using the new Curly Girl Alpha stamp set, and added some clear sequins.

I hope you have enjoyed today's post! For more inspiration you can follow me on Instagram: @harshgurl

Hopefully this has given you some inspiration to do something fun and creative today! Until next time!

Friday, July 9, 2021

Thank you, Thank you, Thank you

Today I have three Thank You cards using this months "stamp of the month" free with a $60 purchase. It is called (wait for it...) Thank You (haha!) 

This set it so fun. There are chunky thank yous and scripty thank yous. They go with so many card designs. For my projects, I pulled some backgrounds together and mostly let the sentiment carry the card. I am pretty happy to have some thank you cards in my stash that are versatile too!

1st - I created a abstract back ground using copics to color the heat embossed my sentiment on black with white embossing powder. 


2nd - I used the Background Builder Stripe set to create a fun black and white background, heat embossed my sentiment on black with white embossing powder and mounted everything on red for a pop of color.


3rd - I had a left over chick from March's Hoppy Spring set and I used it as an accent to a background using the Chicken Wire Stencil (right...). Then I stamped my sentiment onto the background. 


I hope you are inspired - this set is seriously worth it! It will be one I go to again and again!

Thanks for stopping by!
Lyn