Showing posts with label Tutorial. Show all posts

Monday, November 22, 2021

Snowflake Dies THREE Ways


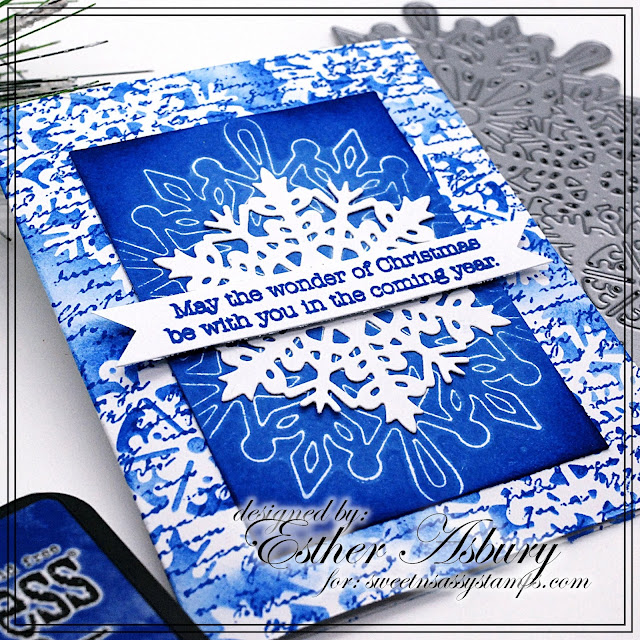
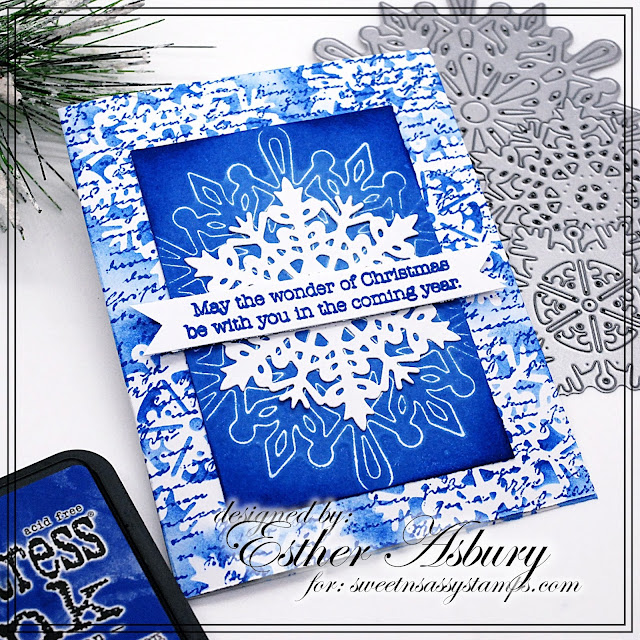
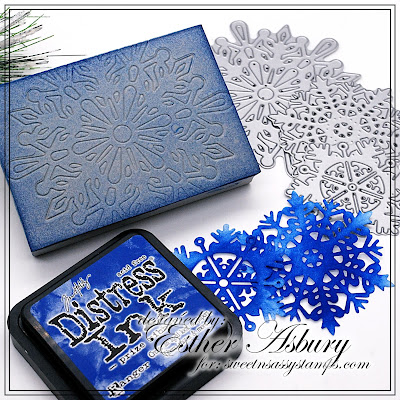
Esther here today with a pretty Christmas card that features snowflake dies used THREE different ways. 

Way #1 To create a stencil --- I cut two snowflakes from printer paper and used them as a stencil on the background.

Way #2 To create an impression on stamping foam ---I heated my stamping foam, pressed it into the largest of the snowflakes to create an impression, inked the stamping foam with distress ink, and stamped it on a piece of white card stock.

Way #3 To create a regular die cut --  Last of all I die cut the medium sized snowflake and glued it over top the reverse print. 
 This week all STEEL DIES and DIGITAL STAMPS 

are 20% off at Sweet n Sassy Stamps.
        ~~~This post contains affiliate links at no extra cost to you~~~ 

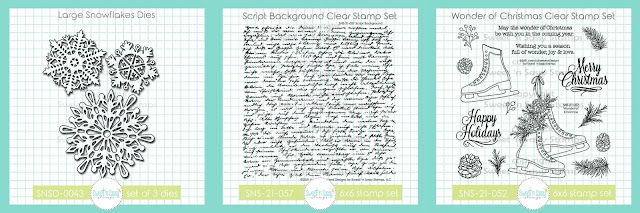
  Supplies and Tools:

Monday, December 14, 2020

Piano Cards - Tutorial


Hello stamping friends, Esther here with two super fun music themed cards to share with you. 
I created a mini picture tutorial (at Korin's suggestion) in case you'd like to make one for yourself!

  • Cut a piece of black card stock to fit an A2 card (4.25 x 5.5 inches)
  • Trace and cut a curved line as shown above


  • Cut 8 pieces of white card stock to measure 2 x 1/2 inches
  • Cut 6 pieces of black card stock to measure  1 x 3/8 inches
 
  • Glue your piano keys in the formation shown above
  • Emboss just the top part of your piano with your choice of embossing folder
  • Trim the slight excess from the right side of your card front
  •  Stamp the top portion of your card with the music notes from Texture Tiles 7
  • Stamp, color, and fussy cut 3 roses from Scribble Flowers
  • Assemble card adding ribbon or washi tape over the top of the piano keys
  • Trim the right side to fit your piano top

~~This post contains affiliate links at no extra cost to you~~~ 
Supplies and tools:


Monday, April 13, 2020

Paper Bag Pocket of Encouragement


Hello Friends! Esther here, and today sharing a Paper Bag Pocket of Encouragement. It's stuffed full of Bible verses, hymns, and inspirational sayings to cheer and encourage.

Here's how I created my pocket
(Maybe you'll see a pink and white polka-dot / denim version later this year!!) 

  1. Start with a lunch sack
  2. Fold the top down and glue in place
  3. Punch or die cut a partial circle in the center of the bottom flap
  4. Use decorative scissors along the top of the bottom flap
  5. Fold bottom flap up
  6. Cut designer paper to decorate your panels

~~~This post contains affiliate links at no extra cost to you~~~

Supplies and tools:


I hope you're inspired to make your own little paper bag pocket of encouragement!! 
If you use Sweet n Sassy stamps, be sure to share on our VIP Facebook page!


Saturday, April 22, 2017

DIY Patterned Paper & Stained Flowers Technique

Hello! It's Gracie from Graciellie Design. Today I have a fun technique to share with you... Floral specialty papers can be beautiful, especially when they have a metallic finish. I decided to go ahead and try to make my own using Floral Greetings and Peaceful Peonies from Sweet 'n Sassy Stamps and Laser Silver Lustre paper.


I stamped the flower multiple times to create a pattern. I used Color Box Mix'd Media Inx in Truffe and heat embossed it with Bridal Tinsel embossing powder from Ranger. I then colored the flowers applying a bit of Zig markers and spreading the color using my fingers. I kept layering the color until I was happy with the shading. This technique gives the flowers a stained look. The glossy paper allows the color to glide and you end up getting a different coloring effect.

I used the same ink to stamp the sentiment on Heavyweight Vellum 48# and cut a banner. I decided to fussy cut 2 flowers from the remainding stamped paper and adhere them on top of a simple pink frame cut from Mountain Rose Glimmer cardstock -which goes along perfectly with the Rose Quartz Mica / Metallic card base. To add dimension to the frame and flowers I used 3D Foam Strips and Foam Squares.


I hope you enjoyed today's project idea. Make sure to visit Sweet 'n Sassy Stamps to check out these and other new clear stamp sets available now. For more ideas and inspiration visit SNSS blog!

Thanks for visiting.


Monday, October 19, 2015

Background Tutorial With Brusho

Hey stamping friends!
Today I want to share a card you may have seen already with the fabulous new October release -- and show how I made the background.

I used Brusho Crystal Colors (watercolor powdered pigments) for the entire background and it's so easy!

First, I stamped my dove from Name Above All Names in Archival Black Ink by Stampin' Up! Make sure you are using an ink that doesn't bleed when combined with water. I recommend this pad -- or India Ink for use with Brusho. You will notice I have a texture to my watercolor paper -- for that you will want Cold Press paper. If you want a smooth finish, you will need Hot Press.
Next I gathered my other supplies. I am using two colors today -- Turquoise and Ultramarine Blue.
I sprinkle tapped the Turquoise powder (a VERY SMALL amount - it's easier to add then take away!) on my paper and then misted with a fine spray (Ranger misters are widely available and work great, but any fine mist will do. You will see a couple of larger crystals above in the lower left photo. I took those off, as I knew it would be too much powder for what I wanted.

I misted and added until I got the look I wanted, then sprinkled the Ultramarine blue on top. I made a little blue branch for my dove to sit on by turning and tapping the powder down the side of the card.
I misted again, and then heat set with my heat gun.

The dove was watercolored with Sakura Koi watercolor paints and then cut out. I stamped the sentiment with Archival Black ink and adhered the dove with foam tape. I added a mat of violet cardstock behind the main panel. All done!
Once you try Brusho powders, you will LOVE them!

Thanks for looking!

Monday, October 12, 2015

Baby Gift Bag Tutorial


Hello Sweet 'n Sassy Peeps!

Jenny here with a quick and easy baby gift
bag using the stamp set Little One.
This stamp set is just super sweet and
I love the sentiment.

I don't always have baby gift wrap or bags
stored away, so I thought it would be fun
to make my own. You could use the bag to 
include your gift or even use a smaller bag to hold
party favors at a baby shower.  This bag just
 happens to be an over sized lunch bag.  
I have a sixteen year old boy I pack lunches for.
Need I say more?!  Lol!

Okay...let's get started.
Here are the very basic supplies you will need,
plus whatever inks you choose.


I choose some pinks and a purple for my bag.
You may want to test the colors out on
another bag first.  The color always looks
different stamping on Kraft like paper.


I folded the bottom of the bag down so
I could eye ball where I wanted my images
to go.  Folding it down also keeps the bag
out of your way while stamping.


Now would be a good time to tuck in
the goodies in your bag.  If you forget to
add something, no worries, this easily can
be opened back up.

Next, take a large doily and fold it in half.  
Set it aside and fold the top of the paper bag 
toward the back.  Unfold the doily so half
 covers the front of the bag and the other the back.  
Then punch each end of the center of the
 doily through the folded bag.


Slide each end of the ribbon from the back to
the front and tie in a bow.  If you happen
to have a fun clothespin, attach that through
 the center of the bow.

You can find the supplies I used for my gift
bag up on my blog, and the link for the Little One
stamp set below.

Hope you find time in your day 
for some crafty-ness!

Hugs,

Jenny


Monday, September 21, 2015

Misti Marbling

Hi there Sweet 'n Sassy Stampers! 
It's Ceal here to share a tutorial with you. My tutorial uses the MISTI but if you don't have one don't worry, it can be done without one. 

The supplies you will need are 
MISTI
Solid Image
(I used We Three Kings
Dye Ink 
( I used Tempting Turquoise, Daffodil Delight, and Blackberry Bliss)
White Cardstock
Disposable Glove


Place your cardstock in the corner so if you need to stamp it more than once you will be able to get a clean overstamp. Ink up your image entirely with the first color (tempting Turquoise for mine). 


Next you will need to put on the disposable glove and place your finger into the pad and swirl around on the portion of the image you choose, I used blackberry Bliss to swirl on the bottom of the image. The next step is to clean your glove (or get a new one) and swirl your next color onto the image where you would like. This gives it the marbling effect.


I only used three colors but this technique can be done with multiple colors.
Thanks for stopping by and I hope you enjoyed this technique and will give it a try.


Monday, August 3, 2015

Camouflaging Die Cuts Tutorial


Hello Sweet 'n Sassy friends!   I'm glad you could join us for this week's Design Diva Demo.  I have a die cutting technique to share with you today.  It's fun to try new things with all of the supplies we have in our stash, and I don't know about you, but my collection of dies keeps growing!  LOL!  So…let's get started with Camouflaging Die Cuts!

Begin by gathering your supplies...you need just a few...

  • stamps or inks to create a background (I'll be sponging a background strip for my birthday card) 
  • a die (SNSS Birthday Word Die)
  • the die cutting machine of your choice
  • and card stock.


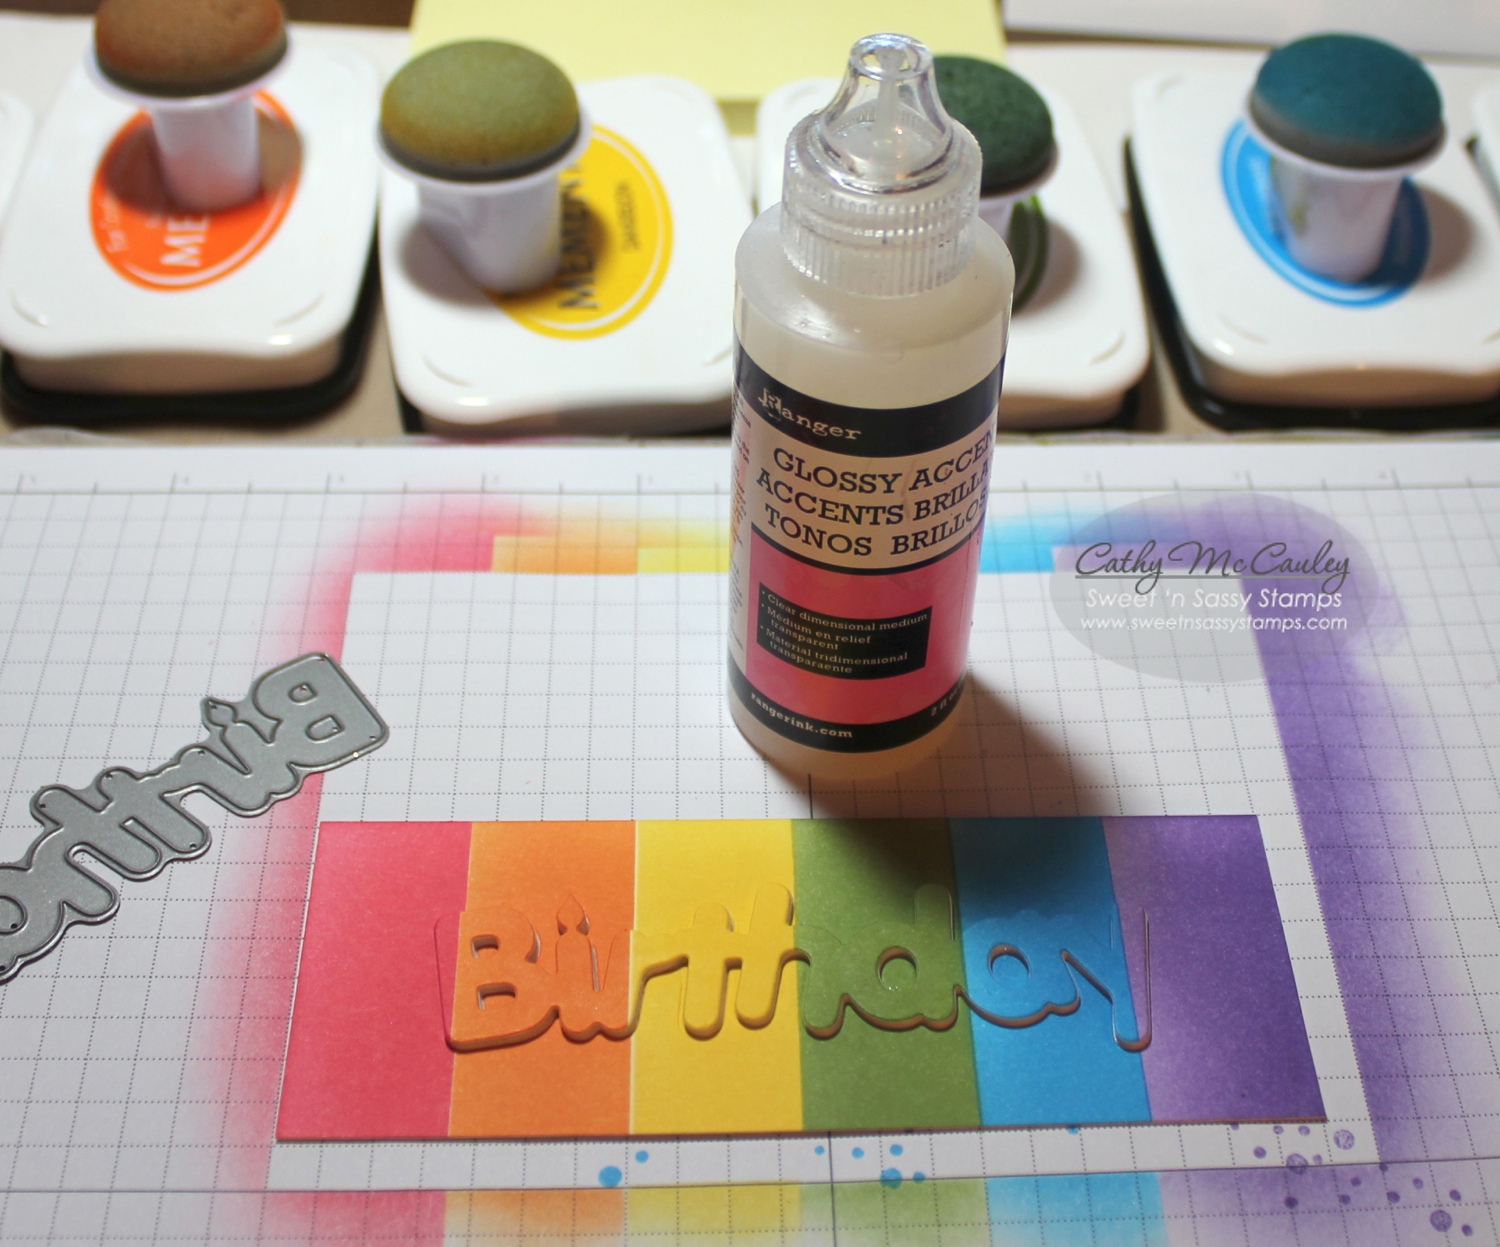
To create a rainbow of color, mask off the first section of your card stock panel.  I just use Post-Its.  Starting on the Post-It and working in circles, sponge on your color until it is smooth and blended.  Keep masking off each section as you work your way across the panel.  Now you have a bright, cheerful rainbow!


Trim your panel to the size you want for your card.  Using your die, cut the word or shape from your decorated panel.  Be sure to save all the little pieces. Then cut more of the same die cuts from scraps of card stock.  I cut 4, but you can make as many as you want depending on how thick you want your word or image to pop off the card.


Cut a second panel the same size as your decorated piece and cover it with adhesive.  I used my Glue Glider, but you can use a Xyron or any adhesive you like.


Adhere the die cut panel to the adhesive panel…


…and pop one of the scrap die cuts in the negative space.


Use the little pieces you saved to fill in the empty spaces.


Layer all of the die cuts, adhering each layer... 

…ending up with the one you cut from your background panel.  I use dots of Glossy Accents to glue the layers together because it gives me a little wiggle room to get the dies lined up correctly.


Finish your card using your Camouflaged Die Cut!  My little grand niece loves sparkles and purple…this card will be for her birthday.


Another sample of Camouflaging Die Cuts using a shape instead of a word die.

Here are the supplies from the Sweet 'n Sassy Stamps Store used to make these two cards:


Hope you'll give this technique a try!  Thanks so much for stopping by!
Have a marvelous Monday!