Showing posts with label stamping. Show all posts

Tuesday, December 20, 2022

Poinsettia Greetings

 Today we're showcasing four fun ways to use our Poinsettia Greetings Stamp set.

Esther used Arteza Real Brush pens to color hers and combined it with Texture Tiles 4 and Script Sentiments stamps and dies for a Christmas birthday card.

Susan colored hers with Copics and combined it with our NEW Softly Snowing Digital Paper Packs for a soft winter look.

Sheri created her clean-and-simple, classy card using gold embossing powder over a beautiful teal card stock.

Nina used colored pencils, glitter, and an old hymn page to create her beautiful card.

  ~~~This post contains affiliate links at no extra cost to you~~~ 

There are still a few days left to take advantage of our steel die sale.

Buy 2 Get 1 FREE through December 23rd!! 

Monday, December 12, 2022

NEW Digital Paper Packs & Printable


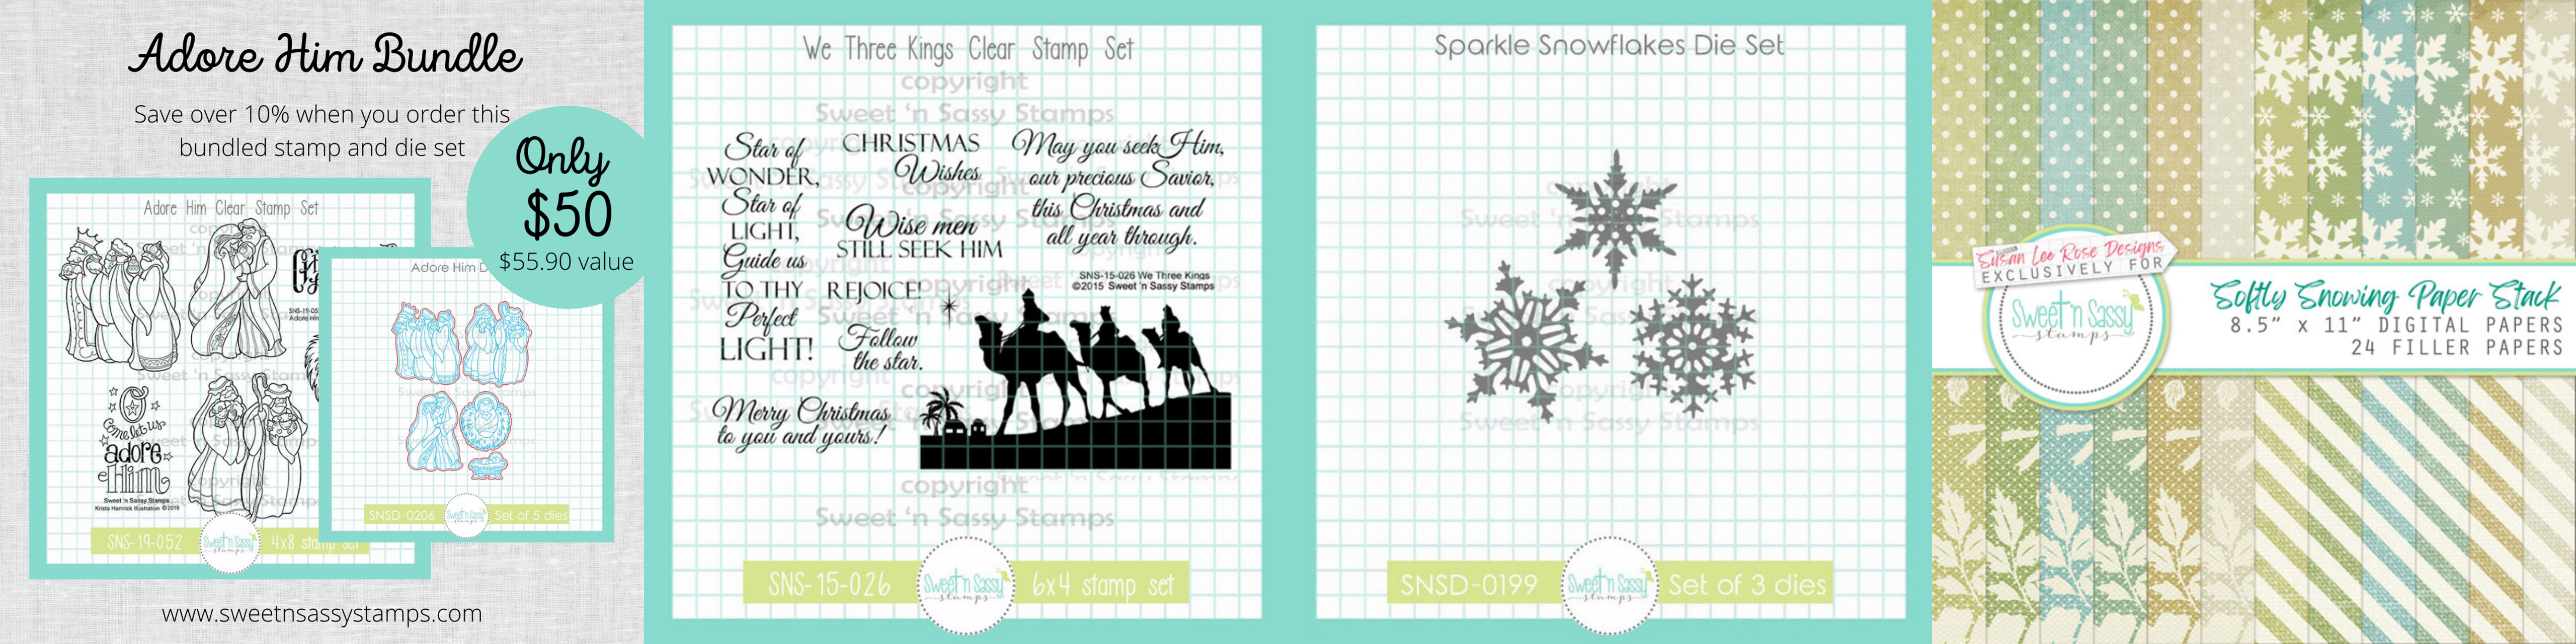
 Sweet 'n Sassy Stamps just released THREE new digital paper pads and a new Creative Worship Printable! Esther combined papers from the Softly Snowing Filler Paper Stack with an image from Adore Him to create her Christmas card for today. 

Check them all out by clicking here.

~~~This post contains affiliate links at no extra cost to you~~~

Supplies and Tools: 


Saturday, September 10, 2022

Fall Inky Card

 Happy Saturday Stampers! This is Michelle from the Design Team with a new card share. Lately, I've been making lots of Fall cards with inky backgrounds. I want to share one with you today. So here it is.


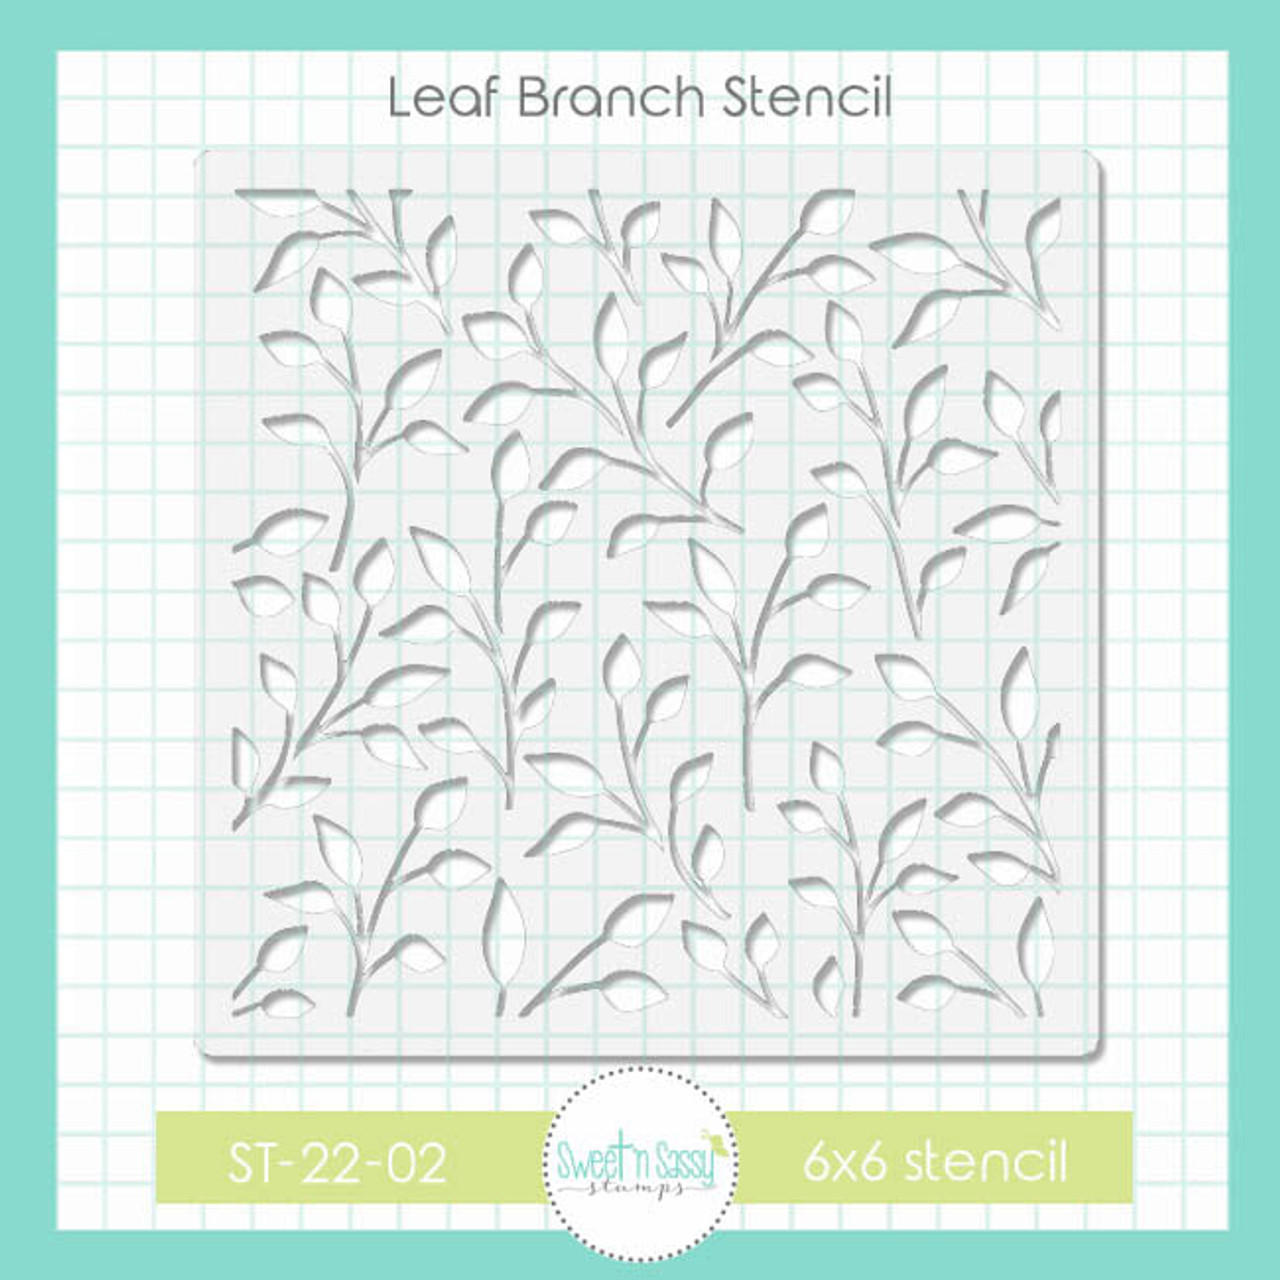
I had a lot of fun making this card and I got a little messy too! To start, I cut an A2 card base from white cardstock. Then I cut a 4x5.25 inch card panel from white cardstock. Next, I picked out 3 colors of Distress oxide inks. I used a brown, a yellow, and an orange. I inked up my mat and spritzed with water. Then I smooshed my card panel onto the ink. I did a few layers using my heat tool in between smooshing to layer the ink and get this effect. Once it was dry I layered the Leaf Branch Stencil on top and inked a green Distress Oxide ink over the stencil. Once that was dry, I added some ink splatters. I stamped the leaf, bird and sentiment from the Happy Scarecrow Stamp and die set. I used foam tape to secure them to the card panel. 

Let's take a look at the items I used.


Thank you for visiting with me today! I hope you have time to get inky and crafty this weekend!

Saturday, July 9, 2022

Christmas in July

 Happy Saturday Stampers! It's Michelle from East Bay Stamp Chick with another card share and a sale! It's Christmas in July! So Sweet 'n Sassy stamps has 205 off Christmas and Winter themed stamps and dies.


Just use the code festive22 to receive your discount. Here's the link to the sale category.

Now here is my latest Christmas card!


This card was so easy to make! It's an A2 size card. I started with a panel of kraft cardstock measuring 4x5.25 inches. I stamped in a brown ink the Pinecone background. Then I used the same ink to blend a little around the edges of the card. This gives it an old, antique look. The ice skate image is from the Wonder of Christmas stamp and die bundle. I stamped it with alcohol friendly ink on an oatmeal colored cardstock and colored with alcohol ink markers. Use the matching dies to cut the image out. The greeting came from the Christmas Poinsettia stamp set. I really like that simple Merry Christmas in cursive. I heat embossed it in gold on a green cardstock. I cut it into a strip with my paper trimmer and added the fishtail edges on both sides with my scissors. Bothe the sentiment and skates are popped up on foam squares. Super easy!

Let's take a look at the stamp sets I used.  


Thank you so much for visiting today and I hope you have time to get crafty this weekend!


Monday, February 28, 2022

He heals the brokenhearted


Esther here today sharing a soft pink card using my favorite stamp and die set from the February Release --- Beautiful Bouquets. I created the gingham background using Texture Tiles 4 and added a sentiment from Fear Not. The pretty little flourish comes from the Decorative Frames Toppers set. To soften the embossed background just a little, I lightly rubbed some white ink over the raised part.

   ~~~This post contains affiliate links at no extra cost to you~~~

Supplies and Tools:

Friday, December 25, 2020

Artist Trading Coins

 Happy Saturday Stampers!

It's Michelle here from East Bay Stamp Chick. Well, Christmas is over and I'm kinda sad to move on from making Christmas cards, but Artists Trading Coins are a quick, fun way to get creative. I had never made one before until I was invited to a swap. So I made 14 ATC's.


Artist Trading Coins are a 2.5 inch circle. They are like mini canvases or even embellishments. So I used my gel press and alcohol inks to create my paper, then I die cut the 2.5 inch circles. I used a light grey ink to stamp the Delightfully Delicate background stamp over my alcohol ink pattern. Then I heat embossed in white a flower stamp from the Encouraging Peonies Stamp Set. I added a sentiment from the Faith Wordfetti set. I did die cut a second piece of cardstock and glued it to my 1st piece to make them thicker and stronger. After I glued the 2 layers together I heat embossed the edge of the circle in silver. Here are the sets I used.


Artist Trading Coins can be as detailed or as simple as you want. They are a fun way to get your creativity going and to swap with others and be inspired by their work. I hope you have some time to get crafty this weekend and make a few ATC's. Leave us a comment and let us know!

Monday, December 14, 2020

Piano Cards - Tutorial


Hello stamping friends, Esther here with two super fun music themed cards to share with you. 
I created a mini picture tutorial (at Korin's suggestion) in case you'd like to make one for yourself!

  • Cut a piece of black card stock to fit an A2 card (4.25 x 5.5 inches)
  • Trace and cut a curved line as shown above


  • Cut 8 pieces of white card stock to measure 2 x 1/2 inches
  • Cut 6 pieces of black card stock to measure  1 x 3/8 inches
 
  • Glue your piano keys in the formation shown above
  • Emboss just the top part of your piano with your choice of embossing folder
  • Trim the slight excess from the right side of your card front
  •  Stamp the top portion of your card with the music notes from Texture Tiles 7
  • Stamp, color, and fussy cut 3 roses from Scribble Flowers
  • Assemble card adding ribbon or washi tape over the top of the piano keys
  • Trim the right side to fit your piano top

~~This post contains affiliate links at no extra cost to you~~~ 
Supplies and tools:


Saturday, November 28, 2020

Dazzling Dahlia Two Ways

 Hey Stampers!

Michelle here from East Bay Stamp Chick. I'm here with my latest card featuring the Dazzling Dahlia stamp set from the Large Floral Bundle. Have you seen the Bundle Blitz sale? Lots of great deals! And if the set on your whish list isn't in a bundle, there is a site wide 20% off sale! 


Here is the bundle.

Three great stamp sets. If you like big flowers, this is the set for you!

So here are my cards!


I used the same Dazzling Dahlia stamp set with 2 different color combinations. Both were colored with alcohol ink markers and the sentiments are both from Encouraging Peonies stamp set that's in the bundle as well. .


The 1st card I used very unconventional colors for a Dahlia. The panel is popped up on foam and I only used 3 colors of markers to color in the dahlia.


This card panel is glued flat to the card base and I used 5 colors of markers to do just the flower.


So which card do you like better? They are the same but very different. Do you like bright colors better than the muted colors? Let me know! I want to hear from you!


I hope you have time to get crafty this weekend and visit the sale over at Sweet n Sassy Stamps!


Saturday, November 14, 2020

Happy Birthday Peonies!


Hey Stampers!

 Michelle here from East Bay Stamp Chick . We are celebrating Sweet n Sassy Stamps turning 13 years this month! And we are celebrating with lots of birthday stamps and cards! For today's card I had some messy fun creating the background on my gel press. Did you know Sweet n Sassy Stamps sells gel press plates??


I used some alcohol inks from stash and let them dry on the gel press. Then I rolled a thin layer of white acrylic paint on top. I pressed the paper on the gel plate and pulled it off. And it gave me this beautiful one of a kind background.


Then I stamped the large peony from the Encouraging Peonies Stamp Set in a deep purple ink right on top of my gel press background. I heat embossed the Happy Birthday from the Bold Birthday Stamp Set  on top of everything. I also added some silver embossing around the edge of my card panel. I mounted it on top of some pink sparkle die cut cardstock from stash and added some sequins for more sparkle. Super easy card with lots of impact.


I hope you take some time to get crafty this weekend and visit the Sweet n Sassy VIP Facebook page for lots of inspiration. Please share your creations with us too! Plus, we will be having sales all month to celebrate our birthday!!