Showing posts with label Leaf Branch Stencil. Show all posts

Saturday, September 3, 2022

Give Thanks

Happy Saturday! It's the beginning of September and that means the fall creating can begin. I love this time of year! Today's card features Give Thanks and the brand new coordinating dies.


For the wreath, I ink blended marmalade, buttercup and parsley inks onto white cardstock and splattered with gold and brown paint. Next, I stamped the leaf image with wheat ink over the background and die cut the images out. I stamped the berries with wheat onto brushed gold cardstock and die cut. Originally I left them plain, but decided to add paint splatters to them too.

I embossed the thanks sentiment with gold powder, die cut and stacked with 3 more plain die cuts to create depth. I assembled the wreath as seen, adding more paint splatters afterwards. I glued the word in place, added foam tape to the back and set aside to make the background.

The background is really easy. I die cut the panel, placed the Leaf Branch stencil over the top and inked with antique linen distress ink. I splattered with gold and brown paint and stamped the sentiment with walnut stain distress ink. I matted the panel with dark brown, put it on a white card base and attached the wreath to the front. 


Give Thanks Bundle


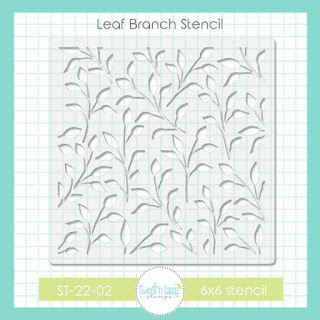
 Leaf Branch Stencil


I hope you enjoyed today's card and thanks so much for stopping by!

Friday, April 29, 2022

Song Birds - Mini Art Journal

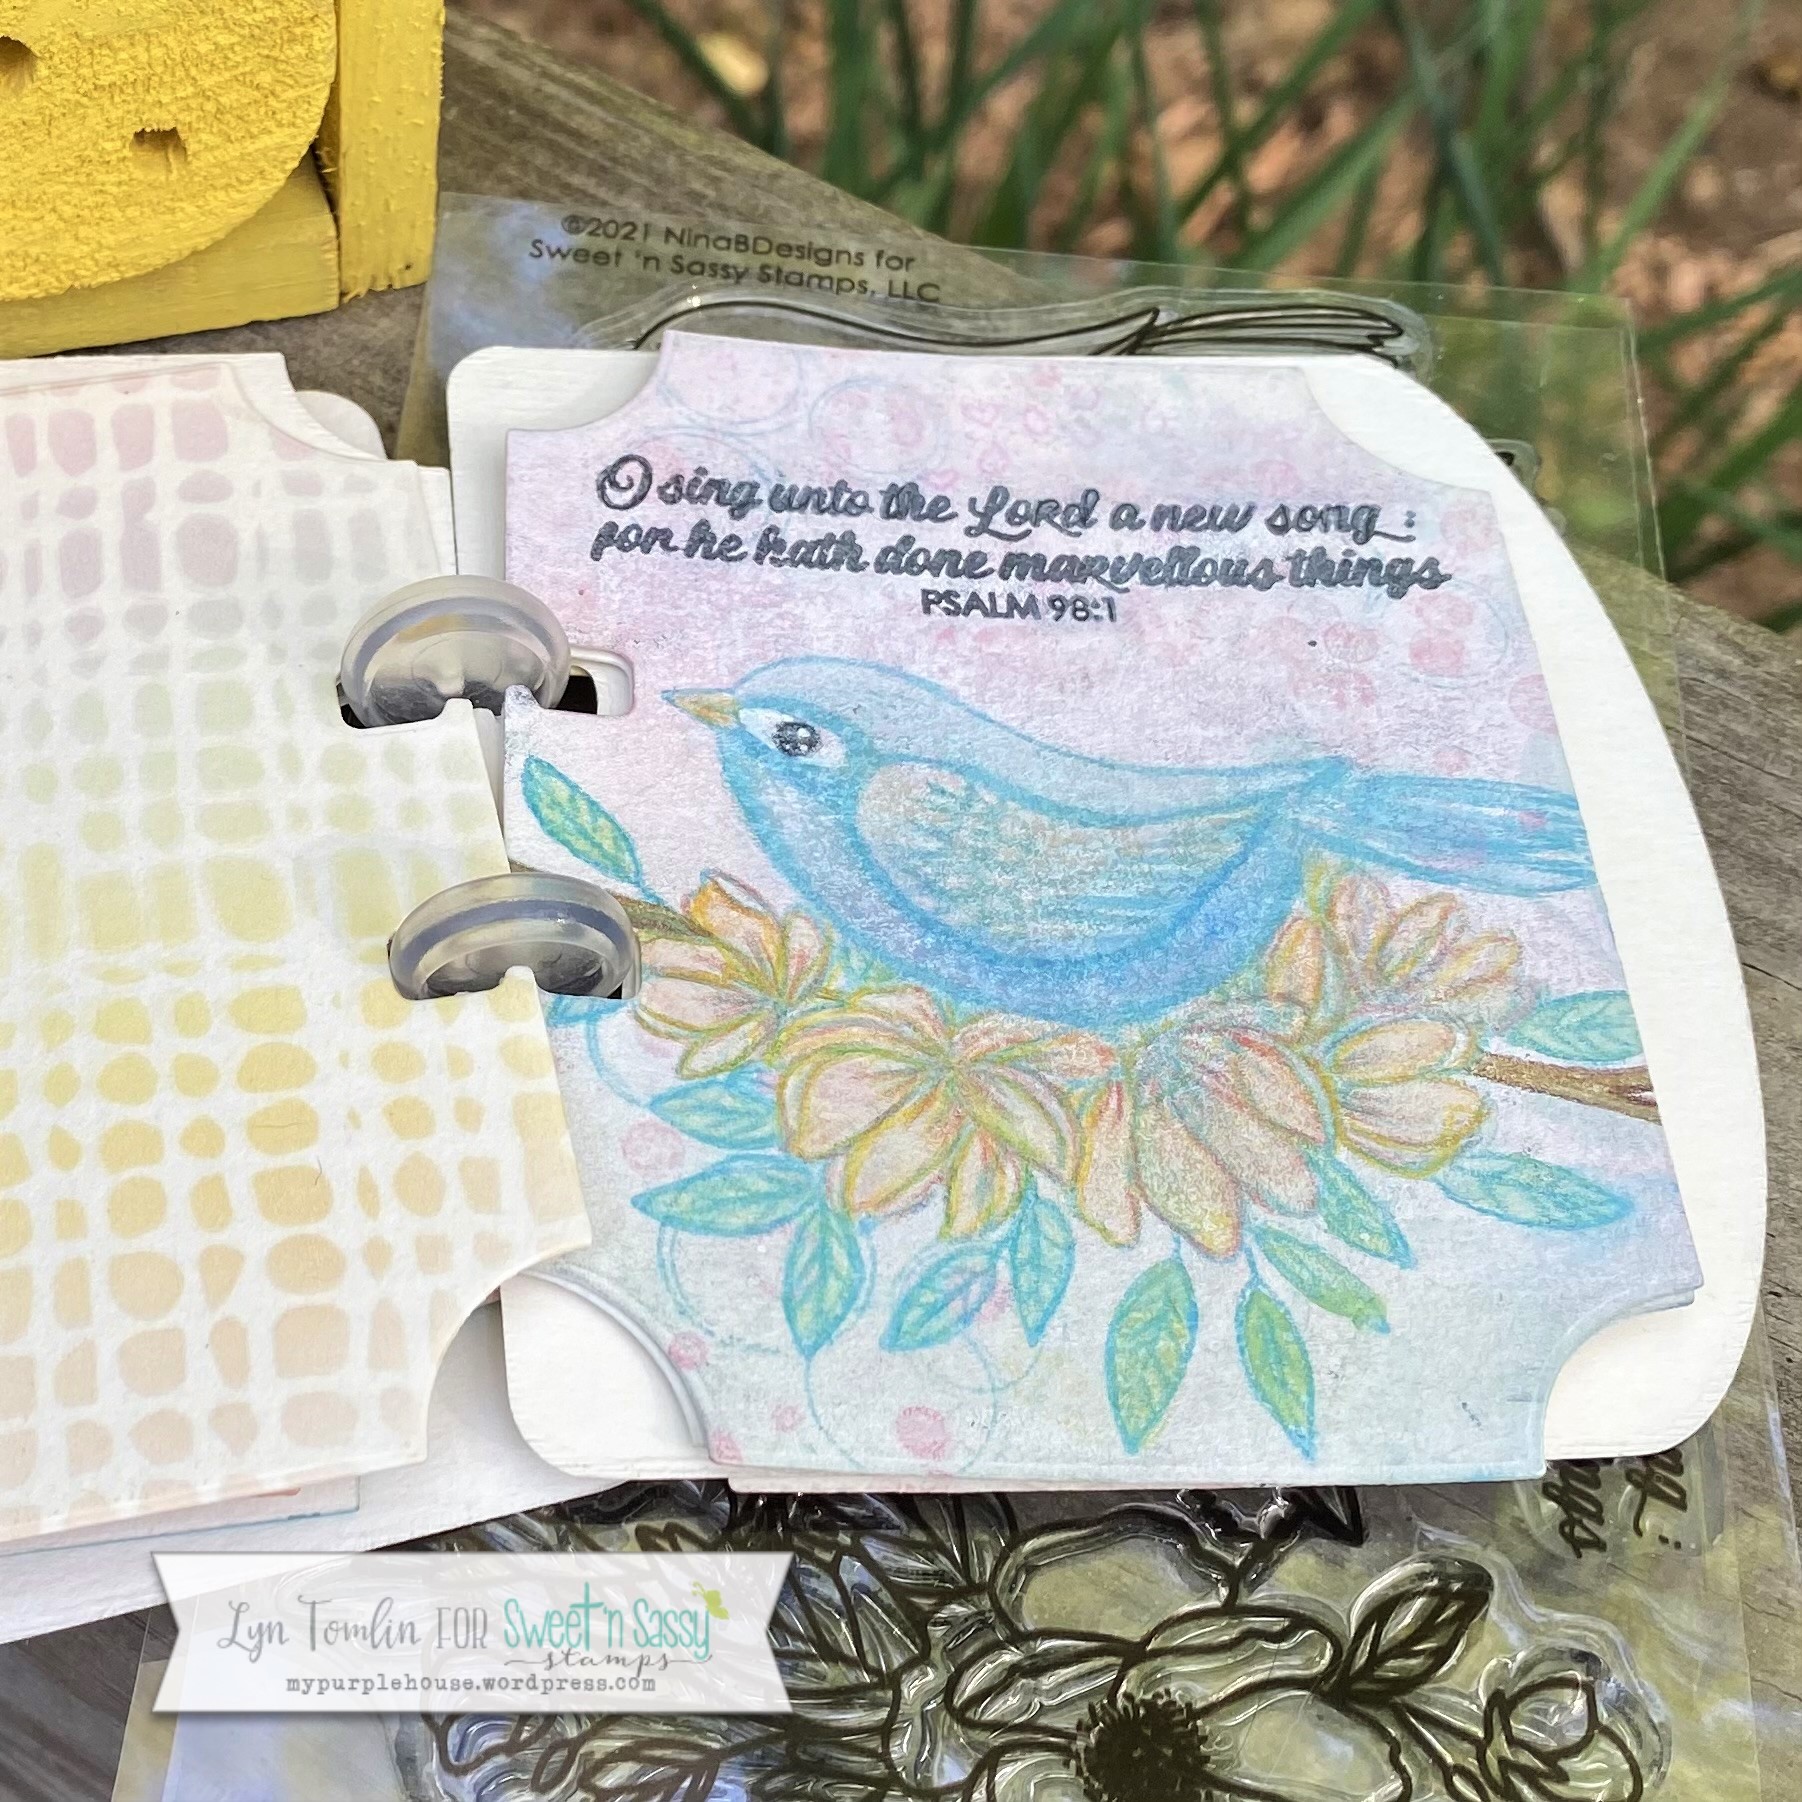
Today I have sweet little journal page in the mini journal I made using my memorydex dies.


First, I did some fun but simple background texture with distress oxides, the leaf branch stencil, and Spotted and the "rain" from Puddle Jumpers and then I toned it down a bit with watered down white acrylic paint. I stamped one of the birds from Song Birds on top of this and colored it with my Polychromos colored pencils. They work great - easily coloring over other things! Finally I used Versa Clair Nocturne ink for the sentiment/verse.


I hope you like it and are inspired. Sometime a little canvas is just what you need to keep creative!

Thanks for stopping by!!
Lyn


Monday, March 28, 2022

Praying for You Wreath


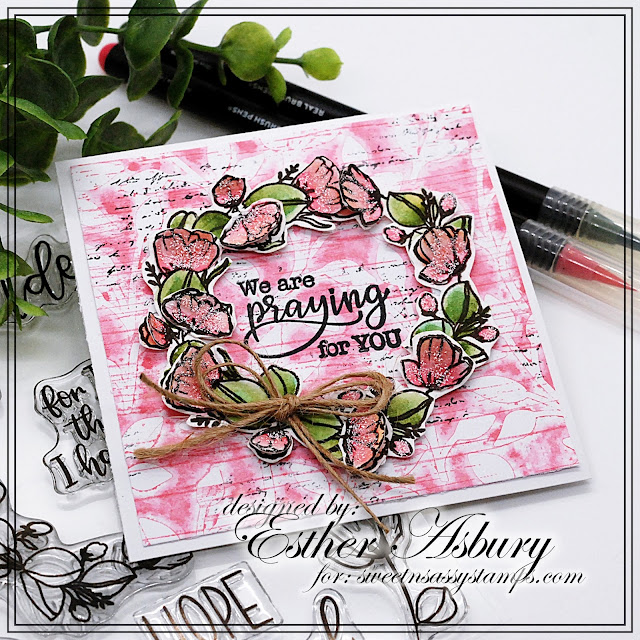
Esther here today sharing this floral wreath card that uses some of the NEW products from the March 2022 Release

Don't forget about the SPRING SALE going on right now --- 20% off site wide! 

For my card today, I started by inking up my Leaf Branch Stencil with worn lipstick distress oxide and stamping it on mixed media paper. I went over it with a brayer to ensure the color transferred well. Next, I stamped the wood grain stamp from Texture Tiles 2  over top, and then added some text from one of the Texture Tiles 1 stamps. 

I stamped the little floral spray from God is Sovereign  six times on watercolor paper, colored three of them with Arteza Real brush pens, and fussy cut them. Next, I cut the images into little pieces and arranged them into a wreath. To create the 3D flowers, I colored just the flowers on the second set of three images, fussy cut them, and glued them over top the flowers on the wreath. I added some Frosted Lace Stickles over the flowers for a bit of sparkle and a twine bow to one side of the wreath.The sentiment is from Forever Loved and is stamped in Versafine Clair Nocturne Ink.

~~~This post contains affiliate links at no extra cost to you~~~

Tuesday, March 8, 2022

With Deepest Sympathy | #SNSSVIP0322

 PRODUCT LINKS BELOW CONTAIN AFFILIATE LINKS AT NO COST TO YOU
 
Hello Sweet Friends! Sheri here today to invite you to come play along with our March 2022 VIP Challenge that we host over in our Facebook VIP Group! This month we are challenging you to use the color GREEN on your project. You just need to create a new project using the color green and at least one SNSS product for a chance to WIN our monthly drawing. We hope you will stop by and join the fun! You can find the challenge details HERE.


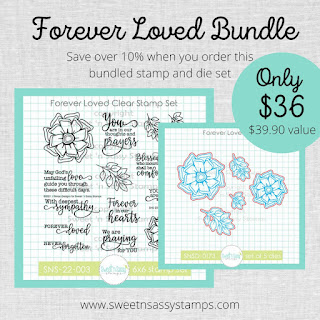
 For my sample I created a card featuring the NEW Forever Loved Bundle that was part of the March 2022 Release. Sympathy cards are never a card you want to create so I try to have a few on hand. 
 
I started off by creating the background with the NEW Leaf Branch Stencil and two shades of green (light & dark) ink. After I stenciled the leaves I lightly went over the whole panel to soften it up. I added some ink splatters with the lighter shade of green along with a dew using Perfect Pearls.
 
Next I stamped a bunch of the flowers and leaves from the Forever Loved stamp set out using alcohol friendly ink and then used copic markers to color them. I then used the coordinating dies to cut them all out but of course you could fussy cut them out. I then arranged the floral elements onto the panel and attached. Some are attached with pop dots for added dimension. The sentiment is embossed on a strip of vellum and wrapped around the panel to hide the adhesive. The card is then assembled and a few rhinestones where added for embellishment.
 
Card Measurements:
White Mini Slimline Card Base: 3 1/2" x 6" (7" x 6", scored at 3 1/2" on the 7" side)
Kraft Panel: 3 1/4" x 5 3/4"
White Scallop Panel: 3 1/8" x 5 5/8"
Stenciled Panel: 2 13/16" x 5 5/16"
White Circle: 2"
Vellum Sentiment Strip: 3 1/2" x 1"
 

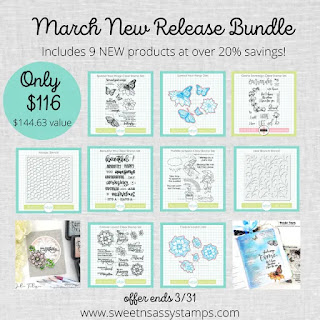
 There's still time to purchase the March New Release Bundle!!

  
Happy Stamping!!

Friday, March 4, 2022

Soft Sympathy

Hi sweet friends! It's Julee, popping in to share a little inspiration with my new Forever Loved stamp and die set that released this month. Have you had a chance to check out the March release yet? There's a whole lot of stampy goodness in there! 


It seems like I've needed a lot more sympathy cards lately, and so I'm on a mission to replenish my stash. For this card, I wanted a soft subtle look, so decided on a pink and grey color combo.  The flower and greenery from Forever Loved were stamped on cardstock, then colored with Zig clean color real brush markers. The paper MATTERS with these markers, and  I accidentally filed the wrong cardstock scrap in the wrong bin, so what I thought was Bristol Smooth cardstock ended up being Neenah cardstock. Oops. It was pretty obvious when the color wasn't moving with the water brush. I ended up sticking with it, though, just doing a lot of marker on marker blending instead of using water and was able to achieve a result I was pretty happy with. I then cut the images out with the coordinating die set and set aside.

For the sentiment panel, I used the new Leaf Branch Stencil with pumice stone ink for a soft background, then cut in a circle and blended tattered rose ink around the edges. I then embossed the sentiment with black ink and clear embossing powder.

For the card base, I used the same stencil with weathered wood ink and a very light touch on fog cardstock. I love the soft look of it.  I then added a white circle mat to my sentiment panel and layered my flower and leaves. I finished off with a fun sprinkling of sequins.

Thanks so much for stopping by today! I hope you are inspired to create something. If you're in the mood to shop, be sure to take advantage of earlybird savings through March 9!


Thursday, March 3, 2022

spread your wings

 Hello, friends!  Today I have two cards for the Sweet ‘n Sassy Stamps March release. I could feel spring trying to come today and I don't know about you, but I am ready for butterflies and flowers! This new butterfly set is called Spread Your Wings. I also used a new Leaf Branch Stencil and the previously released Script Background.

Product links: Spread Your Wings Stamp & Die Bundle, Leaf Branch Stencil, and Script Background. Spread Your Wings is also available separately... Stamp set and Die Set.

I love the blue & purple color combo in my first card. I brushed the stencil with the same shade of blue and stamped the script in a light gray. The measurements of the panels are: white- 2 x 3 3/4 and two 1 x 3 3/4, purple mats- 2 1/8 x 3 7/8, and two 1 1/8 x 3 7/8.


My second card is CAS. I decided to make a rainbow of butterflies and popped them all up with foam dimensionals. It still looked like it needed a bit of something so I threw on a few scattered rhinestones.


Have a great day!
Diane