Tuesday, March 22, 2022
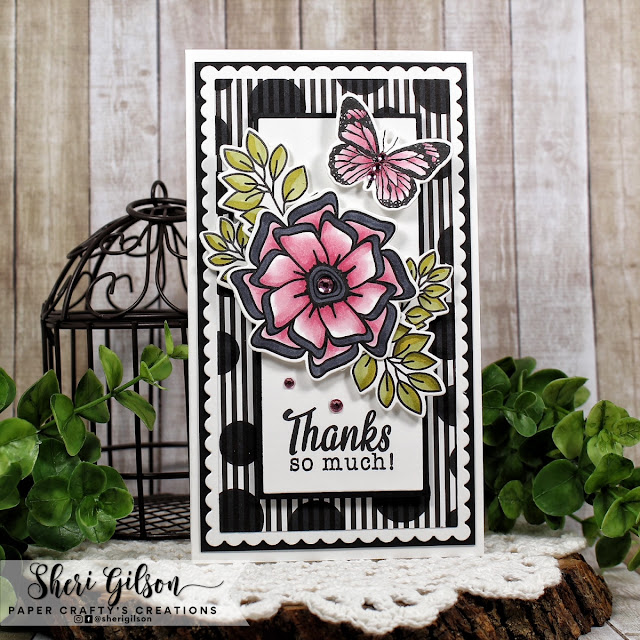
Thanks So Much!
Tuesday, December 28, 2021
Thank You
Thursday, July 15, 2021
thank you
Good morning! Today I am sharing two cards using the new Sweet ‘n Sassy Stamps Stamp of the Month, Thank You. I also used the fun, new Summer Vibes Stamp & Die Bundle (also available separately).
For my first card, I cut part of the card front off diagonally, then added a strip of black to the edge. The patterned paper was added to the inside. I stamped the pineapple, inking it with various colors, and then masked it to add the splatters with the Paint Splatters Stencil. The cherries were stamped, die cut, and popped up with foam tape.
Friday, July 9, 2021
Thank you, Thank you, Thank you
Today I have three Thank You cards using this months "stamp of the month" free with a $60 purchase. It is called (wait for it...) Thank You (haha!)
This set it so fun. There are chunky thank yous and scripty thank yous. They go with so many card designs. For my projects, I pulled some backgrounds together and mostly let the sentiment carry the card. I am pretty happy to have some thank you cards in my stash that are versatile too!
1st - I created a abstract back ground using copics to color the heat embossed my sentiment on black with white embossing powder.
2nd - I used the Background Builder Stripe set to create a fun black and white background, heat embossed my sentiment on black with white embossing powder and mounted everything on red for a pop of color.
3rd - I had a left over chick from March's Hoppy Spring set and I used it as an accent to a background using the Chicken Wire Stencil (right...). Then I stamped my sentiment onto the background.
I hope you are inspired - this set is seriously worth it! It will be one I go to again and again!
Thanks for stopping by!
Lyn
Saturday, July 3, 2021
Thank You
Welcome to July and a brand new release! The July Release is pretty awesome and I know you are going to love it and the inspiration from the team! My card features Thank You (stamp of the month) and Texture Tiles 6 from the new release along with previously released Peony Cluster and Script Stencil.
As you may know by now, I have been on a mission this year to use up pieces from my extra bin. I rescued the floral piece from this bin. I colored this image months ago as a practice piece with some new watercolor pens never intending to make it into a card. In fact, I was so unhappy with my results (color of the flowers and the leaves were originally all different colors of greens) that I almost pitched it in the trash. I could hear Korin in my head, practically gasping at me throwing it out that I hung on to it thinking maybe one day I can salvage it. The sand colored piece was also in the same bin just minus the chicken wire.
When a sentiment set, like Thank you, is released I always reach for my bin to see what I might be able to pair it with. When I saw this floral image and the background piece I knew it was time to fix what I did not like about it. I added water with a brush and dabbed off color with a paper towel. Once I was satisfied with lightening the colors I added more color to the flowers, but in darker shades to try to give a little bit of depth. I redid the leaves so they looked like they belonged together. I used a combination of Arteza and Altenew brush pens/markers to color the image both times. I fussy cut the image when it was dry and set aside.
I thought the script background was a good fit for the floral image, but I felt like it needed a little bit more. I used the chicken wire from Texture Tiles 6 and Versamark ink to add a bit of texture to the background. To be honest, I was hoping it would be darker, but I'm kind of glad it's not and is more subtle. I used Wheat ink to stencil the script onto Sahara Sand cardstock.
I glued the floral to the front of the script panel, die cut out and adhered to a Garden Green card base. I stamped the sentiment with VersaFine Clair Nocturne ink on the same cardstock as the background panel. I trimmed the sentiment, attached to the front with foam tape and added three enamel dots to finish off the card.
This Thank You set has ten sentiments all with different fonts. How often do you go digging through your sets to find just the right sentiment with the font you are looking for? I love having one set with the same sentiment in different fonts to go with my many styles of cards!
Thanks so much for stopping by,
Karen
Tuesday, January 1, 2019
Inspired Thank You Cards | Julee Tilman
My son Trevor has been creating a series of watercolor trashcan paintings. He's having a blast sketching our kitchen trashcan and then watercoloring it all the colors of the rainbow! So precious. During one of his sessions I did a little Crayola watercoloring alongside him and then showed him the magic of adding a bit of table salt to the wet paint to get some fun effects. I really wasn't thinking about cardmaking at the time, but I loved how vibrant the colors came out, so decided to use my project to follow Korin's footsteps and make some quick mailable thank yous!I had only painted about a 3.75 x 7.25" swath of watercolor on my sheet, so decided to go for square cards to get the most out of my strip. I cut the watercolor sheet down to 1.5" x 3.5", so I could make four cards. I glued these strips to 4 inch square cardstock panels, then pulled out the fabulous All About You set and stamped the thank and the you using my MISTI to get the same placement on all of them.
Next I pulled out Winnie's Warm Wishes stamp set. This set is currently a steal of a deal in the $5 blowout section of the shop. Speaking of deals, there have also been some new additions to the 20% off and 50% off categories, so be sure to check those out! 😀 I used the sweet little mug of cocoa and marshmallow, stamping it in black and then coloring with Copic markers and adding some crystal lacquer to the hearts and marshmallows. I then fussy cut and popped up on a little foam tape. I added a bit of washi for a little interest, then finished with black mats and 4.25" square card bases.
Thanks so much for stopping by today! I hope you're inspired to make a few quick cards. Here's a look at the sets I used today.
Tuesday, October 24, 2017
thanks for everything.
I didn't have a lot of time but really wanted to use the gorgeous flower image from Floral Greeting clear stamp set, so I decided to use just leave it black & white:
I love making simple cards, but I don't like one layer cards... so I just cut the flower image out, and adhered it loosely to the inked background, adding a little bit of dimension to my card.
The background was sponged with Tim Holtz Pistachio Distress Oxide ink. I splashed some water on the card for some interesting pattern, then spritzed black ink over it...
The greeting is from Keep in Touch, Too clear stamp set.
Thanks for stopping by,
Friday, August 18, 2017
Thank you
Friday, August 4, 2017
Thank You
Wednesday, June 14, 2017
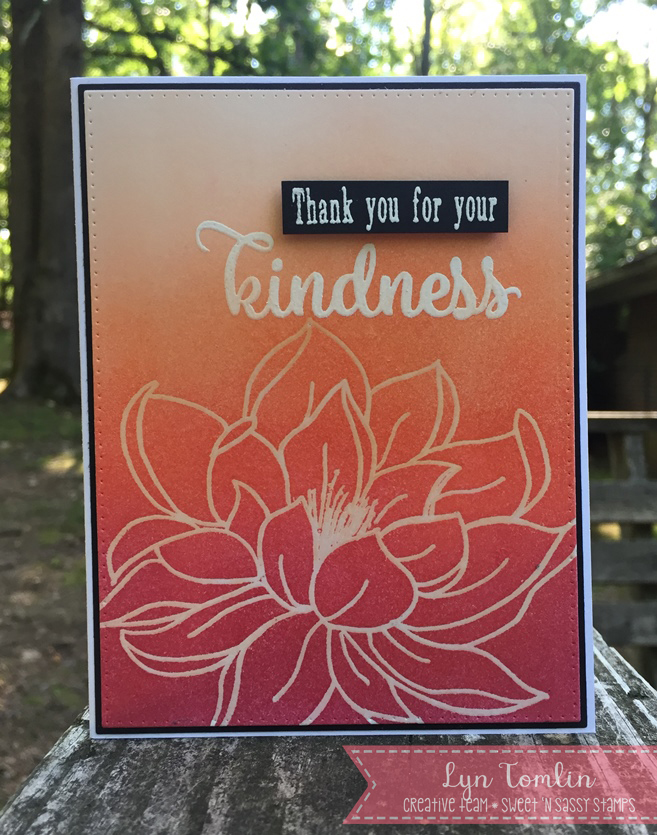
Thank You for Your Kindness!
I am loving the great new stamps sets SNSS has this month and today's cards use a couple of them - Kindness Matters and Fantastic Flowers.
The sentiments in the Kindness Matters set are fantastic! They can be used on a variety of cards and the Flowers really are Fantastic - they are pretty big, but they are great and there are several to choose from including leaves.
For my first card, I played around with emboss resist and ink blending.
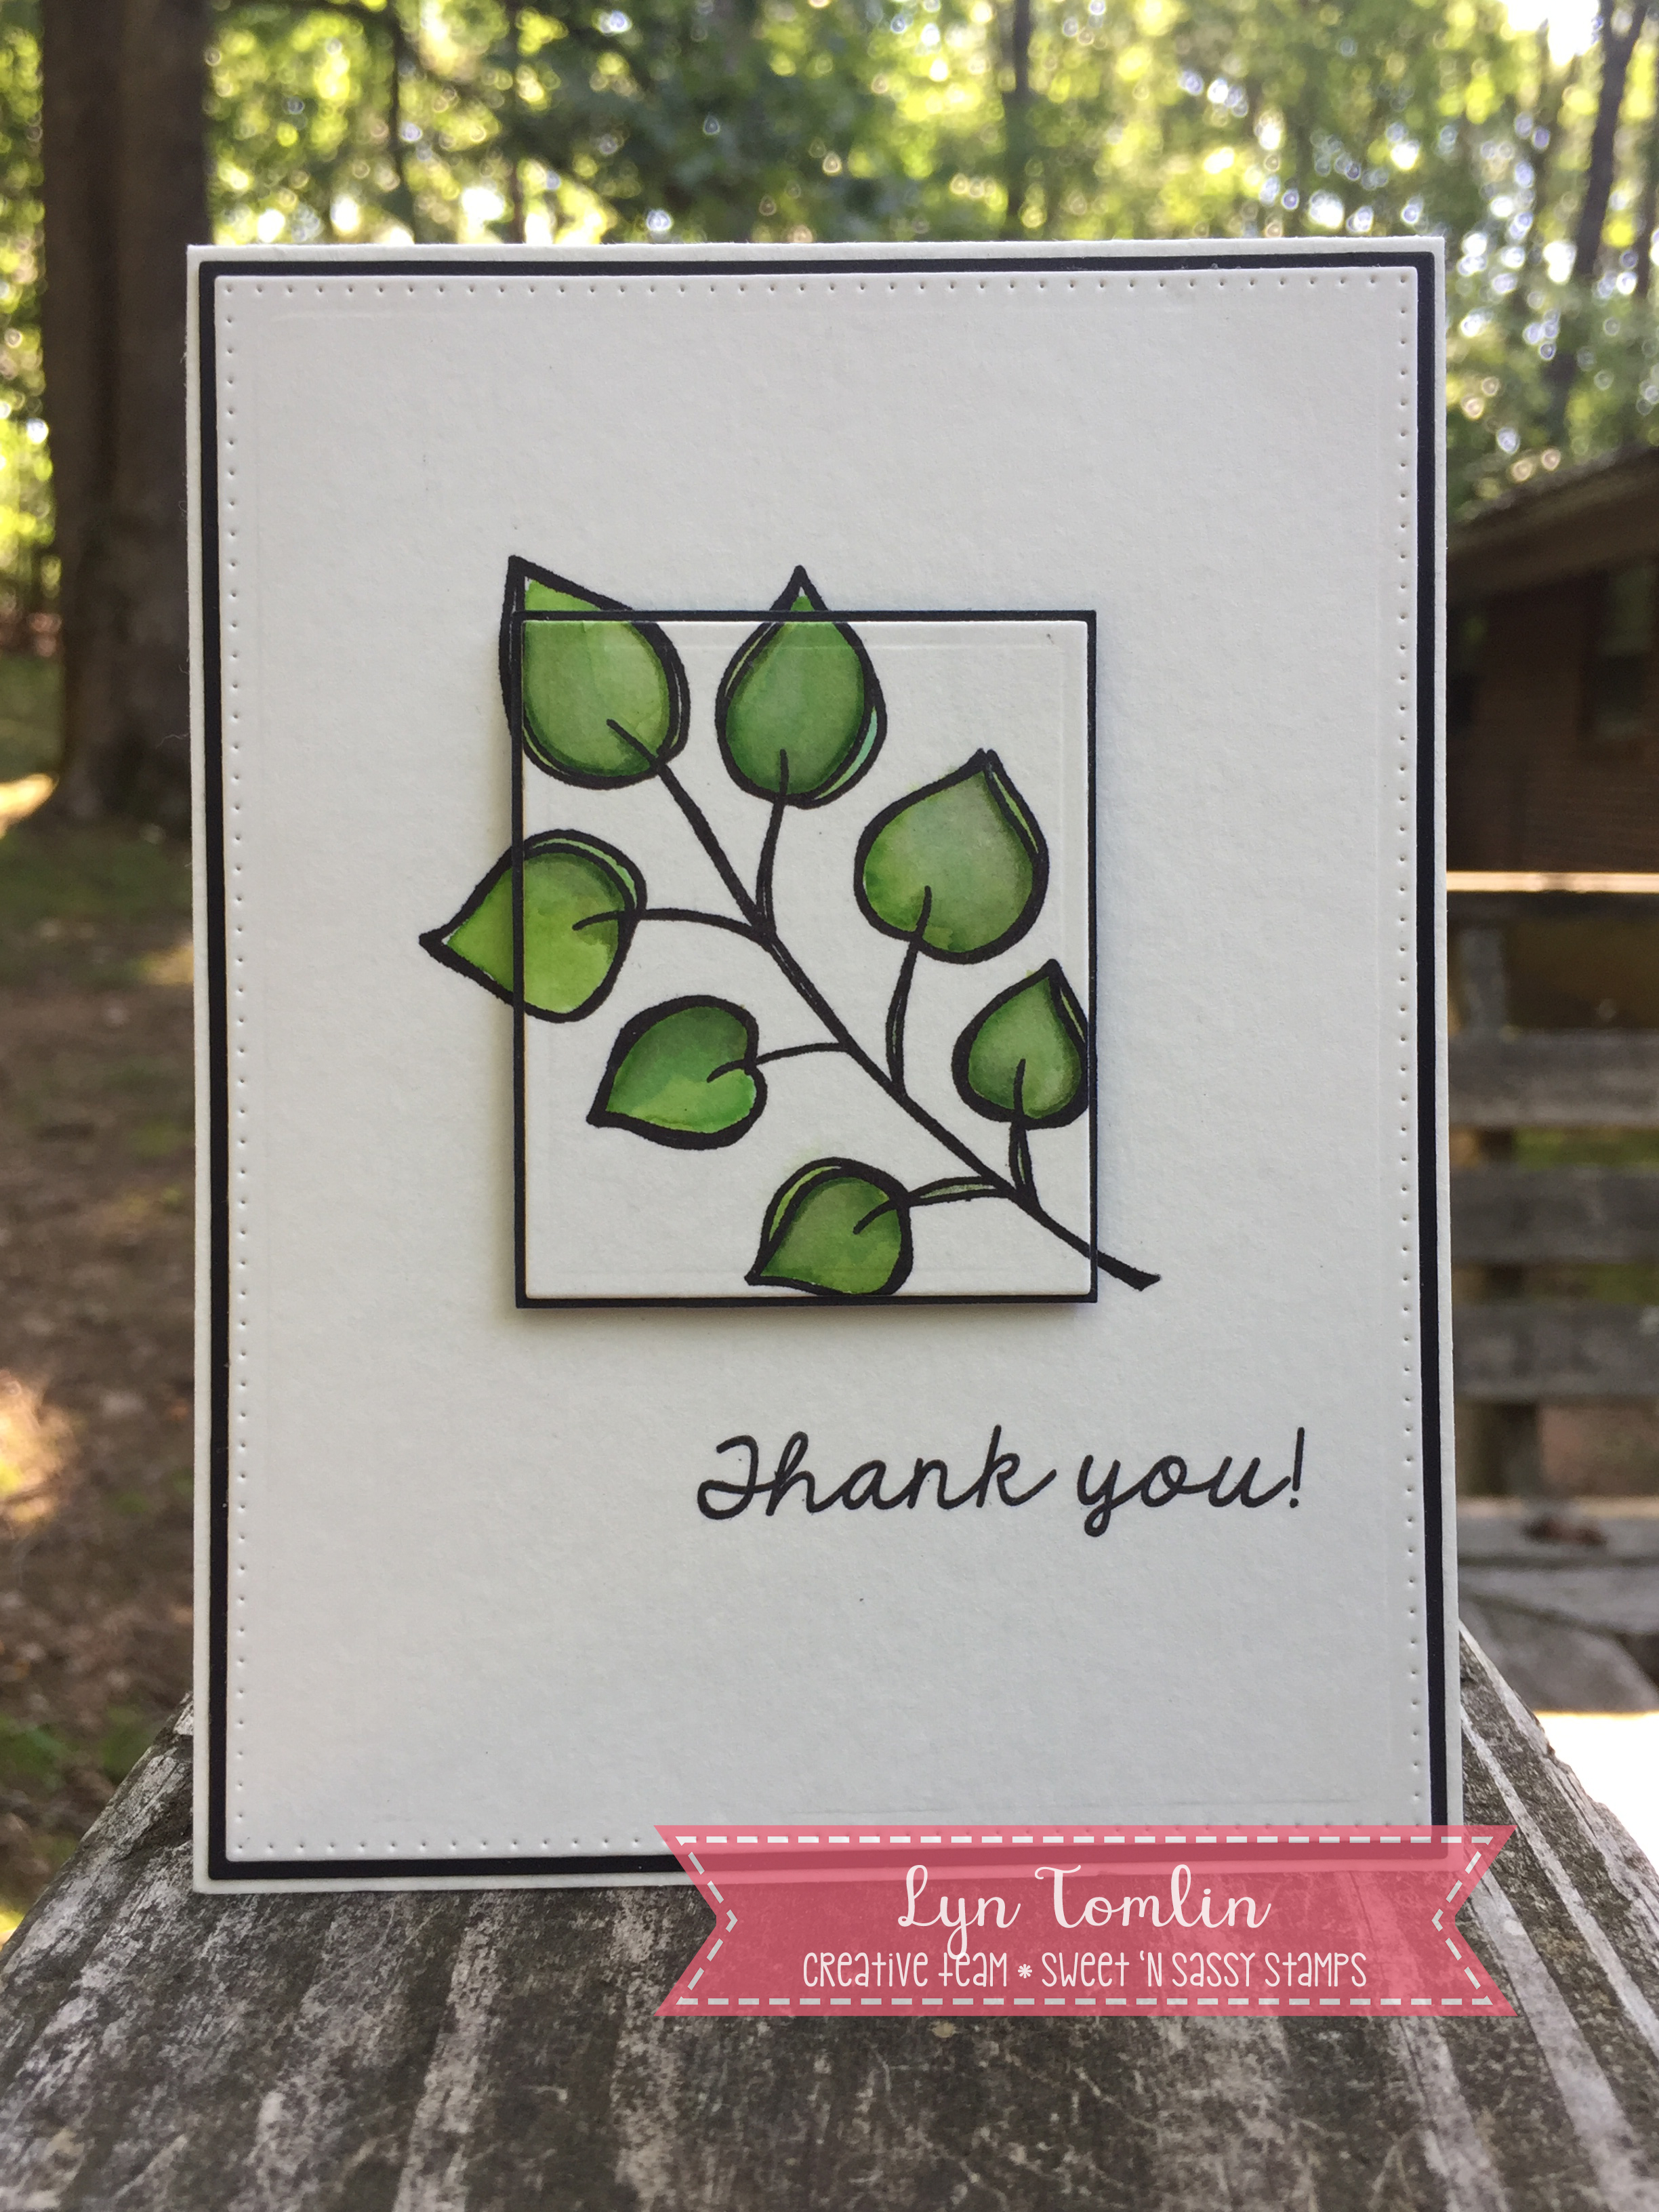
For the second one, I went pretty simple using the twig of leaves and water color (with Distress Inks). I colored it up twice, then created a 3D effect then added the "Thank you!" sentiment and that is all there is it. For some reason, this one really makes me happy.

Finally, I got out my Inktense pencils and a Grid stencil and created a background for the bigger sentiment. The background was a little bight so I went over it with Antique Linen Distress Ink.
This is really exciting - Now I have a thank you cards for my stash which is something I don't really think about too often so... yay!!
I hope today's cards provide you with a little inspiration! Thanks for stopping by and have a great day!
Lyn