Showing posts with label mini slimline. Show all posts

Thursday, June 16, 2022

thirsty soul

 Good morning! Today I am sharing a few Sweet ‘n Sassy Stamps projects that I recently made, two mini slimline cards and a decorated mini composition notebook.

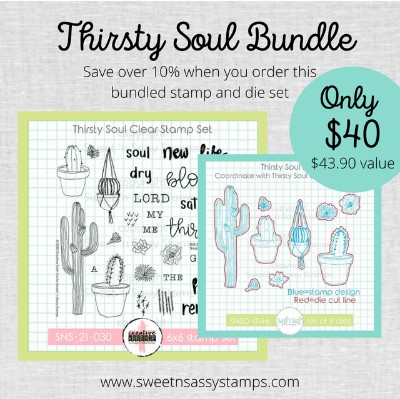
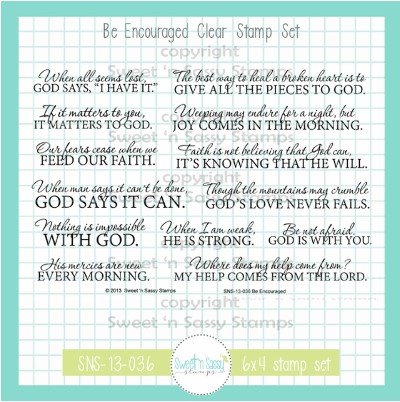
Product links: Thirsty Soul Stamp & Die Bundle, Be EncouragedSpecial Blooms Stamp & Die Bundle (bundles are also sold separately).

To make the mini slimline cards, I followed the measurements in the April 2022 SheetLoad of Cards. It's a fun card design and a great way to get more use from your papers. The sentiment strip hangs slightly off the card front, which is shorter than the back. The first card has a sentiment from Be Encouraged and the sentiment on the second card was created with the cactus set. It has great images!


I used the Thirsty Soul Stamp & Die Bundle again to decorate a mini composition notebook. I have been using up some of my scraps on this smaller type of project. They are great for little gifts, and I've laid a bunch that I decorated for mini prayer journals on a free resource table at our church. They seem to be appreciated as they have disappeared pretty quickly!


Have a great day!
Diane

This image has an empty alt attribute; its file name is Screenshot-2022-06-12-180442.jpg
This image has an empty alt attribute; its file name is Screenshot-2022-06-12-181003.jpg
This image has an empty alt attribute; its file name is Screenshot-2022-06-12-180828.jpg


Friday, December 17, 2021

Sending a Snowy Hello!


Hello crafty friends! Lieschen here hoping you are having a great Friday so far! I can't wait to share with you a couple of things, but let's begin with this simple card I made using the Christmas Blocks, Holiday Greetings, and Diamond Tile Stencil from Sweet 'n Sassy Stamps. It's just a perfect card to send a snowy hello during the holidays.

I created a mini slimline base card measuring 7x6 with scoring on the 7 inch side at 3½. Then I trimmed a piece of cardstock measuring 5½ x . I used this piece of cardstock to stamp the cute snowman from the Christmas Blocks stamp set.

I masked the snowman so I could ink the background using nice blue ink pad and the Diamond Tile Stencil. Then I used my Copic markers to color that adorable snowman. To finish the card, I heat embossed a sentiment from the Holiday Greetings stamp set, added some glossy accents on the snowman, and used some clear sequins to make the background pop more.

This was such an easy/fun card to make! I hope you give it a try with your supplies.

I also want to take advantage to remind you of two things:

Sweet 'n Sassy Stamps has the last Inspiration Hop for the year! Make sure you join in the fun and leave some love comment on the design team's post for a chance to win $25 to shop at Sweet 'n Sassy Stamps! Check their Instagram page for more info.


Are you following Sweet 'n Sassy Stamps VIP page on Facebook? If not you should start today! Not only is there daily inspiration with fun crafty projects and fun announcements before we make them public, but this month we have the VIP challenge "Anything Goes!". And like it says in the picture, YOU REALLY DON'T WANT TO MISS IT! A winner will be selected from the December challenge album for a...are you ready for this???? TO WIN ONE YEAR OF FREE STAMPS IN 2022!!!! How awesome is that! Again, you need to follow their Facebook VIP page!

That is all I have to share with you today. I hope that you have enjoyed today's post and crafty project. For more inspiration make sure you follow me on Instagram: @harshgurl

I hope you and yours have a Merry Christmas and a blessed New Year!

See you in 2022!


*Products mentioned contain affiliated links at no extra cost to you.*

Wednesday, August 4, 2021

You've been on my mind by Charmaine Canham


Good Morning!!! 
I am all for making unique and one-of-a-kind cards, but sometimes the need arises to make multiples. Well, I have a solution for you! 


I am using the Encouraging Peonies stamp set that is just gorgeous. It has the most
simplest sentiments and can easily be paired with any of these flowers.


Here is what I did:
Start with any watercolor paper, like Strathmore, white or clear embossing powder, and Versamark.


Next, randomly stamp flowers and leaves all over an A2-sized sheet. You will need to cut the watercolor paper down as this is a bit larger (or keep it this size, it's not important!)
Make sure to use an embossing buddy before you stamp to not get embossing powder everywhere.

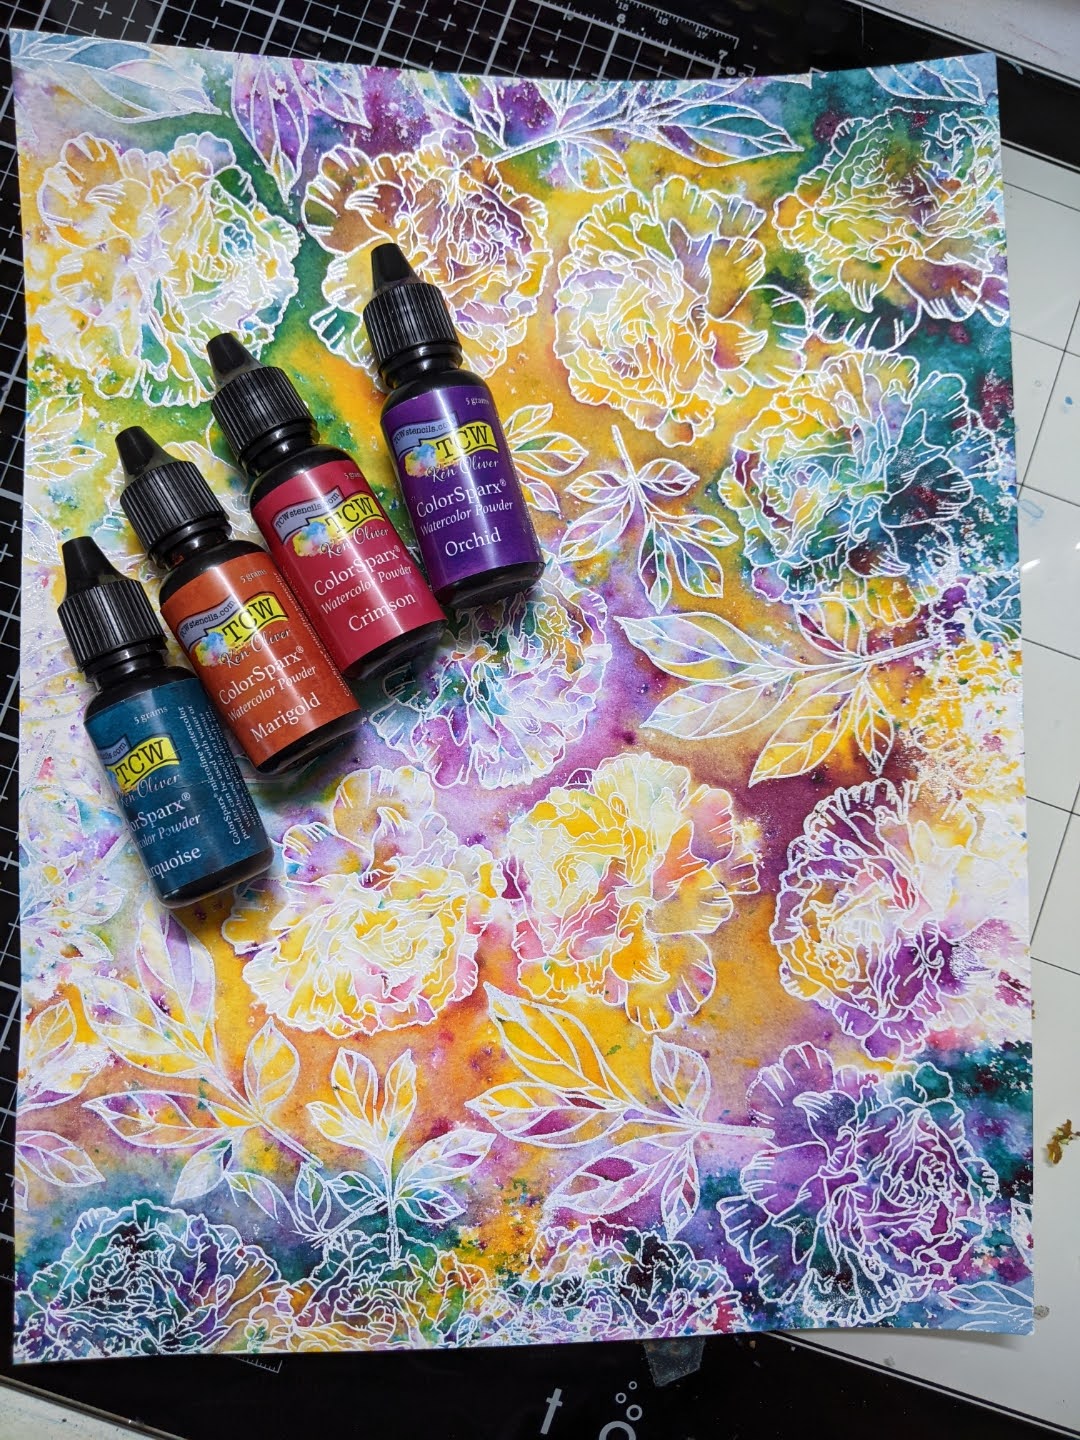
Next, use painter's tape or washi tape and adhere the edges to a waterproof surface. The sheet will buckle when you add water. I am using The Crafters Workshop ColorSparx that comes in packs of three. Use any complementary colors so that you don't inadvertently make mud. 
Wet your paper and start by adding a little at a time.

Add more water to dissolve the pigment. 


You can let this dry naturally or take a dry cloth and soak up all the water. You can also ( I just thought of this!) use a blank sheet of paper and transfer color for another project. If the color is still too strong in some areas, add water and dry it.


Since I am making mini slimline cards, I try to see how I can position my dies (from Gina Marie Designs) to get the prettiest areas onto my card. Run this through your die-cut machine.


Instead of stamping the sentiment on a separate piece of paper, why not try something different and stamp it on acetate?? You will need pigment ink, like Stazon, for it to dry quickly. You can also heat emboss the sentiment!


Once the sentiment is stamped, an easy way to adhere the acetate to the card front is to use brads. Punch holes through both the acetate and card front. Make sure to use double-sided foam tape to "hide" the legs in the back.


Attach the card front to a 6 1/4 x 3 1/4 base for a clean look in the back. Since the mini slimline cards are roughly 6 1/4 x 3 1/4, I still use a top folding A2 base with my pre-printed logo on it. I just cut it down to size. The envelopes I use are #7 (6 1/2 x 3 1/2) and work perfectly. 


And that is it! I use the "friend" die in gold on two cards that matched the brads on the cards. 


I hope you like today's cards and let me know which is your favorite!!!

Talk soon, 


Tuesday, July 27, 2021

With Love Mini Slimline

 PRODUCT LINKS BELOW CONTAIN AFFILIATE LINKS AT NO COST TO YOU
 
Hello Sweet Friends! Sheri here with a card featuring the NEW Blooming Anemones stamp set from the July 2021 Release.

Have you created a mini slimline card yet? I'm loving this smaller footprint. There isn't a standard size...I like 6" x 3 1/2" (6" x 7", scored at 3 1/2").
 
I stamped the Anemone image with alcohol friendly ink and used copic markers to color.  I stamped the With Love sentiment in black ink. I added some pattern paper and dew drops for embellishment.

Card Measurements:
Mini Slimline Card Base: 6" x 3 1/2" (6" x 7", scored at 3 1/2")
Scallop Panel: 3 1/8" x 5 5/8"
Striped Pattern Paper Layer: 2 13/16" x 5 5/16"
Polka Dot Pattern Paper Layer: 1 1/2" x 5 5/16"
Black Mat: 2 5/16" x 4 13/16"
White Panel (Stamped): 2 3/16" x 4 11/16"
 
Here's another card I created for the July 2021 Instagram Hop. It features the Blooming Anemones & Keep In Touch, Too stamp sets along with the Friends die.

You can find all the card details HERE.


Happy Stamping!!

Tuesday, July 13, 2021

Merry Christmas | #SNSSVIP0721

 PRODUCT LINKS BELOW CONTAIN AFFILIATE LINKS AT NO COST TO YOU
 
Hello Sweet Friends! Sheri here with a card for the July 2021 VIP Challenge over in our Facebook Group. Each month we host a new challenge and a chance to WIN a $10 Gift Code to the SNSS shop. One random winner is selected each month.  You can find the details on how to play along HERE.
 
This months theme is "Christmas In July"!  
 
It's never to early to get a jump start on your holiday cards! For my card sample I created a Mini Slimline card featuring the Winter Birds stamp set. 
 
To create the background I randomly stamped the holly images with alcohol friendly ink and used copic markers to color. Then I stamped the bird and colored with copics before fussy cutting it out and popping it up on the vellum circle.
 
Card Measurements:
White Slimline Card Base: 6" x 3 1/2" (6" x 7", scored at 3 1/2")
Red Stitched Mat: 4 5/8" x 3 1/8"
White Panel: 5" x 2 1/2"
Vellum Circle: 2"
 

Hope you are inspired to stop by and play along!
 
Happy Stamping!!


Wednesday, June 9, 2021

Botanical Branches + June Insta Hop


Hi friends! It's Julee popping in to share a little June inspiration with you. Today is our monthly hop over on Instagram, so be sure to hop on over there for even more inspiration from the team and a chance to win a $25 gift code to the shop! Winner will be drawn from comments across the hop and announced on the SNSS Instagram page on June 16.

On the hop today, I'm sharing a couple of cards with the gorgeous new Botanical Branches set. For the first one, I pulled out a watercolor palette to color up the main image as an olive branch. I trimmed by hand with a slight white border, then added a bit of twine to the stem.


I created a mini slim background using the Fern Fronds Stencil in a few different distress inks, then then over stamping randomly with the Psalm 23 Background stamp. I went with black accents for the mats, and a white embossed sentiment for contrast. The finished size is 3.5 x 6"


For the second card I stamped the same image a few times on kraft cardstock then colored with prismacolor pencils. I rarely use colored pencils, but I love the way they pop on kraft cardstock! This was a super fun and pretty simple image to color with just a few pinks, greens, and a white pencil. I added some texture to the background with distress ink and the Script Stencil The sentiment from Truth Quotes 1 is embossed onto vellum to finish things off, since I couldn't bear to cover up the coloring!

Today (June 9) is the final day of early bird savings! Save 10% on individual new releases in the shop, no code needed.


Tuesday, June 1, 2021

Versatile Botanical Branches

 Hello, Hello! 

Happy Summer to all of you! 

Have you checked out the new release from Sweet n Sassy Stamps?!  This is a seriously awesome release!  My favorite set is the new Botanical Branches by Nina B.  First off, they are just gorgeous; but second, they are so versatile!  They are perfect fillers for floral sprays but they can also stand alone on a card, as in my first card~


 This gorgeous berry branch was colored with Copics and then fussy cut out.  I added an embossed panel to my card base.  Then, for interest and another pop of yellow, I cut in half a square die cut frame I had in my stash.  It happened to be stamped with an image from the Flower Garden Stamp Set and watercolored with distress ink.  The square halves were adhered to the base and the berry stem was popped up on foam tape.  The sentiment, which is from the Encouraging Thoughts Stamp Set was stamped on a sentiment strip and adhered, along with a few sequins to finish the card. 

Next up, I have used the Botanical Branches set as filler for a floral bouquet.  The flower is from the True Beauty Stamp Set.  


I started with the back panel- color blocked 5 wide stripes with watercolor.  While that was drying, I stamped the flower with distress ink and then colored it with distress inks.  I did the same for the leafy branches that are from the Botanical Branches Stamp Set.  The leaves were heat embossed in white embossing powder on vellum and everything was fussy cut out.  The elements were assembled in the lower left corner and adhered to the card.  The sentiment is from the Birthday Wordfetti Stamp Set and was stamped on blue cs.  A few sequins were added.  

You can check out the entire new June Release HERE!  And check out the new release specials while you are there.  

Thanks for stopping by!

Lee Ann  


Saturday, April 24, 2021

My First Mini Slimline Card

 Happy Saturday Stampers! This Michelle here from East Bay Stamp Chick.

Have you made a mini slimline card yet? Well, I 'm here today to show you my very 1st one and I think I'm in love with this new size! My card measures 3x 6.25 inches. I cut a square of white cardstock to 6x 6.25 and scored it in the middle.

So would you like to see my card? Here it is!


So here's what I used to make this card. I used 4 stamp sets from Sweet 'n Sassy Stamps. The background is the new Butterfly Background stamp set. The sentiment is the Teeny Alpha stamp set. The girl is from Girl Power 2 and her wings are from the Made New stamp set. The Butterfly Background stamp set is also the stamp of the month, so you can get it free with a $60 purchase.


To make this card, I cut a white panel that is 2.74x6 inches. I heat embossed with white embossing powder the Butterfly Background stamp. Then I ink blended Spun Sugar, Kitch Flamingo, and Picked Raspberry Distress Oxides from light to dark. I adhered the panel to the card base on foam. I stamped the sentiment out using the Teeny Alpha Stamp set and then fussy cut each word. I also adhered them using foam squares. I colored the girl and wings with alcohol ink markers and then fussy cut them out  (there are matching dies available for the Made New set).   I glued the wings to the back of my girl. I used foam squares to pop her out on the panel. I added a bow and silver sequins for a little shine.

I hope you have some time this weekend to get crafty! 
Thanks for stopping by,
Michelle