Showing posts with label Sweet 'N Sassy Stamps. Show all posts

Saturday, September 10, 2022

Fall Inky Card

 Happy Saturday Stampers! This is Michelle from the Design Team with a new card share. Lately, I've been making lots of Fall cards with inky backgrounds. I want to share one with you today. So here it is.


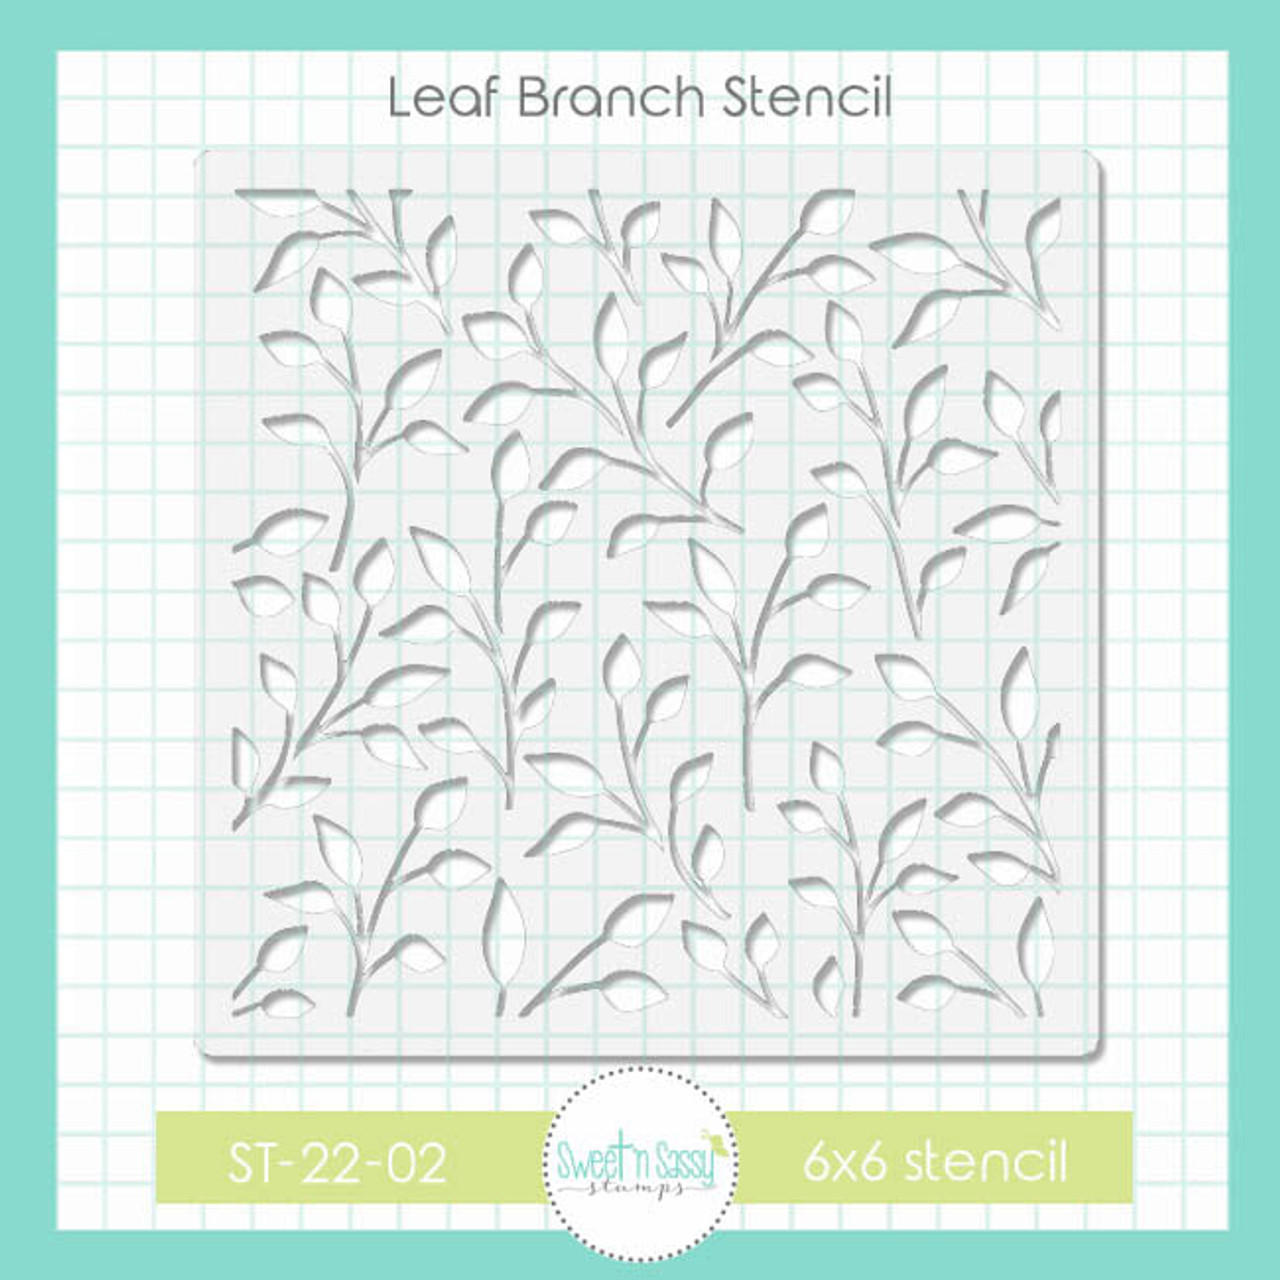
I had a lot of fun making this card and I got a little messy too! To start, I cut an A2 card base from white cardstock. Then I cut a 4x5.25 inch card panel from white cardstock. Next, I picked out 3 colors of Distress oxide inks. I used a brown, a yellow, and an orange. I inked up my mat and spritzed with water. Then I smooshed my card panel onto the ink. I did a few layers using my heat tool in between smooshing to layer the ink and get this effect. Once it was dry I layered the Leaf Branch Stencil on top and inked a green Distress Oxide ink over the stencil. Once that was dry, I added some ink splatters. I stamped the leaf, bird and sentiment from the Happy Scarecrow Stamp and die set. I used foam tape to secure them to the card panel. 

Let's take a look at the items I used.


Thank you for visiting with me today! I hope you have time to get inky and crafty this weekend!

Saturday, April 24, 2021

My First Mini Slimline Card

 Happy Saturday Stampers! This Michelle here from East Bay Stamp Chick.

Have you made a mini slimline card yet? Well, I 'm here today to show you my very 1st one and I think I'm in love with this new size! My card measures 3x 6.25 inches. I cut a square of white cardstock to 6x 6.25 and scored it in the middle.

So would you like to see my card? Here it is!


So here's what I used to make this card. I used 4 stamp sets from Sweet 'n Sassy Stamps. The background is the new Butterfly Background stamp set. The sentiment is the Teeny Alpha stamp set. The girl is from Girl Power 2 and her wings are from the Made New stamp set. The Butterfly Background stamp set is also the stamp of the month, so you can get it free with a $60 purchase.


To make this card, I cut a white panel that is 2.74x6 inches. I heat embossed with white embossing powder the Butterfly Background stamp. Then I ink blended Spun Sugar, Kitch Flamingo, and Picked Raspberry Distress Oxides from light to dark. I adhered the panel to the card base on foam. I stamped the sentiment out using the Teeny Alpha Stamp set and then fussy cut each word. I also adhered them using foam squares. I colored the girl and wings with alcohol ink markers and then fussy cut them out  (there are matching dies available for the Made New set).   I glued the wings to the back of my girl. I used foam squares to pop her out on the panel. I added a bow and silver sequins for a little shine.

I hope you have some time this weekend to get crafty! 
Thanks for stopping by,
Michelle


Monday, September 7, 2020

Christmas Gnomies


Hello Sweet 'n Sassy Friends!
It's Ceal, here. Today I am sharing a couple cards with you featuring one of our September release stamps, Christmas Gnomes. This is the cutest set and one that you need to add to your collection.


These two cards were simple to make and I used some of my patterned paper! For all the details head over to my blog Simply Beautiful.


Monday, August 5, 2019

Tea for Two

Hello Sweet 'n Sassy Stampers!
It's Ceal, here to share a couple cards using one of our August release sets, Tea for Two  this is a super adorable set to use to make your friends a card. 


To create the first card I started with a top folding white card base and a white panel. I stamped the bunny in the cup image from the Tea for Two set and colored it using Copic markers. The background was created with Chain Weave stencil by A Colorful Life Designs and the Life Changing Blending Brushes by Picket Fence Studios.
The second card was created the same way just using a different image from the Tea for Two set.


Monday, August 6, 2018

Wishing You Sunshine

Hello sweet friends!  Cathy here with a couple of cards featuring some of the new stamp sets just released by Sweet 'n Sassy Stamps.

First up is this fruity card using the Fruit of the Spirit stamp set.  As you can see, this set can be used for creating fun cards as well as for Bible journaling.

Distress Oxide Inks were pressed onto strips of painters tape and applied to the card front in a plaid pattern.  Texture was added with one of the textures from the Texture Tile 1 stamp set.  Texture paste was then applied through the TH Sun Rays Stencil.  A frame was cut with Spellbinder Dies and the fruit from the Fruit of the Spirit stamp set was colored, cut, and applied to the frame.  Scripty Thoughts and the Sunshine Girl Alpha sets were used to make the sentiment.  

My second card was made using the Happy Scarecrow stamp set.

Isn't this scarecrow just the cutest, most happy fellow you've ever seen?  Distress Oxide inks were applied to a panel and the leaves from the Happy Scarecrow set stamped over the colors.  The scene on the left side of the card was colored with Copic Markers.  Texture on the grassy hills was stamped using one of the texture stamps from the Texture Tiles 2 stamp set.  The sentiment was white embossed on a hand cut banner to finish the card.

Look for these wonderful new stamp sets at the Sweet 'n Sassy Stamps Store!


The August Stamp of the Month set, Give Thanks, is free with a $75 purchase.


Thanks so much for stopping by...wishing you sunshine until next time!
Hugs,
Cathy


Thursday, April 12, 2018

Rose Banner


Hello Sweet 'n Sassy Stampers!
It's Ceal, here today to share with you a card featuring our Stamp of the Month, Rose Banner. You can earn this set free with a $75 order through the month of April. 

To create my this card I started with a white top folding card base and a white panel cut down with a scalloped stitched die. I stamped the rose image with Ink on 3 Blackout detail ink and colored it with Copic markers. Using the Mini Misti I added the greeting on the banner to finish the card. 


Tuesday, November 7, 2017

Warm Cocoa Wishes

Hi Everybody, Regina here.... 

It has been in the high 70's the last few weeks and now it's in the low 60's and 50's.  That's COLD for Mississippi weather lol.  I know, if you live up North you're chuckling right now. :)

I love to drink flavored coffees and hot chocolate when it starts getting cooler outside so I thought it was time to pull out this stamp set by Sweet 'N Sassy Stamps called Winnie's Warm Wishes


I used a Tim Holtz stencil for the background called Holiday Knit.  I love this stencil for holiday and winter cards.  For the very first time, I used my new Clarity Stencil Brushes.  I like the soft look but you do have to apply many layers.  I tend to press harder with a jumbo sponge dauber and always seem to make it darker than I would've liked so these definitely will solve that problem.  I used Gina K Designs Ocean Mist and Jellybean Green Inks and card stocks. 

I colored the cups with Copic Markers and added Nuvo drops in Gloss White on the marshmallows for some dimension and shine.  For some subtle shine on the hearts, I used the Sakura Glitter Pen in Clear Star.  You'll notice there is one cup in this set.... I mirrored it to make the other one. I used a piece of acetate and stamped the cup in Memento Tuxedo Black Ink and pressed it gently on the card stock.  It's not going to stamp as crisp as the original one but I went over it with a black Faber Castel PITT Artist Pen with super fine tip and cut them out. 

Next I embossed the words I wanted for the card on Gina K Designs Black Onyx card stock with Brutus Monroe Alabaster Ultra Fine Embossing Powder and cut into strips. 

To finish it off, I used clear sequins which I think add such a lovely touch without interrupting the other items on the card. 

I like this stamp set also to make cards to send out after the New Year as well. 

For more inspiration, please visit my blog at http://cardsbyregina.blogspot.com

Thanks for stopping by and have a great day!


Regina

Friday, October 27, 2017

Season's Greetings Shaker Card

Hi Everybody,

Regina here and today I'm using a stamp set from Sweet 'N Sassy Stamps called Season's Greetings.  Currently, this stamp set is 20% off so grab it now while on sale and start your Christmas cards. While you're at it, check out all the other stamp sets on sale. A few are left with free coordinating die sets as well. 


Have you used the Gina K Designs Fancy Foils? Oh Emm Gee!  They are so much fun!  I used the Foilmates Background Ornamental Holiday pack with the stripes.  I also used the Holiday Colors Foil in Radiant Red and DecoFoil foil in  Green.  

I decided on making a shaker card for this one.  I stamped with Versafine Onyx Black Ink and embossed with Brutus Monroe Ultra Fine Icicle Embossing Powder.  I used Bristol Smooth Paper and colored with Zig Markers and put some Clear Wink of Stella over the top, nothing fancy here. I always try to use a Cardinal anytime I can because I lived in the St. Louis area for 20 years, need I say more?? For the snow part, I used Nuvo Gloss White and put a thick coat on.  I then tied some red and white bakers twine around the mailbox, so cute!

I used My Favorite Things Wide Circle Stitch Dies and cut out in a heavy white cardstock for the frame of the shaker. For the clear part I used Fellowes Binder Covers.  They are the perfect weight for shaker cards and not expensive. I didn't want to cover the beautiful striped foil so I cut circles from regular circle dies for the front window and back layer.  I embossed the front clear window with a snowflake embossing folder to give the window some texture. I filled the shaker window with red, green and silver sequins from my stash and some silver bugle beads for something a little different.

I stamped the greeting with the Versafine Onyx Black to make it really stand out from all the red and green I have going on here.  I used a fishtail banner die and cut a frame outline using Thermoweb Toner Paper and then foiled in DecoFoil Green foil from Thermoweb. I just love how that green foil looks with the red and white.  To finish it off I used some Nuvo Red Berry drops around the window frame and each side of sentiment.  

I had a lot of fun making this card!  Did I inspire you to make some Christmas cards?  Foil is so much fun!  It can really jazz up anything you are doing.  You can't go wrong with birds and bird houses on your holiday cards.

For more inspiration, please visit my blog at http://cardsbyregina.blogspot.com

Thanks so much for stopping by and have a great day!


Regina