Showing posts with label shaker card. Show all posts

Saturday, August 27, 2022

Flat Shaker Card

 Happy Saturday Stampers!

This is Michelle back with another shaker card to share with you! I am loving making these flat shaker cards, they are so easy and fun! Here's my new card.


This card is an A2 size card. I cut a panel of white cardstock in A2 size. I ink blended 3 Distress Oxides on the panel, Squeezed Lemonade, Saltwater Taffy and Kitch Flamingo. Then I laid the new Bubbles Stencil on top of the panel and used the same inks but in different areas to bring out the bubbles. Then I took a piece of cellophane and taped it to the back of panel on 3 sides. I added some pink sequins and then taped close the last side. Now I had my shaker. I die cut the sentiment using the new Bold Caps Alpha Dies. I stamped out the chick and the chicken from the new Down on the Farm stamp and Die set. I colored them with alcohol markers and then adhered them to the card front.

Let's take a look at what I used.


If you want to see me make this card, I did a Facebook live, showing how to make the card. Here is the link to the Facebook page for Sweet 'n Sassy stamps. 

Thank you so much for visiting. I hope you try to make a flat shaker card and check out the video to see how I made it. have a great weekend and don't forget to get crafty! 


Saturday, August 13, 2022

Edge to Edge Birthday Shaker Card

 Happy Saturday Stampers!

It's Michelle from East Bay Stamp Chick with another card share. I

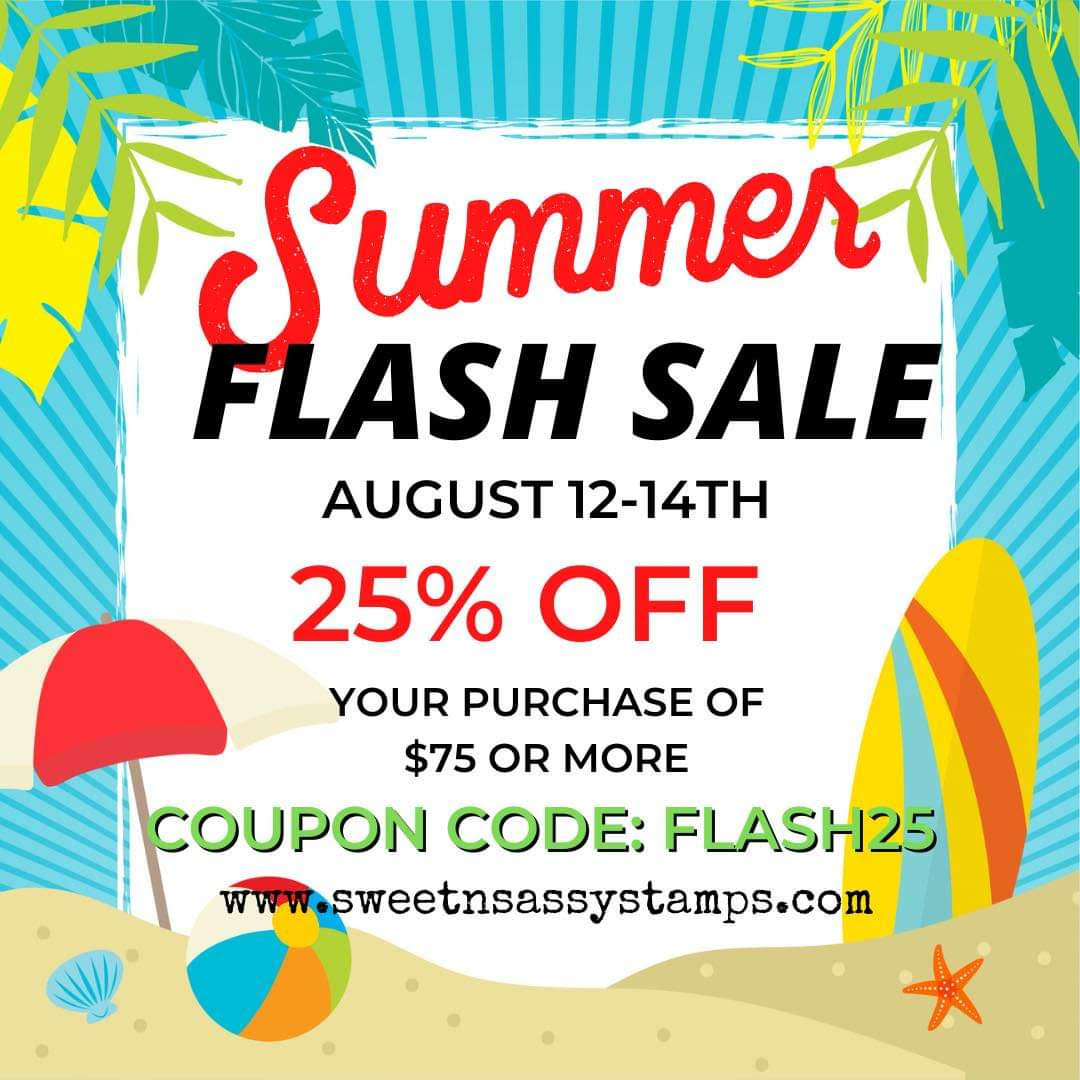
First, though, did you know Sweet 'n Sassy Stamps is having an amazing sale?


It's just thru Sunday, the 14th! Everything including the new release!

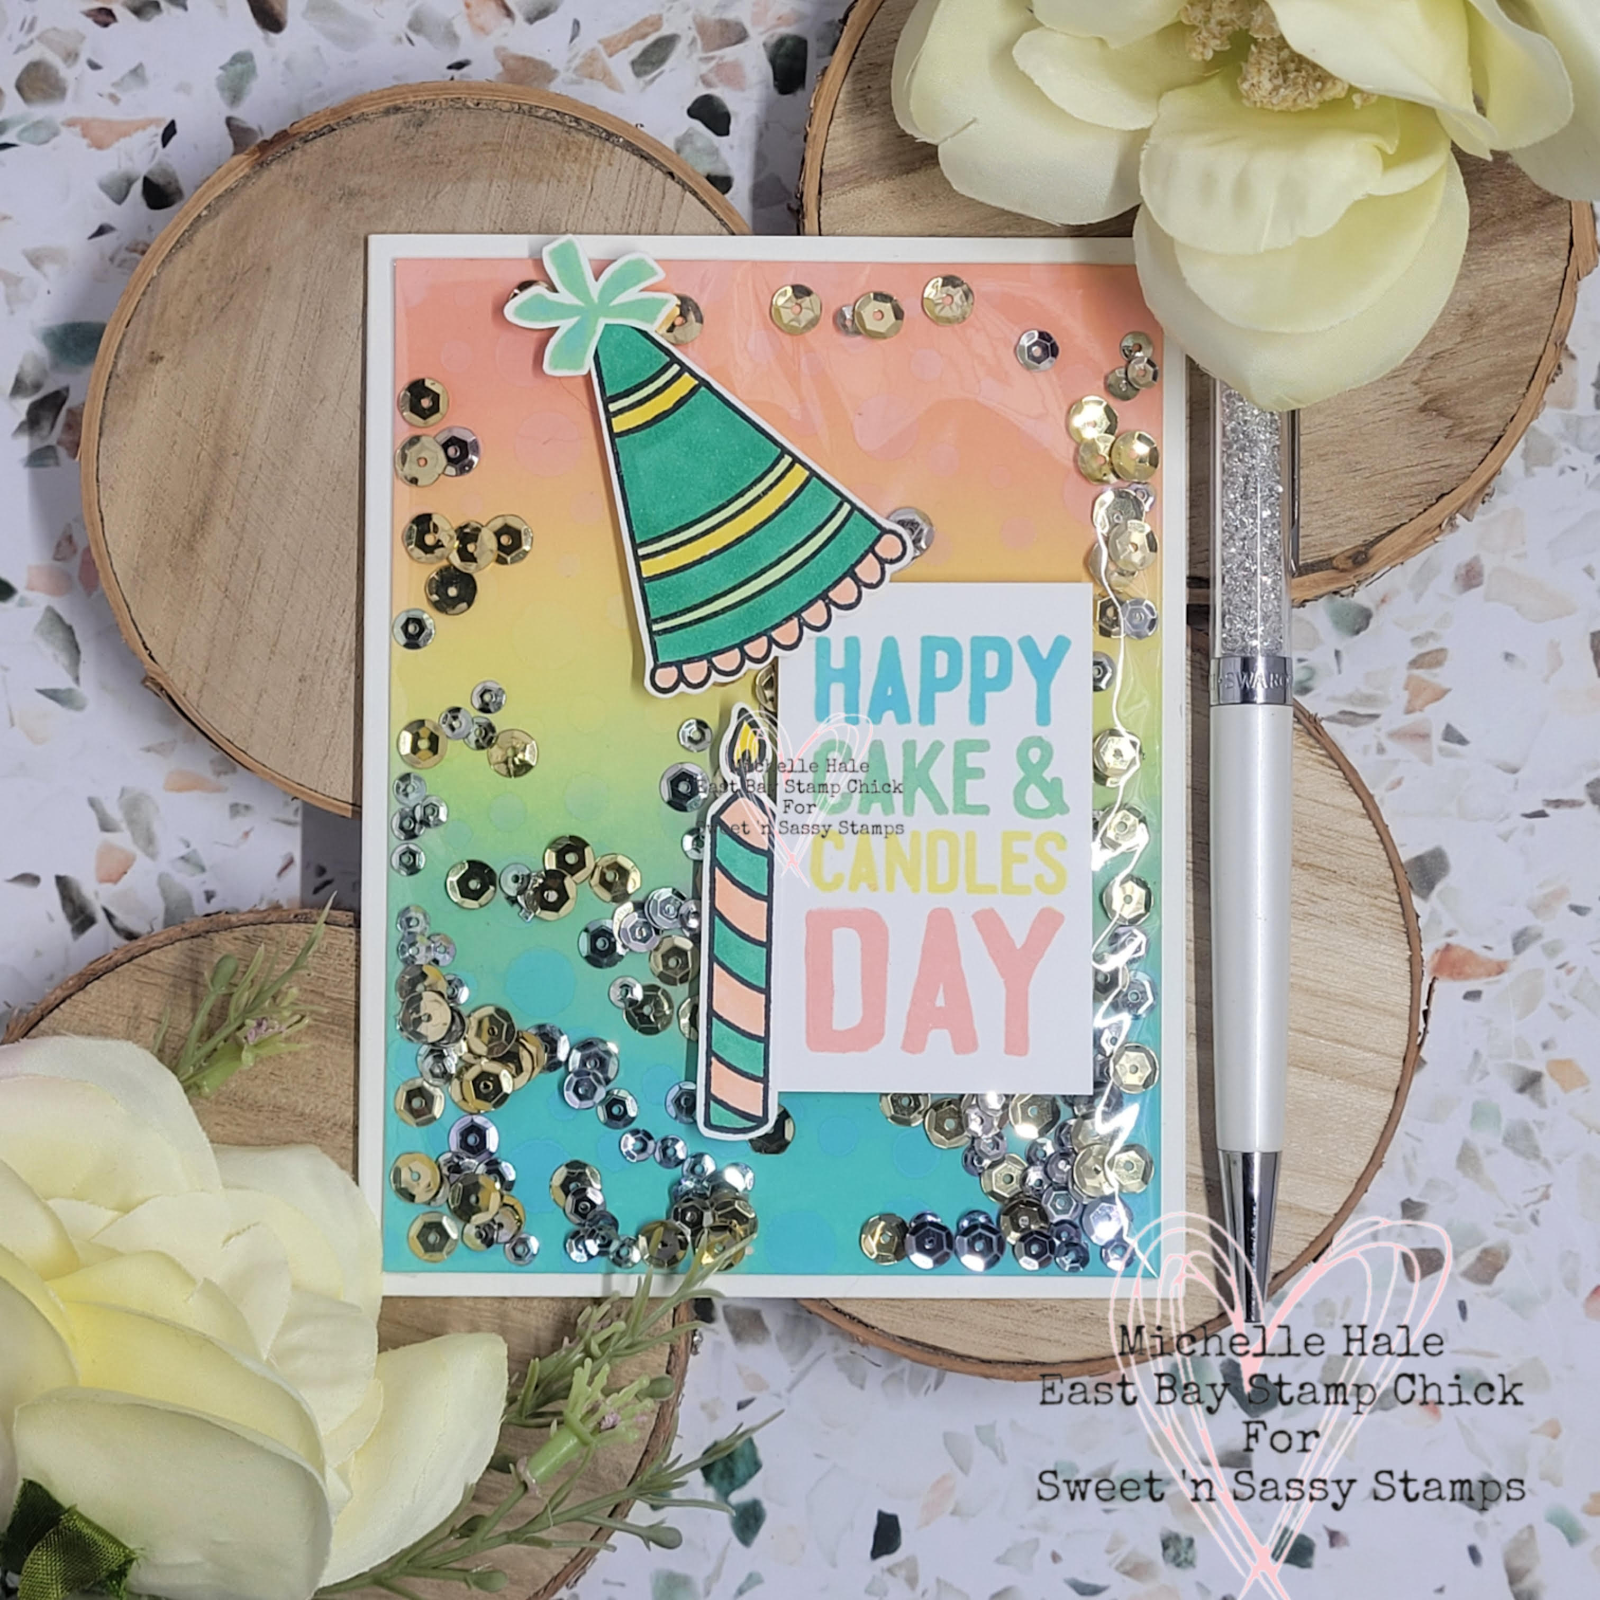
My card share today is an edge to edge shaker card. Here it is.


This is an A2 size card, 4.25x5.5 inches. I cut a card panel of white cardstock at 4x5.25 inches. Then I ink blended 4 colors of ink. I then took the new Bubbles Stencil and went over the panel with the same inks I blended. it's hard to see the pattern of the stencil in this photo. The next step was to cut a piece of cellophane slightly larger than the panel. I used double sided tape to adhere the cellophane on 3 sides. Then I added the sequins and closed the last side with the tape. I colored and fussy cut the hat and candle from the Make a Wish stamp set. I also stamped the sentiment from the same stamp set using the inks I ink blended the background with. I adhered all the elements and it's done. Very easy!

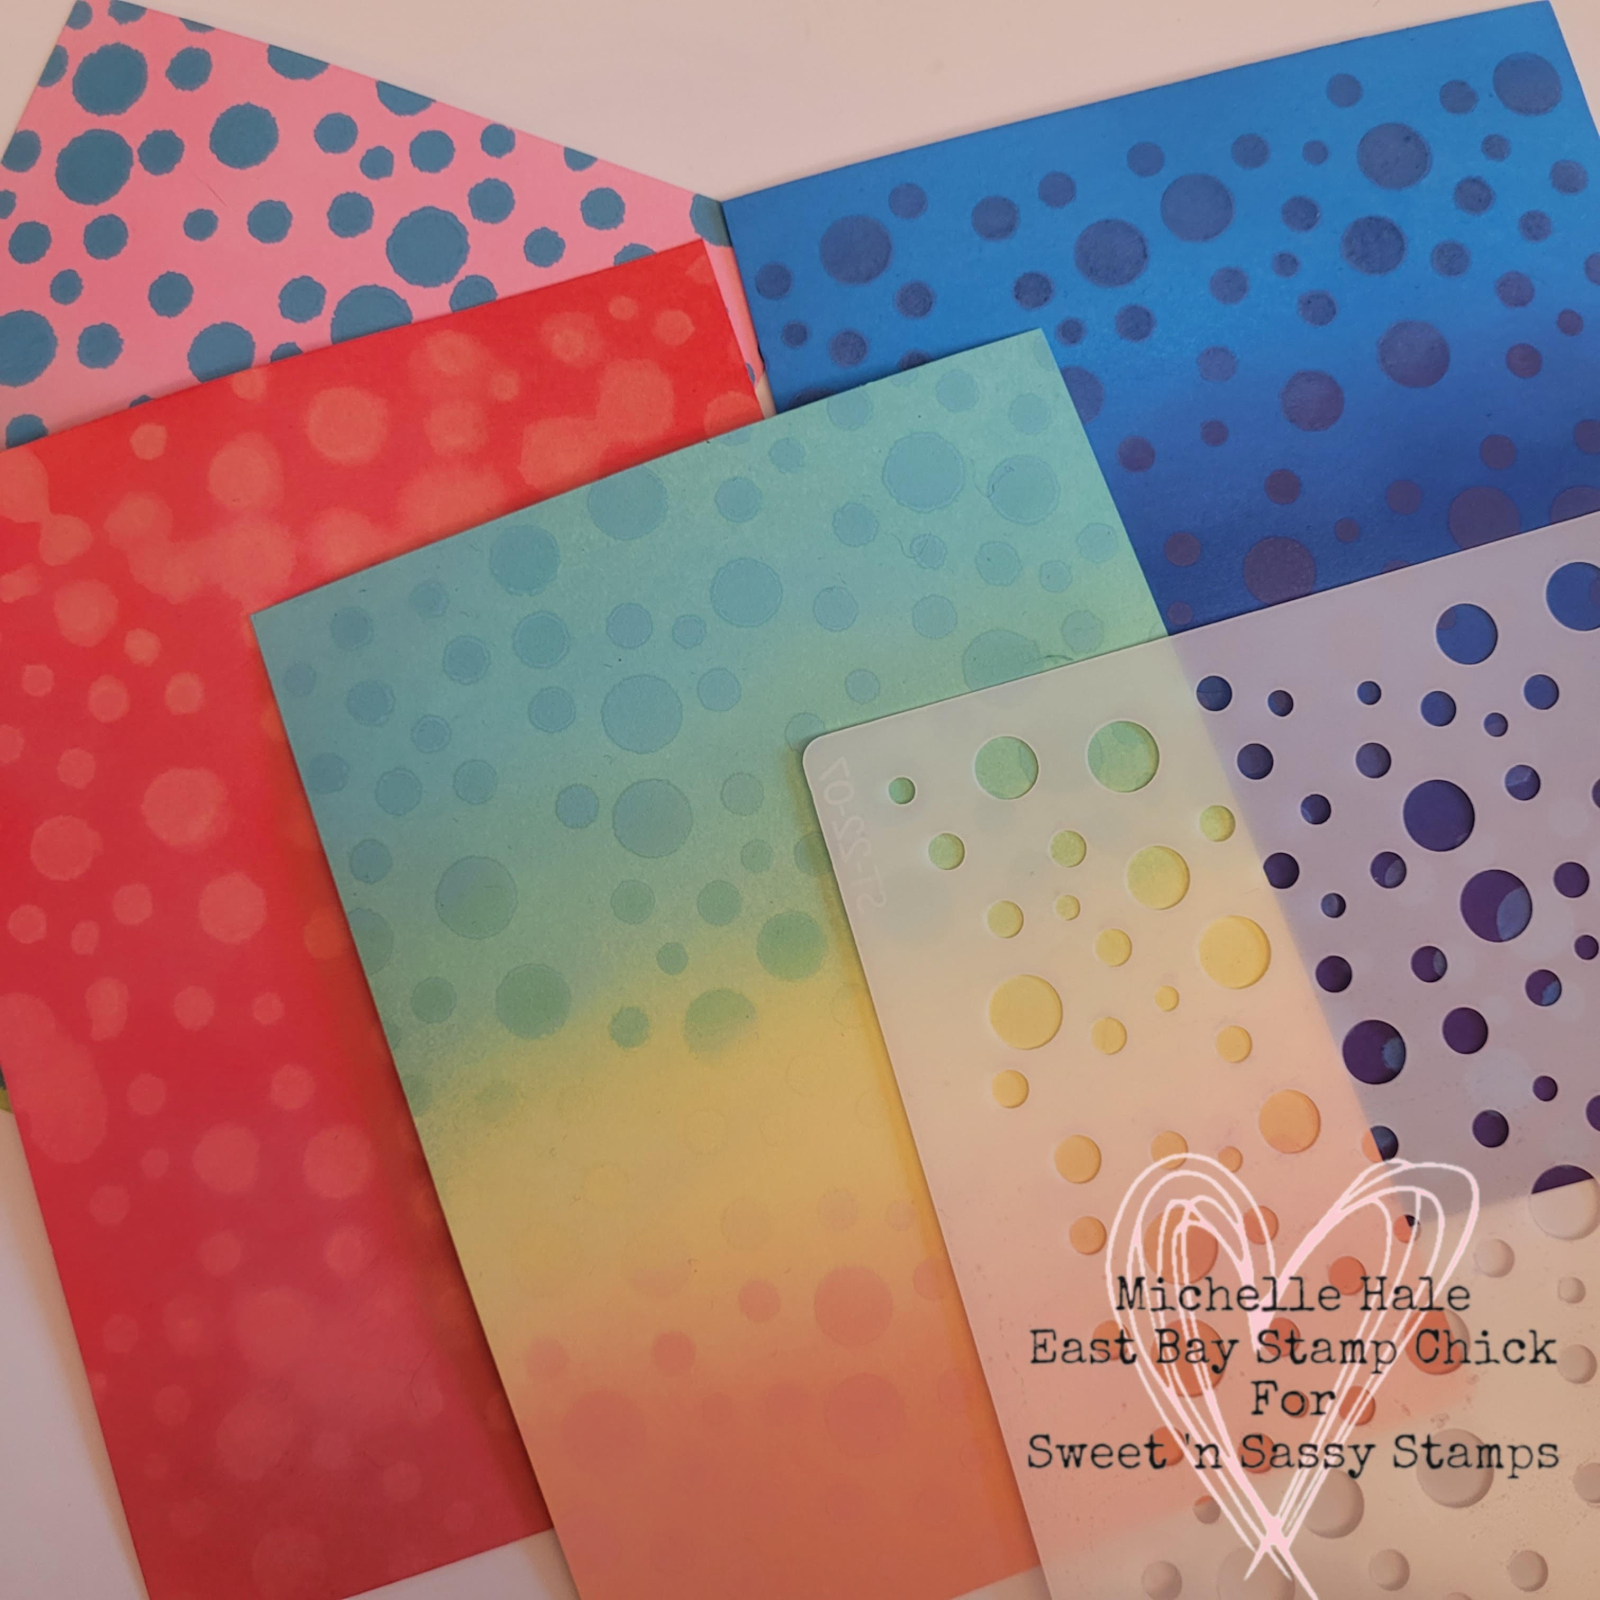
Here is a look at the panel and a few others, so you can see the stenciling.


Let's take a look at what I used to make the card.


Edge to edge shaker cards are perfect for fun occasions like birthdays. I hope you give it a try! And don't forget to check out the sale this weekend! Thank you for visiting with me! And don't forget to get crafty this weekend!

Monday, September 13, 2021

Endless Love


Happy Monday! Esther here today sharing two cards using the BRAND NEW Endless Love stamp set designed by Julee Tilman! For my first card I created a fun Christmas shaker in bright and cheery colors. 

I used watercolors to paint the striped background before adding some text and splatters. To create the mottled effect on the hearts, I laid them on my distress oxide pads and lightly pressed in places.

~~~This post contains affiliate links at no extra cost to you~~~

Supplies and Tools:

Click here to check out the entire September Release

My  second card uses the same stamp set for a fresh and clean encouragement card. I colored my images with Arteza real brush pens and fussy cut them before adding them to my white on white background. I love how the polka dots on the sentiment add a little extra "pop of interest" to the card.

 ~~~This post contains affiliate links at no extra cost to you~~~

Supplies and Tools:

  • From Sweet n Sassy Stamps
  • Arteza Real Brush Pens
  • White Gel Pen
  • Inspire Embossing Folder (Fun Stampers Journey)
  • Elegant Ovals (Spellbinders)
  • These colors of Distress Oxide (Ranger)
    • Worn Lipstick, Festive Berries

Wednesday, June 30, 2021

Hello Friend! by Charmaine Canham

 Hello Friend!

I hope you are doing well!  I made you a card using the brand new Blooming Anemones stamp set and Friend Word dieLet me show you how to make a pocket shaker card.


First, I heat embossed the florals on heavyweight A2 cardstock.
I used Platinum embossing powder with Versamark Watermark ink.


Next, heat emboss the additional flower in the stamp set and color with Copics.
Fussy cut by hand and set aside.


Die cut 3 pieces of the Friend word die. Dip one "friend" in the Versamark and heat emboss.
Be careful to not burn your fingers. I used Gina K Designs Connect glue to adhere the pieces.


I have a die from MFT that cuts out a stitched window, but you can also use any oval or rectangle die. To give the card front a bit more pizzazz, use an embossing folder, like this 3D one from Altenew.

Now, to build the window. Turn the card front around and position the orange floral in the opening. Use double-sided tape right around the window. Cut a piece of acetate to cover the opening. 

Bring out the dimensional foam tape and build up the back. One area for the window and one all-around for the frame. Place glitter or shaker elements in this pocket and place another piece of acetate over the window. This seals all the shakers. 
I used gold paper as the background to compliment the platinum in the front.

Now you have the "framed tape" that will adhere to a top-folding card base. 

Adhere the "Friend" to the acetate; I used Connect Glue again.
Place a few rhinestones around the card to balance the white and platinum.

And there she is! A fairly simple card fit for any occasion.

Have you seen the new release?? Isn't it fantastic? Check it out to save money on early orders!

I hope you liked today's card and will try to make a shaker card!

Stay well,

Charmaine

Follow me on Facebook and Instagram for almost daily inspiration.


Wednesday, March 24, 2021

March 2021 Release Hop Winner + Inspiration

Hi Sweet 'n Sassy friends! It's Julee popping in with a little inky inspiration and some happy news for one of you blog hoppers!

As always, we had so much fun sharing the current release with you on our March Blog Hop. We so hope you enjoyed it, too, and gleaned a little inspiration for using this month's stamps! While we think you're ALL winners, we did randomly select ONE lucky reader from among all the comments on the hop to receive a $25 gift certificate to the Sweet 'n Sassy shop. 

And the winner is...


Congratulations Laurie!
Please send an email to snssassistant@gmail.com to claim your prize.

Now onto a little inspiration from me using one of my favorite past releases... Birds & Blooms. I started out by stamping out the images in the set, then watercoloring with distress inks and fussy cutting.  My first card is a shaker, using the miss you sentiment and my horizontal panel was done with the Background Builders: Stripes set. The background is a blended and sprinkled with water distress ink background.


My next card used the branch image, and I added the Blessings Word Die, cut a few times and stacked, then ink blended for some color and dimension.  The background is done with the Delightfully Delicate Stencil.  I used up a frame left over from cutting the back of my shaker above, then layered everything together.


There's still a week to save during our Moving Sale! 
Enter code MOVING at checkout to receive
15% off sitewide, excluding bundles.
Sale ends March 31, 2021.


Thanks so much for stopping by today!

-Julee
***This post contains affiliated links at no cost to you ***

Saturday, December 29, 2018

Valentine Shaker | Julee Tilman

Hi Sweet 'n Sassy friends! It's Julee Tilman popping in to share a fun little Valentine shaker card with you. Now that another Christmas is behind us, my crafty fingers are itching for puffy pink hearts and lots of sparkle! Today I'm bringing you a card that's all heart and shakes to boot!


I started this card with the sweet java cup from Fill Me Up. I stamped the image, then masked off the image to stamp the Wood Backgrounds image as a background for the cup. Wood Backgrounds is the December stamp of the month and you can get it free with a $75 order through December 31! There's also a fantastic Year End Sale going on. Use code YEAREND18 at checkout for the discount!


I colored the cup with distress crayons, then fussy cut and blended some antique linen and pumice stone inks for the lid.  The cup cozy is stamped and colored with distress crayons as well and I added a bit of stickles to make the heart all sparkly.


The background for my shaker was made using the Distress Ink Monoprint technique from Jennifer McGuire. This technique makes two backgrounds and this is the bolder one. I used worn lipstick and picked raspberry distress inks. For the front of the shaker, I did a little surgery on the stir up my heart stamp so I could just use the heart portion, and stamped it in a cascading pattern in the same colors of ink.  I then added a bit of blending around the edges and cut a circle out of the panel to form the shaker window.


The sentiment is from the You & Me set and embossed in white on black cardstock.  I stamped a few more hearts, added stickles and fussy cut for embellishment, then added a few metal accents from my stash to finish off the card.

SNSS Products used on this card: 


Thank you so much for stopping by today! I have another card using the Fill Me Up set and a portion of the softer background I created with the Wood Backgrounds set on my blog today. Come say hi! Here's a little peek...


Monday, November 26, 2018

Crazy About Snowmen!


Hello! It's Monika here today with couple of snowmen cards using Crazy About Snowmen clear stamp set! To celebrate Sweet n' Sassy Stamps' 11th birthday, we have a throwback stamp set full of SNOWMEN from the past! How sweet is that?!

My first card is a SHAKER!I just love making shaker cards, and they are not hard to make!
I started by stamping snowflakes all over the blue card stock. Then I splashed white paint onto the panel to add more dept to the card. I stamped the greeting with Onyx Black VersaFine ink.
Next I stamped the sweet snowmen images (for both cards) with Onyx Black VersaFine ink, and colored them with Kuretake Gansai Tambi water colors before cutting them out. 


To make my shaker, I cut a slightly smaller rectangle than the blue panel out of white fun foam. Then I cut a circle out of the blue panel and also out of the fun foam. (I set the blue circle aside for the next project!) I also cut an extra circle out of white card stock, sponged it with various blue inks, then stamped the tree and moon images from Thrill of Hope clear stamp set with Onyx Black VersaFine ink. 
Next I adhered the fun foam and the stamped circle onto a white base card. I adhered a piece of window sheet to the back side of the blue panel (covering the circle window opening). Then I covered the fun foam rectangle with double sided tape and glue and carefully filled the circle (in the fun foam) with micro beads and sequins. To finish the shaker, I adhered the blue panel onto the card. 
To decorated the front of the card, I adhered white thread, the snowman (with dimensional tape) and  silver rhinestones.

I turned my second card into an anniversary card. Those snowmen are just so adorable and perfect holding a heart! I used the leftover circle from the shaker as the background! Easy and economical! LOL! The greeting was stamped with Onyx Black VersaFine ink from Thoughtful Words clear stamp set (my new favorite sentiment set!).


Happy Stamping!
Thanks for stopping by,
Monika