Showing posts with label easy cards Sweet n Sassy stamps. Show all posts

Saturday, August 27, 2022

Flat Shaker Card

 Happy Saturday Stampers!

This is Michelle back with another shaker card to share with you! I am loving making these flat shaker cards, they are so easy and fun! Here's my new card.


This card is an A2 size card. I cut a panel of white cardstock in A2 size. I ink blended 3 Distress Oxides on the panel, Squeezed Lemonade, Saltwater Taffy and Kitch Flamingo. Then I laid the new Bubbles Stencil on top of the panel and used the same inks but in different areas to bring out the bubbles. Then I took a piece of cellophane and taped it to the back of panel on 3 sides. I added some pink sequins and then taped close the last side. Now I had my shaker. I die cut the sentiment using the new Bold Caps Alpha Dies. I stamped out the chick and the chicken from the new Down on the Farm stamp and Die set. I colored them with alcohol markers and then adhered them to the card front.

Let's take a look at what I used.


If you want to see me make this card, I did a Facebook live, showing how to make the card. Here is the link to the Facebook page for Sweet 'n Sassy stamps. 

Thank you so much for visiting. I hope you try to make a flat shaker card and check out the video to see how I made it. have a great weekend and don't forget to get crafty! 


Saturday, August 13, 2022

Edge to Edge Birthday Shaker Card

 Happy Saturday Stampers!

It's Michelle from East Bay Stamp Chick with another card share. I

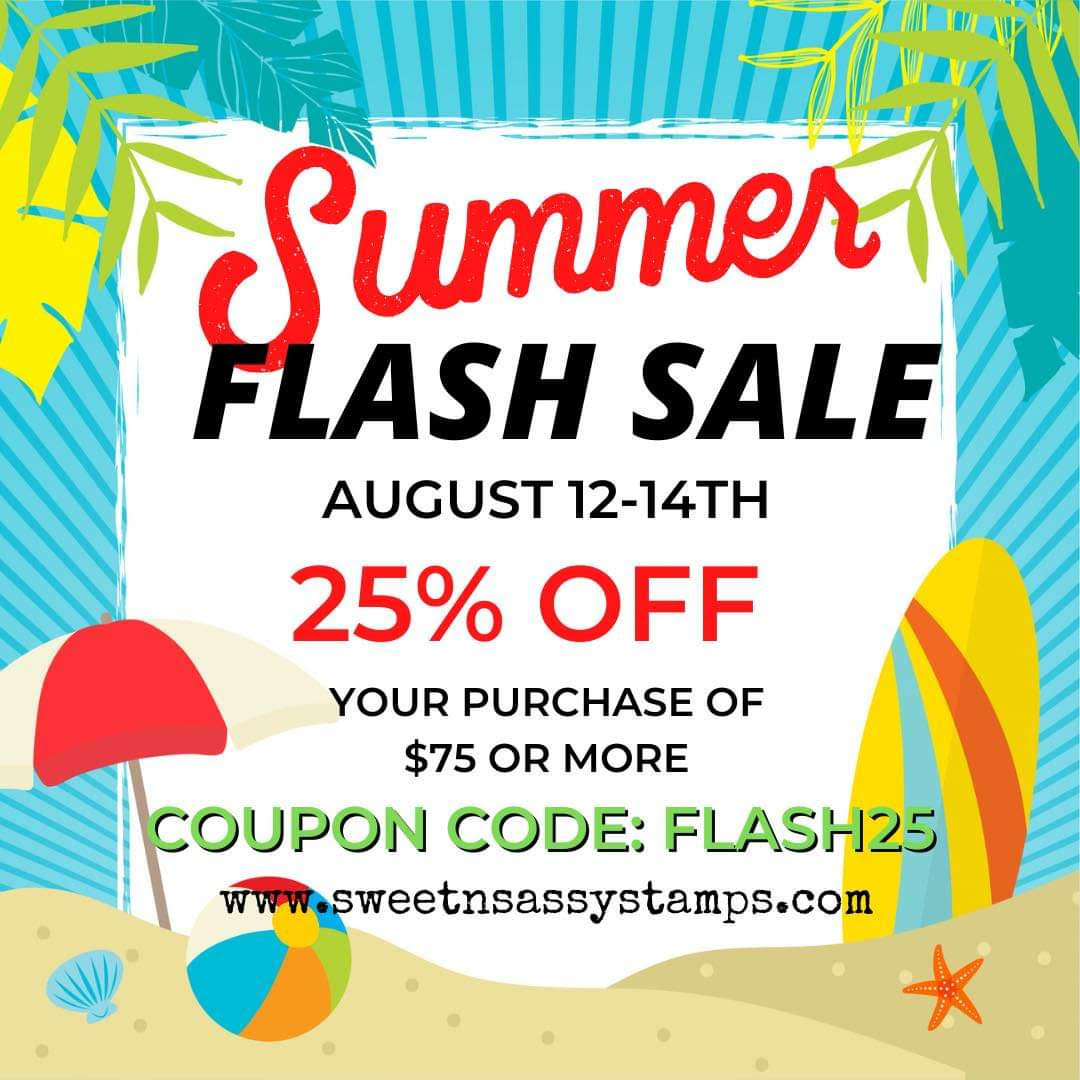
First, though, did you know Sweet 'n Sassy Stamps is having an amazing sale?


It's just thru Sunday, the 14th! Everything including the new release!

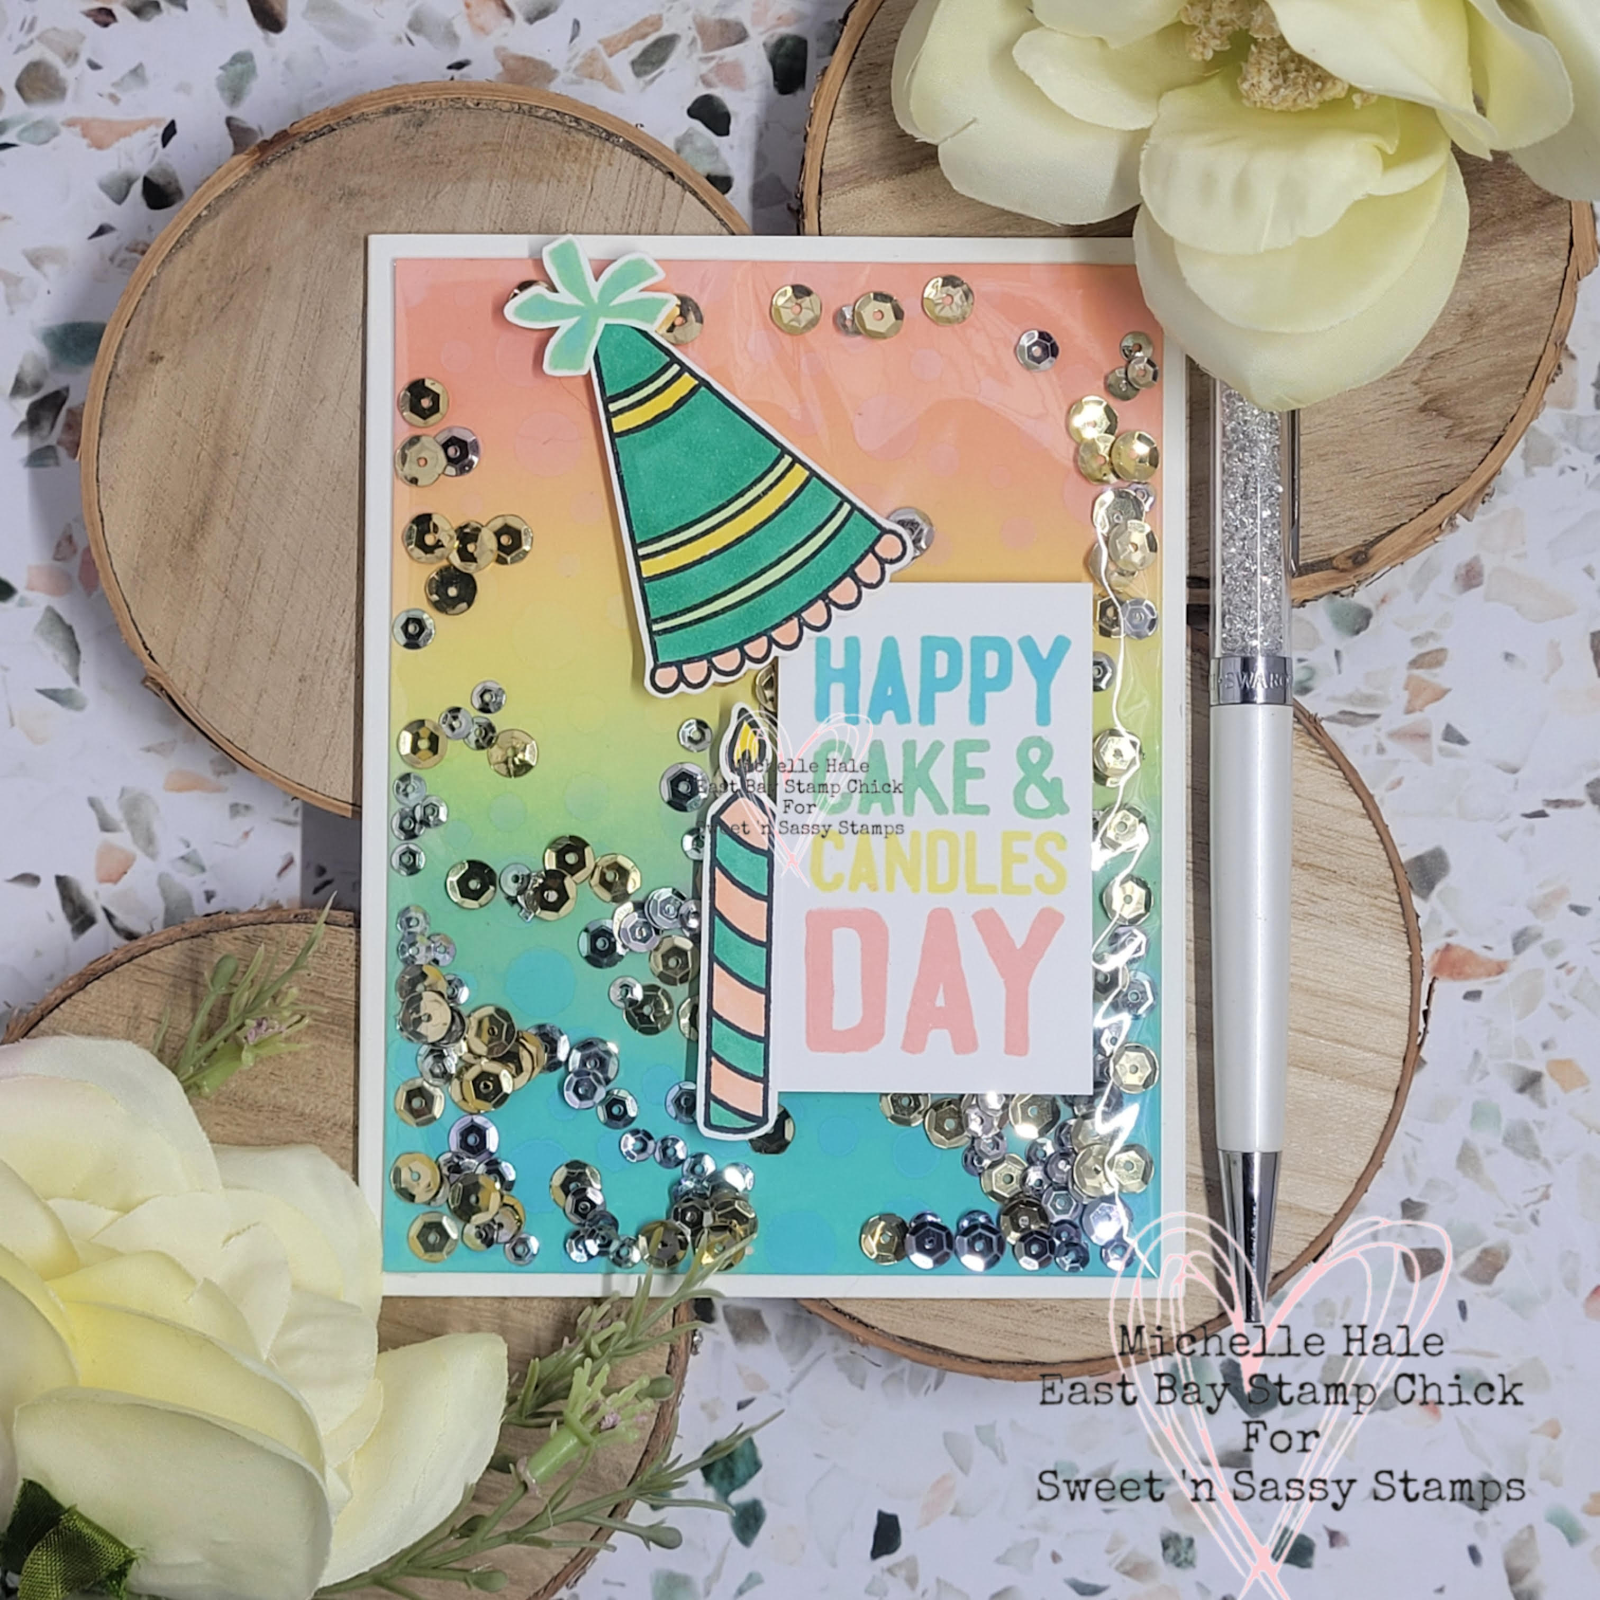
My card share today is an edge to edge shaker card. Here it is.


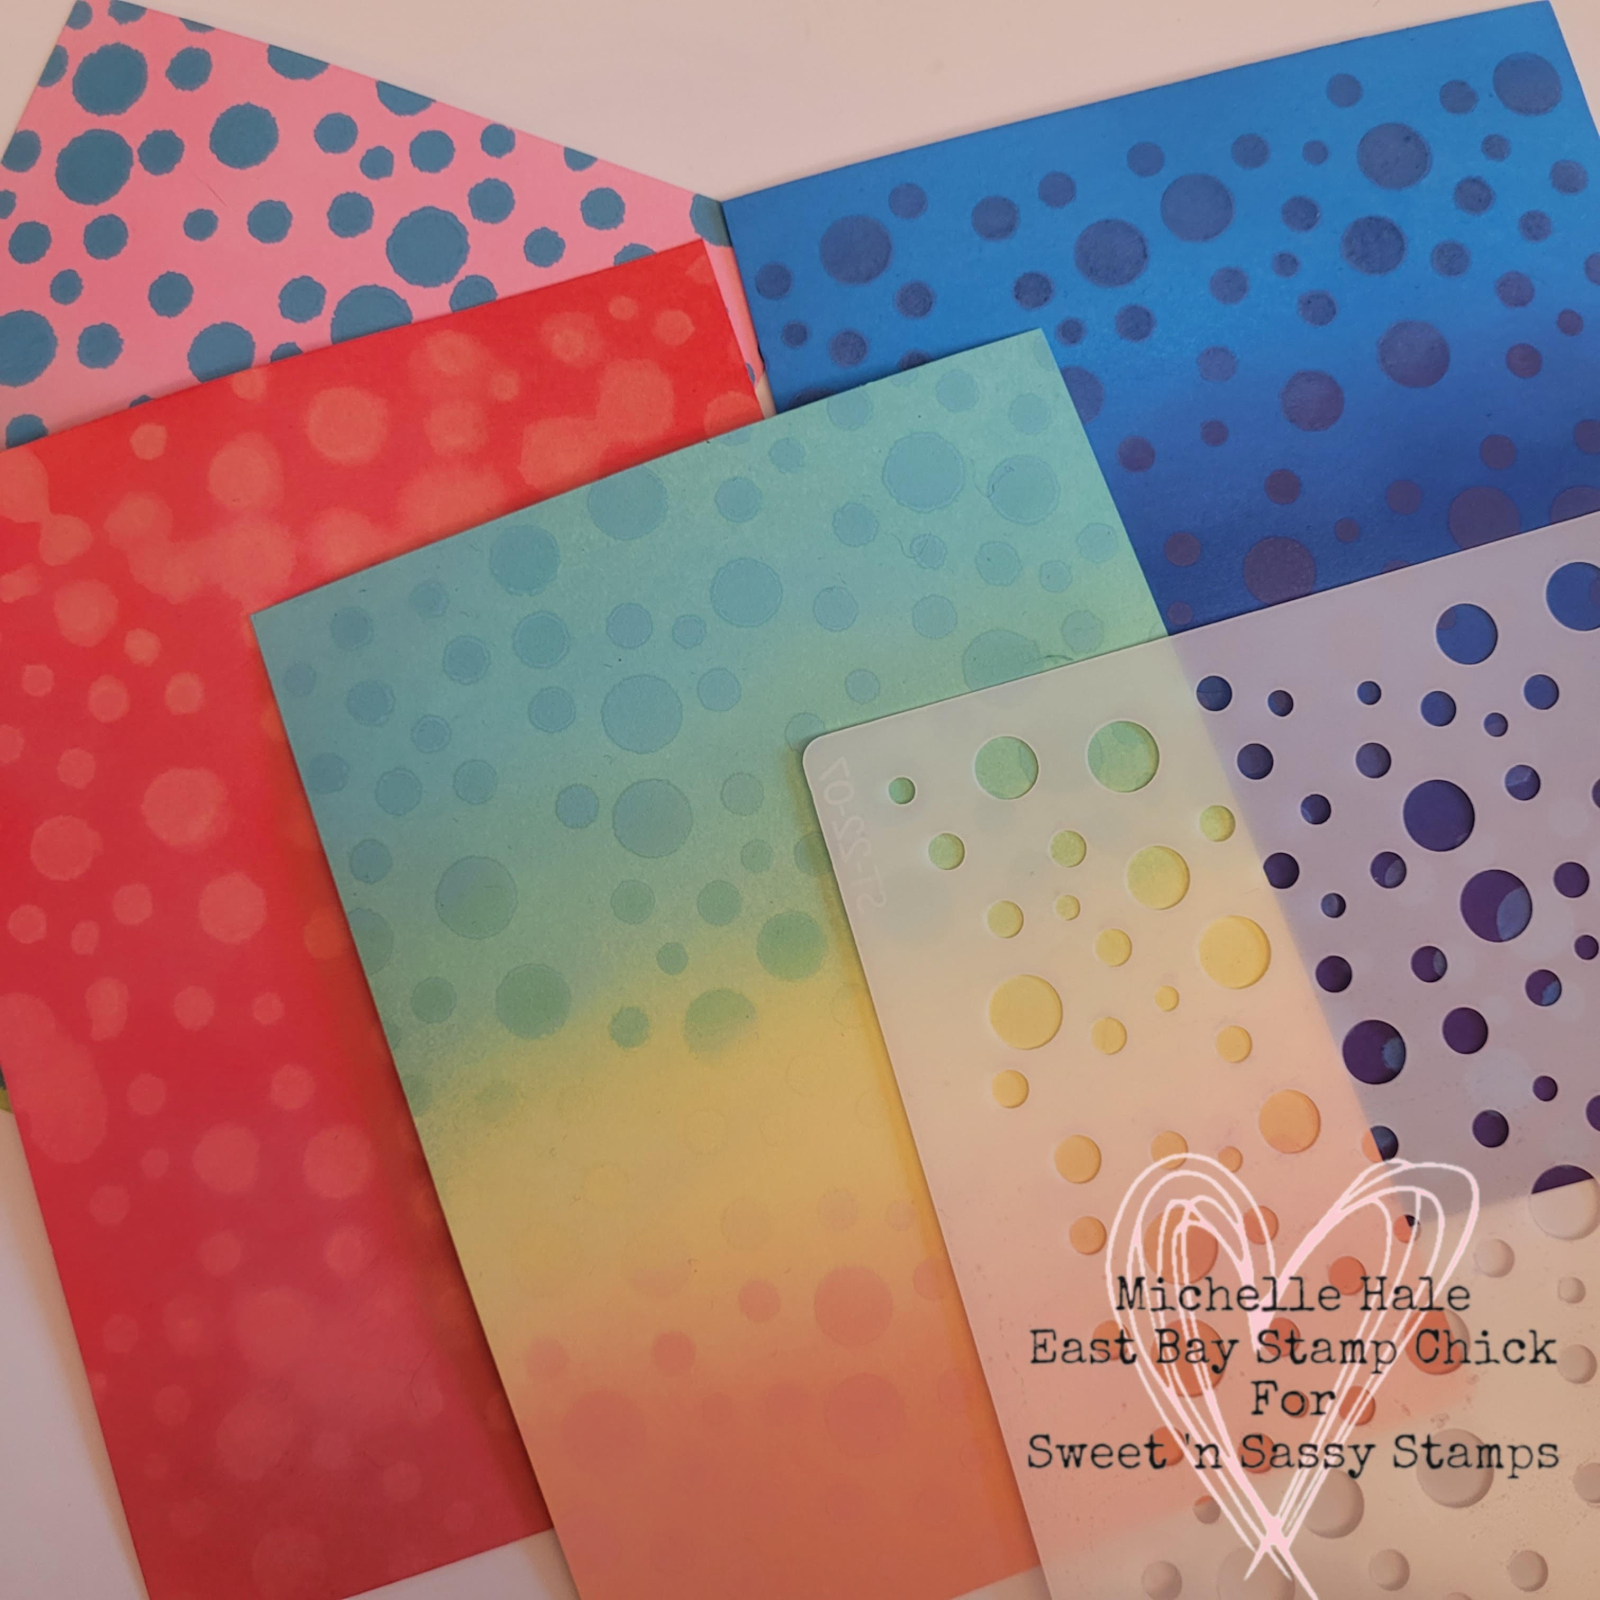
This is an A2 size card, 4.25x5.5 inches. I cut a card panel of white cardstock at 4x5.25 inches. Then I ink blended 4 colors of ink. I then took the new Bubbles Stencil and went over the panel with the same inks I blended. it's hard to see the pattern of the stencil in this photo. The next step was to cut a piece of cellophane slightly larger than the panel. I used double sided tape to adhere the cellophane on 3 sides. Then I added the sequins and closed the last side with the tape. I colored and fussy cut the hat and candle from the Make a Wish stamp set. I also stamped the sentiment from the same stamp set using the inks I ink blended the background with. I adhered all the elements and it's done. Very easy!

Here is a look at the panel and a few others, so you can see the stenciling.


Let's take a look at what I used to make the card.


Edge to edge shaker cards are perfect for fun occasions like birthdays. I hope you give it a try! And don't forget to check out the sale this weekend! Thank you for visiting with me! And don't forget to get crafty this weekend!

Saturday, March 12, 2022

The New Leaf Branch Stencil

 Happy Saturday Stampers! 

This is Michelle from East Bay Stamp Chick here with a new card share. Have you seen the new Leaf Branch Stencil from the March Release? It's a WOW!! On my card today it meets glitter glaze on a gel print. So here's my card


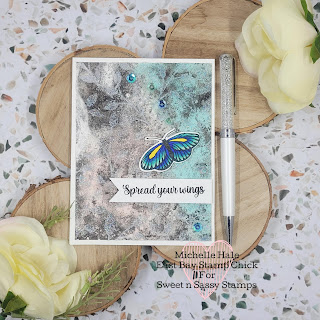
For my card, I pulled out a gel press print from my stash. Then I cut it to 4x5.25 so it would fit an A2 size card base. I then tacked down the new Leaf Branch Stencil over the print. I used a glitter glaze from my stash  and applied it over the stencil. You can tell in the photos it's a light almost transparent glaze. It's opaque enough to give some shine and pattern to the card panel but softly. I let it dry for a couple of hours before I finished the rest of the card. I used the new Spread Your Wings stamp set for the butterfly image and the sentiment. I used alcohol markers to color the butterfly. Both the butterfly and the sentiment are popped up on foam squares. I added a few sequins for additional bling.

Let's take a look at what I used.


Adding a stencil to a print you already have is an easy way to add a little something extra to the card panel, whether you use glitter glaze or ink.


As always, thank you so much for visiting with us and I hope you have time this weekend to a little crtafting! 

Saturday, November 27, 2021

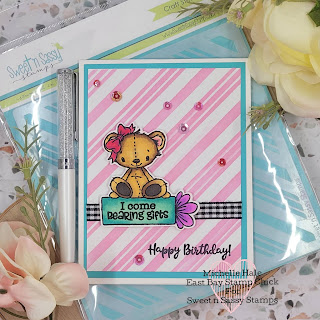
A Sweet Birthday Card

 Happy Saturday Stampers! Michelle here from East Bay Stamp Chick with another card share. 

November is Sweet 'n Sassy's birthday month, so I have a sweet birthday card for you.


This card came together pretty quick. I cut a card panel of 3.75x5 inches. I used a pink and blended it over the Peppermint Stripe Stencil. I used a strip of gingham ribbon going across the panel then adhered it to another aqua colored panel of cardstock that measures 4x5.25. I then mounted it onto my A2 card base. I stamped Happy Birthday from the Joyful Day Stamp set towards the bottom in black ink. That adorable bear is from the Bear Hugs Stamp set. I colored her using alcohol ink markers. I added a few pink sequins for bling.

Let's take a look at what I used.


Don't forget Sweet 'n Sassy has a Black Friday Sale all weekend!


i hope you find some time to get crafty this weekend! Thank you for visiting!

Saturday, November 13, 2021

Quick and Easy Birthday Card

 Happy Saturday Stampers! This is Michelle from East Bay Stamp Chick with a card share for you. You know we are celebrating Sweet 'n Sassy's 14th birthday this month, so I have a birthday card for you. This card is so easy too.


This card has a simple stencil and ink background. I used the new Vintage Doily on a panel that measures 3.75x5 inches. Just simple ink over the stencil background, quick and easy. I cut a panel to go underneath that is 4x5.25 inches in a blue. The packages are simply colored with alcohol ink markers. I didn't do any shading or use more than 1 color at a time. The packages are from the Birthday Borders stamp set. Lastly, that cute cupcake and the sentiments are from the new Joyful Day stamp set. Again , I did very simple coloring. I added a ribbon and sequins from my stash. So easy and fun!

Here's a look at what I used.


You can never have too many birthday cards ready to go. I hope you get a chance to spend some time crafting this weekend! Thanks for stopping by! 

Saturday, July 10, 2021

Easy Blooming Anemones Card

 Happy Saturday Stampers!

Michelle here from East Bay Stamp Chick. I have another card share for you.

I love the new Blooming Anemones Stamp set but didn't have the time to do all the coloring so, I added color with ink blending. Quick and easy!


Ink blending is a quick and easy way to add color without having to color each petal or detail. I started the card with a white piece of cardstock measuring 4x5.25. I used distress oxides. I started at the top with Twisted Citron, then Cracked Pistachio. Next I used Salvaged Patina and then finally Peacock Feathers at the bottom.  

After the ink blending. I embossed the large floral from the set with white embossing powder. The sentiment is in white embossing powder as well and is from the Love Wordfetti set. The Friend die is a new die in the shop and I used a brushed silver metallic paper to die cut it from. Both the black strip and the word friend are popped up on foam squares. I also popped up the entire panel on foam squares before mounting it to my cared base.

Here's a closer look at the sets I used.


Thanks so much for visiting today! I hope you have a chance to get crafty this weekend!


Saturday, May 8, 2021

New Sale at Sweet 'n Sassy Stamps

 Happy Saturday Stampers! It's Michelle here from East Bay Stamp Chick.


We have a new sale at Sweet 'n Sassy Stamps 25% off all stamp set designed by Nina B.

To celebrate the sale I made a new card featuring the Nina B stamp sets Thrill of Hope and Mason Jar Bouquet.

Thrill of Hope is traditionally a Christmas set but I though by adding the sentiment from the Mason Jar Bouquet set it made it more usable anytime. To make this card, I used a panel from one of my gel press prints. I love the gel press because every time you get something different. I though this piece was perfect for a night sky. I heat embossed the images with white embossing powder. I actually made a mistake and that is why the sentiment is on a navy piece of cardstock. I had originally heat embossed it right on the card in white. but I messed it up! So I had to add it on the navy cardstock to cover my mistake. I added a few sequins for shimmer and it's done. A very easy card!

Here's a look at the sets I used.


I hope you find some time this weekend to get crafty! Thank you for visiting and spending time with me today! 


Saturday, April 24, 2021

My First Mini Slimline Card

 Happy Saturday Stampers! This Michelle here from East Bay Stamp Chick.

Have you made a mini slimline card yet? Well, I 'm here today to show you my very 1st one and I think I'm in love with this new size! My card measures 3x 6.25 inches. I cut a square of white cardstock to 6x 6.25 and scored it in the middle.

So would you like to see my card? Here it is!


So here's what I used to make this card. I used 4 stamp sets from Sweet 'n Sassy Stamps. The background is the new Butterfly Background stamp set. The sentiment is the Teeny Alpha stamp set. The girl is from Girl Power 2 and her wings are from the Made New stamp set. The Butterfly Background stamp set is also the stamp of the month, so you can get it free with a $60 purchase.


To make this card, I cut a white panel that is 2.74x6 inches. I heat embossed with white embossing powder the Butterfly Background stamp. Then I ink blended Spun Sugar, Kitch Flamingo, and Picked Raspberry Distress Oxides from light to dark. I adhered the panel to the card base on foam. I stamped the sentiment out using the Teeny Alpha Stamp set and then fussy cut each word. I also adhered them using foam squares. I colored the girl and wings with alcohol ink markers and then fussy cut them out  (there are matching dies available for the Made New set).   I glued the wings to the back of my girl. I used foam squares to pop her out on the panel. I added a bow and silver sequins for a little shine.

I hope you have some time this weekend to get crafty! 
Thanks for stopping by,
Michelle


Saturday, April 10, 2021

Easy Wedding Card

 Happy Saturday Stampers! It's Michelle from East Bay Stamp Chick.

Today, I'm sharing an easy wedding card using the new Just Married stamp set.


Here's the stamp set.


This stamp set has so many fun images!

This card is very easy to make. I heat embossed the sentiment and image in gold embossing powder. I fussy cut the cake and used my paper trimmer to cut the sentiment. I cut several panels out of gold and silver pattern paper for the background. To make this card you will need to cut out the following panels.  The card is an A2 size card, 4.25x5.5 inches. Out of silver paper I used my paper trimmer to cut panels that are 4 1/8 by 5 3/8, 3 1/8 by 4 1/8, and 2 1/8 by 5 3/8. Then in the patterned gold paper I cut out 3 7/8 by 5 1/8, 2 7/8 by 3 7/8, and 1 7/8 by 5 1/4. I then adhered all the silver and gold layers together. I mounted the middle layer, the one with stripes, on foam squares and the cake also. I added a few sequins for additional bling. This card was so quick and easy!

Check out the new April release for lots of  fun new stamps!


Wednesday, April 7, 2021

A Mother's Love by Charmaine Canham


 I am so very excited to be on the Sweet 'n Sassy Stamps blog for the very first time as a fellow design team member. I hope to share some of my love of creating with you on a more frequent basis. If you have any questions, leave me a comment and let me know how I can help!

 With Mother's Day fast approaching, this Sweet 'n Sassy Stamp, A Mother's Love, is just perfect for this card I envisioned. This stamp is versatile and can be used for birthdays, baby showers, or an "I love you, Mom" card.

I love silhouette-type images, and the mom and baby stamp just spoke to me. I created the card using a nested die set that I have had forever and white and black scraps of cardstock in my stash. If you don't have this specific nested die, use any other shape like an oval or stitched rectangles.

The main image was stamped with Altenew Obsidian Black ink and clear embossed with Ranger Clear embossing powder. Remember to use your embossing buddy before embossing anything.   Use the smallest die and cut the image. 


Cut a piece of white heavy cardstock with a larger die from the set. Since I know that I want the sentiment and some of the card to match, I "colored" this cardstock that will go right under the mom and baby. Use Versamark Watermark stamp pad or any clear "tacky" ink that will stay wet longer and stamp/apply to the cardstock. Heat emboss this piece with WOW Metallic Copper Super Fine embossing powder. Wait for it to cool down before placing double-sided foam tape above and under the cardstock. Adhere the mom and baby to the top.

The sentiment was heat embossed with the same WOW embossing powder and placed on a banner die from SSS, or was it MFT? Place this on double-sided foam tape as well. 

The black background was made by using a pierced cover plate with detailed stitching for a sophisticated look. Place all of this on a top folding A2-sized card and you are done. This card can easily be modified with a pink or blue hue instead of the classic white and black look. 

I hope you liked today's card and find more pretty stamps over at Sweet 'n Sassy Stamps.

See you soon!

Charmaine @ CharCards

Follow me over on Facebook and Instagram for almost daily inspiration.

                                      ***This post contains affiliated links at no cost to you ***

Saturday, March 13, 2021

Big Bold Butterfly

 Hi Stampers!

This is Michelle from East Bay Stamp Chick with a card share.

Today's card features a big, bold butterfly from the new stamp set Garden Whimsy.


This butterfly is so fun to color. I love all the bold colors. I used alcohol ink markers to color it. The sentiment is also from the same set. For the background I used the new Delightfully Delicate stencil. Here's a closer look at them.


I added some sequins and heat embossed the sentiment and the card is done. So easy!

I hope you have some fun crafting this weekend!