Showing posts with label Doily Borders Dies. Show all posts

Monday, April 11, 2022

Song Birds


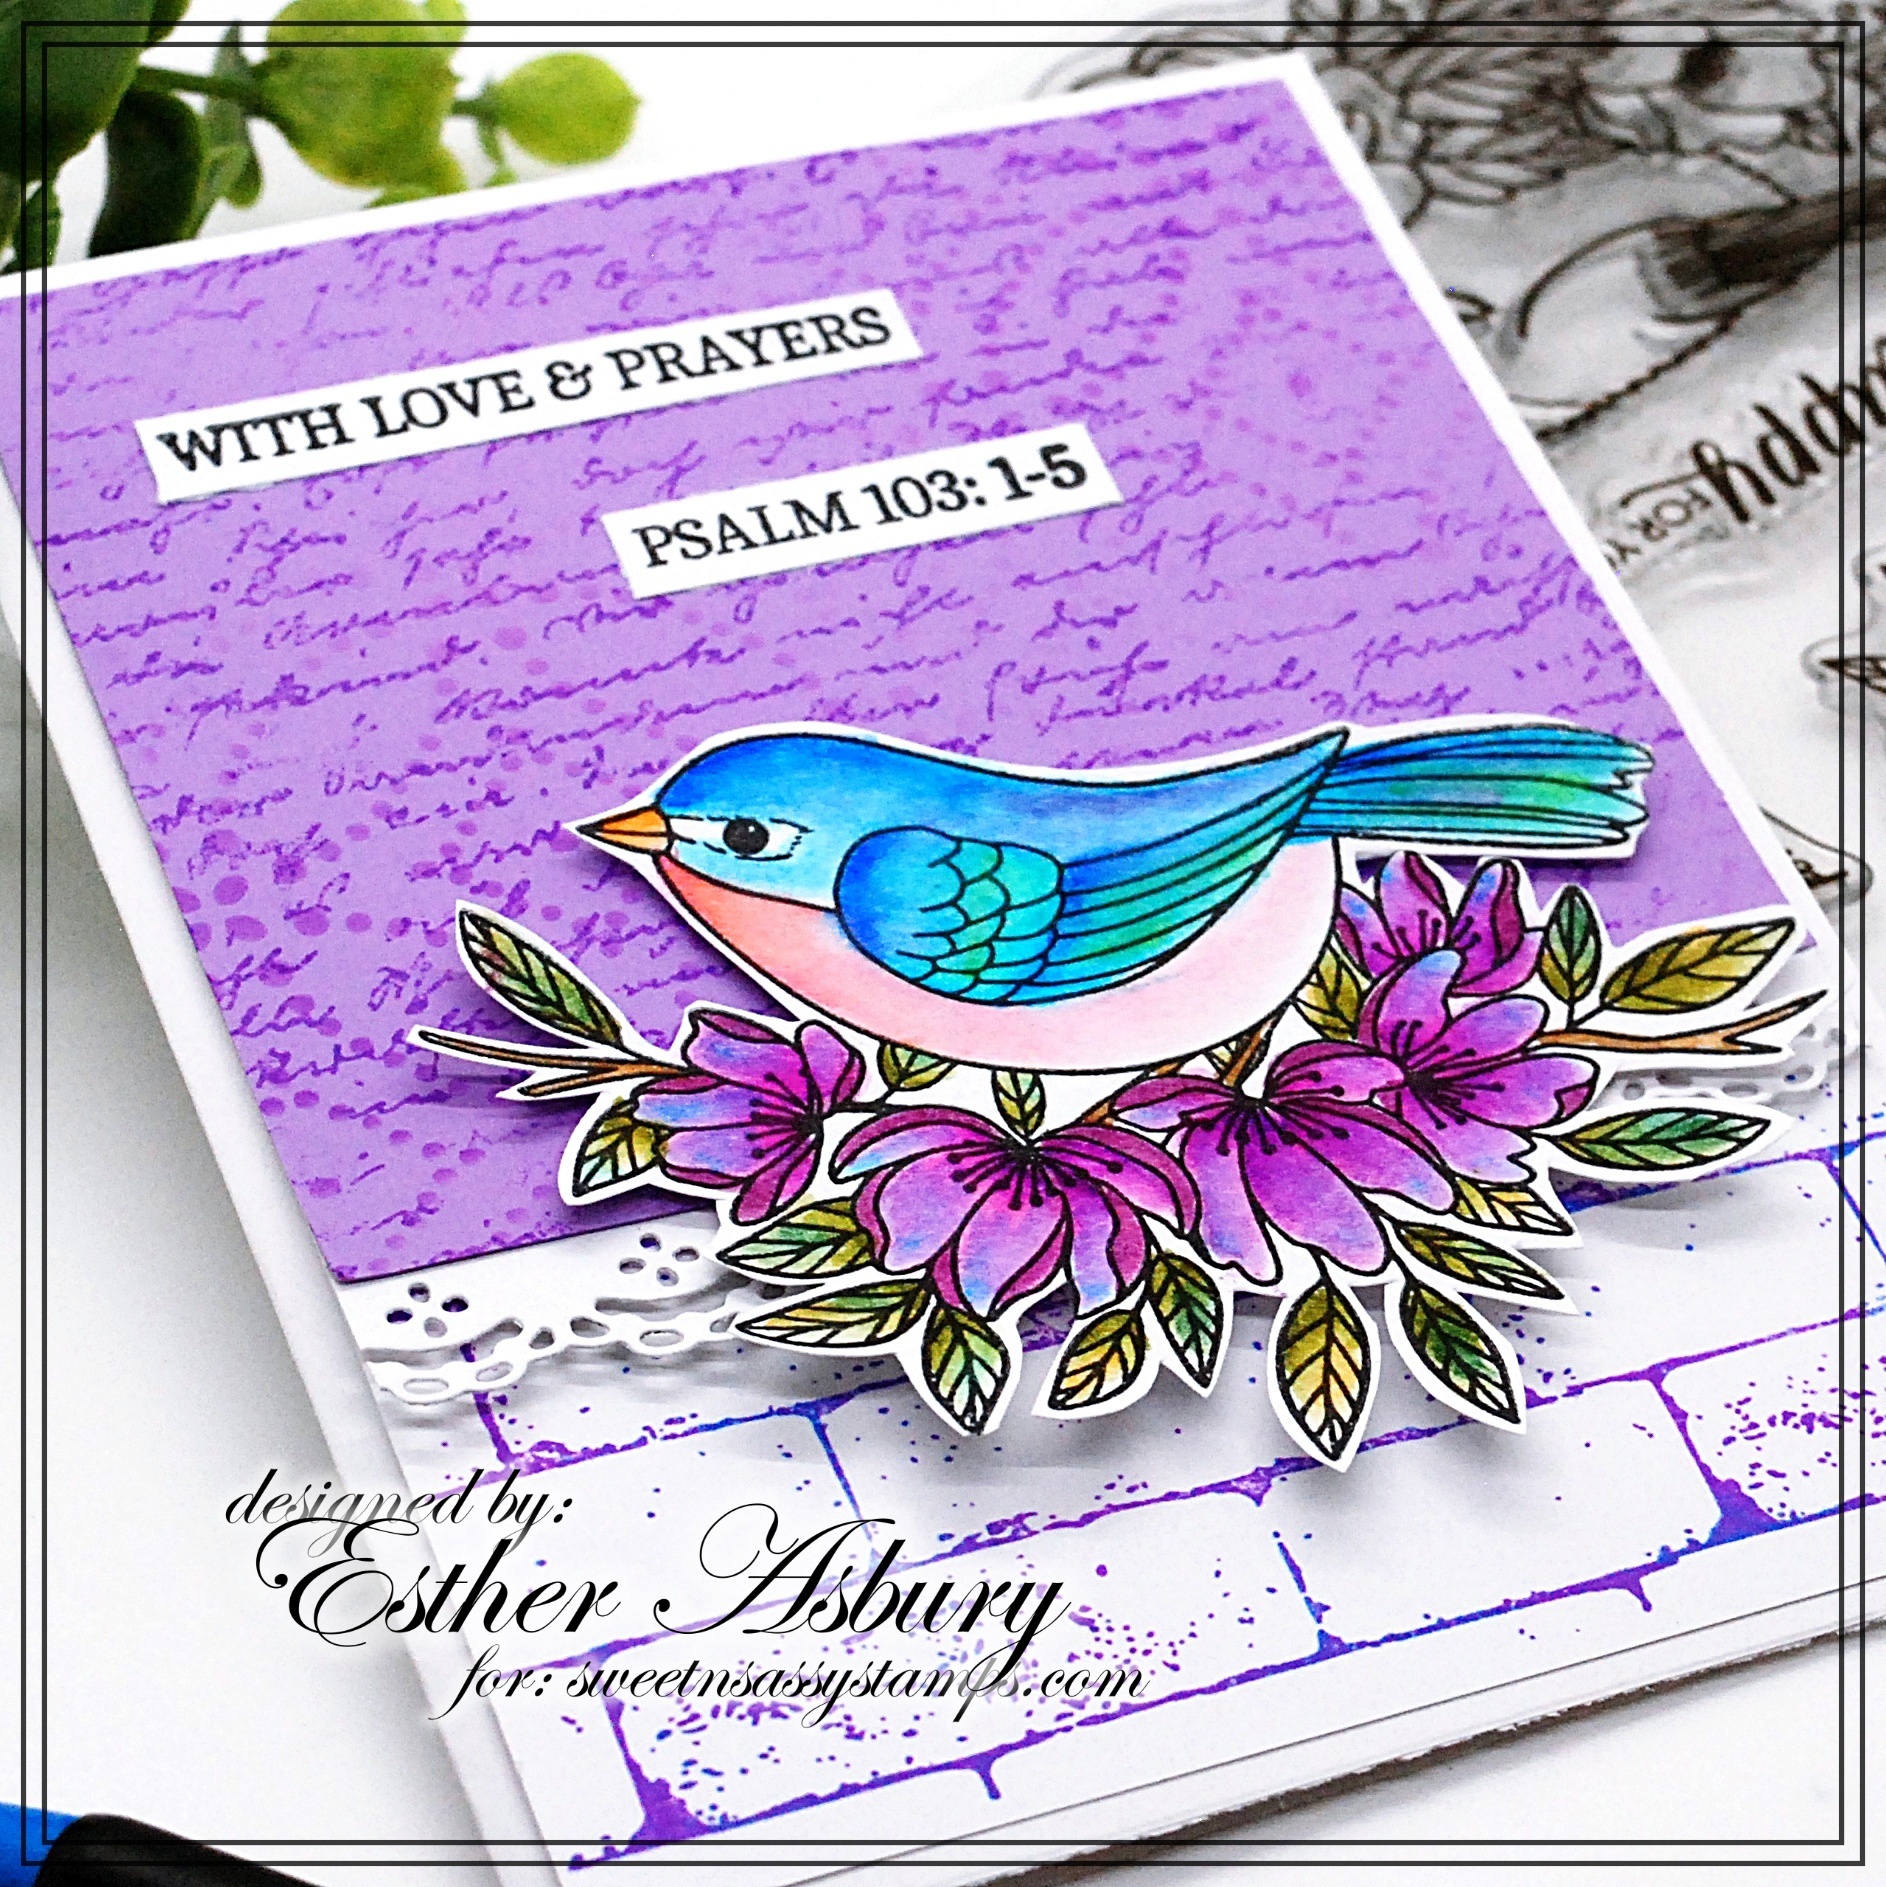
Esther here  today with a cheery bird card featuring two  BRAND NEW stamp sets from the April Release.

 ~~~This post contains affiliate links at no extra cost to you~~~

To create my card I stamped the Script Background stamp in wilted violet distress ink (Ranger) on purple card stock. I lightly stenciled the Delightfully Delicate Stencil in the same color in two corners and added two sentiments from Church Family. I attached a strip of lace die cut with the Doily Border Dies under the purple panel and glued it over a piece of white card stock stamped with bricks from Texture Tiles 2 .

The bird image is from the NEW Song Birds stamp set and was stamped in  Versafine Clair Nocturne Ink and colored with Arteza real brush pens. I used some foam mounting tape to pop it up off my card.

Wednesday, October 20, 2021

Vintage Doily Love


Hi Sweet 'n Sassy fiends! It's Julee popping in today to share a couple of cards I created recently with the new Vintage Doily Stencil and my Endless Love set. This stencil is absolutely dreamy!


For my first card I stamped the cross and poinsettia (doing a little masking) from Endless Love on white cardstock and then colored with Copics. I then masked off the main parts of the cross and poinsettia (not worrying about the smaller branches) and inked over with antique linen and the doily stencil.  I loved the warm glow of it so much that I decided to use the same ink and stencil for my card base layer. I finished off with some foam tape under the cross image and the Merry Christmas sentiment centered below.

My second card uses the same poinsettia stamp and cross image from Endless Love, but this time I stamped the poinsettia multiple times and then colored and cut different portions of the flower to get some variations in size.  I colored and cut the cross image, then layered one of the smaller poinsettias in the center.  The sentiment is from the new Wonder of Wonders set and I stenciled the background with antique linen and the Vintage Doily Stencil.  A few strips of patterned paper and one of the Doily Border Dies finishes things off.


Thanks so much for stopping by today! If you haven't already, be sure to check out all the fun new holiday products in the shop this month.


Wednesday, October 6, 2021

Peppermint Stripes & National Coffee Day Hop Winner


Hi friends! It's Julee sharing some of my first makes with the Peppermint Stripe Stencil I designed for our October release. I'm a huge fan of peppermint and diagonal stripes, so this is a match made in heaven for me!  

Before I get to the creative details, it's also time to announce the winner of our National Coffee Day Blog Hop prize...


Congrats VanessaB! Please send an email to snssassistant@gmail.com to claim your prize.

I designed the free digi below with the sentiment Vanessa suggested in her winning comment. Just right click and save to your computer. Thanks to everyone for hopping along! Please give credit to J Tilman Designs @vervegirl if you use it. Please and thank you.😁


Okay, on with my creative shares for the day.  I had fun with my first pass with this stencil, testing it with ink, glitter paste, and a mix of both. So much fun!

For my first card, I used mint tape to mask off the trio of thin stripes, then stenciled the bold lines in red.  Next I moved the tape to cover the red lines and added pink glitter paste to stencil the stripes.  I love how it looks like a real candy cane!


I recently received the coordinating dies for the classic Precious Poppies set, and could wait to use them. Poppies are red, so I figured they work for Christmas, right?  I added a sentiment tag with two sentiments from the Christmas Wordfetti set, then accented with a few little images stamped and die cut from the Wonder of Christmas Bundle.


My next card was inspired by my favorite wint-o-green mints. I did some masking and used sea glass on just the two outer thin stripes, then evergreen on all the other stripes for a fun wintergreen look.

I used the Christmas Silhouettes set and Karin markers for a soft watercolor effect, first stamping with the brusho, then coating the stamp lightly with water and stamping over it. When that was dry, I stamped again in clear embossing ink then embossed in clear. I love the look. I cut with the coordinating die cuts, then added the peace die cut from the Peace & Joy Word Dies, and a splash of color with the Doily Border Dies in cranberry and finished off with a gold poinsettia.


That third stenciled background hasn't made it onto a card yet, but I'm sure it won't be long. I used the stencil as is (no masking) with pink glitz glitter gel on red cardstock.

Thank so much for stopping by today! If you saw something you have to have, be sure to take advantage of our Earlybird Savings with 10% off individual new releases through Saturday, October 9.


Wednesday, October 5, 2016

Autumn is a Mosaic of Them All

Hello Sweet Friends!  Julie here to share a card inspired by the autumn colors that are bursting forth here in the Northeastern United States.  

I just love fall with all of the gorgeous colors, the crispness of the air, the apple harvests as well as the upcoming Thanksgiving holiday leading into Christmas!  God's Glorious Creation painting a splendor for all to see- what a wonderful time of year!

I decided to try to capture some of the deep red colors in this Mixed Media card using Sweet ‘n Sassy Stamps Autumn Mum Greetings Clear Stamp Set along with the SNSS Doily Border Dies.

To create this card:

I inked the large mum image from SNSS Autumn Mum Greetings with a cherry dye based ink, stamped repeatedly over a piece of cream colored cardstock, distressed the edges, and stamp the sentiment from SNSS Autumn Mum Greetings with archival black ink.

Add the stamped panel along with a piece of designer paper with a sewing machine using a zig zag stitch.

I added the die cut SNSS Doily Border (aged a bit with distress ink) along with cherry grosgrain ribbon and pearls before adhering the entire panel onto the dark brown card base.

Stamp the large and small mum images from SNSS Autumn Mum Greetings with archival black ink, heat set the ink and water-colored the flowers with a water brush with ink from rust and cherry markers for the flowers as well as various green markers for the leaves.

After fussy cutting the flower images, I used a clear glitter pen to add shimmer to the blossoms as well as the stamped background before adding the flowers to the card front using dimensional foam and finished off the card with pearls.


Thanks again for stopping by- hugs and have a fabulous week, sweet friends!

Wednesday, December 23, 2015

Christmas Wishes


Merry Christmas week, Sweet Friends!  Julie here to share a card created with three sets- Peace of God, Winter Blessings and We Three Kings. I think it is fabulous that we can mix and match Sweet 'n Sassy Stamps and they work so well together :-)

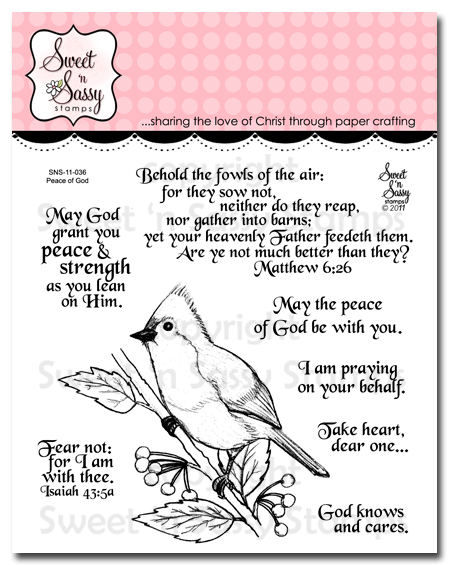
I just love the Tufted Titmouse image along with all of the sentiments and verses in the Peace of God stamp set, don’t you?  

My hubby and I love watching birds and “Tufty” as we like to call him (or her), is one of our all-time favs! Along with chickadees, they dart into the feeders and grab a peanut and/or seed and "run" :-)  So much energy and such a joy to watch for sure!

This card was fun to create with a bit of watercoloring, masking, stenciling, sewing, die-cutting (with the Doily Border Dies), dry embossing and of course, layering- well, I just decided to throw everything into the mix- lol!!


Woohoo!  Only two more days until we celebrate Christmas- Merry Christmas to all of you and I hope you have a blessed New Year!!


Tuesday, May 5, 2015

Class of 2015

Oh my, this time of year has taken on a whole new meaning to me as our oldest is just a year away from graduating High School!  Phew, I get choked up just thinking about it. So glad we have one more year but many of my friends are experiencing their first child's graduation THIS year so I have been loving Sweet 'N Sassy's "Congrats Grad" stamp set that also has coordinating "Congrats Grad Dies".


I used Splitcoaststampers SC538 Sketch and added a piece of blue lace using "Doily Border Dies".  I popped up the graduation certificate and the sentiment banner that is included in "Banner Dies".  Isn't that a fun shaped banner?  

Thanks for stopping by!
Angie


Wednesday, December 25, 2013

Merry Christmas!

For unto us a child is born, unto us a son is given: and the government shall be upon his shoulder: and his name shall be called Wonderful, Counselor, The mighty God, The everlasting Father, The Prince of Peace.  Isaiah 9:6


I used the beautiful Christmas Light stamp set and coordinating die to create my last Christmas card of the year.  I also used one of the pretty Doily Borders dies to accent the ribbon.

Today we gather with family and friends to celebrate, hope, and reflect on that very first Christmas.  May you feel the warmth and be filled with the wonder of God's love, His gift to us. 

From all of us at Sweet 'n Sassy Stamps...
Have a Blessed and Meaningful Christmas! 

Wednesday, October 30, 2013

Precious to me


Hi there!

Jessica here popping in this morning to share a card I made using the gorgeous Delightful Doilies stamp set.  I stamped the doilies in Versafine ink and embossed with white embossing powder on some patterned paper.  To help the embossing stand out a bit better, I used some coordinating ink to shade around the images.


The sweet doily border die is so pretty!  I love to embellish it just a tiny bit with some twine.
A quick and easy card for my stash, with relatively little bulk = perfect for my stash!

Have a great day! Jessica

Thursday, September 5, 2013

Joyous Christmas

Hello friends! Today I have a little peek of a new set that you can purchase tomorrow!!  This set is called "Seasonal Wreaths" and includes beautiful wreaths not only for Christmas {wink, wink}.

For my card I used a very traditional Christmas color combo. The wreath was stamped in Memento Luxe Tuxedo Black and added Clear embossing powder and heat set. Colored the image with Copic markers and added red pearls. Also die-cut a doily border in White Cardstock and painted it with Gold 3D paint. The sentiment was stamped on Burgundy Cardstock in Jet Black Archival Ink.


Hope you like it! I know you are going to love this new release!!
Hugs!
Giovana

Saturday, July 13, 2013

Featuring Celebrate Today & Doily Border Dies

Welcome to day 1 of our July feature Blog Hops!  Today we're featuring our lovely new stamp set called Celebrate Today & our beautiful new Doily Border Dies.


  • Stamp set includes 2 images and 8 sentiments
  • Set measures approximately 6" x 4"
  • The large image measures approximately 3 1/4" x 2 1/8"
  • Designed by Korin Sutherland
  • Priced at $15


  • Set of 2 dies
  • Dies measure approximately 3/4" x 6"
  • Designed by Korin Sutherland
  • Priced at $11.50
Check out some of the fabulous samples made by our talented DT in the thumbnails below.

Be sure to leave a comment of each of the blogs along your journey because
we're giving away 1 of these sets to two lucky winners!  

The deadline to comment for a chance to win is midnight EST Friday, July 19th.  The list of winners will be announced on our website homepage by Monday, July 22nd.

Thanks so much for joining us!  Enjoy the hop!