Wednesday, June 14, 2017

Thank You for Your Kindness!


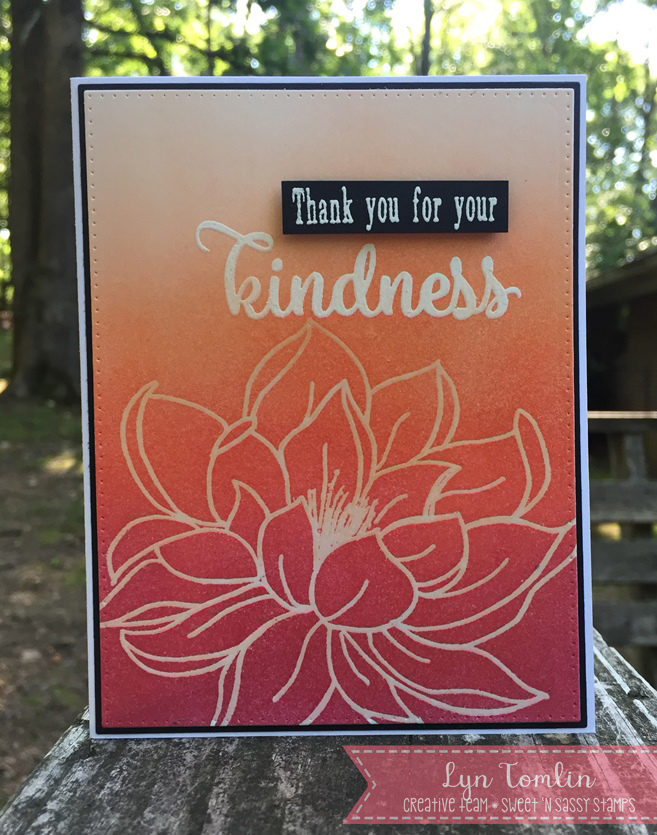
I am loving the great new stamps sets SNSS has this month and today's cards use a couple of them - Kindness Matters and  Fantastic Flowers. 

The sentiments in the Kindness Matters set are fantastic! They can be used on a variety of cards and the Flowers really are Fantastic - they are pretty big, but they are great and there are several to choose from including leaves.

For my first card, I played around with emboss resist and ink blending.
SNSS TY for your Kindness copy

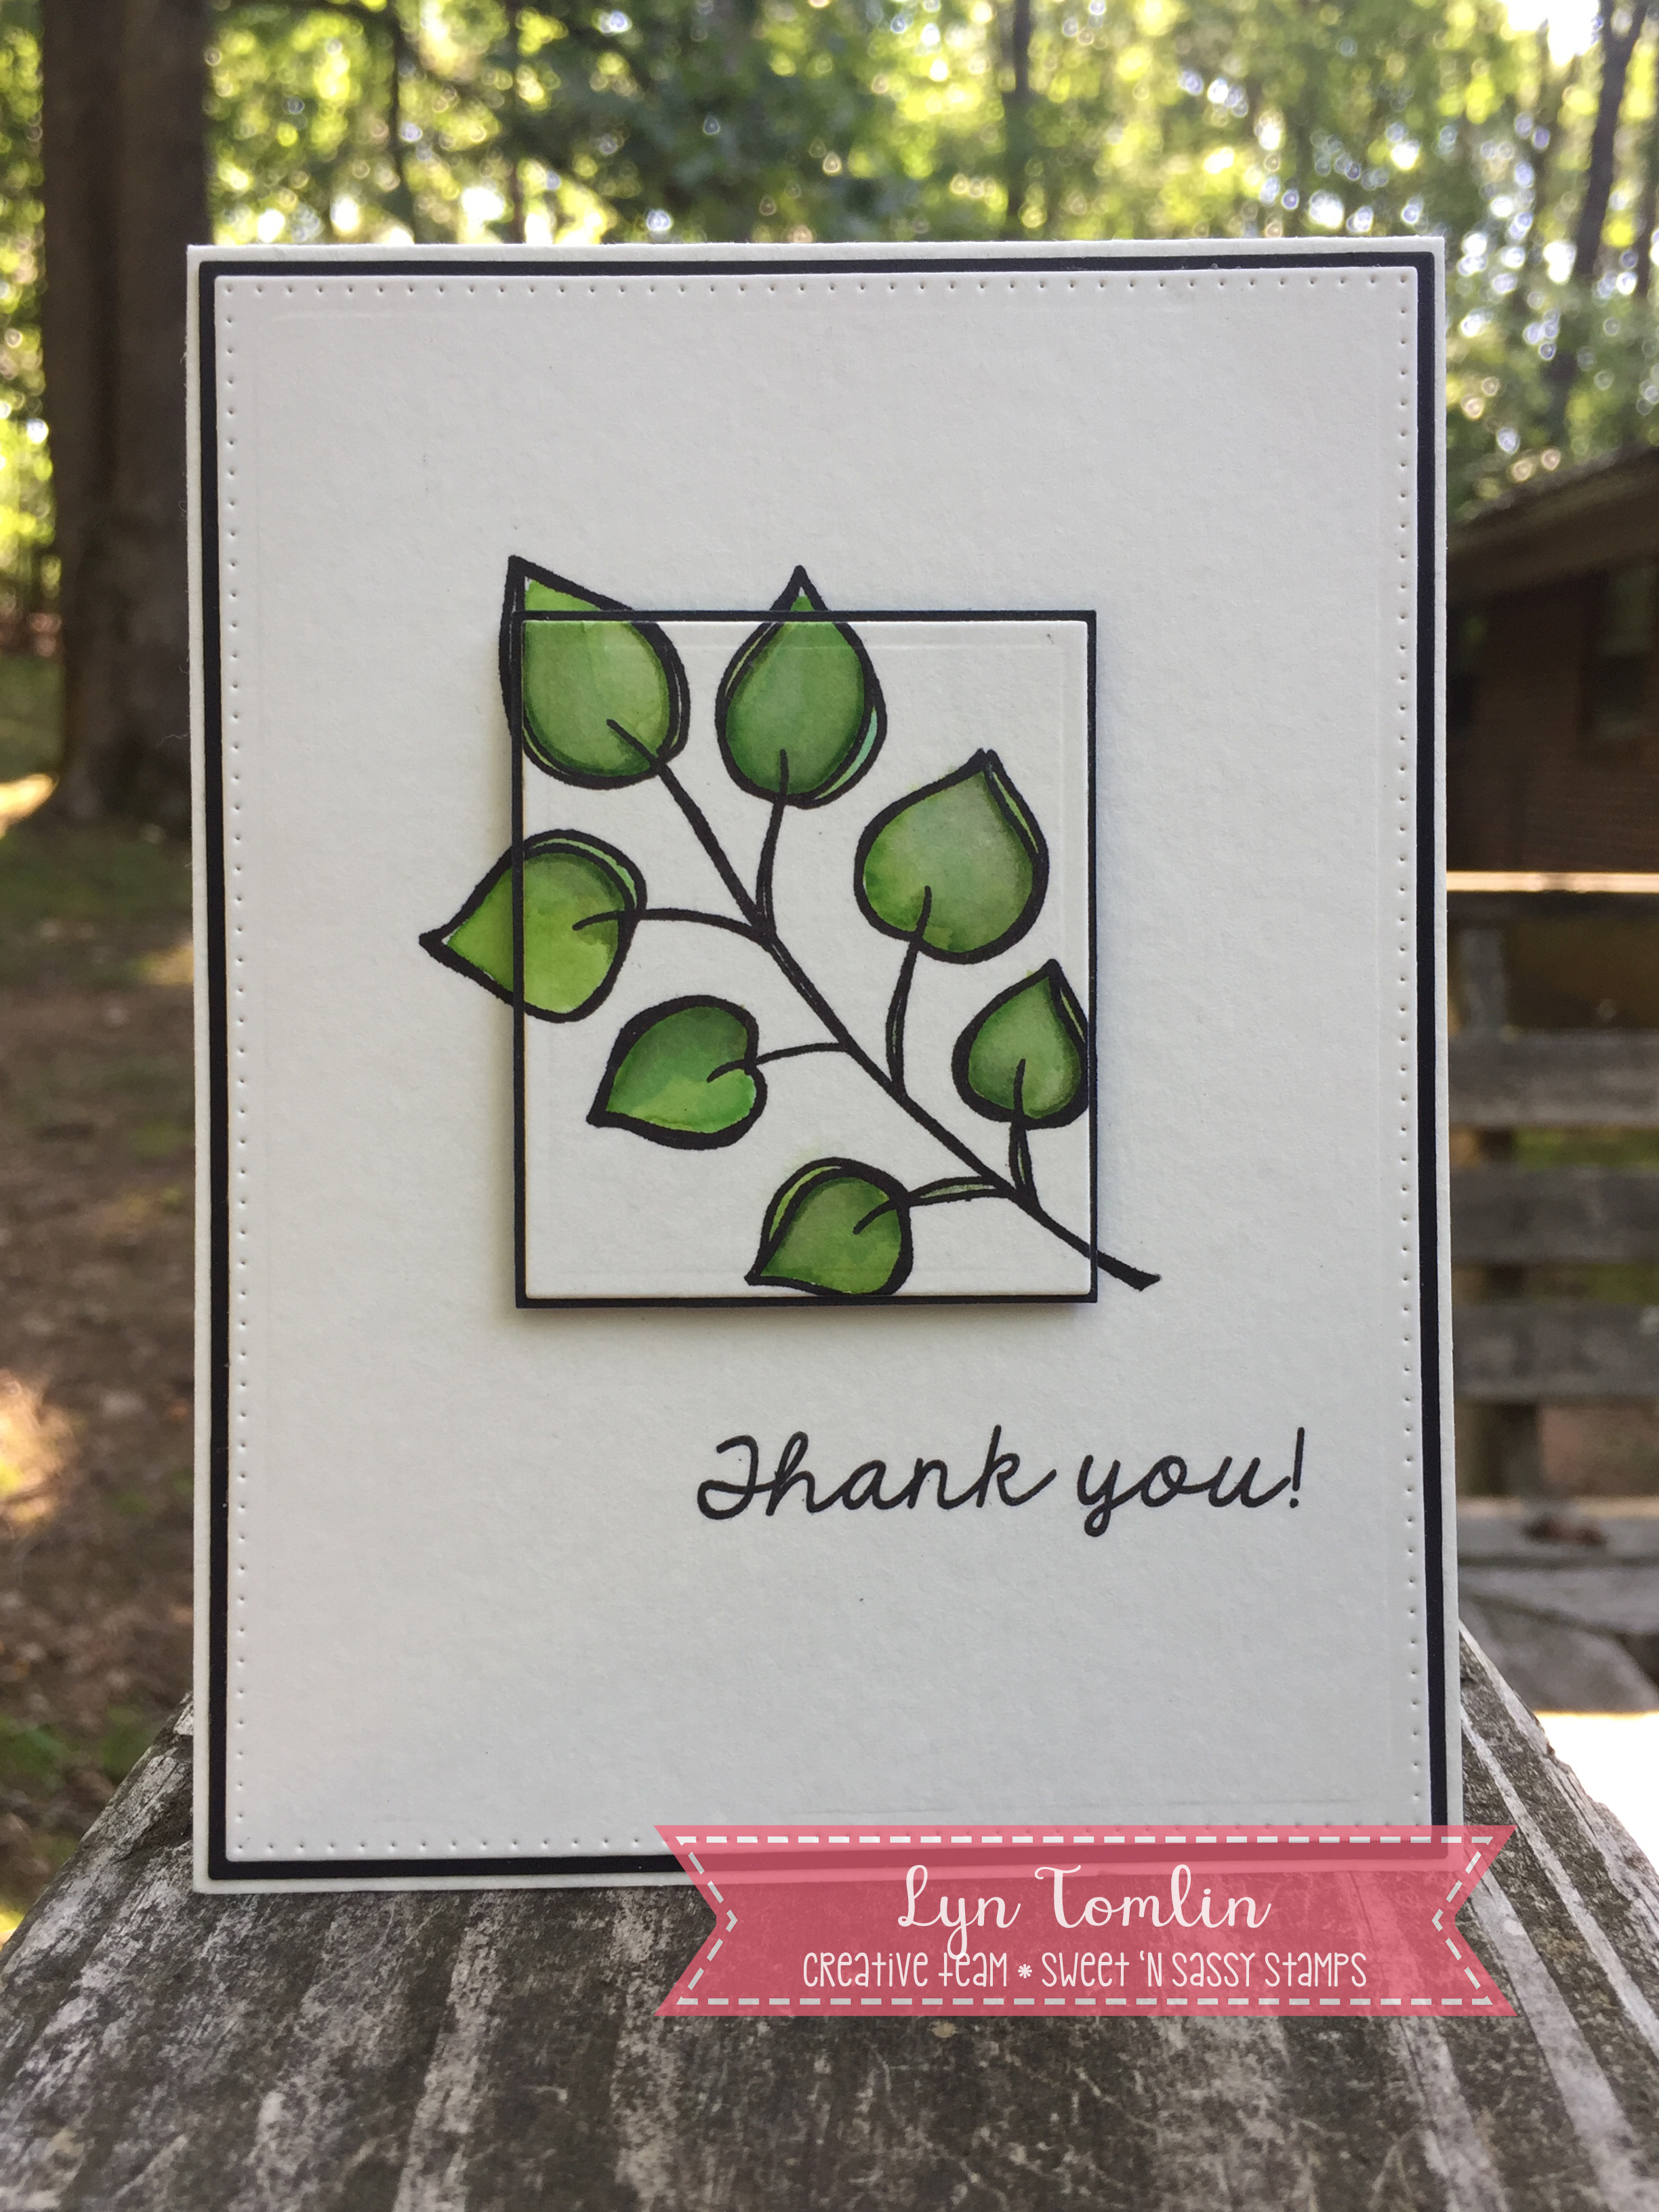
For the second one, I went pretty simple using the twig of leaves and water color (with Distress Inks). I colored it up twice, then created a 3D effect then added the "Thank you!" sentiment and that is all there is it. For some reason, this one really makes me happy.
SNSS Leaves copy

Finally, I got out my Inktense pencils and a Grid stencil and created a background for the bigger sentiment. The background was a little bight so I went over it with Antique Linen Distress Ink.

This is really exciting - Now I have a thank you cards for my stash which is something I don't really think about too often so... yay!!

I hope today's cards provide you with a little inspiration! Thanks for stopping by and have a great day!

Lyn


Tuesday, June 13, 2017

Thank you for your Kindness

Hello friends, Stephanie here with a card for you using Fantastic Flowers and Kindness Matters both by Korin.  I colored with copics and the paper is by Echo Park.  I switched up my white stitching for black on this one.  Everything is on sale so hop on over and grab everything on your wish list!


Sunday, June 11, 2017

hedgie hello

Good morning!
 
Today I am sharing this card using two stamp sets… Outline Alpha and As The Deer (two of my faves!)


This is a 4 1/4" square card.  The letters and hedgehog were colored with Copics. It's easy, sweet, CAS, and I love it!  (I hope you like it too).  :)
 
Have a great day!
Diane


Saturday, June 10, 2017

Fly High, Dream Big

Hello everyone! Today I want to show you a card I made with the 'fly high' stamp set.

The images are so cute and they're great for a one layer card. So I started this card on watercolor paper, stamped the elephant and his balloon and started coloring. I used watercolor markers and a anwaterbrush to color the images. I couldn't resist to add some of the beautiful words from the stamp set so I decided to go for 'fly high, dream big'. There are a lot of great words in this set so you can make a lot of different combinations.
http://www.sweetnsassystamps.com/fly-high-clear-stamp-set/
- Lucinde

Friday, June 9, 2017

Kindness Matters!


Happy Friday!
It's Ceal, here to share a card using two of the newest release stamp sets. I am in love with both of these sets. 
To make my card I started with a white top folding card base. I made a couple of backgrounds by using an old technique (shaving cream) with a new twist. After the backgrounds had dried I stamped the large flower and a couple leaves from the Fantastic Flowers set and fussy cut them out. 

The greeting is from the Kindness Matters set. I love this set because kindness does matter!


Thursday, June 8, 2017

Thank you for your Kindness

Hello Everyone!!  It's Sheri Gilson with a thank you card featuring stamps from the NEWLY released Fantastic Flowers and Kindness Matters stamp sets.

I wanted to show that by using a natural color combo and a little twine I was able to create a masculine thank you card using the Fantastic Flowers stamp set.  I just randomly stamped the large leaf image and did some quick copic coloring.  The sentiment is also heat embossed for some added texture.   


Thank you so much for stopping by!

Wednesday, June 7, 2017

A Friend Loveth

Hello Sweet Friends!  Julie here to share a quick Mixed Media card using the Peaceful Peonies Clear Stamp Set (designed by NinaB Designs for Sweet ‘n Sassy Stamps).  


To create this card- heat emboss the large peony image from the  Peaceful Peonies Clear Stamp Set with black embossing powder onto white cardstock. 

Once the embossing has cooled, watercolor the image using water-based markers and distress inks, layering the colors and carefully using the heat tool to dry the layers.  Fussy-cut the image cutting off the leaves, use a clear shimmer pen to add shimmer to the petals and the Sharpie® Extra Fine White Paint Pen  to add highlights to the center of the flower.

For the background panel, tap a bit of picked raspberry distress ink onto a cellophane envelope, spritz with water and lay a piece of white cardstock into the ink, smooshing it around a bit.  Lift up the cardstock and dry with the heat tool. 

Repeat the same steps as above with diluted hickory smoke distress ink and once you are satisfied, use a paint brush to splatter hickory smoke ink onto the panel before trimming and mounting onto black cardstock.

Stamp the sentiment from the Peaceful Peonies Clear Stamp Set with archival black ink and mount the trimmed background panel onto black cardstock.

Mount white cardstock onto a piece of black cardstock, add the layer created with patterned paper before mounting the main focal image layer and the peony.

Adhere the entire card front onto the white card base and add a few ebony black crystal drops to finish off the card.

I just love the Peaceful Peonies Clear Stamp Set and I hope I have inspired you today!   

Thanks for stopping by- have a blessed week, sweet friends!

Tuesday, June 6, 2017

Watercolor Wash with Mason Jar Bouquet

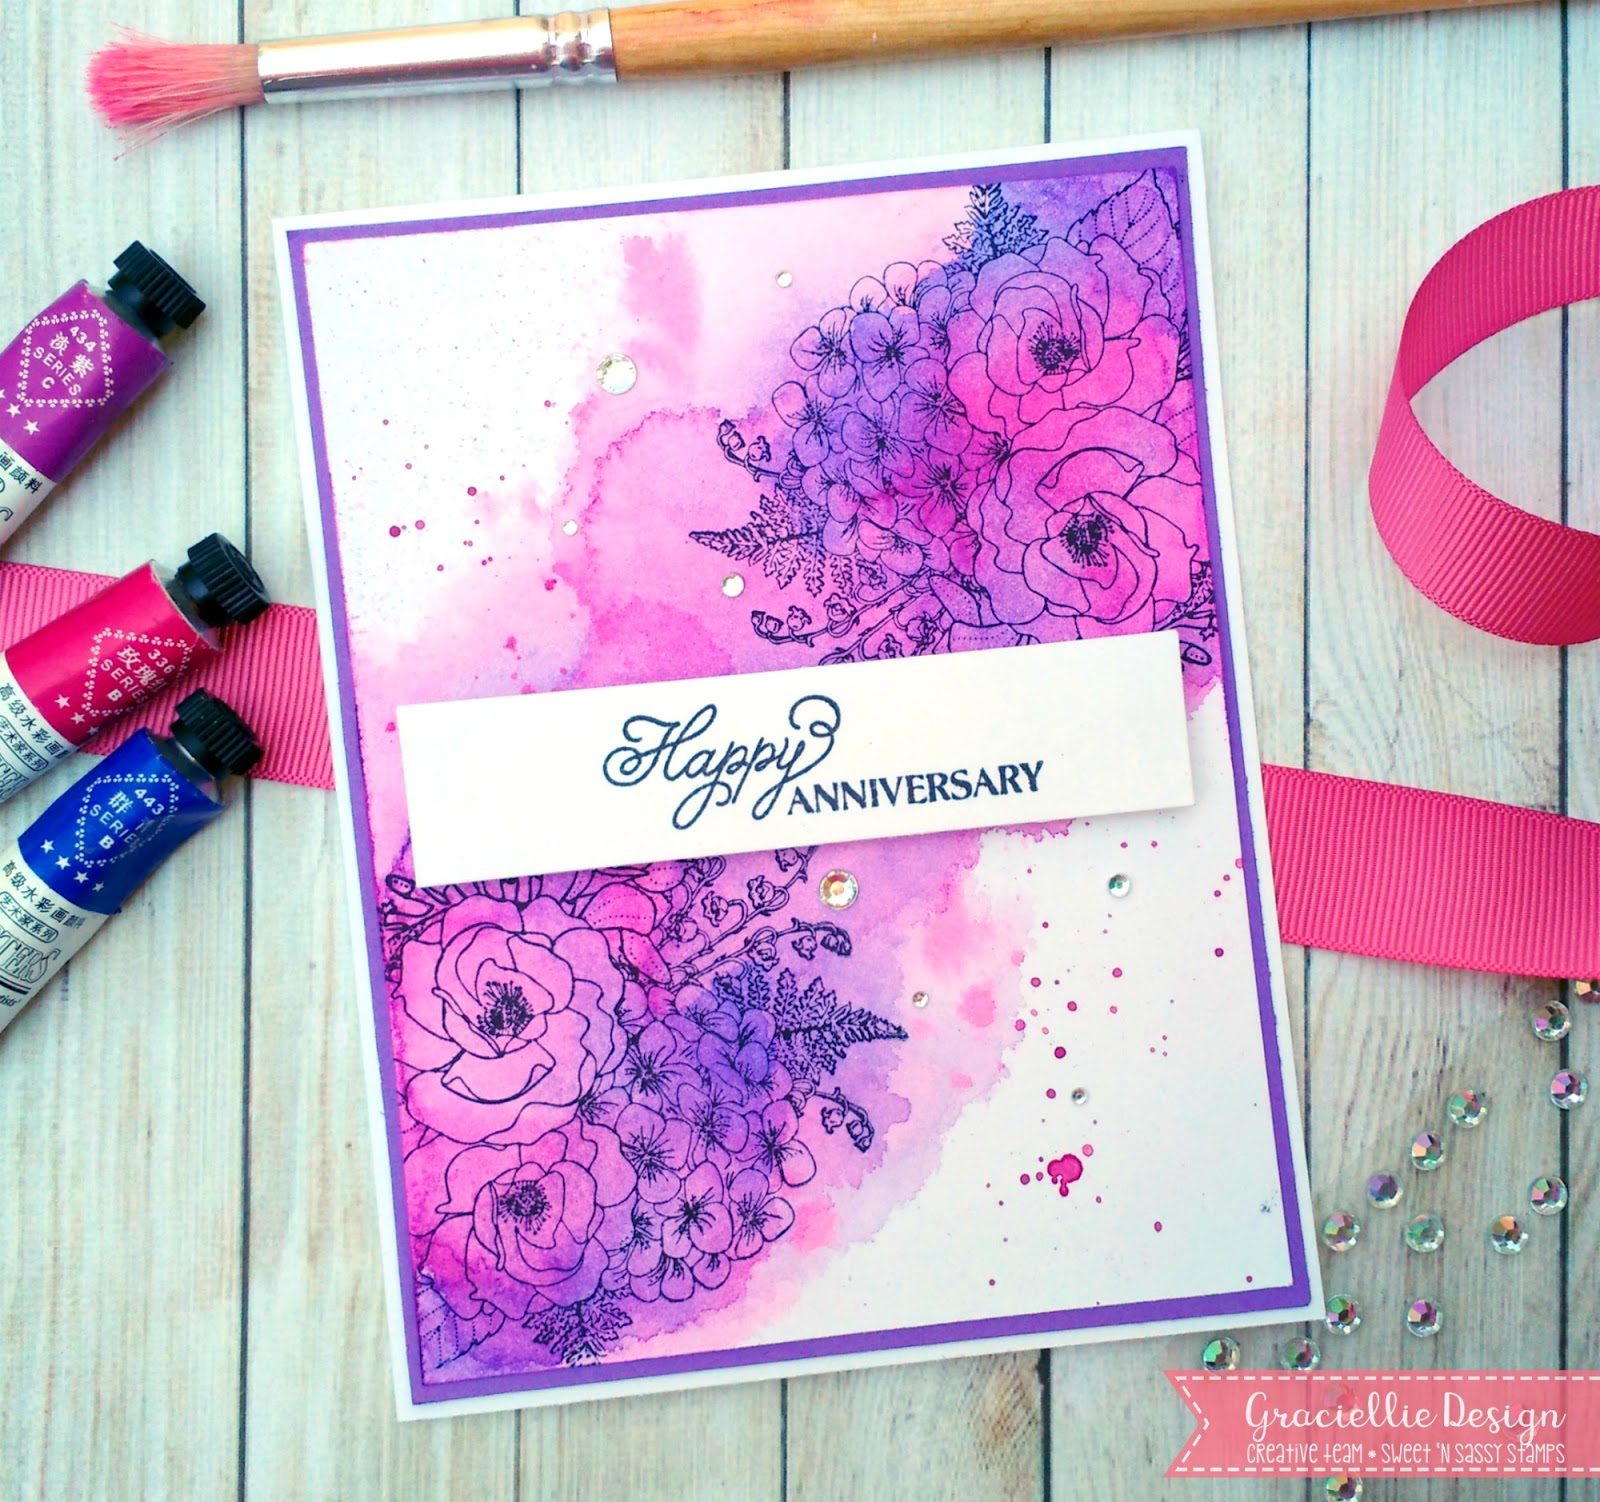
It's Gracie Chavez from Graciellie Design with a fun and colorful card idea to share today using one of Sweet 'n Sassy Stamps' new set Mason Jar Bouquet.


I stamped part of the bouquet on two corners of the card front in black using premium dye ink. To make sure the ink wouldn't smear I heat set it well. I used a very pigmented set of watercolors in Rose, Purple Pale and Ultramarine Blue to create a wash across the card front. I kept layering color until I was happy with the result. I added some splatters and iridescente rhinestones to finish off the background and attached a stamped banner with a piece of foam strip to give it some dimension.


I hope you enjoyed today's card! Thanks for stopping by.


Monday, June 5, 2017

Hello friends! Kim here with you today, I'm so sorry for the delay in posting today. My card today features the Pretty Potted Florals and Words of Life.

I started making my card I began by covering a piece of white cardstock with Pan Pastels. Then I stamped the sentiments from Words of Life repeatably in VersaMark ink on top of the Pan Pastel covered paper. I then went over the piece of stamped paper with the Pan Pastels again. Once the Pan Pastels hit the VersaMark stamped words, the ink grabs the pastel and creates a tone on tone look. Cool, right?

I cut down my paper to fit onto a standard card base. My flower pot was stamped, colored, and fussy cut. I did the same with the butterflies. I die cut and embossed a piece of black cardstock, which serves as a home for my flower pot. 

Why not give the Pan Pastel technique a try sometime...it's a great way to make quick and easy backgrounds! Quick tip...this technique works best with solid stamps. 

I hope you enjoyed today's project! Just a reminder that Sweet 'n Sassy is holding a 25% moving sales! Happy crafting!

Sunday, June 4, 2017

A Mini Project.....

{jane bosi}  I completed this little one sheet mini album I've been working on and wanted to share it with all of you--it's a very doable prayer journal/mini book! It uses one sheet of 12 x 12 paper and can easily be completed in an afternoon. I used the stamp set, Exclamations,  to decorate the pages. 

With my oldest child on the verge of  high school graduation, I've been reflective lately about how quickly time goes by.  I didn't believe it that day, in the nursery, when the nurse said "cherish every moment....they will be over too soon!"  In just the blink of an eye.....here we are!!

Times change, seasons change, but a mother's prayers.....they remain.  I love this new little stamp set, and thought it was the perfect thing to use to create this little book. 

 A place to record my own thoughts--thoughts just between me and my Savior....
 To jot down what's important--with a little pull out page for some of my ideas!
 Never forget to praise Him for all that he has done and provided!
 A little pocket page....a picture, some notes?
 Pay Attention to This!!  Another pull out page.
 Click! Click! The final pull out with a picture of my big babies!
 Lots of great moments to reflect on!
 Never forget, He SHOWED up--He always SHOWS up!

I used a few other great Sweet N Sassy Stamp sets to complete this fun book:  Note This and Capture This Moment--check them out!

The album ends up measuring 3x3 and starts with just one 12x12 piece of designer paper.  I'd recommend a thinner paper to start with as you will double the paper up as you fold to create the pages.  If you are interested in making your own, here's a tutorial I wrote years ago!


Enjoy!--Jane