Showing posts with label Wonder of Christmas. Show all posts

Monday, January 17, 2022

Happy Winter

Hello Sweet 'n Sassy friends!
It's Ceal, here. Today I am sharing a card using one of our January releases paired up with several other stamps. 
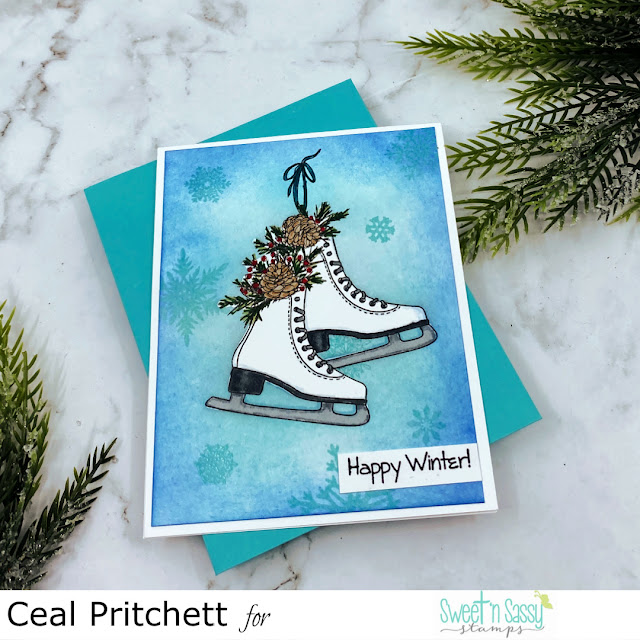
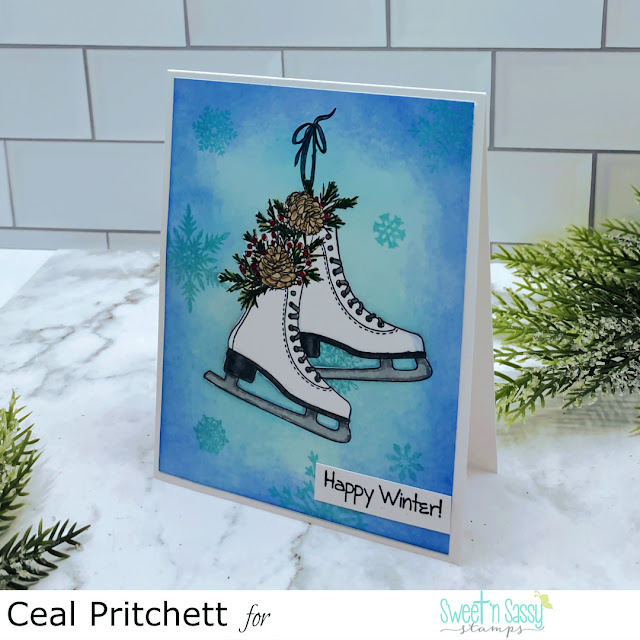
I started with a top folding white card base and a white panel. 
I stamped the ice skates from the Wonder of Christmas set on the white panel, colored them and masked them off to create the background.
 I ink blended Salvaged Patina over the entire panel and then went around the edges with Prize Ribbon. Next I randomly stamped in embossing ink the snowflakes from the new release set Sparkle & Shine along with some snowflakes from the Crazy About Snowmen and then embossed them in Salvaged Patina embossing glaze. 
To finish the card, I removed the mask and added the sentiment from the Winter Hugs set stamped on a white strip


Saturday, December 4, 2021

Christmas Tags

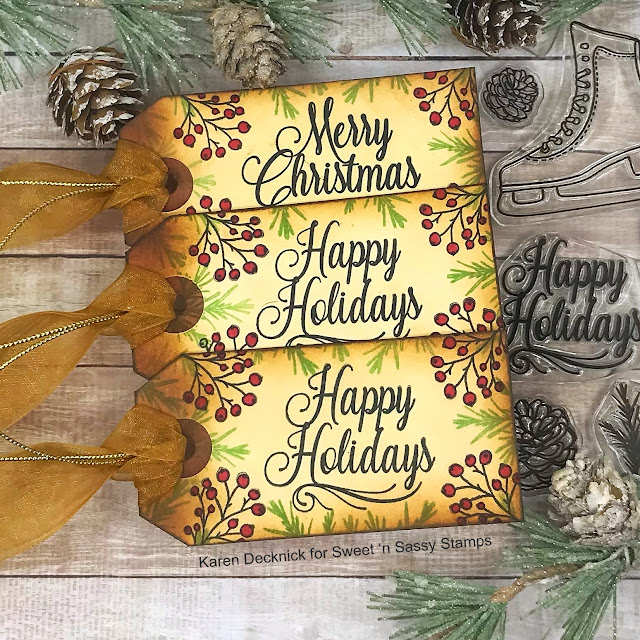
Happy Saturday! I have some quick and easy package tags to share with you today featuring the recently released Wonder of Christmas set. This set can be bought individually or in a bundle with the coordinating dies.


For my first set of tags, I started by stamping the sentiments and berries with VersaFine Clair Nocturne ink. Then, I stamped the pine boughs with parsley ink and colored the berries with a red marker. Next, I distress the the tag with vintage photo and some walnut stain distress ink. I also dragged the edges of the tags directly along the ink pad to darken them up. Of course, no tag is complete without some ribbon so I added a gold ribbon and some gold cord to finish it off. 
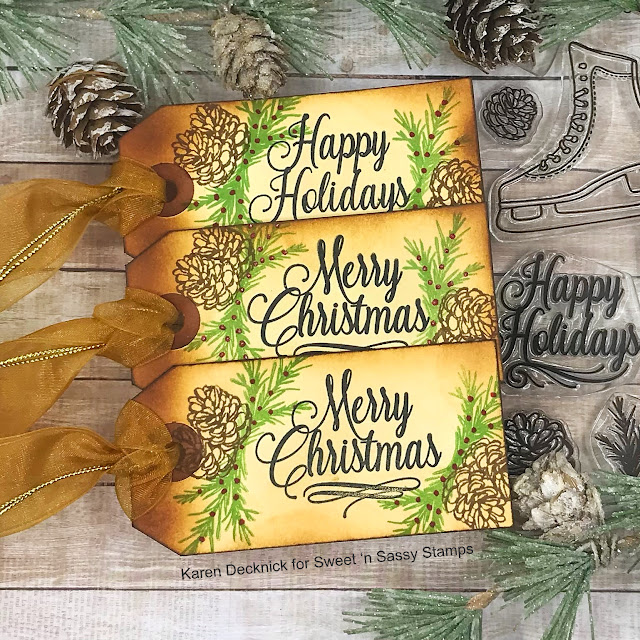


My second set of tags follows the same process as the first set. I changed out how I decorated around the sentiments. The pine bough is stamped with parsley ink in two different directions to make it look like a longer piece. I stamped the pinecone on scrape cardstock first and cut out to create a mask. Then, I stamped the first pinecone with walnut stain distress ink, placed the mask over the first one and stamped the second one. I added red berries with a marker. On one of the tags you can see some sparkle because I used a red glitter gel pen over the top of the red ink. I wasn't sure I liked the tag with the sparkle so I skipped it on the others. The tags were finished up the same way as the first set. 


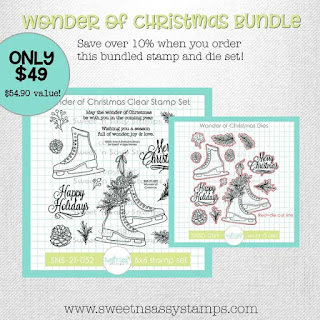
Wonder of Christmas Bundle


Have you seen the new December Stamp of the Month? 

 Script Sentiments 


Are you a member of the Sweet 'n Sassy Stamps VIP Group? Every month we host a fun challenge! You won't want to miss out on the fun this month.👇

DECEMBER THROWBACK-ANYTHING GOES!!
We're so excited to share something a little different for our challenge this December...
Last month we celebrated our 14th birthday. In 14 years we have released a TON of amazing products for you to enjoy, so this month we're going to do just that---ENJOY THEM!
Grab those SNSS stamps, dies and stencils and join the fun!!
 
When you share your SNSS creations with us this month you will be entered to win FREE STAMPS FOR A YEAR!! WHAT?! YES!!! One lucky winner will receive one stamp set of their choice(4x6 set) FREE each month in 2022!


So, come join in the fun!

I hope you enjoyed today's project and thanks so much for stopping by!

Karen

Monday, November 22, 2021

Snowflake Dies THREE Ways


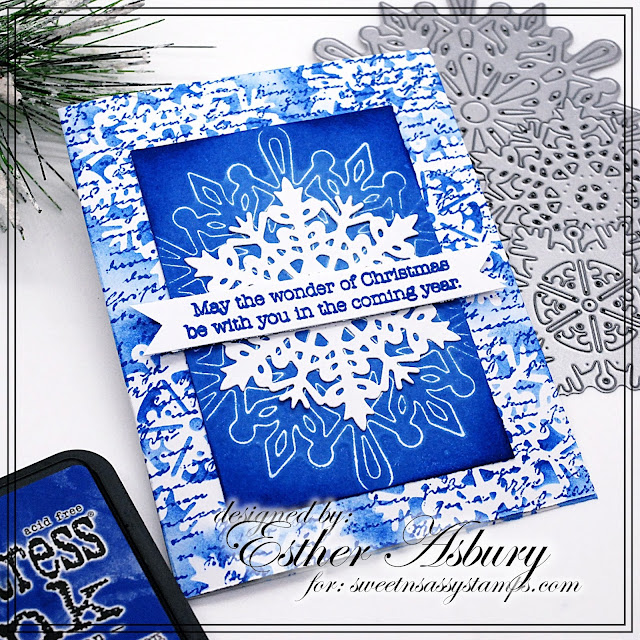
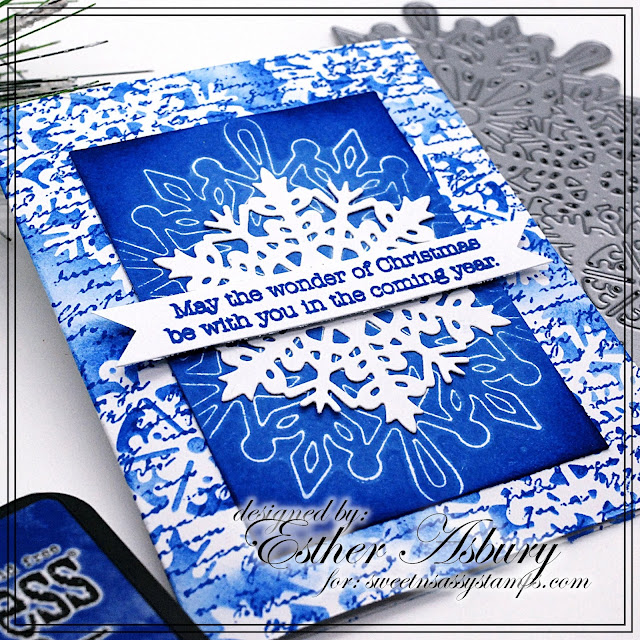
Esther here today with a pretty Christmas card that features snowflake dies used THREE different ways. 

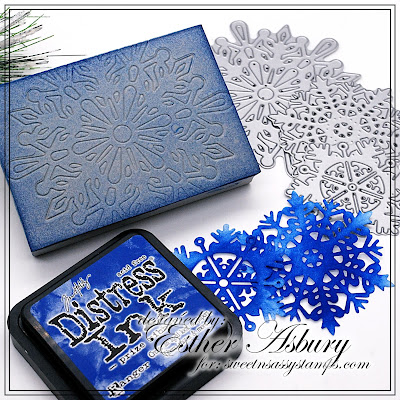
Way #1 To create a stencil --- I cut two snowflakes from printer paper and used them as a stencil on the background.

Way #2 To create an impression on stamping foam ---I heated my stamping foam, pressed it into the largest of the snowflakes to create an impression, inked the stamping foam with distress ink, and stamped it on a piece of white card stock.

Way #3 To create a regular die cut --  Last of all I die cut the medium sized snowflake and glued it over top the reverse print. 

 This week all STEEL DIES and DIGITAL STAMPS 

are 20% off at Sweet n Sassy Stamps.

        ~~~This post contains affiliate links at no extra cost to you~~~ 

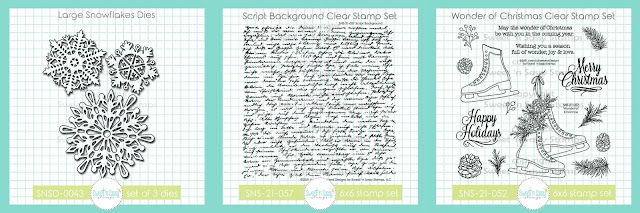
  Supplies and Tools:

Thursday, October 21, 2021

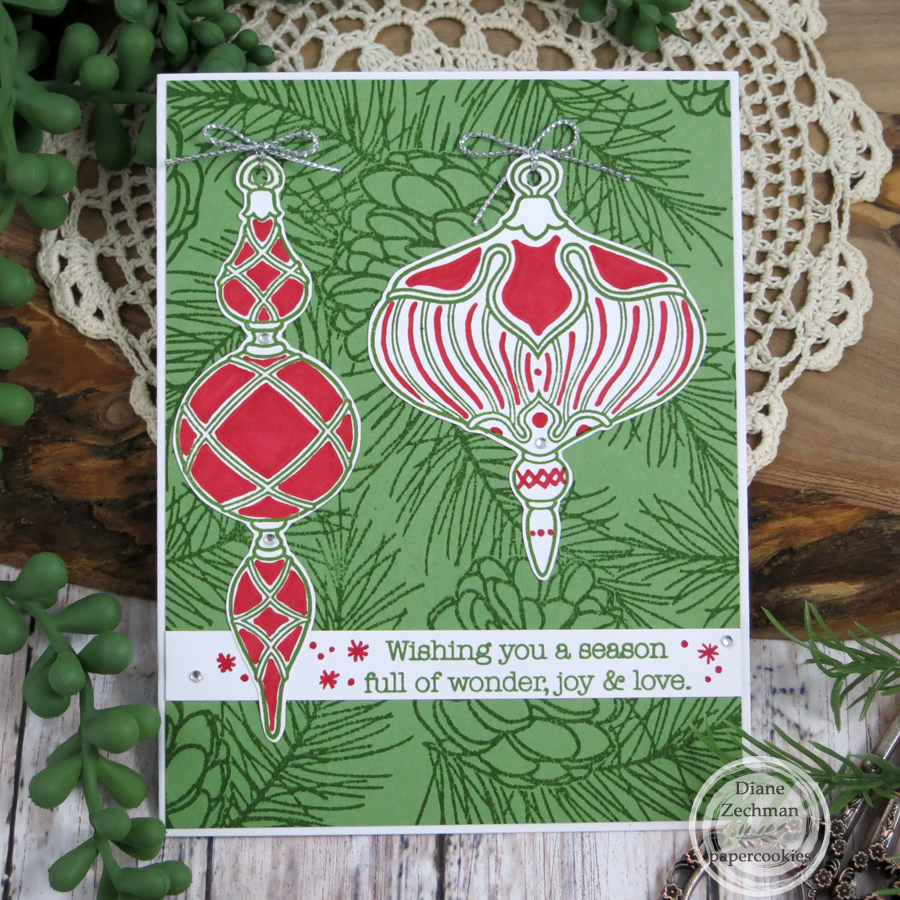
antique ornaments

 Hello! Today I am sharing a few cards using the Antique Ornaments set (sold in a bundle and separately). I also used Wonder of Christmas (also sold in a bundle and separately), Pinecone Background, and Spectacular Snowflakes.

There's just something about antique ornaments that brings back memories and evokes feelings of nostalgia. I instantly remember the bubble lights that accompanied them! My cards today were created with those images and memories in mind. In fact, my first card was colored to resemble an antique Christmas card.


I threw out traditional colors in my second card and went with colorful, old-fashioned ornaments.


My last card started out monochromatic but then I decided to add some green branches to hang it from.


Have a great day!
Diane


Tuesday, October 12, 2021

Happy Holidays | #SNSSVIP1021

  PRODUCT LINKS BELOW CONTAIN AFFILIATE LINKS AT NO COST TO YOU
 
Hello Sweet Friends! Sheri here with a card for the October 2021 VIP Challenge over in our Facebook Group. Each month we host a new challenge and a chance to WIN a $10 Gift Code to the SNSS shop. One random winner is selected each month.  You can find the details on how to play along HERE.
 
This month we are challenging you to "THINK PINK" in honor of Breast Cancer Awareness Month!


You just need to create a project featuring the color Pink using at least one SNSS product! Don't have an image that will work...we have a FREE digital image over in the VIP Group that you can download and use!
 
My Mom is a Breast Cancer Survivor and I wanted to create another card using the color PINK in her honor!!
 
I pulled out the NEW Wonder of Christmas stamp set from this months release and created a CAS (clean and simple) mini slimline card.  I stamped the image using alcohol friendly ink and colored it with copic markers. Then I used the coordinating die set to cut it out. Before adding it to my card panel I added a little soft ink blending to make the image pop. My final step was to add a sentiment and add a few sequins.
 
Card Measurements:
White Mini Slimline Card Base: 3 1/2" x 6" 
Pink Mat: 3 1/8" x 5 5/8"
White Panel: 2 15/16" x 4 3/16"


 Happy Stamping!!

Thursday, October 7, 2021

Wonder of Christmas

 Hello! Today I am sharing two cards using this month’s Sweet ‘n Sassy Stamps release. SNSS has some beautiful new Christmas sets, among others. I am loving the skates in this new set called Wonder of Christmas (in a bundle and also sold separately) and the Letter Tiles Alpha is lots of fun too. I have a few more cards to share later with it. I also used the previously released Fern Fronds Stencil on both cards.

First, I used the stencil and stamps to create a background on some light blue cardstock. Then the skates were die cut and popped up with foam tape. I used a silver Sharpie marker on all of my skate blades to make them shiny.


For my second card, I started with a darker blue card base and stenciled again. The letter tiles were used to create my sentiment and the skate was popped up again.


Are you creating holiday cards? I have lots more to do! Have a great day!
Diane